Find Northbird on social media:
This post contains affiliate links. As an Amazon associate, I earn from qualifying purchases. This means that I make a small commission at no extra cost to you. You can read my full disclosure HERE.
Jump to Printable Activity Card
Return to “Homeschooling Activities and Resources”

Valentine Season is Just Around the Corner…
This thought went through my mind a few weeks ago in January, as I was thinking ahead and planing out what blog post topics to write about next. And then on January 31, my dear husband (being the planner and organizer that he is) said:
“Honey, aren’t you doing a homeschooling valentine exchange again this year? You should probably start sending them out next week.”
I turned a little defensive in my response, saying that there was plenty of time until the 14th –but then I realized that he was right.
Things ALWAYS take longer than we anticipate, especially when kids are involved in the production, inscription, and assembly of cards to mail out…and then there’s our slightly sluggish postal system.
Living in a remote part of Canada is absolutely beautiful and I am so so thankful to live here in Moosonee. But in regards to sending and receiving mail –You get the point!
So yes. The hubby wins brownie points for helping me keep track of the date and keeping my commitment to mailing valentine cards across Canada.

The Solution?
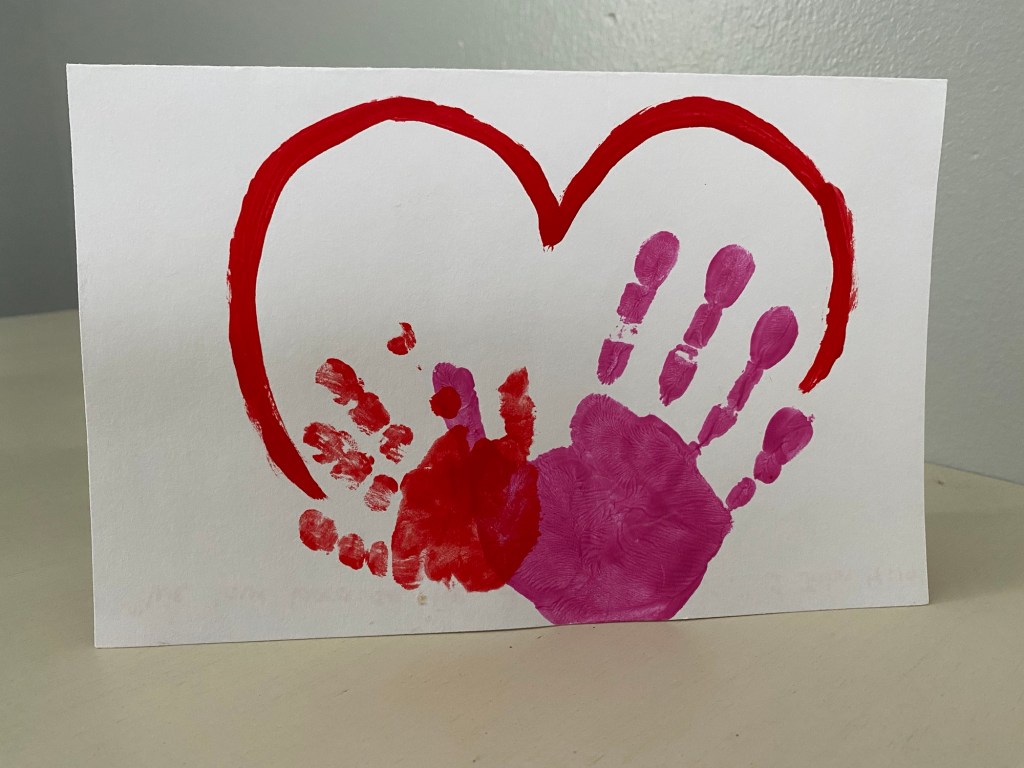
We rummaged around in the potato bin and found some thick russet potatoes that would work to try some potato stamping art, and found the heart-shaped cookie cutters that had been hiding since last year. A little cutting of potato, applying of paint and voila! Some original artwork that the kids were very proud of!

How to Make Potato Stamp Art & Valentine Cards:
Supplies Needed:
- Potatoes (large enough to cut in half and fit a cookie cutter into it)
- Cookie cutters (For Valentine Cards we used heart shaped ones)
- Paring Knife
- Paint (for smaller kids I would use non-toxic paint, but acrylic paint works better in my opinion)
- Paper Plate or other disposable etc for putting paint on
- Glue sticks
- Scissors
- Cardstock paper
- Coloured Paper
- Envelopes
Directions:
- Wash potatoes and lightly dry the outside. Cut in half at thickest point. Pat dry the inside.
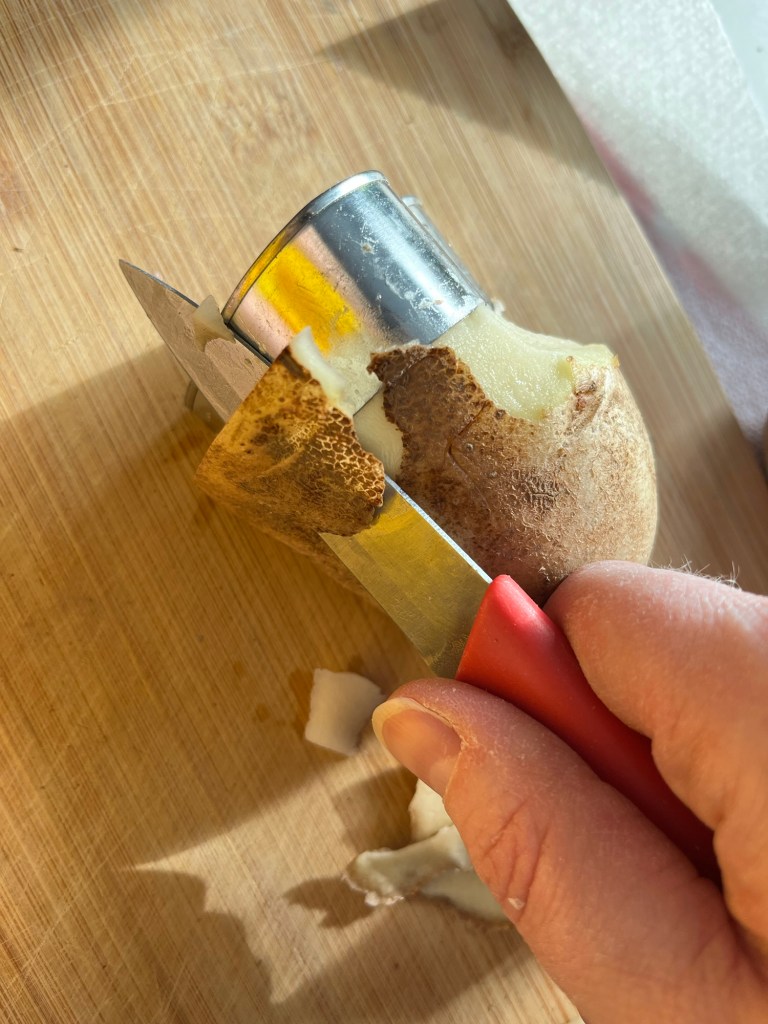
- Press cookie cutter into the white flesh, then cut down the sides of the cookie cutter (see picture). Remove the cookie cutter once shape is achieved.
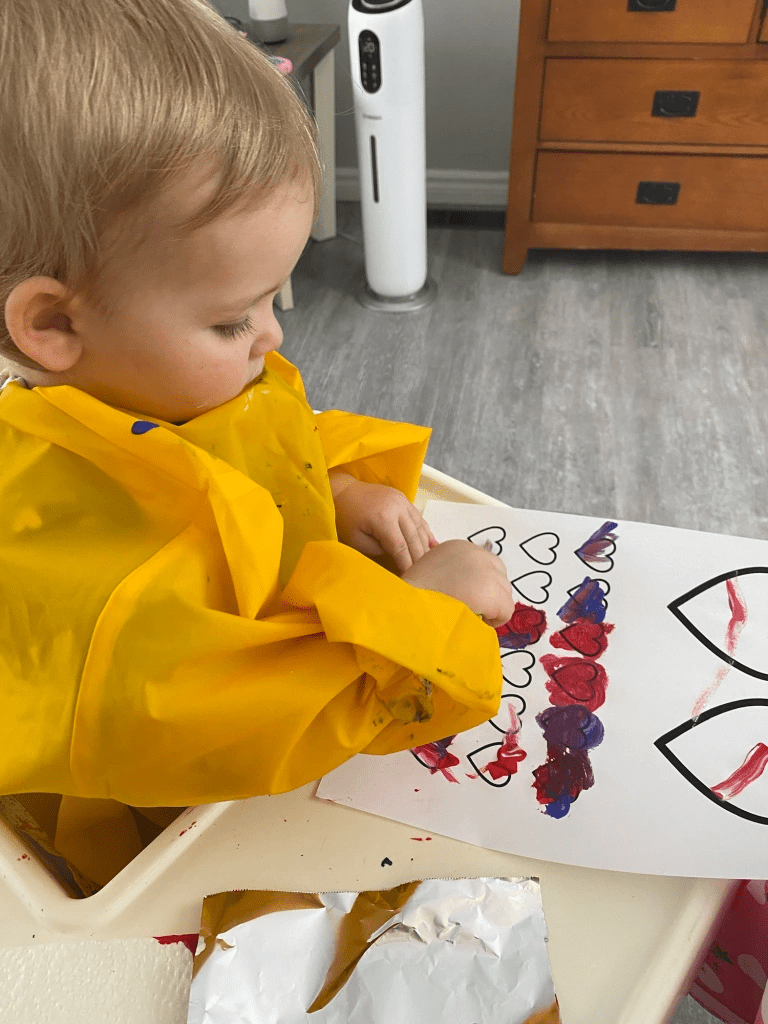
- Squirt paint onto paper plate. Dab the potato in the paint and begin stamping!


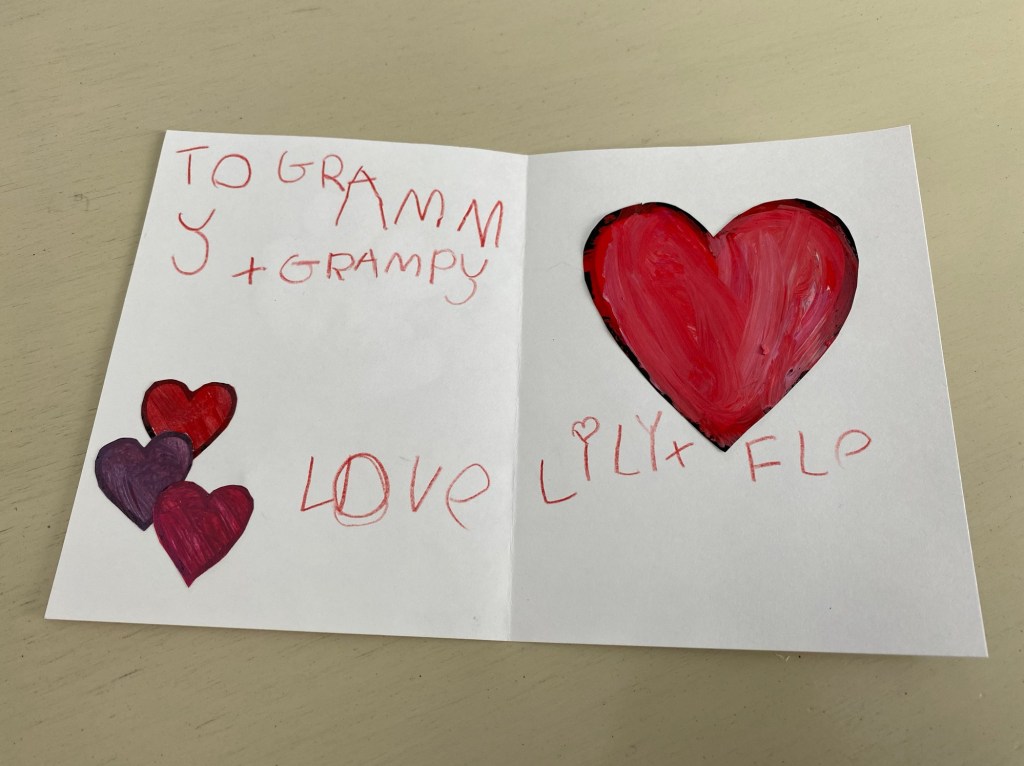
Homemade Cards:
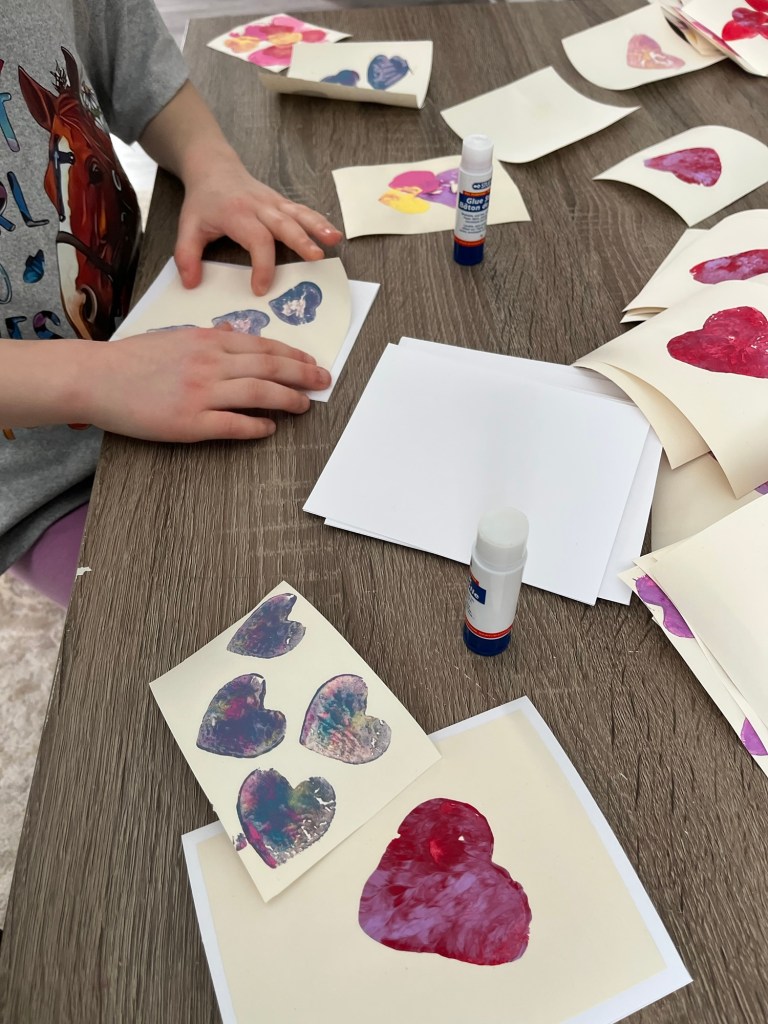
1. We did the potato stamping first on cream-coloured paper, then let it dry for 30 minutes.
2. I then cut 1 page of card stock paper in half for making 2 cards (8.5″x11″ paper size), and folded those in half.
3. We then cut and trimmed the potato stamped art, and glued it to a red-coloured paper background.
4. Lastly we glued the red paper to the front of the prepared white cardstock cards. We kept it simple due to time and somewhat limited focus for the kiddos, but at this point you can decorate and inscribe as desired!
6. Enclose with one of these simple white envelopes that fit perfectly!

Made this Craft?
I’d LOVE to see your results!! Feel free to post to your social media account and tag Northbird using one of the links below or post in the comments!
Other Posts About Valentine’s Day


More Homeschooling Crafts & Activities to Check Out:


Hi, I’m Jessie!
I’m a Wife and Homeschooling Mom living in a remote town in Northern Ontario, Canada. I love making wholesome meals for my family from scratch, homeschooling our girls and learning more about natural living.
Read more about my story HERE.

Subscribe to Northbird’s email list to get weekly posts on: tasty recipes, activity ideas for kids, natural living tips, and some genuine mom thoughts and encouragement!
Recent posts from Northbird:


Creative Potato Stamping Art for Kids
Supplies Needed:
Directions:
- Wash potatoes and lightly dry the outside. Cut in half at thickest point. Pat dry the inside.
- Press cookie cutter into the white flesh, then cut down the sides of the cookie cutter (see picture). Remove the cookie cutter once shape is achieved.
- Squirt paint onto paper plate. Dab the potato in the paint and begin stamping!
Homemade Cards:
1. We did the potato stamping first on cream-coloured paper, then let it dry for 30 minutes.
2. I then cut 1 page of card stock paper in half for making 2 cards (8.5″x11″ paper size), and folded those in half.
3. We then cut and trimmed the potato stamped art, and glued it to a red-coloured paper background.
4. Lastly we glued the red paper to the front of the prepared white cardstock cards. We kept it simple due to time and somewhat limited focus for the kiddos, but at this point you can decorate and inscribe as desired!
6. Enclose with one of these simple white envelopes that fit perfectly!