Find Northbird on social media:
This post contains affiliate links. As an Amazon associate, I earn from qualifying purchases. This means that I make a small commission at no extra cost to you. You can read my full disclosure HERE.
Return to “Winter Activities & Crafts”

Making Maple Syrup in My Early Years
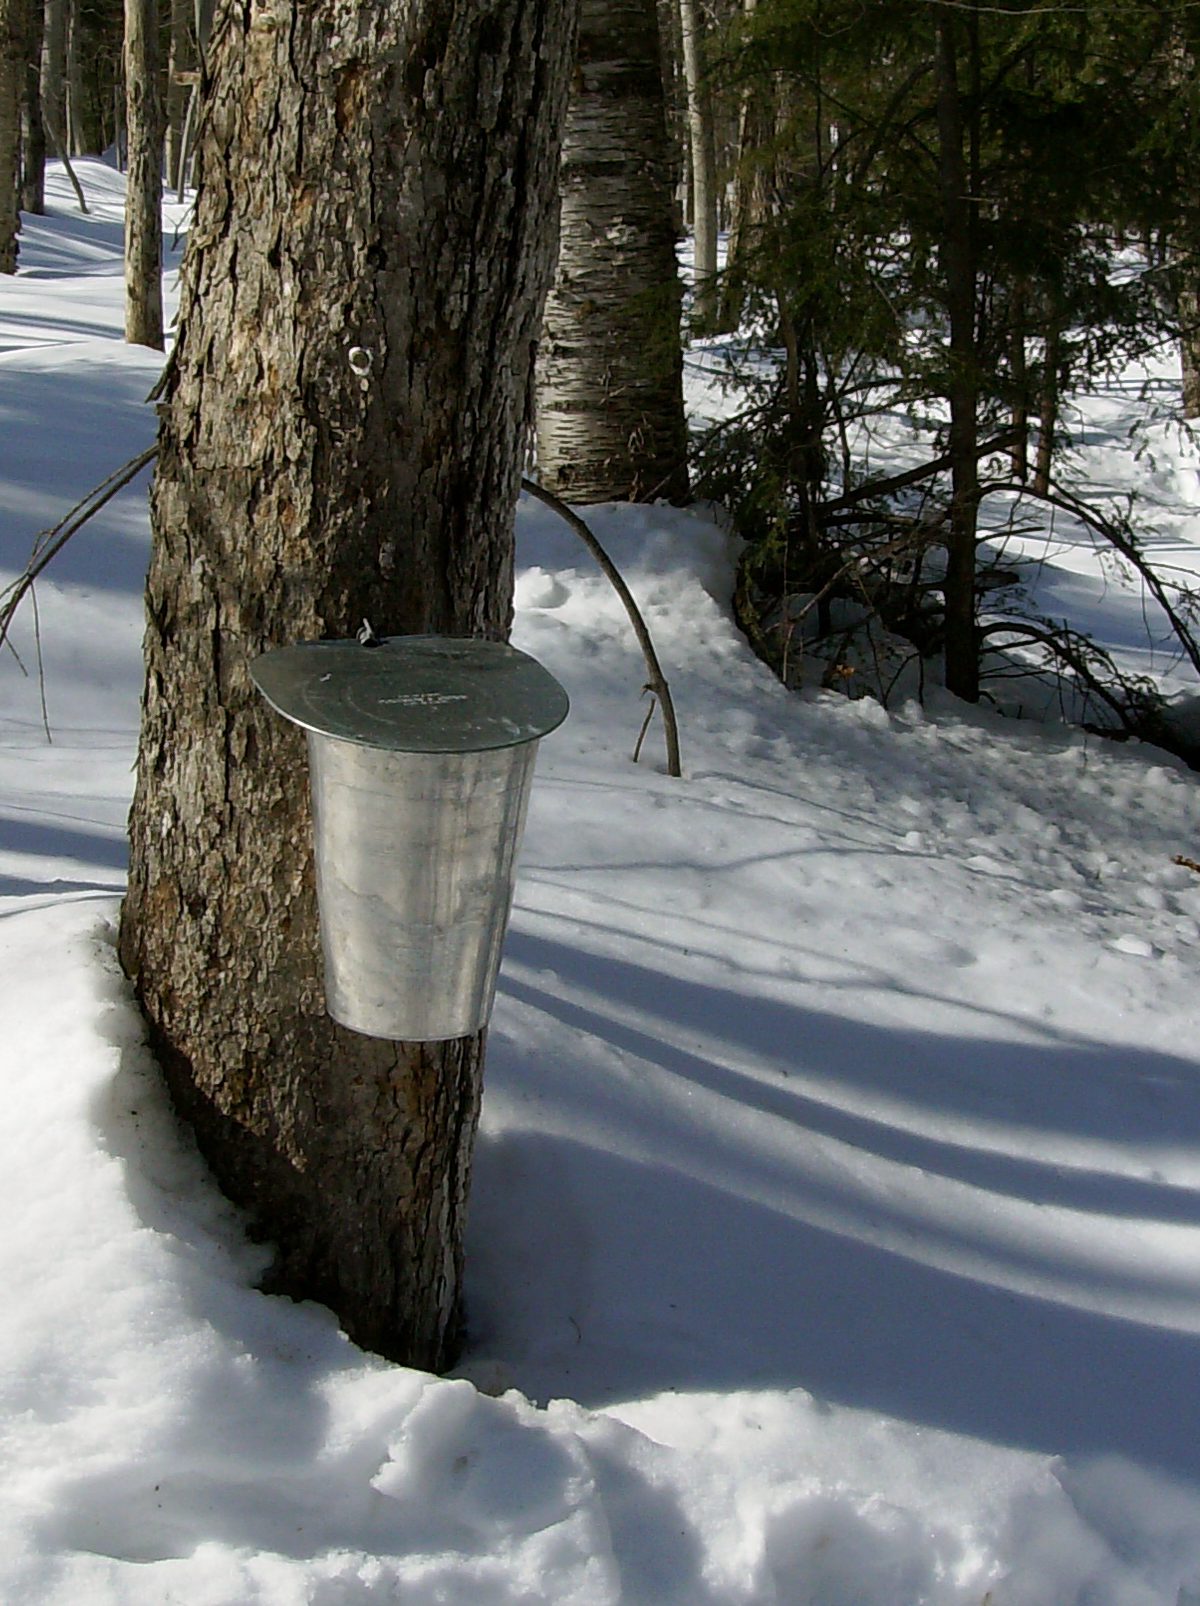
March. This month always brings me back to my childhood and the fun we had in making our own maple syrup. Warm days above zero, but nights that are still below freezing make the perfect push for the sugar maple trees to start running their delicious sap!
Every year we would tap the 8 sugar maple trees on my parent’s property, and attach the metal buckets to collect the tasty sugar water. Once we had filled a large collecting bin (it only took a day or too at peak!), then we would get set up to start boiling it down into maple syrup.
For those that don’t know this, it takes approximately 40 buckets of SAP to make 1 bucket of SYRUP.
So that’s a lot of boiling to get all of the excess water to evaporate off!
Some years we would be adventurous and try boiling it over the fire-for days on end. Being homeschooled, this was ok with us! We would pull over the picnic table near the fire and work on our bookwork in the chilly sunshine while tending to the fire.
In the early years of doing this, we learned the hard way that when nearing the end of the process, one has to keep a very, VERY close eye on the pots or they would quickly turn to thick syrup, and burn if not stirred constantly. (So we usually finished them off inside on the stove!)
My godfather, Ernie, had the best set up at his home in the bush. As soon as the sap started running, he had all his trees tapped, buckets ready, and an elaborate campfire area set up, complete with a large overhead tarp over his lawn chair and prepared woodpile.
On those days it was hard to reach him by phone because he was always outside sitting at his fire about 90% of the day! He had a stack of books read through by the end of each syrup season.
Sometimes when the days are so busy here, I think back on the simplicity of those times and wish I could sit by a campfire on a brisk but sunny day in March and make my way through a few good books!

Which Maple Trees are used for making Maple Syrup?
There are 13 different species of maple trees native to North America, and at least 130 known different species throughout the earth.
Sweet maple sap can be collected from 3 known species to boil their sap down into maple syrup:
- Sugar Maple/Hard Maple (Acer saccharum)
- Black Maple (Acer nigrum)
- Red Maples (Acer rubrum).
The most commonly used maple tree is of course the “Sugar Maple” or Hard Maple.
About this Activity:
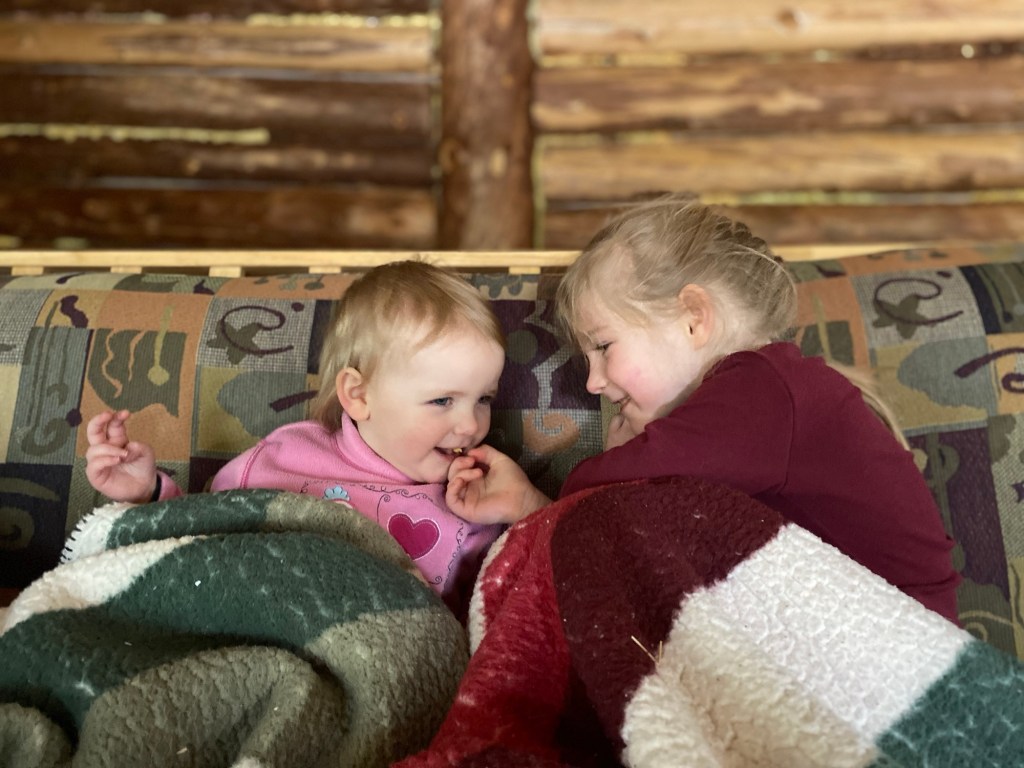
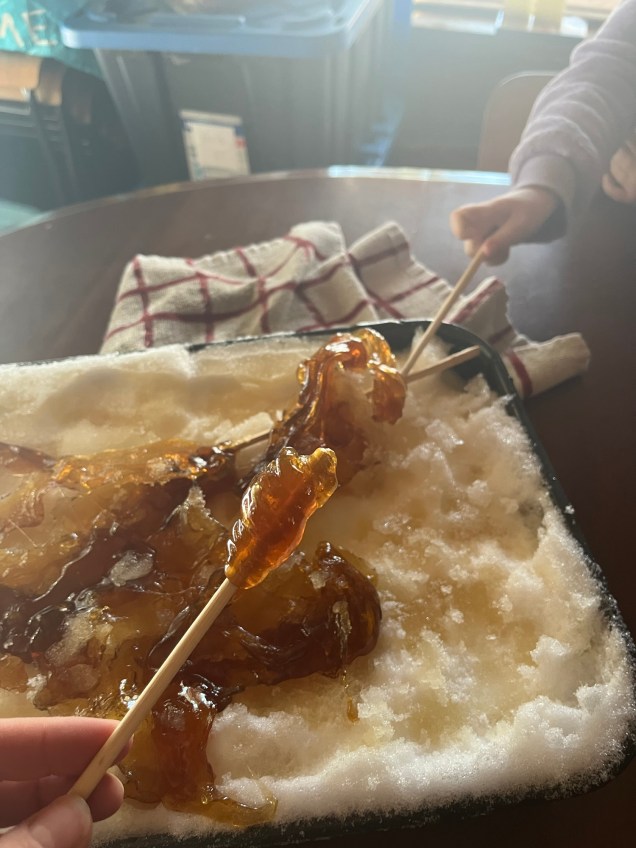
On our winter family holiday this year we once again went to an off-grid cabin for several days to rest and enjoy being in the bush for a few days. While there, we decided to make some taffy twists out of pure maple syrup.
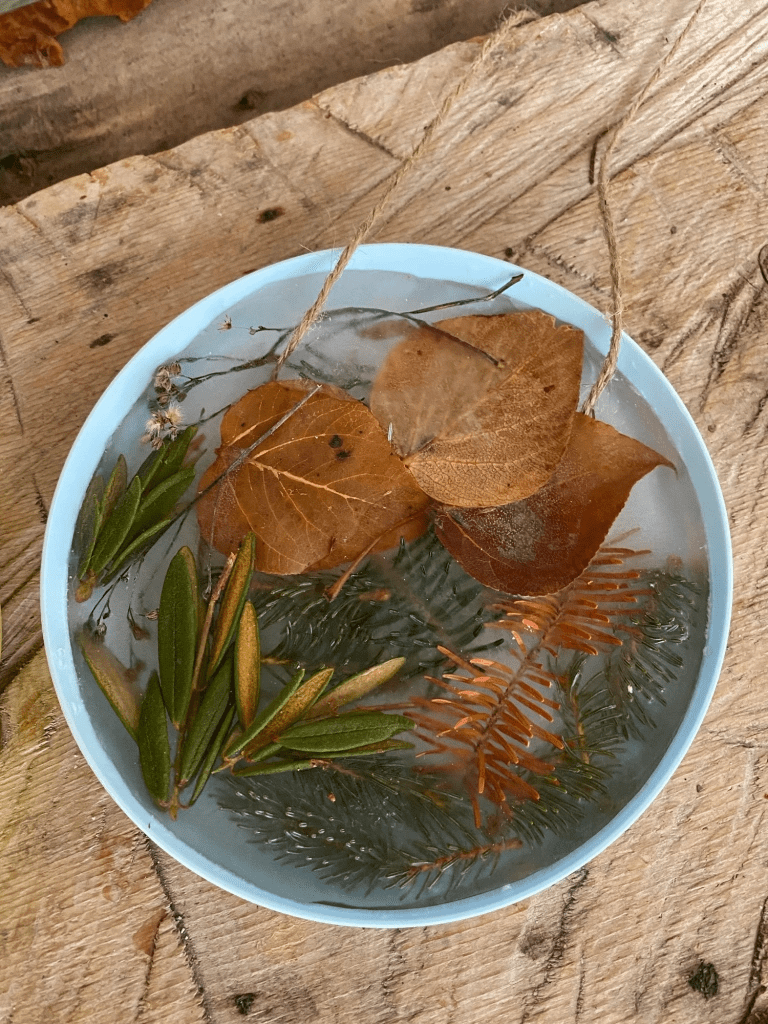
Even though where we live we don’t have any maple trees, it was a great winter activity to do as an inquiry about maple trees, sap, and discussing how sap can be made into delicious maple syrup. Being a Canadian family, this is, of course an important part of their education to learn about the main symbol on our flag!
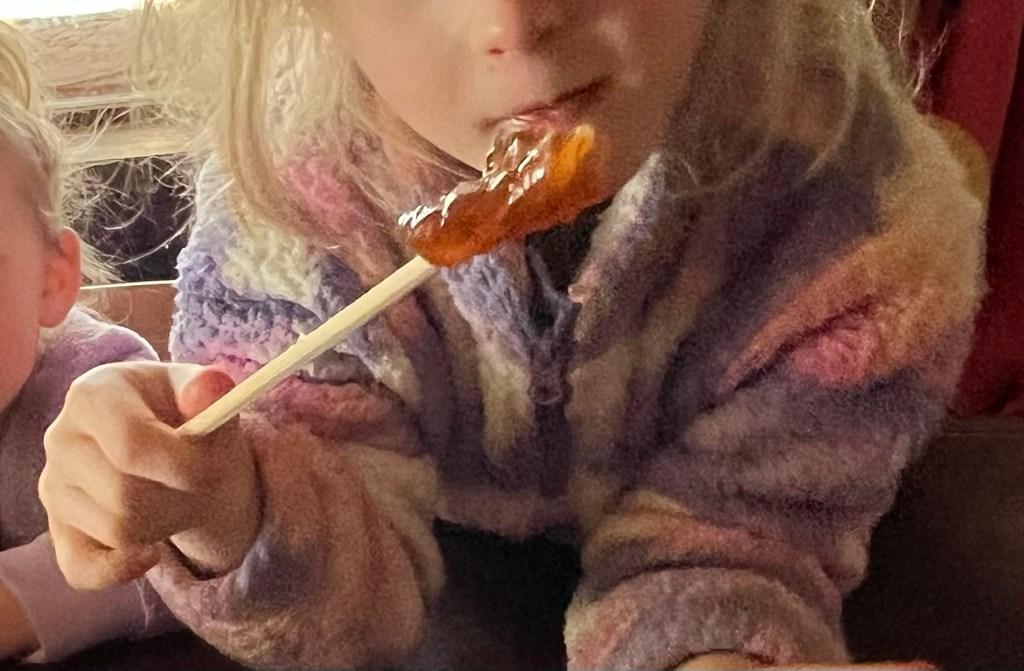
The kids had fun trying to roll the gooey maple taffy onto their sticks before it hardened. (My toddler also greatly enjoyed just poking holes in the snow-filled pan!)
How to Make Your Own Maple Syrup Taffy Twists:
Supplies Needed:
- Small-Medium size pot, 1.5-2 quarts
- Measuring cups/teaspoons
- Candy/Meat Thermometer
- Large Deep Roasting Pan, 2 inches deep (For packing clean snow into!)
- Wooden Skewers, or Wooden Chopsticks, or some wooden sticks with the bark off.
- Wooden Stirring Spoon
Ingredients:
- 1.5-2 cups Pure Maple Syrup (enough to cover the bottom of your pot 1-1.5 inches, so it doesn’t burn)
- Clean, Fresh Snow!
Directions:
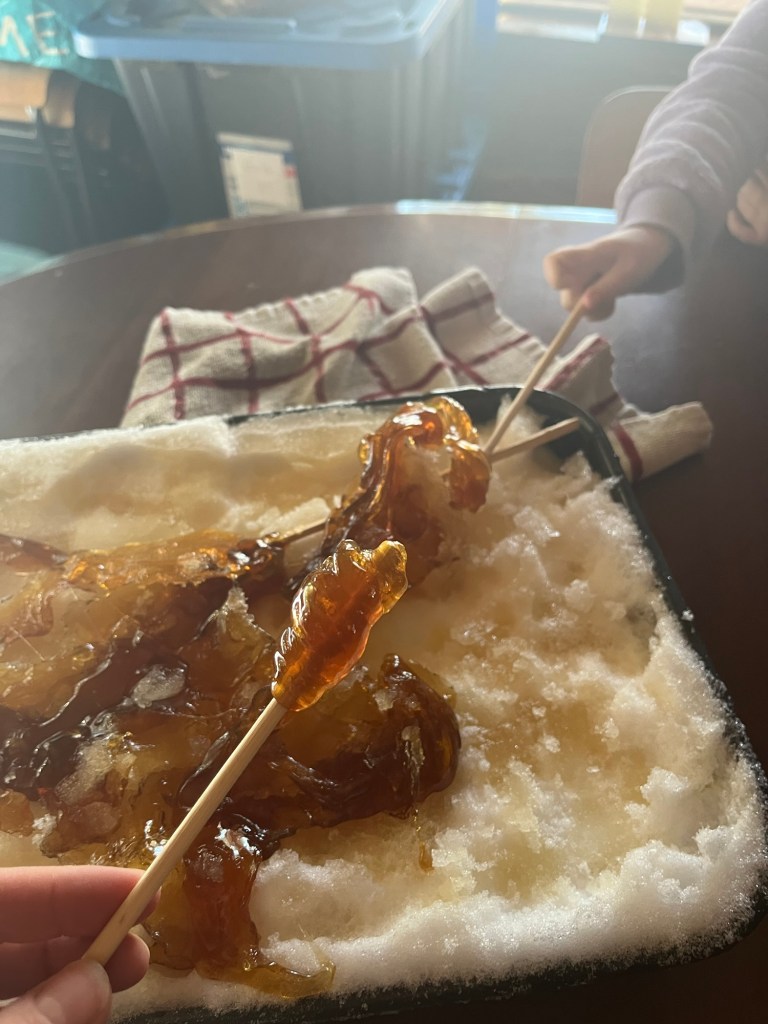
- Fill a large, deep roasting pan with clean, fresh snow. Avoid getting it from high traffic areas or under trees. Open areas are best, after a fresh snowfall. Pack it in well!
- With a small to med sized pot, pour in 100% pure maple syrup (we used grade A). Based on size of pot used, pour in until there is 1″-1.5″ of syrup on the bottom. (Too little, and it will easily burn, too full, and it may boil up and over!)
- Turn to medium-high, and keep wooden spoon in to help prevent boiling over, stir occasionally. Once it is hot, stir constantly and after it starts bubbling, check the temperature every 2 minutes.
- The target temperature is 115 ℃ , or 240 ℉. Timing of reaching this boiling point will vary based on both your stove and altitude level! But it took me about ten minutes of heating to reach this point.
- Remove from heat and slowly pour small ribbons of thick syrup onto the snow. Do a few at a time and set the extremely hot pot safely (not dumping it all on at once like I did!). You can always reheat it again if it hardens too fast before you are ready for more of it.
- Take wooden skewers and twist/roll the syrup ribbons up. It hardens quickly but is still pliable for several minutes.
- Set sticks in a cold area to finish setting (or they will slowly droop down the stick as they cool at room temperature!). A parchment covered baking sheet in the freezer would work perfectly to harden them off and keep their twisted form.


Made this Recipe?
I’d LOVE to see your results!! Feel free to post to your social media account and tag Northbird using one of the links below or post in the comments!
More Desert & Snack Recipes:


Hi, I’m Jessie!
I’m a Wife and Homeschooling Mom living in a remote town in Northern Ontario, Canada. I love making wholesome meals for my family from scratch, homeschooling our girls and learning more about natural living.
Read more about my story HERE.
More Homeschooling Crafts & Activities to Check Out:


Subscribe to Northbird’s email list to get weekly posts on: tasty recipes, activity ideas for kids, natural living tips, and some genuine mom thoughts and encouragement!
Recent posts from Northbird:


Maple Syrup Taffy Twists
This is a tasty winter activity to do with your kids: learning about maple syrup and turning it into your own sweet maple taffy twists!
Jessica Burman, 2025 © The Northbird Blog. https://www.thenorthbirdblog.com
Supplies Needed:
Ingredients
Directions:
- Fill a large, deep roasting pan with clean, fresh snow. Avoid getting it from high traffic areas or under trees. Open areas are best, after a fresh snowfall. Pack it in well!
- With a small to med sized pot, pour in 100% pure maple syrup (we used grade A). Based on size of pot used, pour in until there is 1″-1.5″ of syrup on the bottom. (Too little, and it will burn, too full, and it may boil up and over!)
- Turn to medium-high, and keep wooden spoon in to help prevent boiling over, stir occasionally. Once it is hot, stir constantly and after it starts bubbling, check the temperature every 2 minutes.
- The target temperature is 115 ℃ , or 240 ℉. Timing of reaching this boiling point will vary based on both your stove and altitude level! But it took me about ten minutes of heating to reach this point.
- Remove from heat and slowly pour small ribbons of thick syrup onto the snow. Do a few at a time and set the extremely hot pot safely (not dumping it all on at once like I did!). You can always reheat it again if it hardens too fast before you are ready for more of it.
- Take wooden skewers and twist/roll the syrup ribbons up. It hardens quickly but is still pliable for several minutes.
- Set sticks in a cold area to finish setting (or they will slowly droop down the stick as they cool at room temperature!). A parchment covered baking sheet in the freezer would work perfectly to harden them off and keep their twisted form.
Nutrition
Per 1/2 cup of 100% Pure Maple Syrup: 131 calories; 0.1 g fat; 33.6 g carbohydrates;
0 g protein.