Find Northbird on social media:

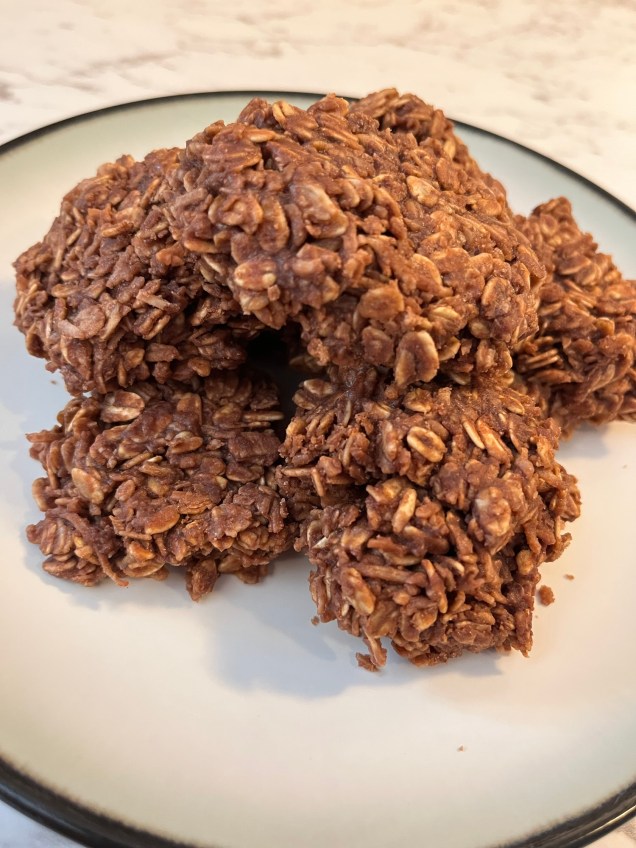
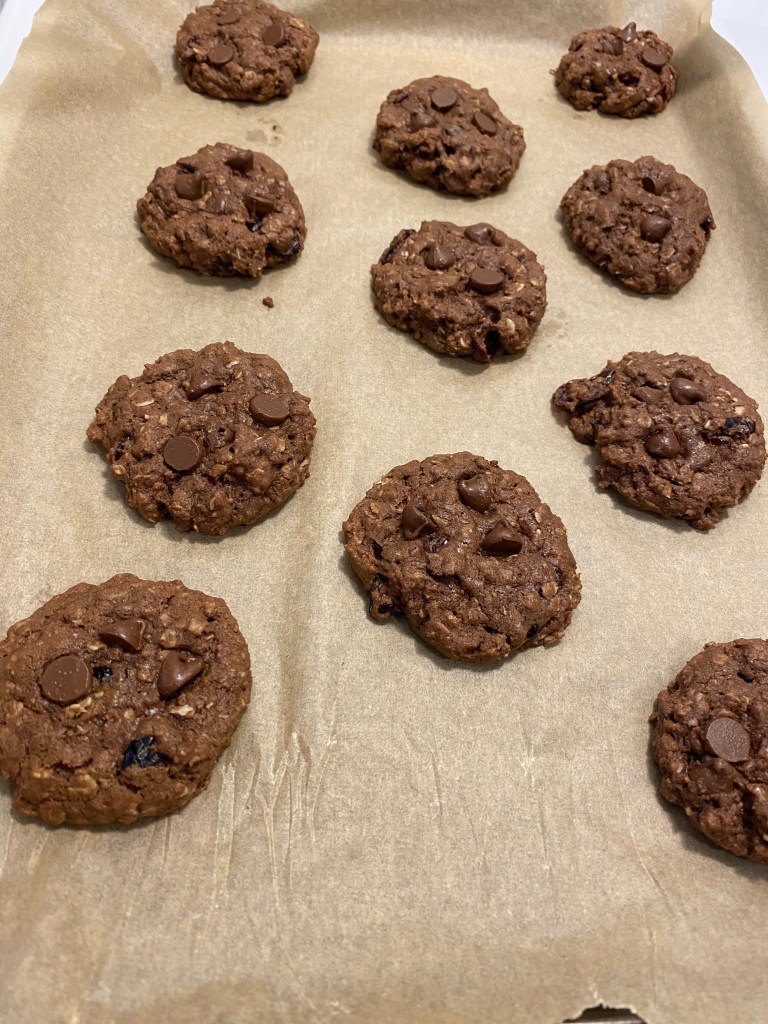
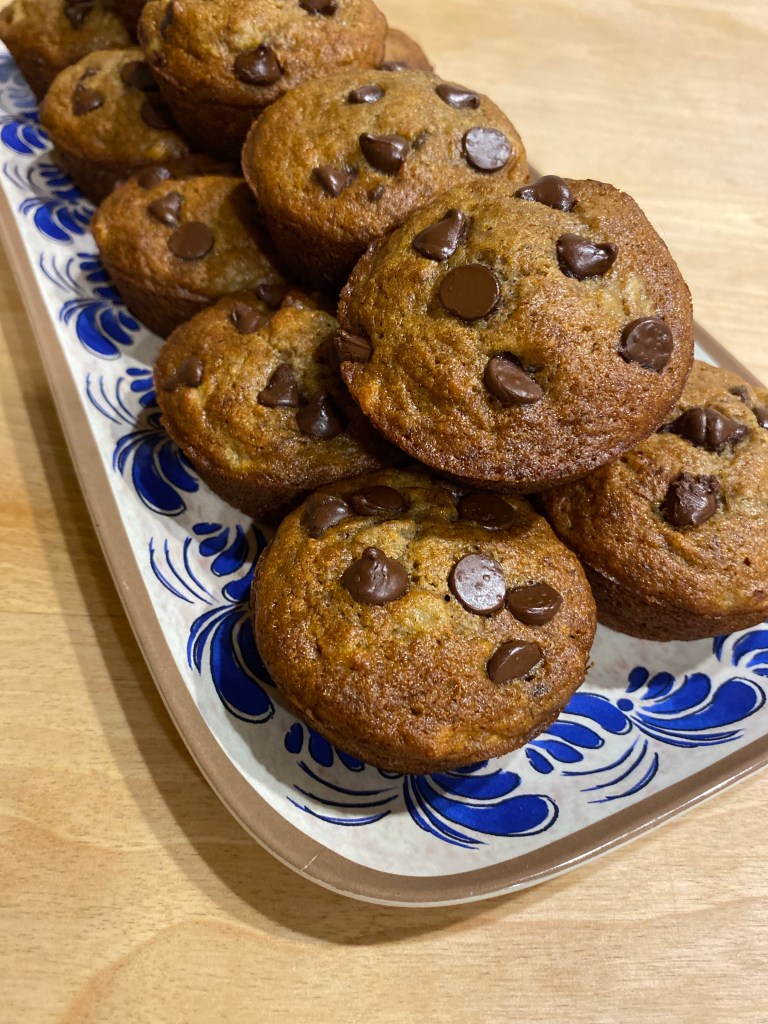
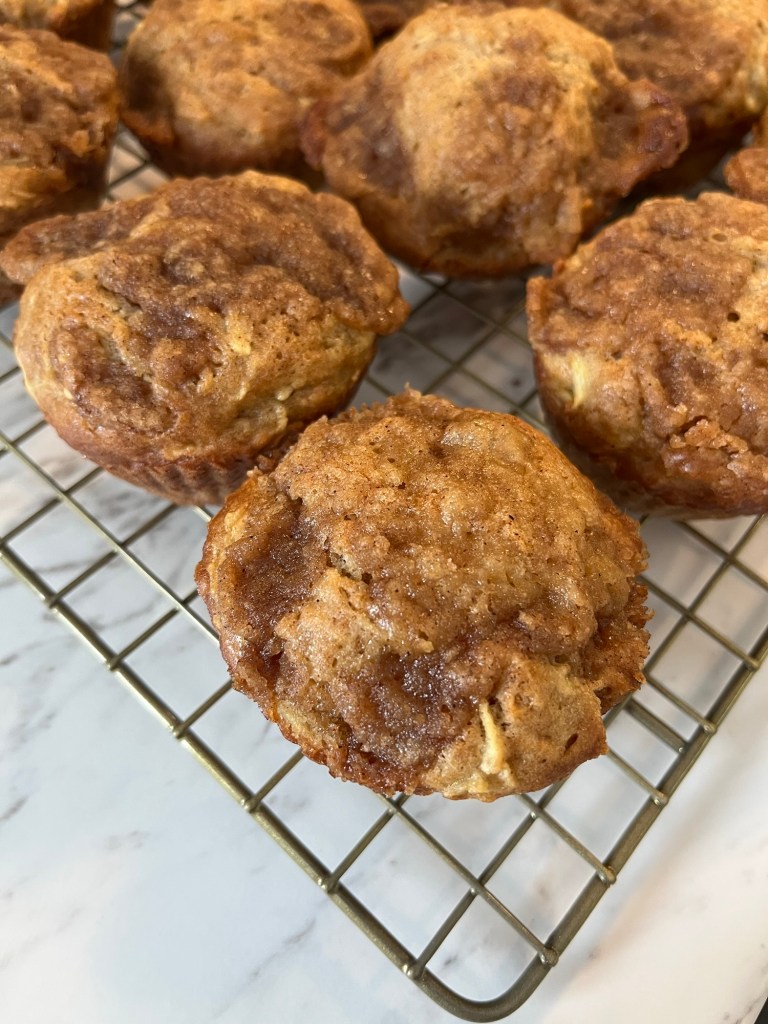
These muffins are my new favourite. So moist, and that topping–I mean you can’t go wrong with butter and brown sugar crumble, right?!
I have a habit of buying rather a lot of apples, and then not using them up as quickly as I buy them (who doesn’t love a good sale on fruit in the middle of winter?!). So every few weeks I find myself with limited space in our fridge and have to do some creative cooking or baking so that I don’t waste anything as I “make room”.
This recipe used up 4 of my apple stash to make 24 delicious muffins!
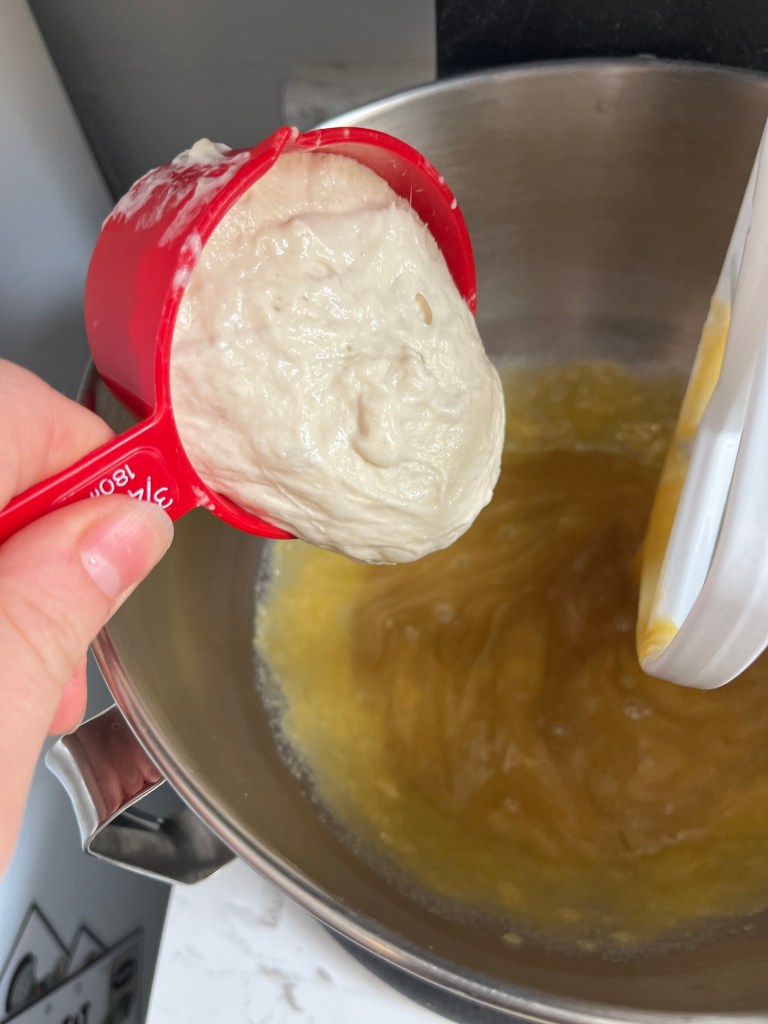
And sourdough discard? The consistency of sourdough starter to muffin batter is so similar, that the amount of discard does not have to be spot on in this recipe. I like putting in a 3/4 cup, but any amount up to 1 cup of sourdough starter is just as tasty. Also, the fermented bonus of sourdough is so so good for digestion!
How to Make Apple Streusel Muffins with Sourdough Discard:
Supplies Needed:
Ingredients:
Wet Mix:
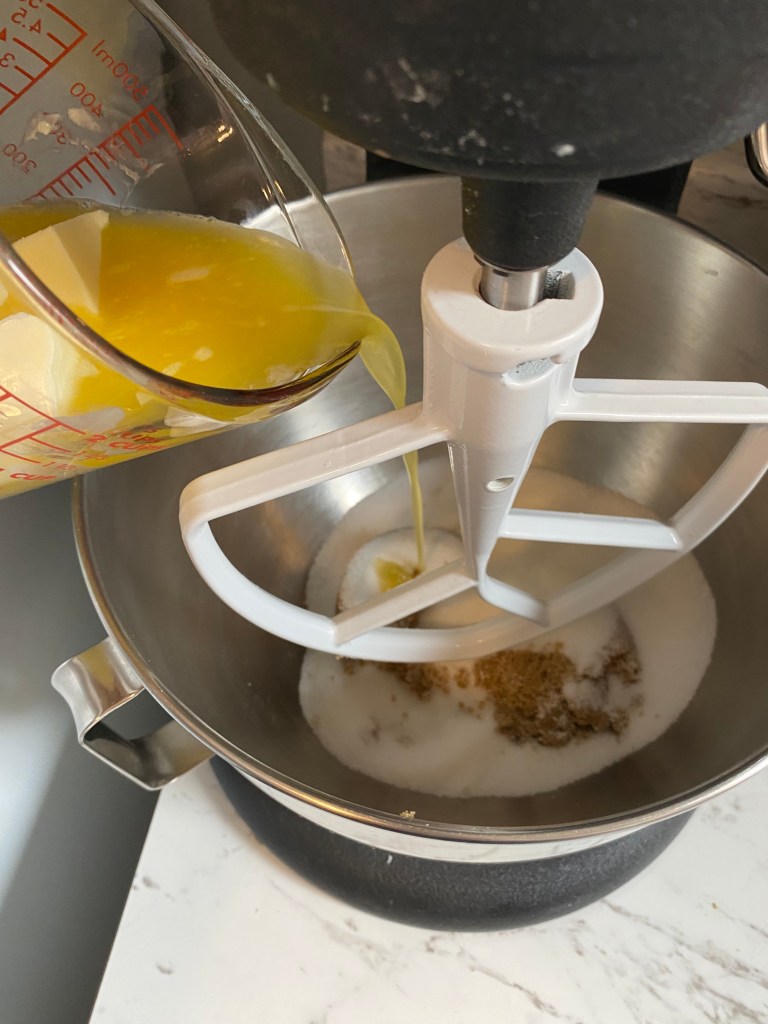
- 1/2 cup melted butter
- 1/2 cup white sugar
- 1/2 cup brown sugar
- 2 eggs
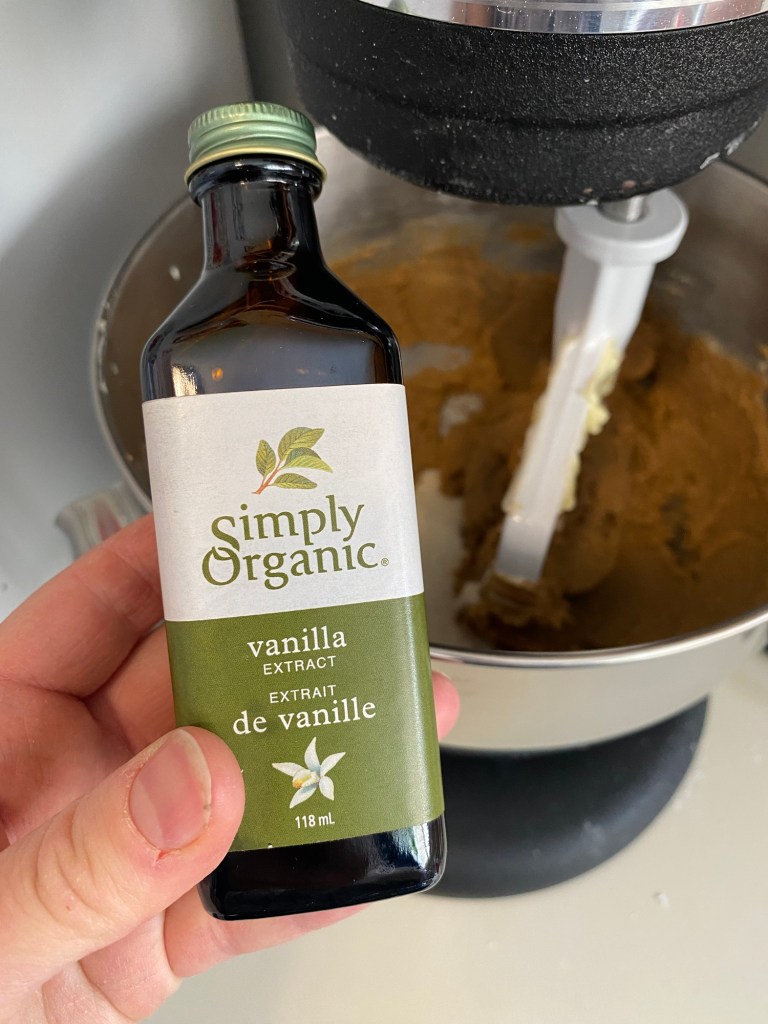
- 1/2 teaspoon vanilla
- 1/2-1 cup sourdough discard
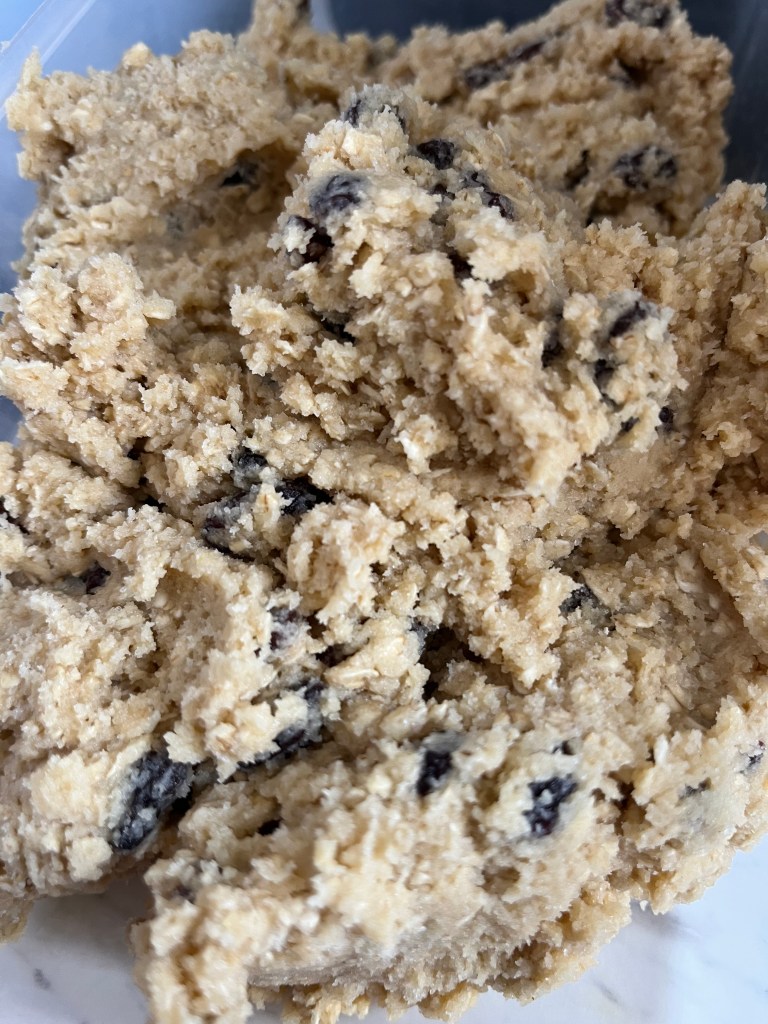
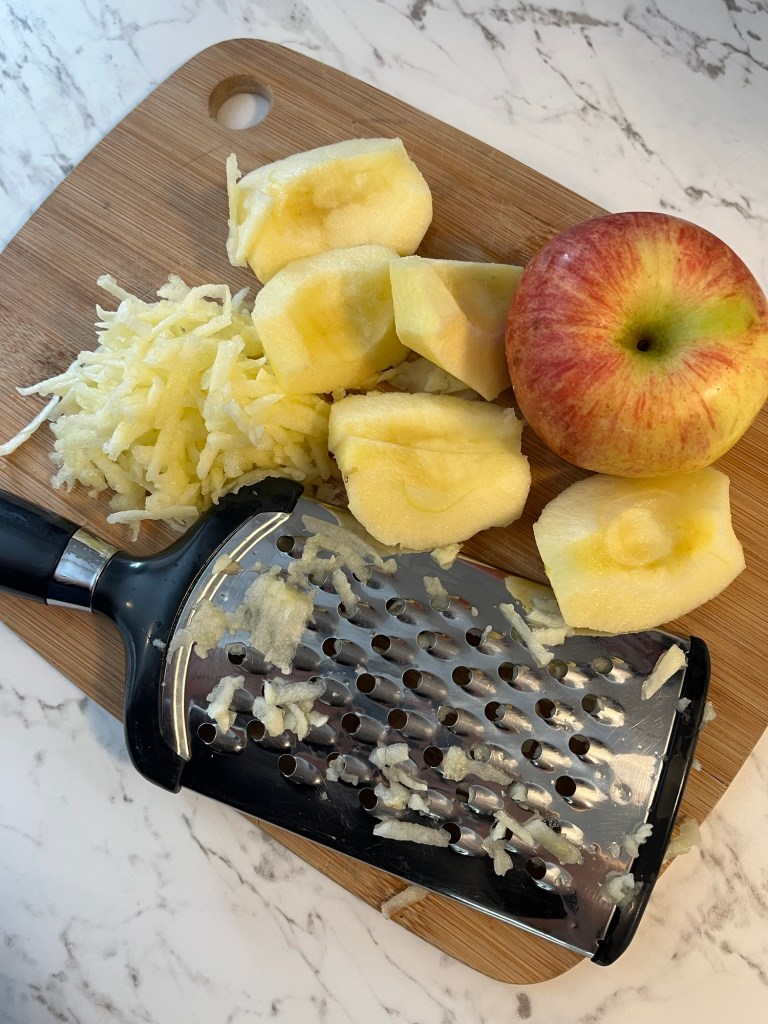
- 2 cups peeled & grated apple (about 3-4 med size apples)
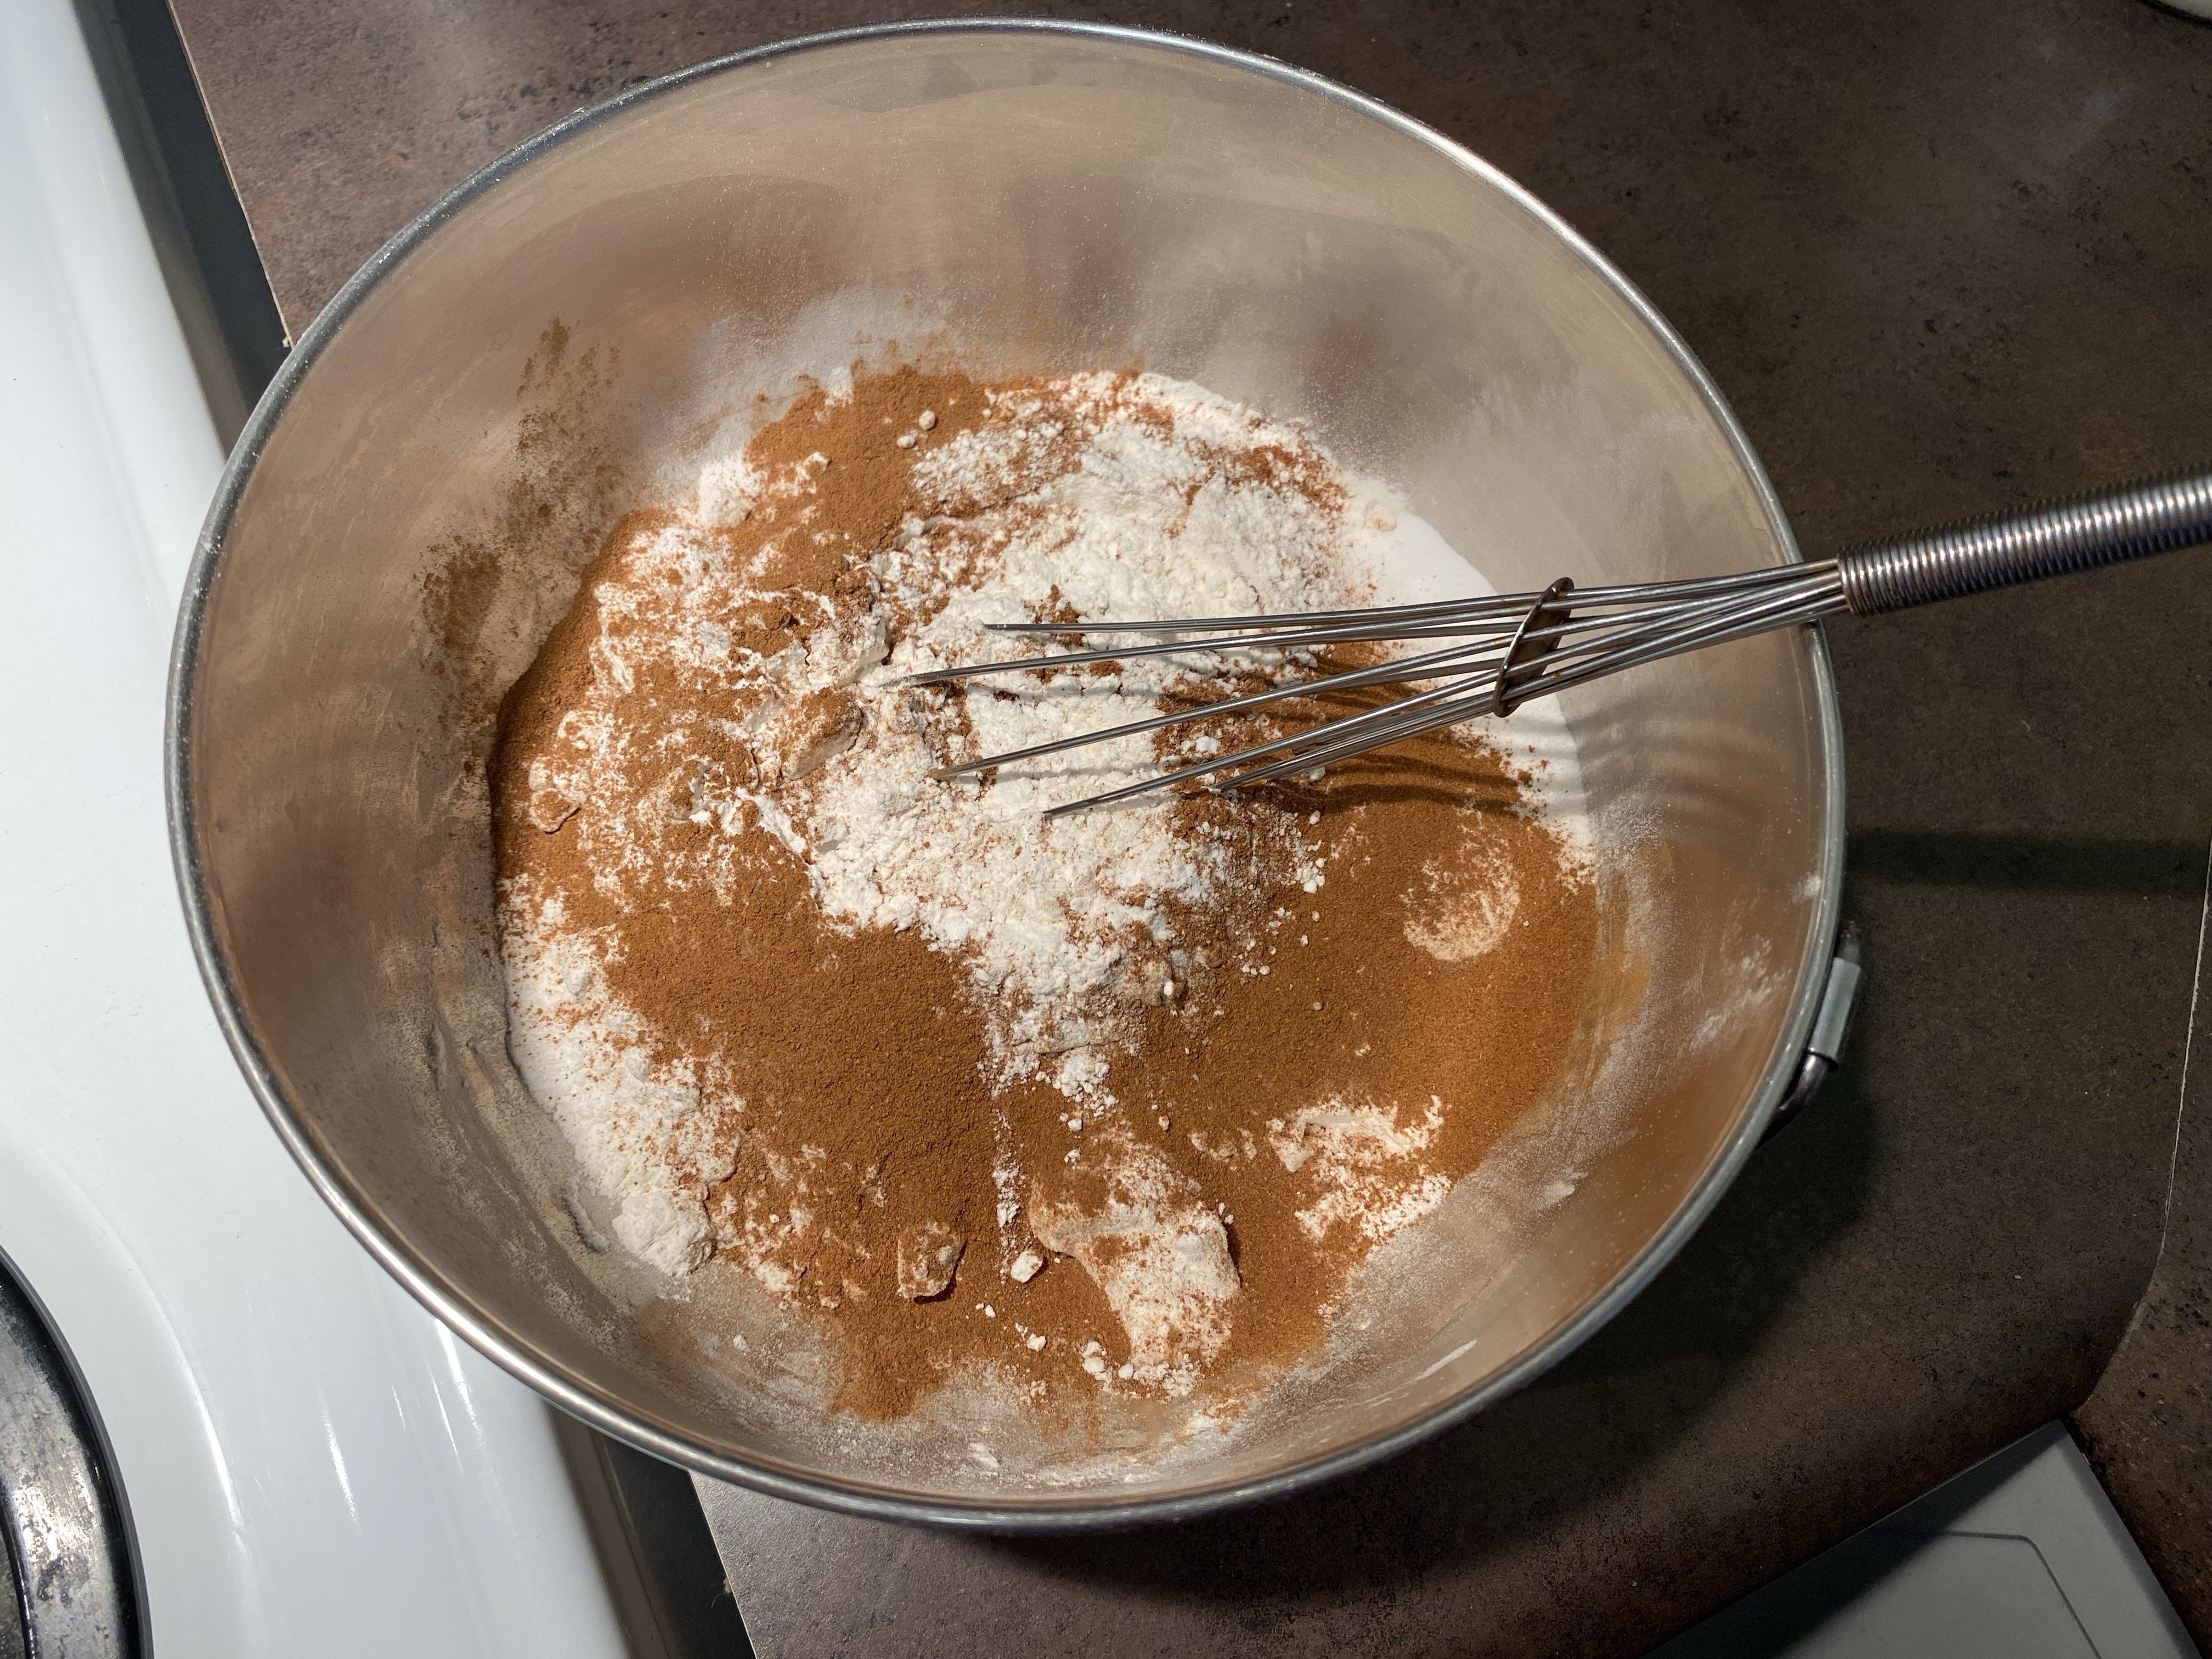
Dry Mix:
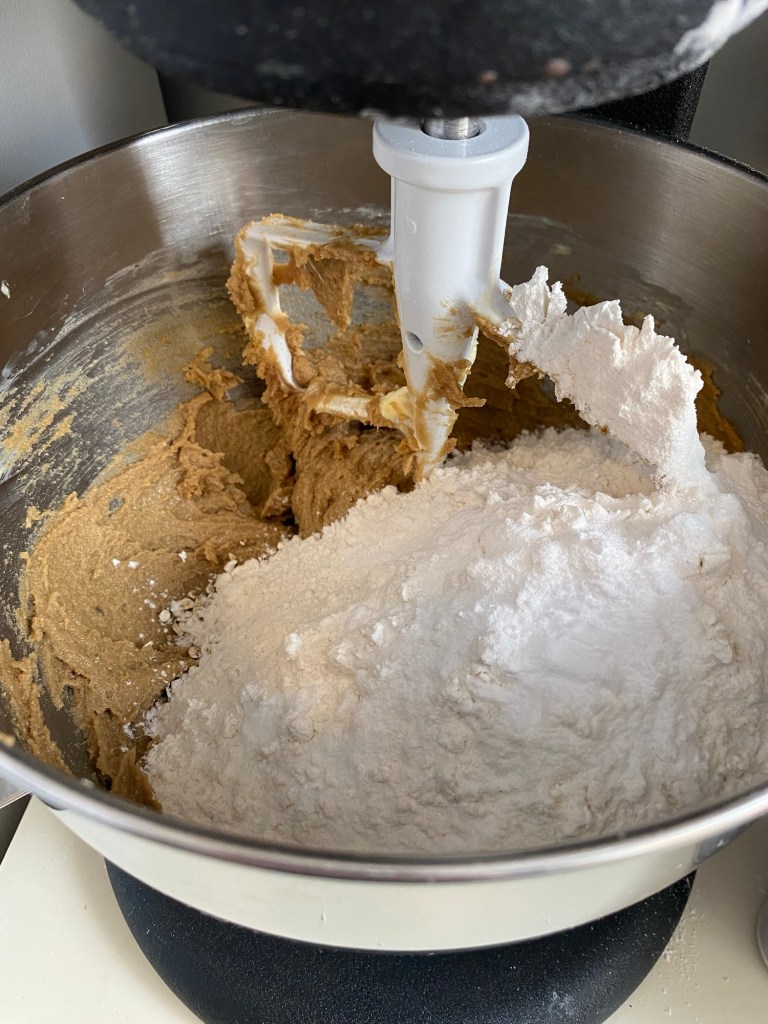
- 2 cups of all purpose flour
- 1 teaspoon baking soda
- 2 teaspoons baking powder
- 1 teaspoon sea salt
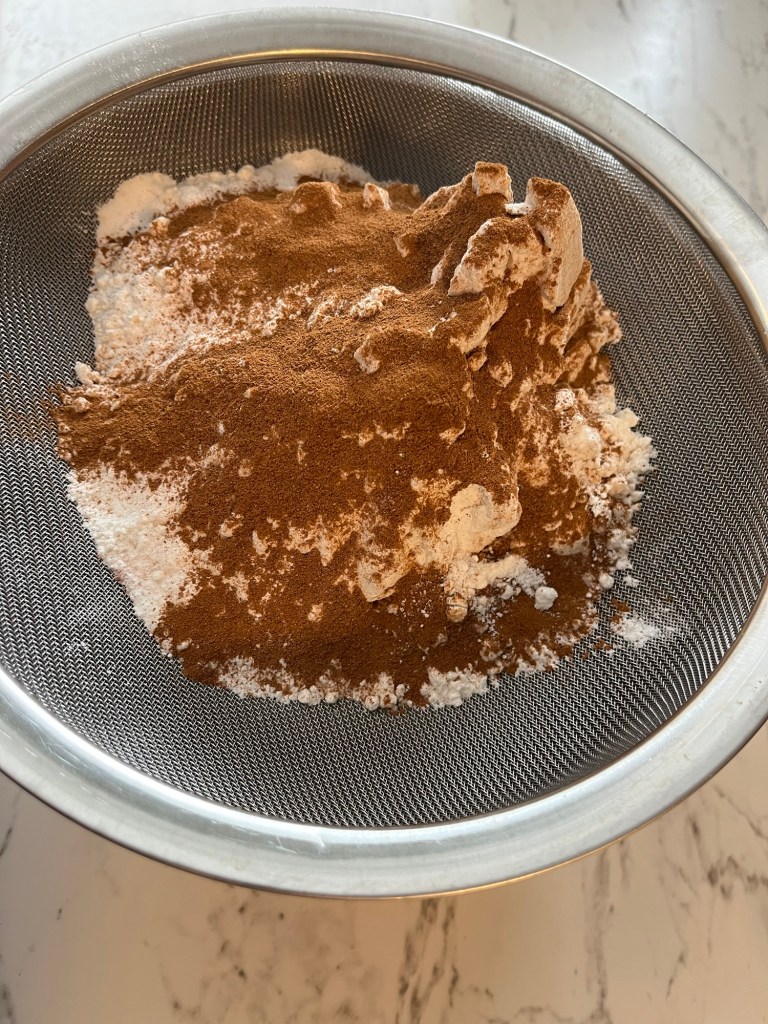
- 2 teaspoons cinnamon
Topping:
- 1/4 cup butter, melted
- 1/2 cup brown sugar
- 1/4 cup all purpose flour
- 1 teaspoon cinnamon
Directions:
1. Preheat oven to 425℉.
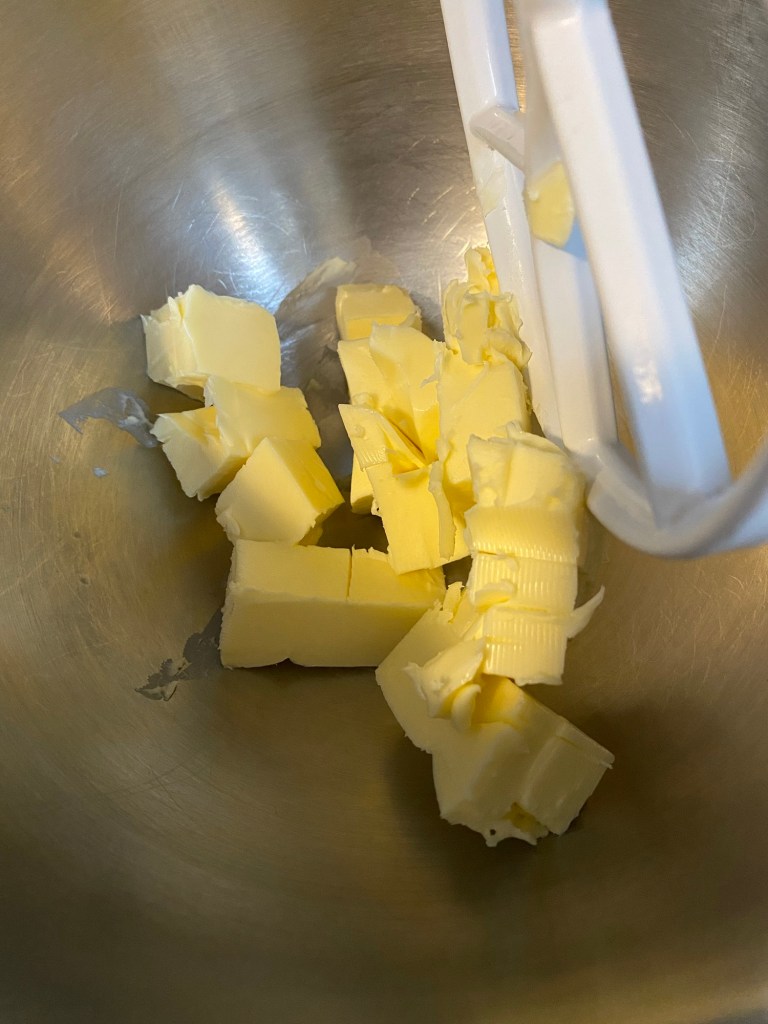
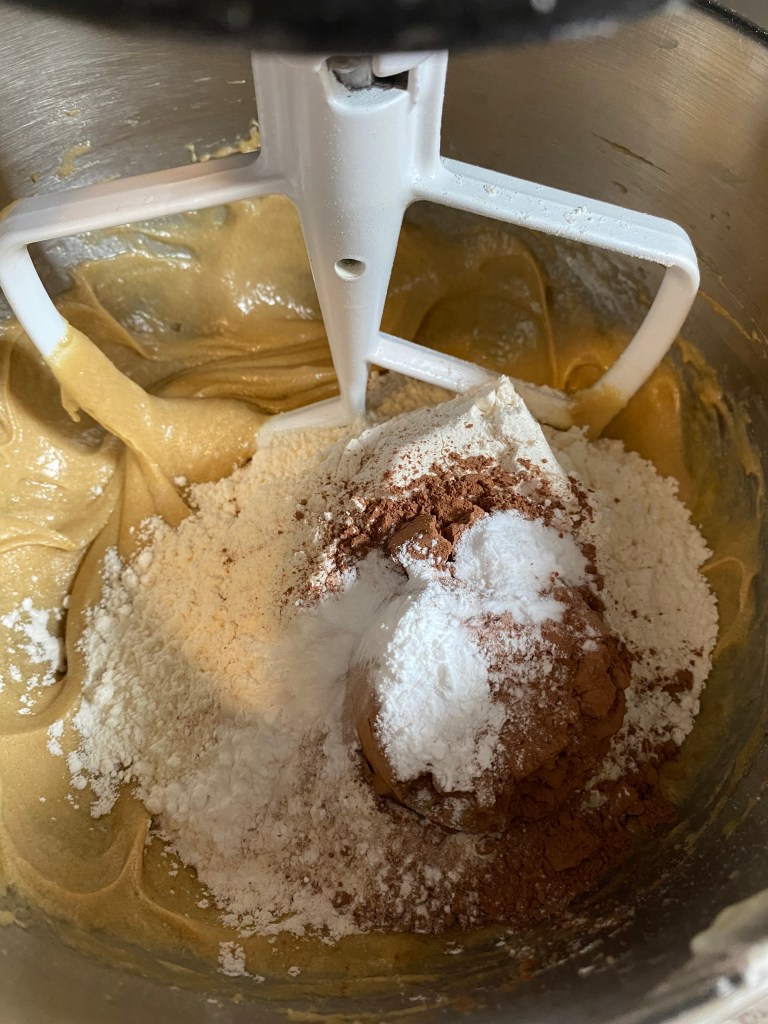
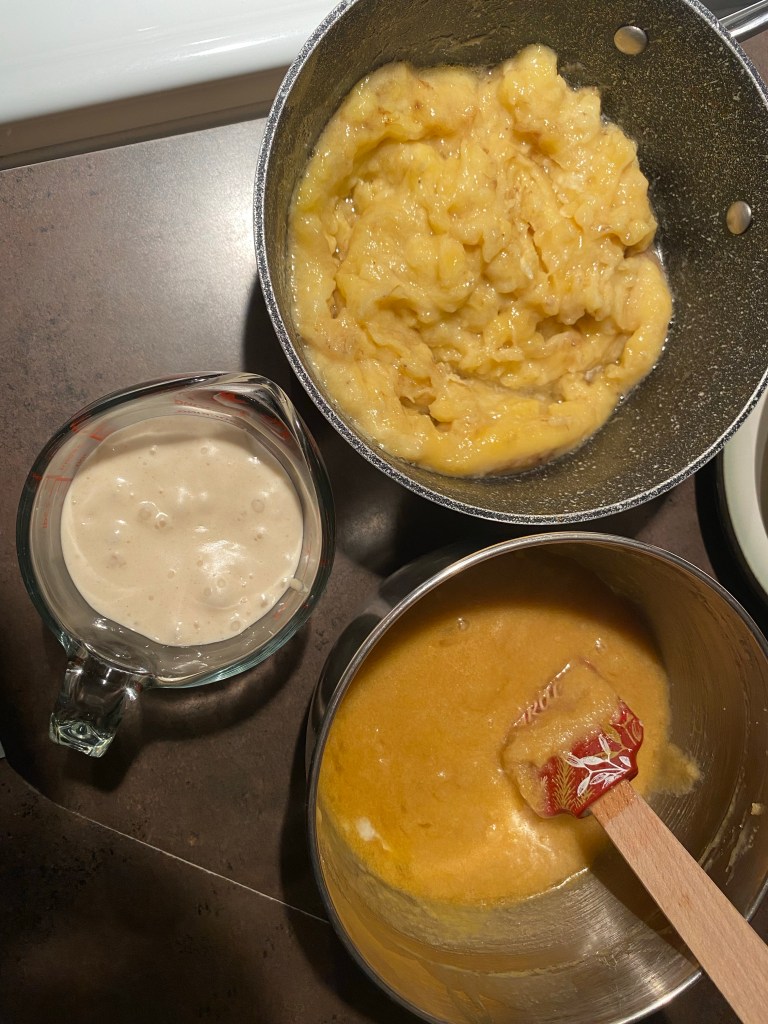
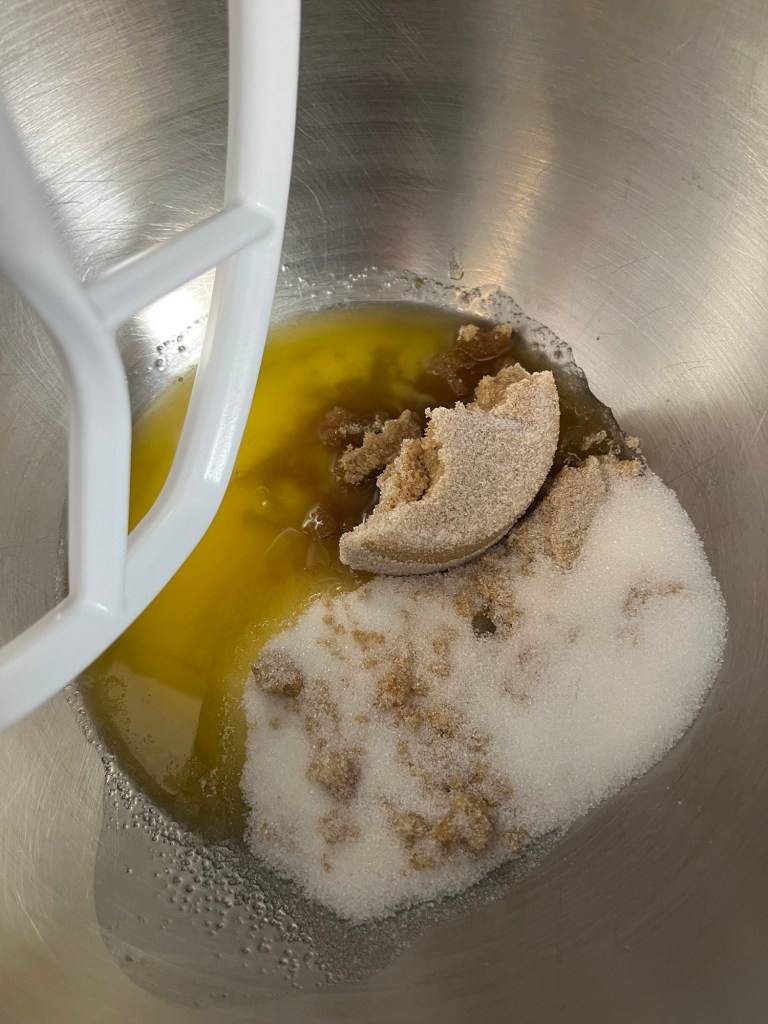
2. In a large bowl, cream the butter and sugars together. Add the eggs, vanilla and sourdough discard and mix well.

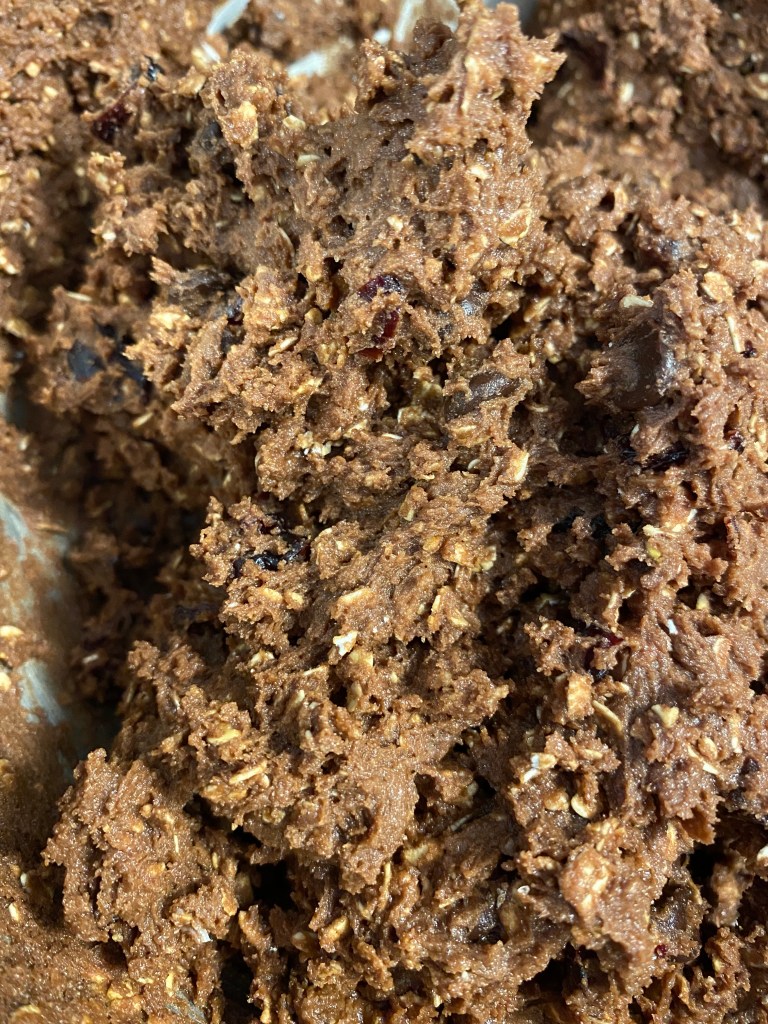
3. Peel the apples and grate about 2 cups. Add to the wet mix and stir well.
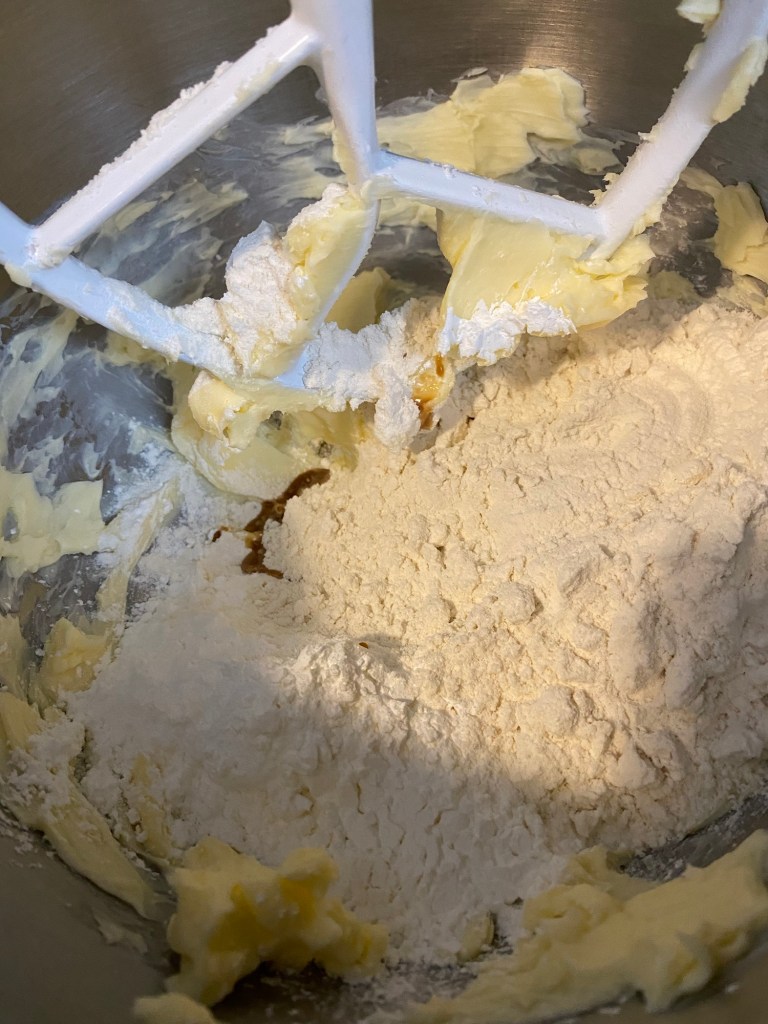
4. In a separate bowl, sift together the flour, baking soda, baking powder, sea salt and cinnamon.
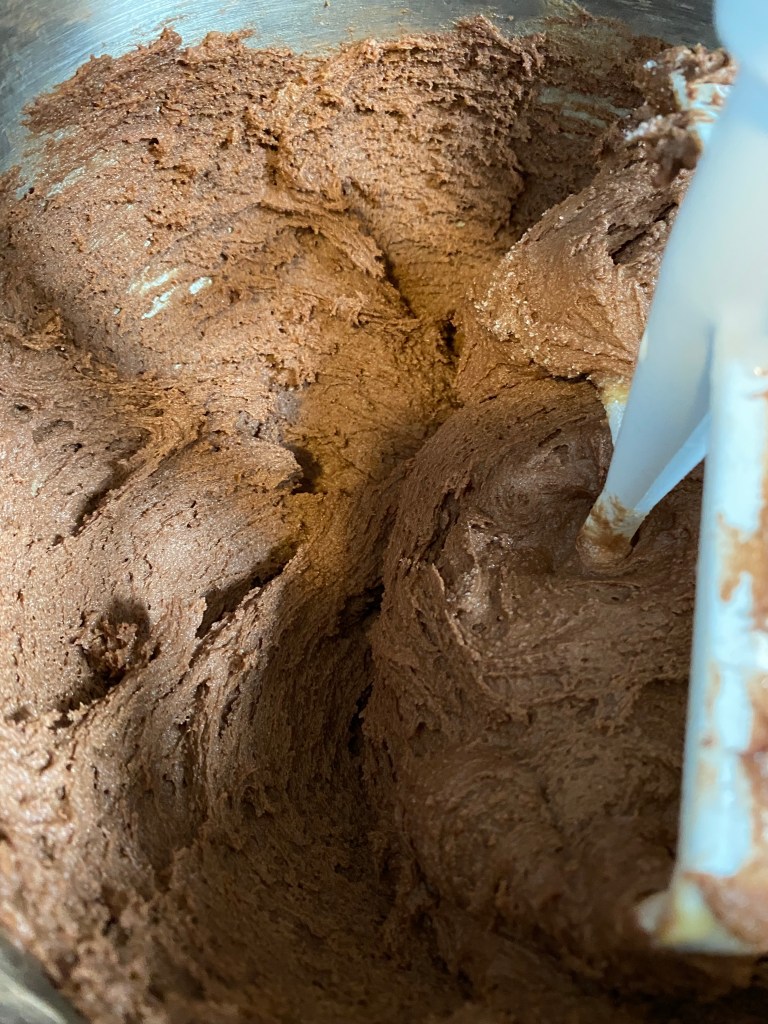
5. Add to the wet mix and mix together just enough so it is all combined. Try not to overmix as this will make the muffins less fluffy.

6. Grease muffin pans or use muffin cups. (I like using our silicone muffin cups, or just greasing our muffin pans with coconut oil!)
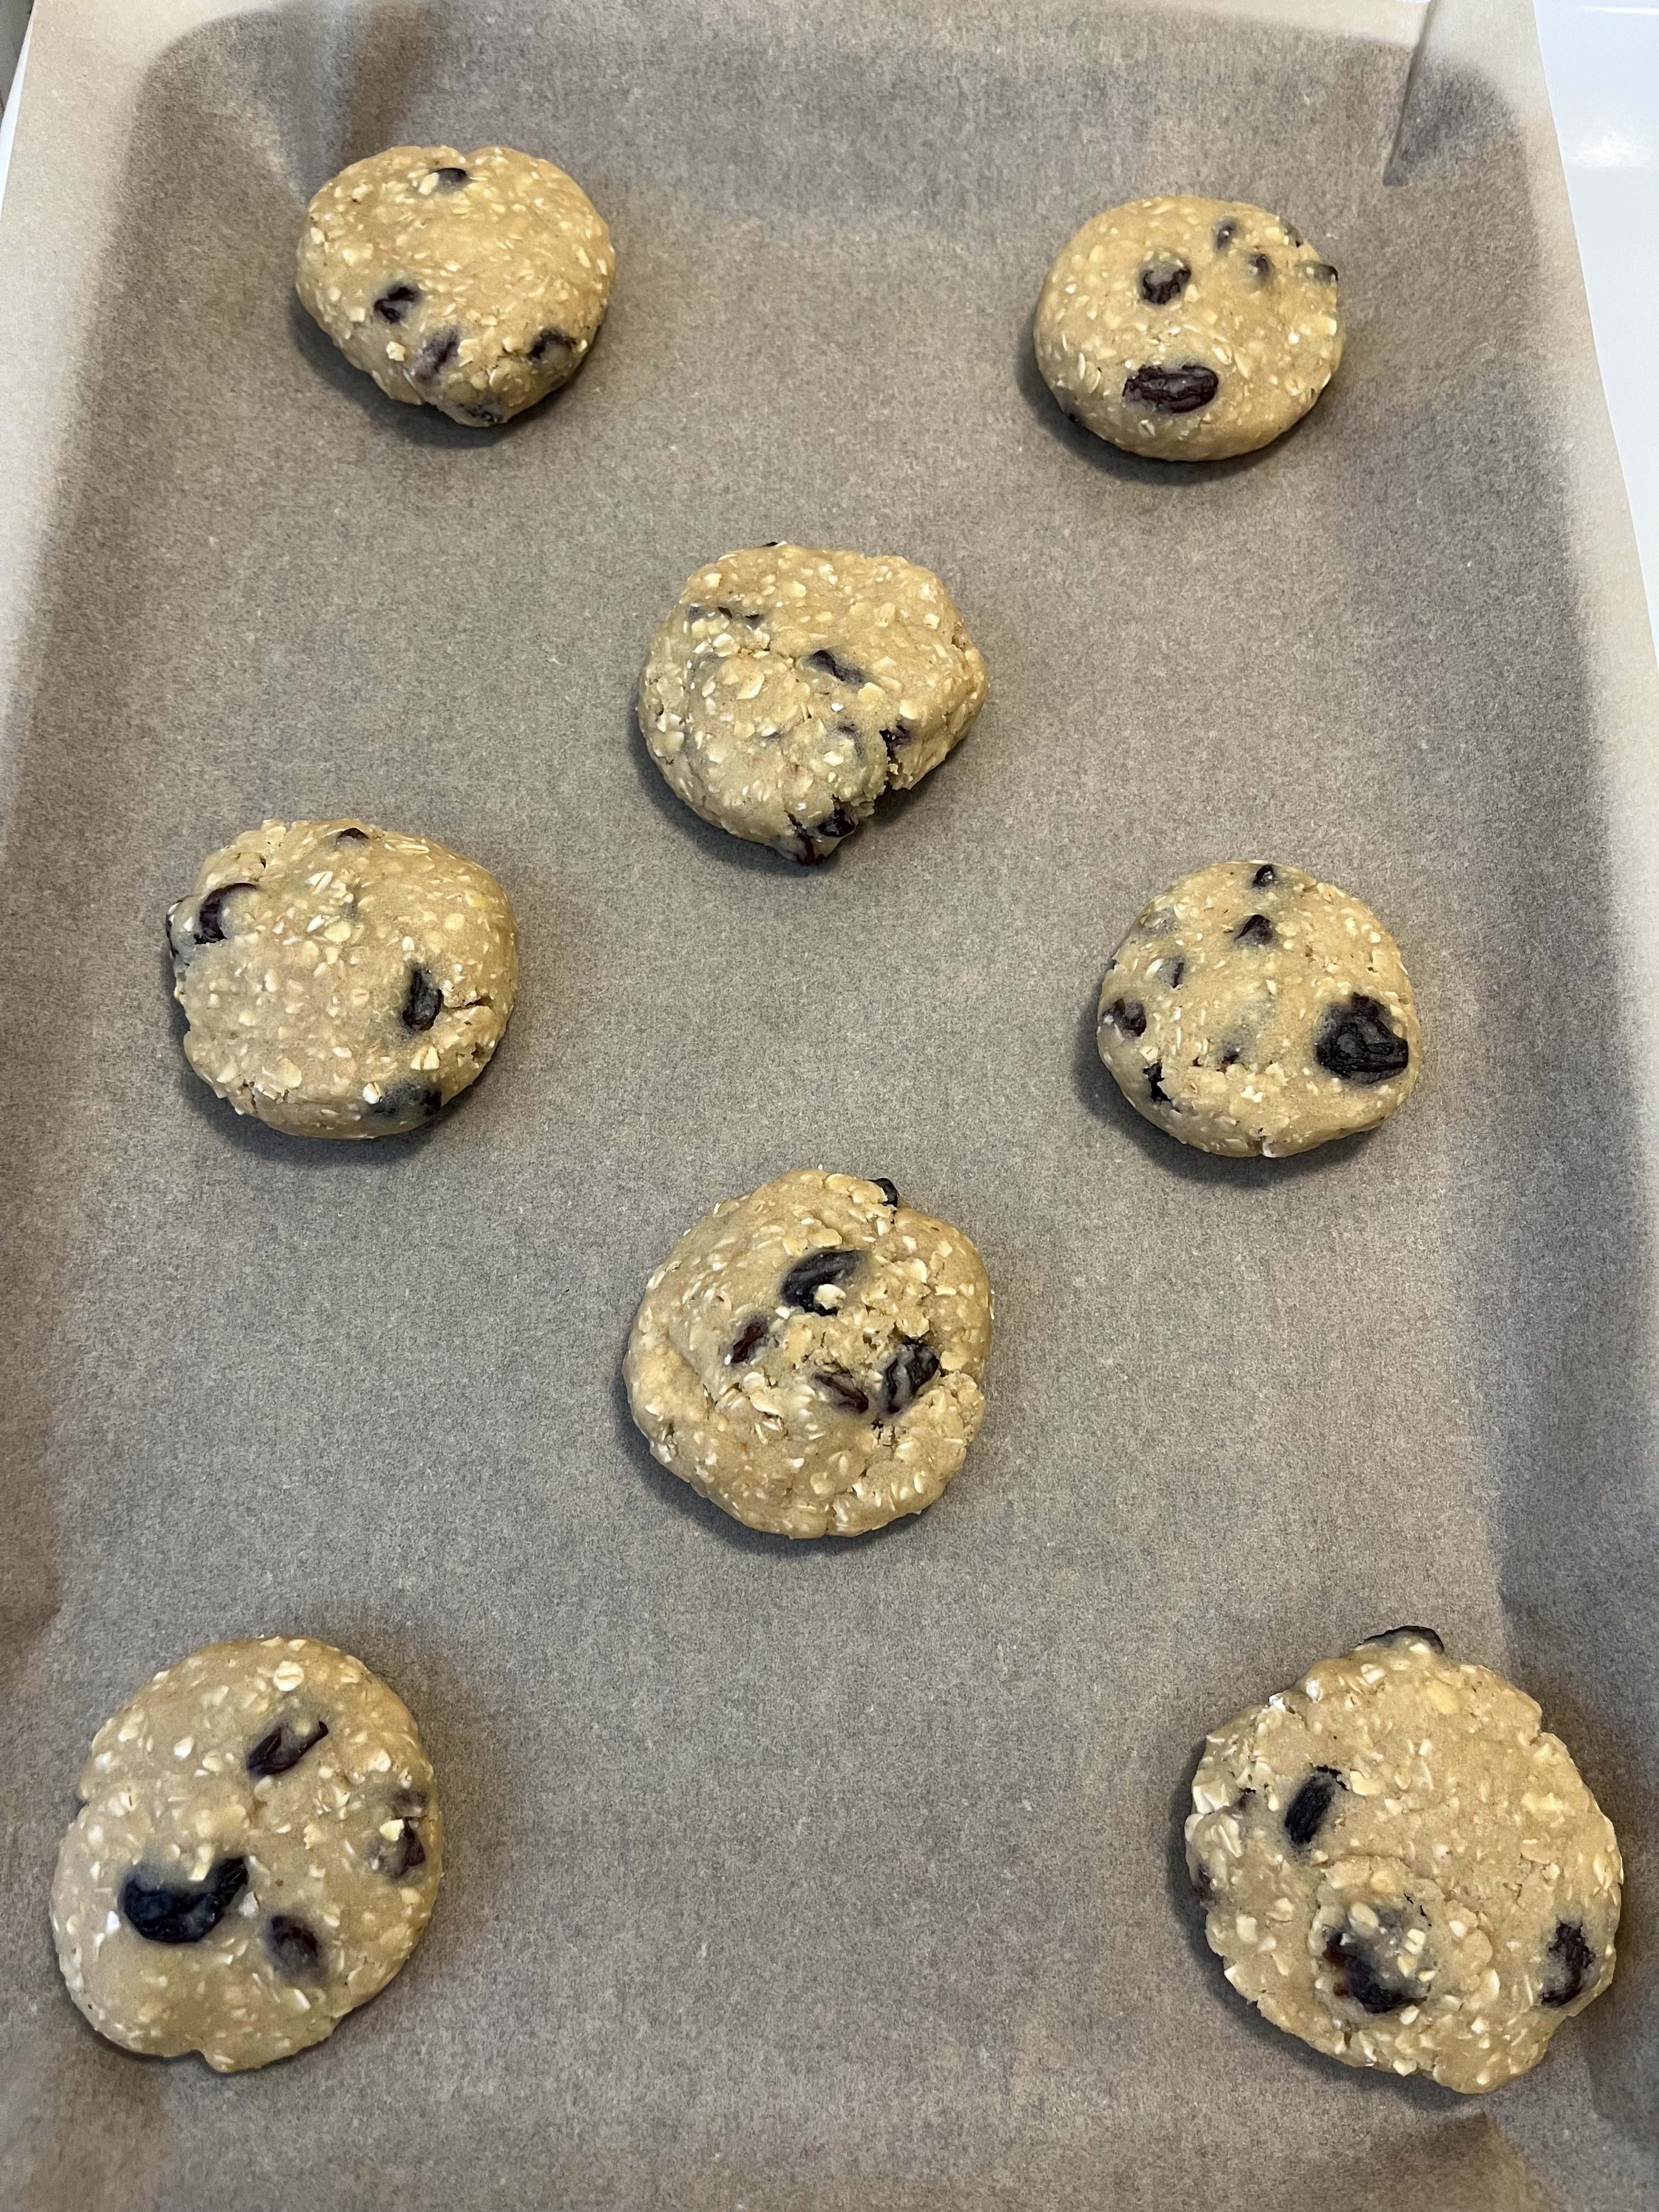
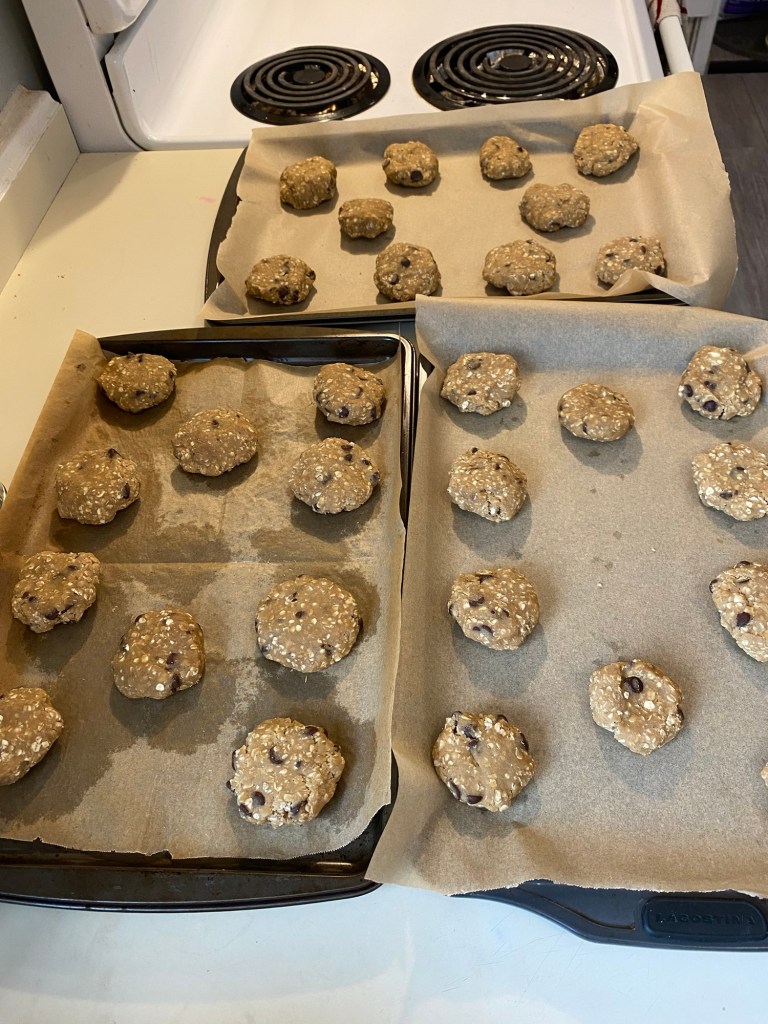
7. Fill muffin cups 3/4 full. (I use a spoon to plop it in!)

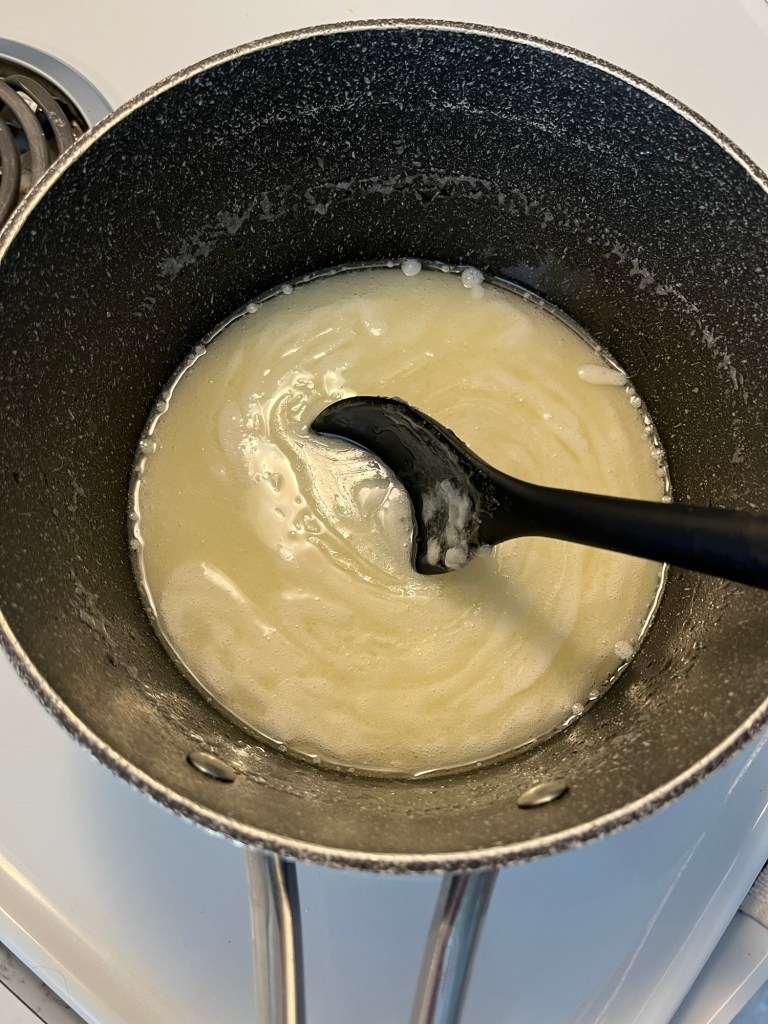
8. For the topping, mix together in a small mug or bowl: melted butter, brown sugar, flour and cinnamon.
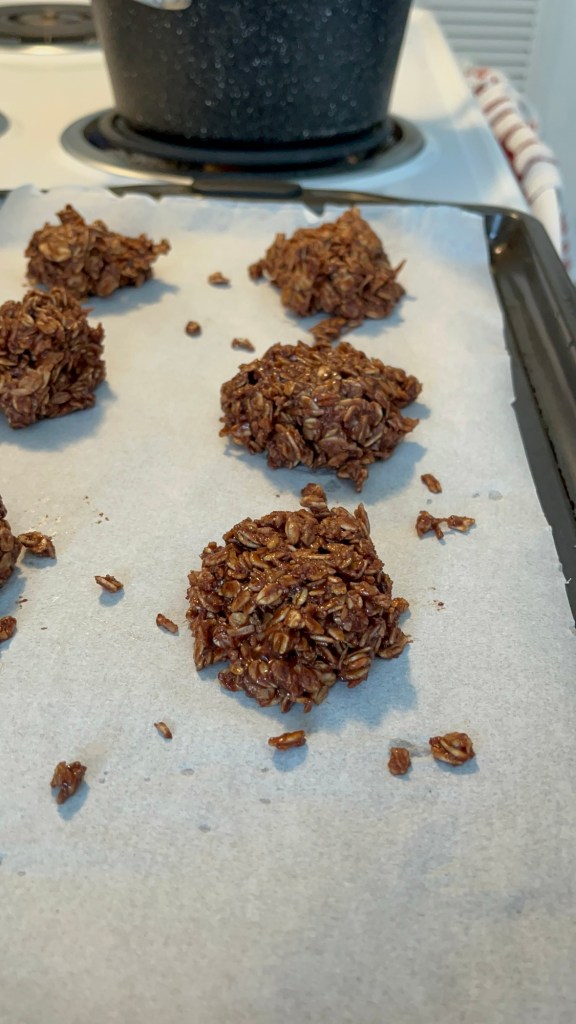
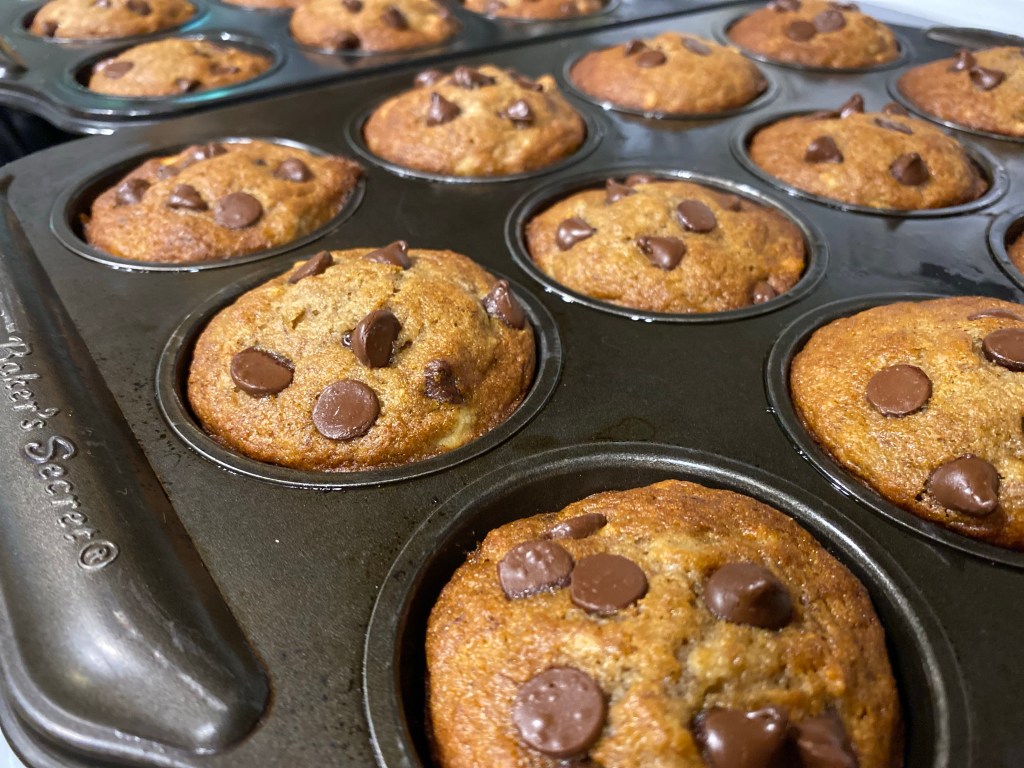
9. In approximately 1 teaspoon amounts, spread the topping onto the muffins (it will continue to “ooze” a bit while baking).


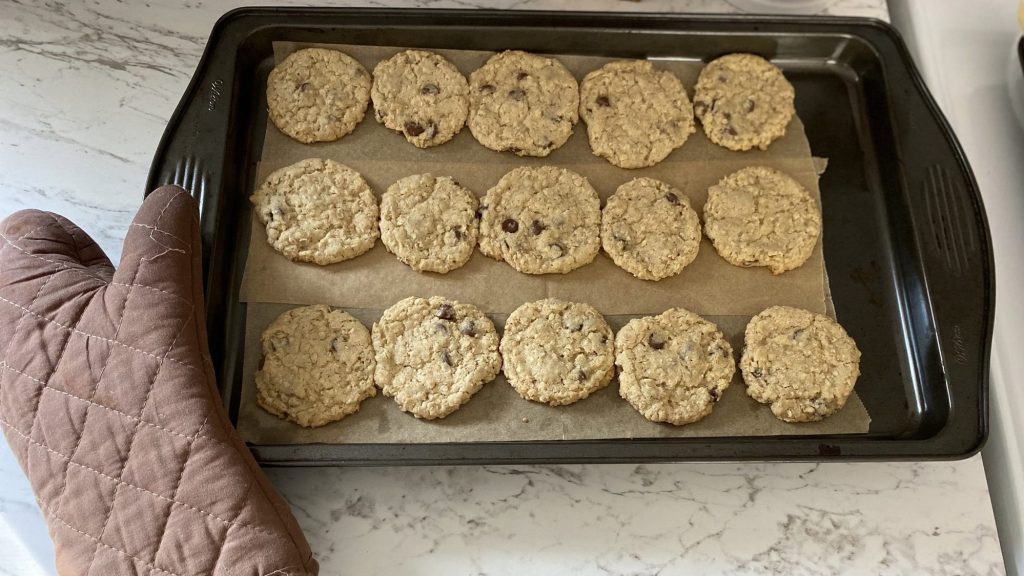
10. Bake at 425℉ for 5 minutes, then (keeping muffins in the oven) turn the temperature down to 350℉, and bake for another 12-15 minutes (for medium sized muffins). Muffins will be firm to the touch, and a toothpick comes out clean when inserted.
11. Let muffins cool in the pan for 5 minutes before transferring to a wire rack.
12. Store in a sealed container at room temperature for up to 3 days, refrigerate for 1 week, or freeze in a sealed freezer bag for up to 6 months.

Additional note: This recipe usually makes about 24 muffins. Whenever I make muffins, I usually freeze half of them and use up within a few months. Freeze in a freezer-ziploc bag, remove air. When ready to eat, thaw gently in the oven or microwave to freshen up!
Made this Recipe?
I’d LOVE to see your results!! Feel free to post to your social media account and tag Northbird using one of the links below or post in the comments!

More Desert & Snack Recipes:


Hi, I’m Jessie!
I’m a Wife and Homeschooling Mom living in a remote town in Northern Ontario, Canada. I love making wholesome meals for my family from scratch, homeschooling our girls and learning more about natural living.
Read more about my story HERE.
Other Tasty Sourdough Recipes to Check Out!


Subscribe to Northbird’s email list to get weekly posts on: tasty recipes, activity ideas for kids, natural living tips, and some genuine mom thoughts and encouragement!
Recent posts from Northbird:


Apple Streusel Sourdough Muffins
Soft, moist, and with a delicious butter-sugar topping, this Apple Streusel Sourdough Muffin recipe is a favourite in our home!
By Jessica Burman © 2024 The Northbird Blog http://www.thenorthbirdblog.com
Ingredients
Wet Mix:
- 1/2 cup melted butter
- 1/2 cup white sugar
- 1/2 cup brown sugar
- 2 eggs
- 1/2 teaspoon vanilla
- 1/2-1 cup sourdough discard
- 2 cups peeled & grated apple (about 3-4 med size apples)
Dry Mix:
- 2 cups of all purpose flour
- 1 teaspoon baking soda
- 2 teaspoons baking powder
- 1 teaspoon sea salt
- 2 teaspoons cinnamon
Topping:
- 1/4 cup butter, melted
- 1/2 cup brown sugar
- 1/4 cup all purpose flour
- 1 teaspoon cinnamon
Directions:
- Preheat oven to 425℉.
- In a large bowl, cream the butter and sugars together. Add the eggs, vanilla and sourdough discard and mix well.
- Peel the apples and grate about 2 cups. Add to the wet mix and stir well.
- In a separate bowl, sift together the flour, baking soda, baking powder, sea salt and cinnamon.
- Add to the wet mix and mix together just enough so it is all combined. Try not to overmix as this will make the muffins less fluffy.
- Grease muffin pans or use muffin cups. (I like using our silicone muffin cups, or just greasing our muffin pans with coconut oil!)
- Fill muffin cups 3/4 full. (I use a spoon to plop it in!)
- For the topping, mix together in a small mug or bowl: melted butter, brown sugar, flour and cinnamon.
- In approximately 1 teaspoon amounts, spread the topping onto the muffins (it will continue to “ooze” a bit while baking).
- Bake at 425℉ for 5 minutes, then (keeping muffins in the oven) turn the temperature down to 350℉, and bake for another 12-15 minutes (for medium sized muffins). Muffins will be firm to the touch, and a toothpick comes out clean when inserted.
- Let muffins cool in the pan for 5 minutes before transferring to a wire rack.
- Store in a sealed container at room temperature for up to 3 days, refrigerate for 1 week, or freeze in a sealed freezer bag for up to 6 months.
Additional Notes:
This recipe usually makes about 24 muffins. Whenever I make muffins, I usually freeze half of them and use up within a few months. Freeze in a freezer-ziploc bag, remove air. When ready to eat, thaw gently in the oven or microwave to freshen up!Nutrition
Per 1 muffin: 200 calories; 6.9 g fat; 36.9 g carbohydrates;
2.6 g protein.

This post contains affiliate links. As an Amazon associate, I earn from qualifying purchases. This means that I make a small commission at no extra cost to you. You can read my full disclosure HERE.