Find Northbird on social media:
This post contains affiliate links. As an Amazon associate, I earn from qualifying purchases. This means that I make a small commission at no extra cost to you. You can read my full disclosure HERE.
Jump to Recipe Card (shelf-stable version)

About This Recipe…
I love cooking with dried legumes and dehydrated vegetables in these winter months! One of the most comforting meals (in my opinion) is a tasty soup or stew with freshly made bread to dip in it!
There are two versions of this recipe that you can see below:
The first version is the basic soup recipe with bacon in it (which is also very tasty subbing ham or pork tenderloin chunks!). You can make it with fresh or dehydrated vegetables. Makes about 6-8 servings.
The other version has been altered to make a shelf-stable ready-to-cook soup mix, made from dehydrated vegetables (same ingredients as first recipe) and is approximately 4-6 servings.
How to Make Green Split Pea & Bacon Soup
Supplies Needed:
- Bowl for soaking split peas
- Soup pot (6-8 servings)
- Stirring spoon
- Immersion blender
- Measuring cups & teaspoons
Ingredients:
- 1 medium onion, diced
- 2 large cloves garlic, diced
- 2 tablespoons olive oil or butter
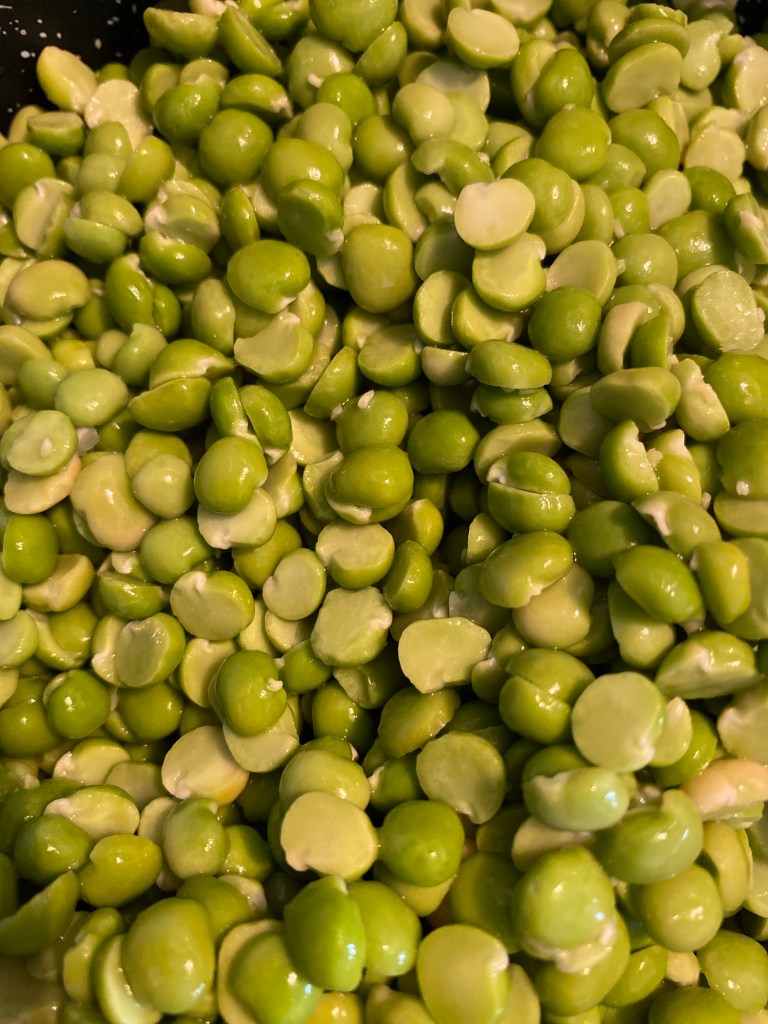
- 2 cups dry green split peas
- 8 cups water
- 2 cubes of chicken/vegetable stock
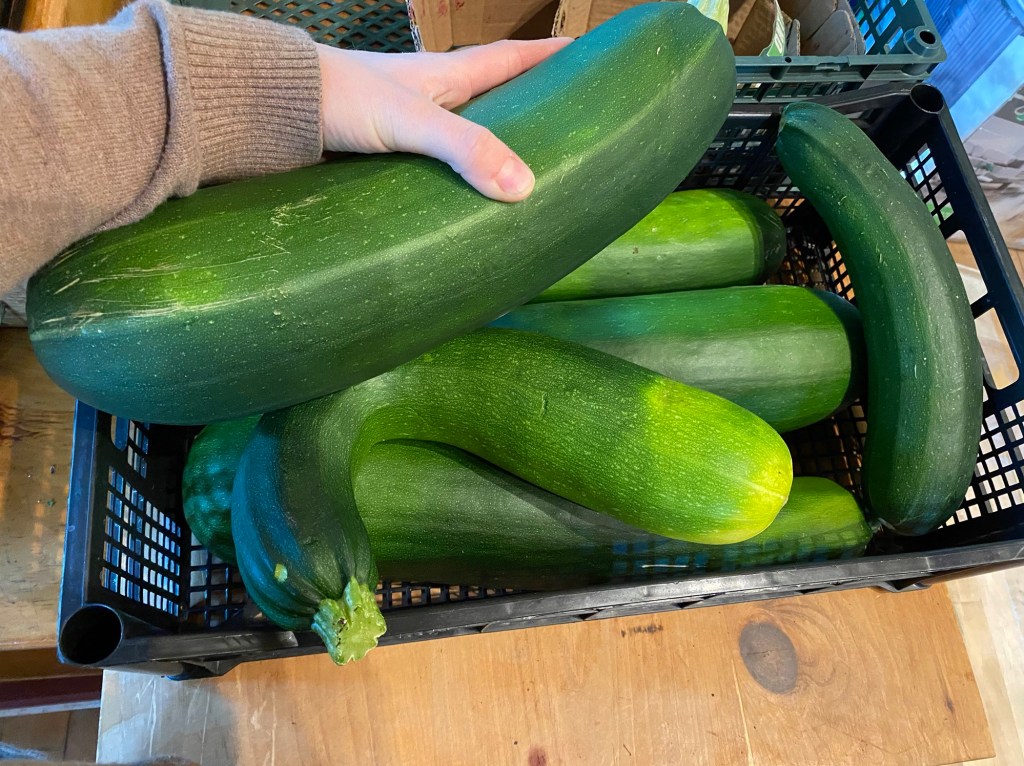
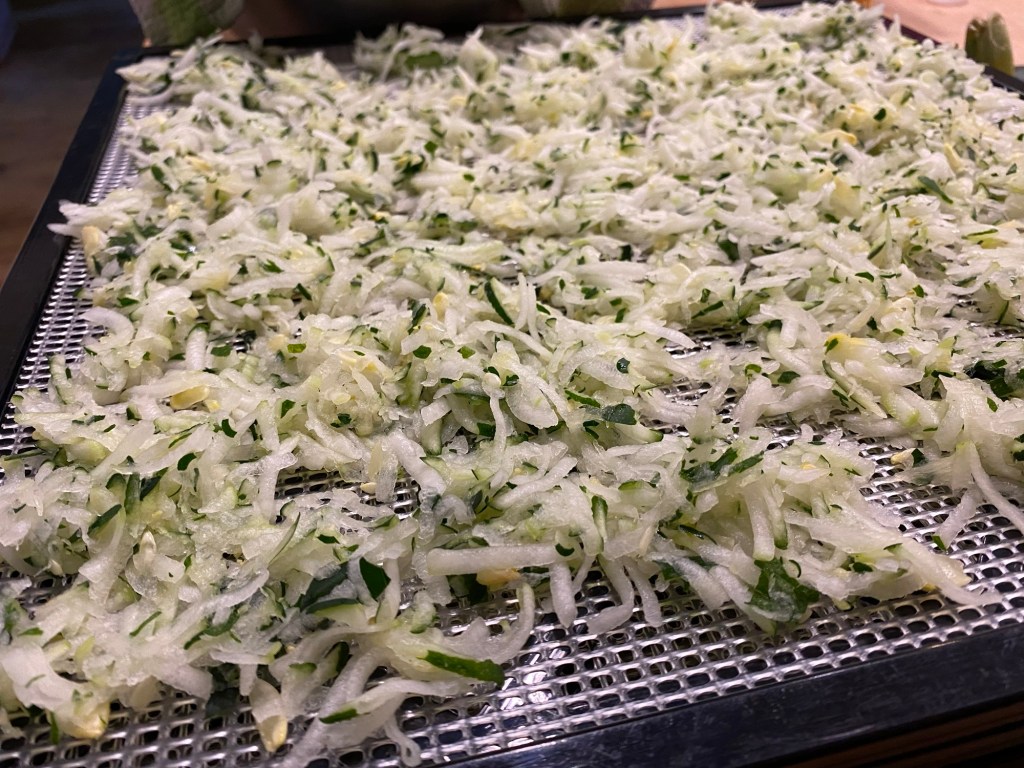
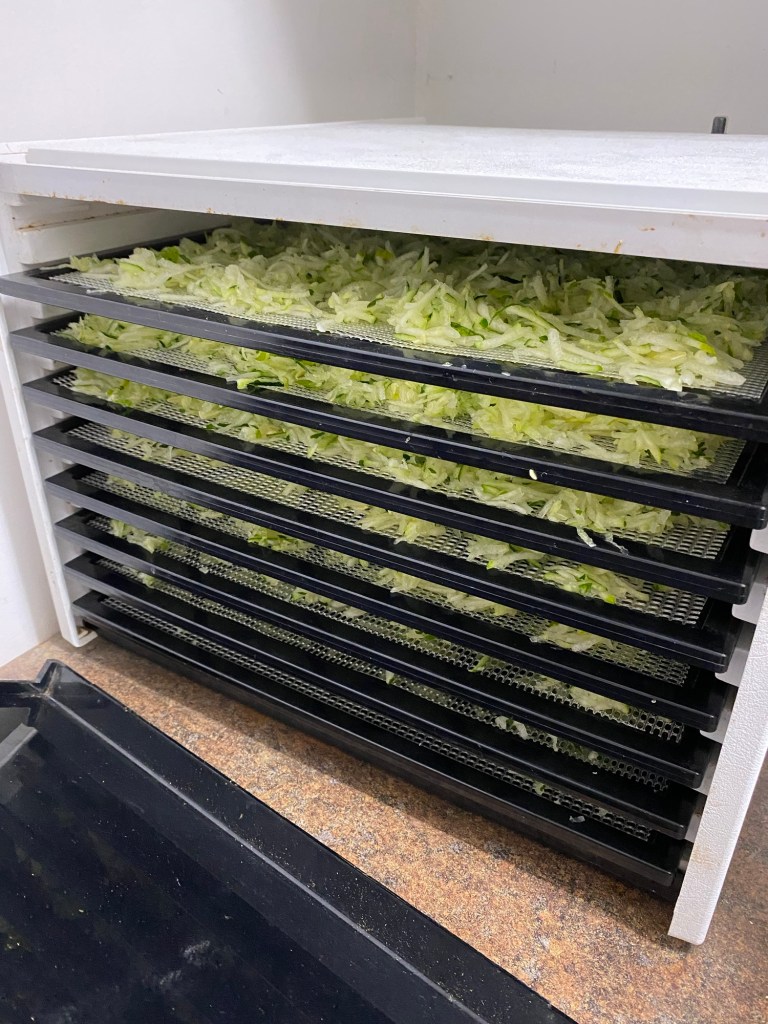
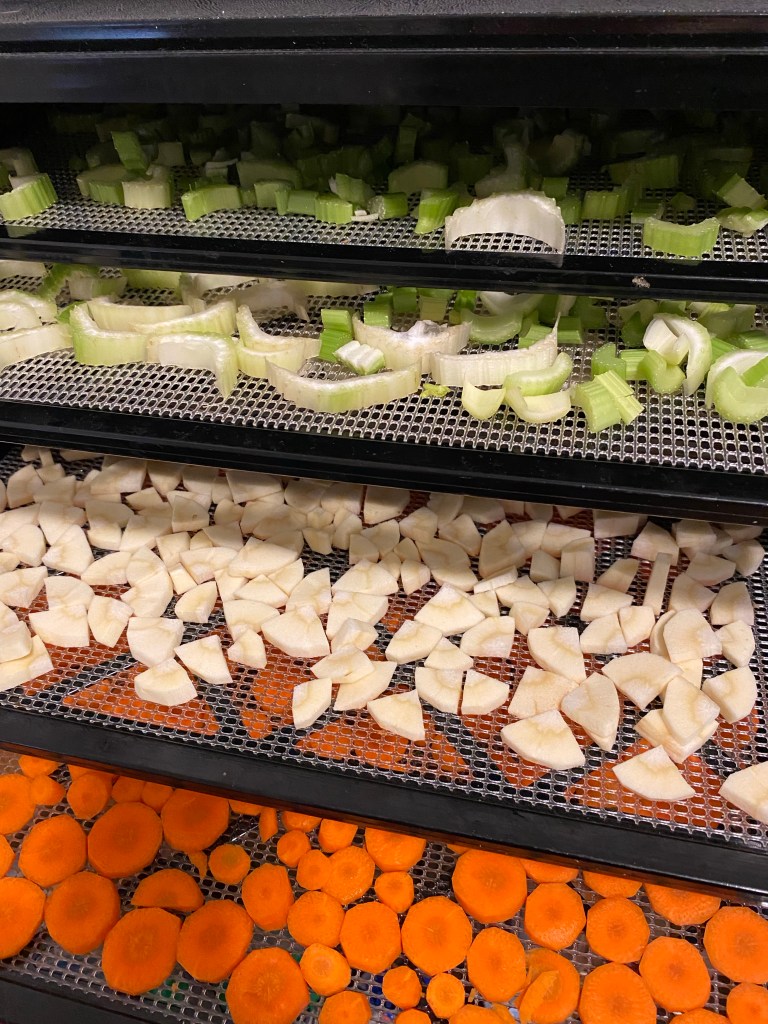
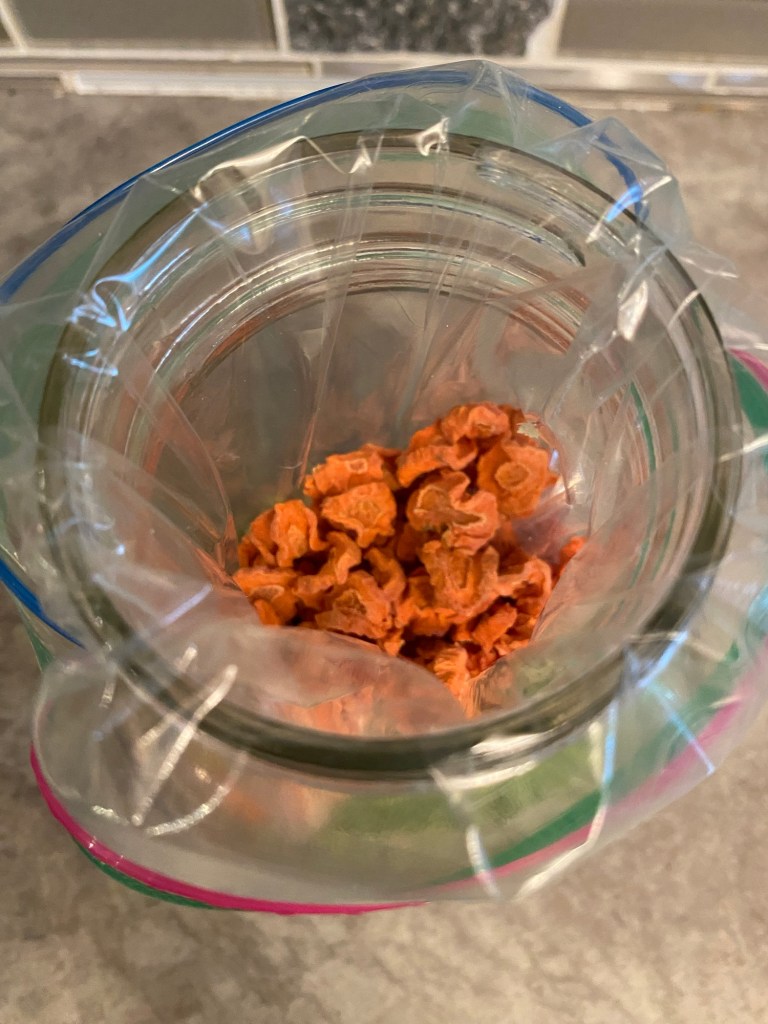
- 1 cup dried/diced carrots (or sub 2 cups fresh)
- 1 cup dried/diced parsnips (or sub 2 cups fresh)
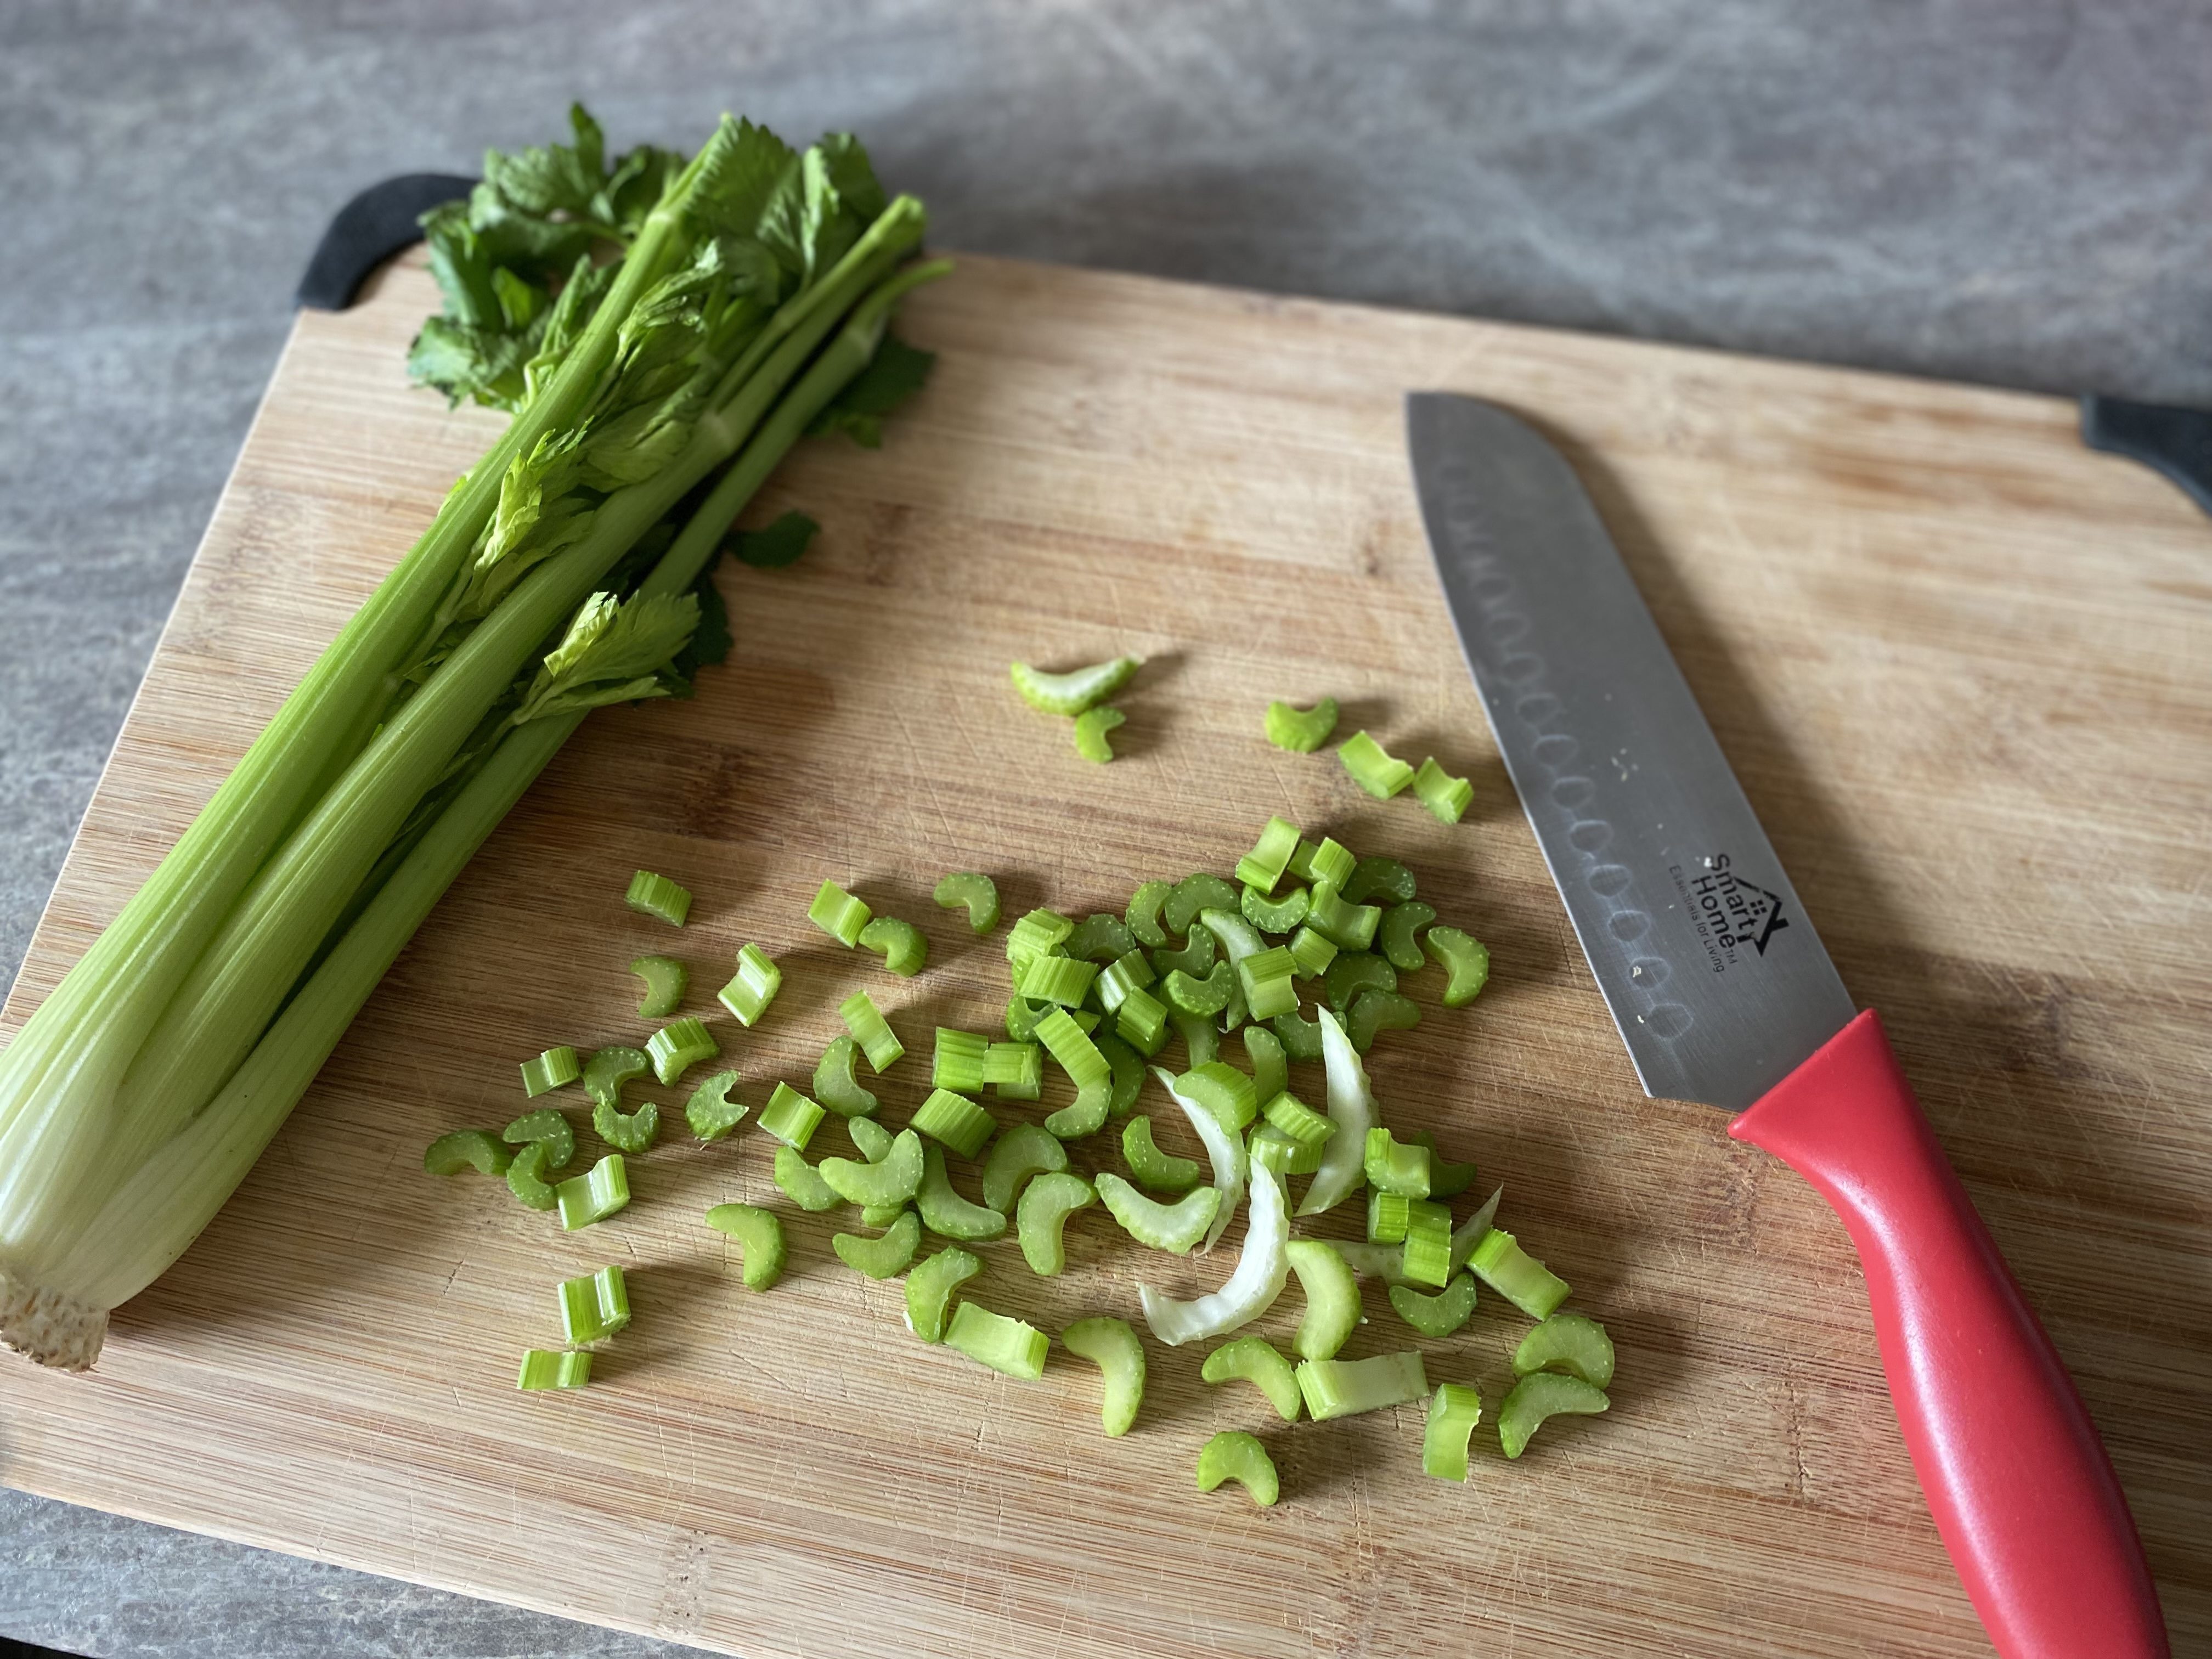
- 1/2 cup dried/diced celery (or 1 cup fresh)
- 1 teaspoon sea salt (more or less to taste–remember, there’s bacon coming!)
- 1/2 teaspoon black pepper
- 1 pound of bacon, cut into small pieces
Directions:
1. Soak dry green split peas overnight in cold water. If this step is missed, start soaking for 4-6 hours before cooking soup, so that peas can still partially sprout. Rinse well in cold water. (See below for more information on why it is so important to soak peas and legumes)
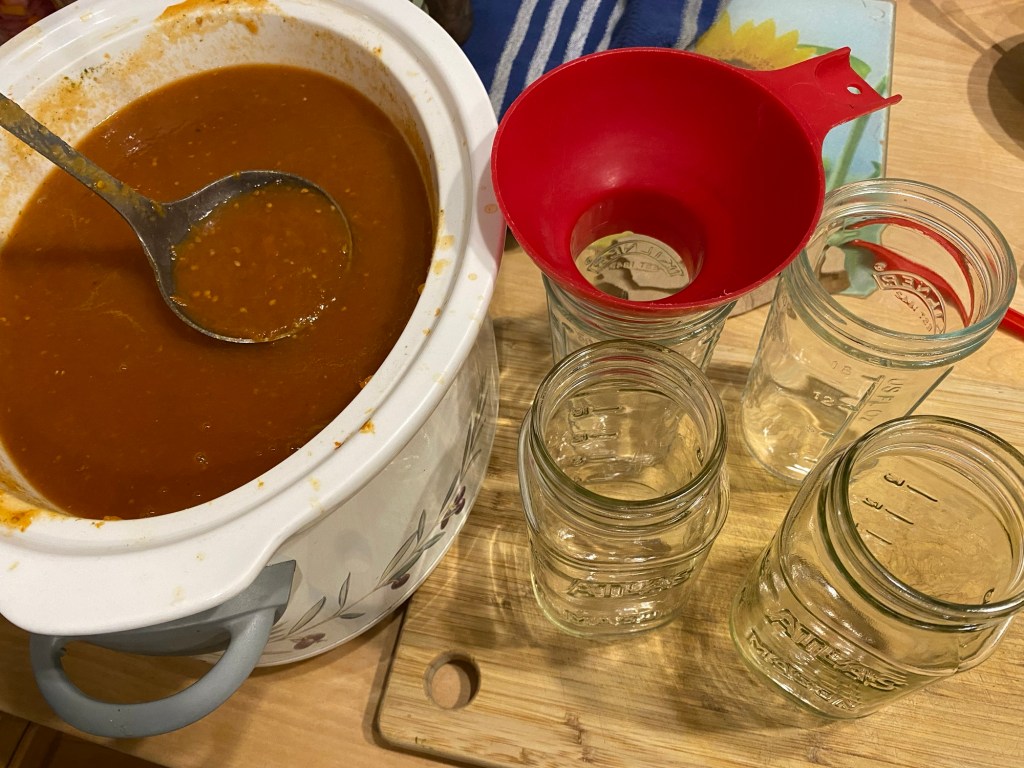
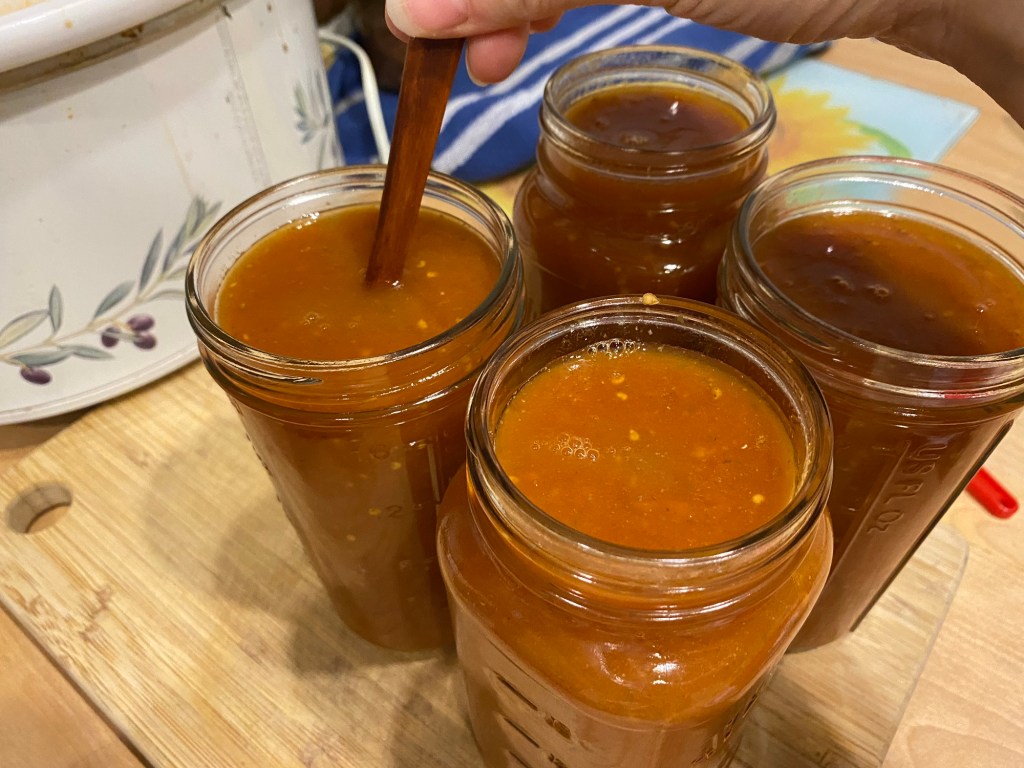
2. Saute onion and garlic with olive oil or butter in large soup pot. Add 8 cups of cold water and the rest of the ingredients.
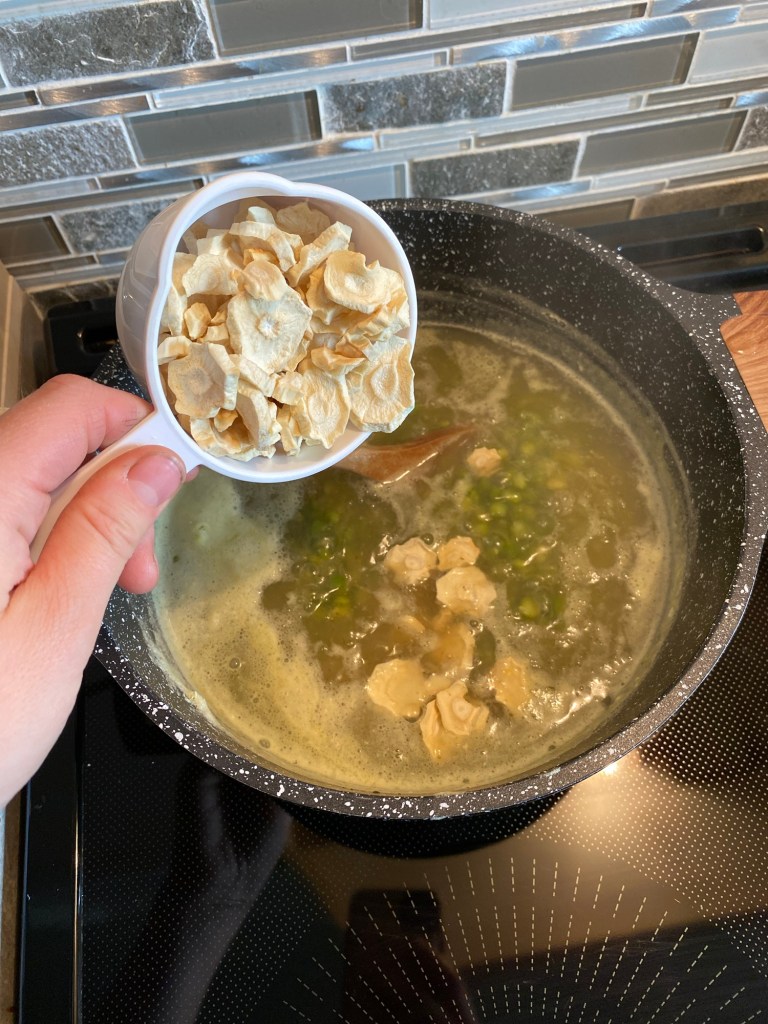

3. Bring to boil, then reduce to simmer on medium for 1-2 hours until all vegetables are soft and tender, stirring occasionally.
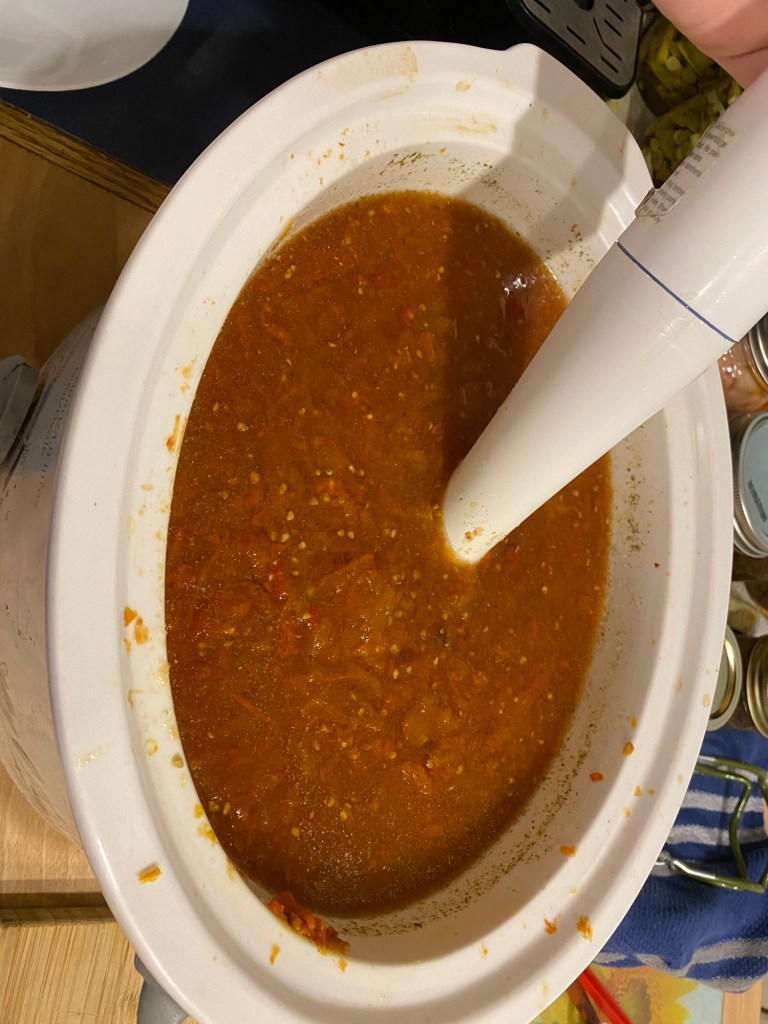
4. I like to use the immersion blender at this point to puree some of the soup but leave a few chunks in.
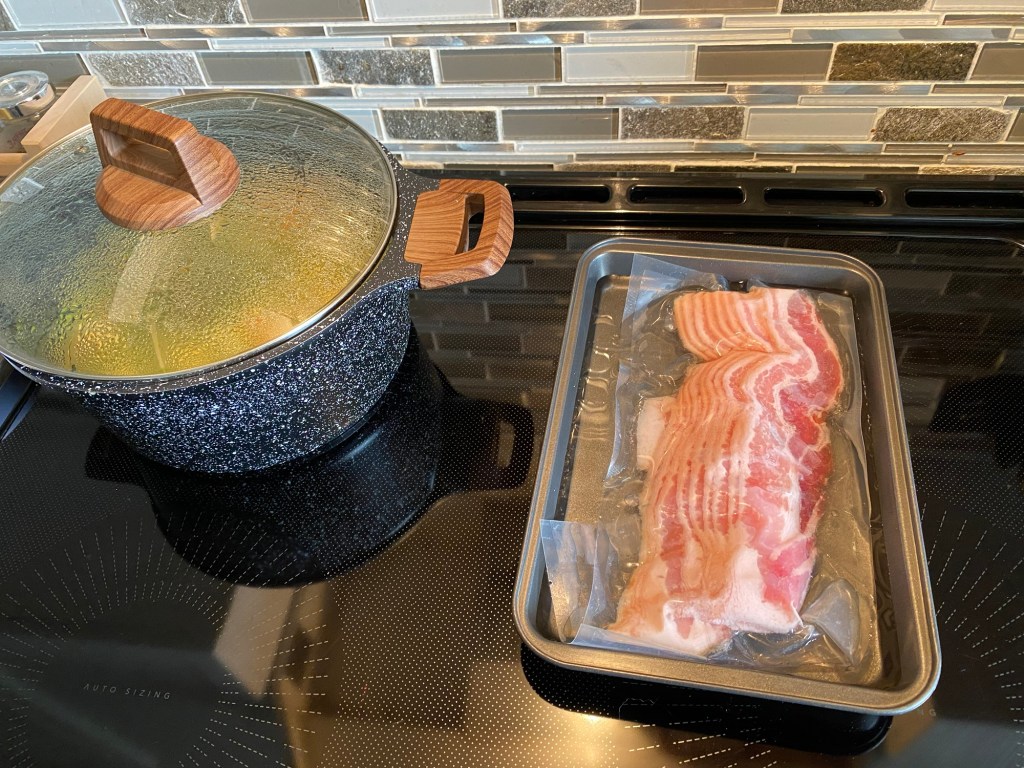
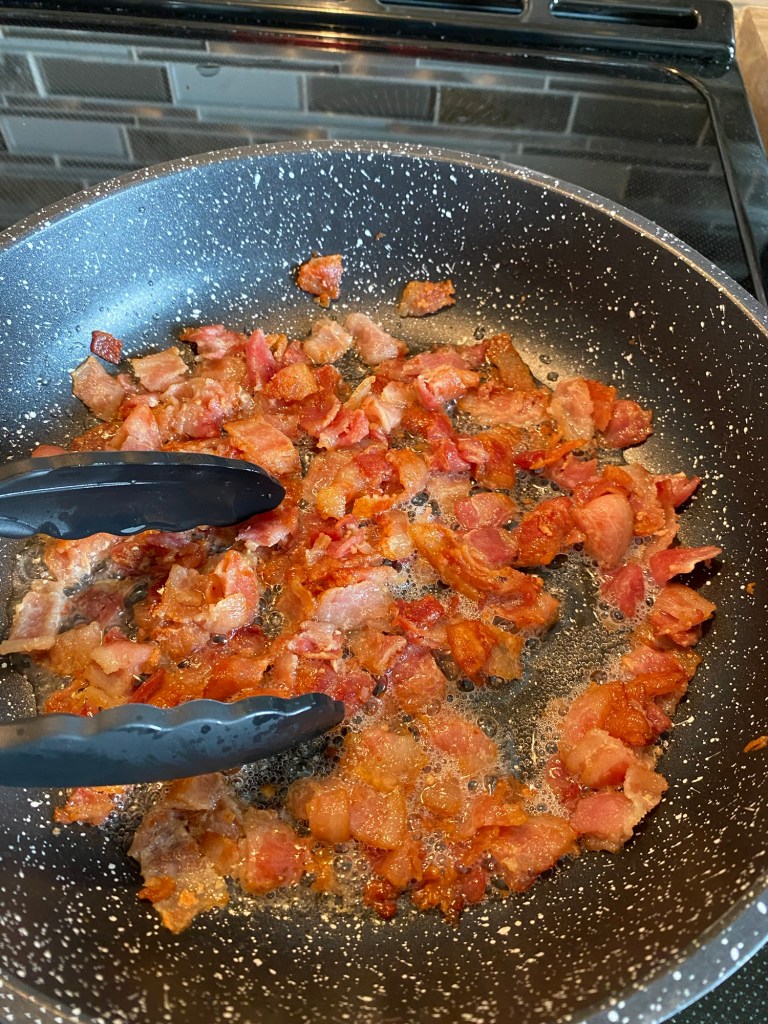
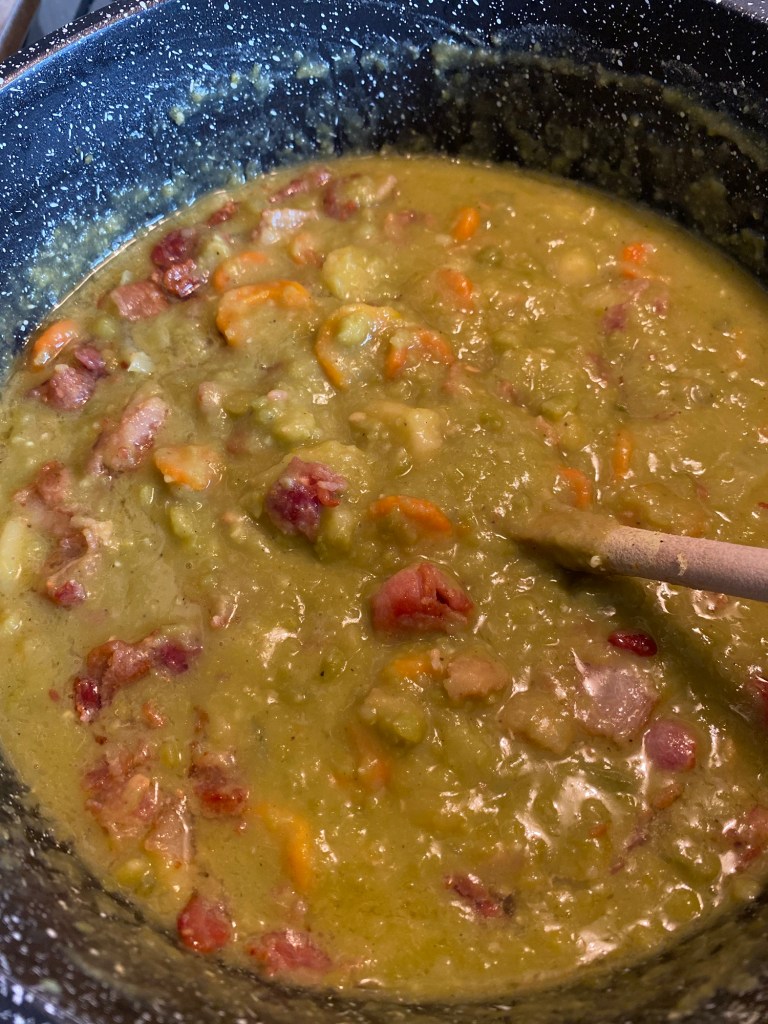
5. When soup is nearly done, cut bacon into small pieces and fry in separate pan until cooked through. (I use kitchen scissors, only reserved for cutting bacon!) Add to soup, along with a little tasty bacon grease (if desired!).
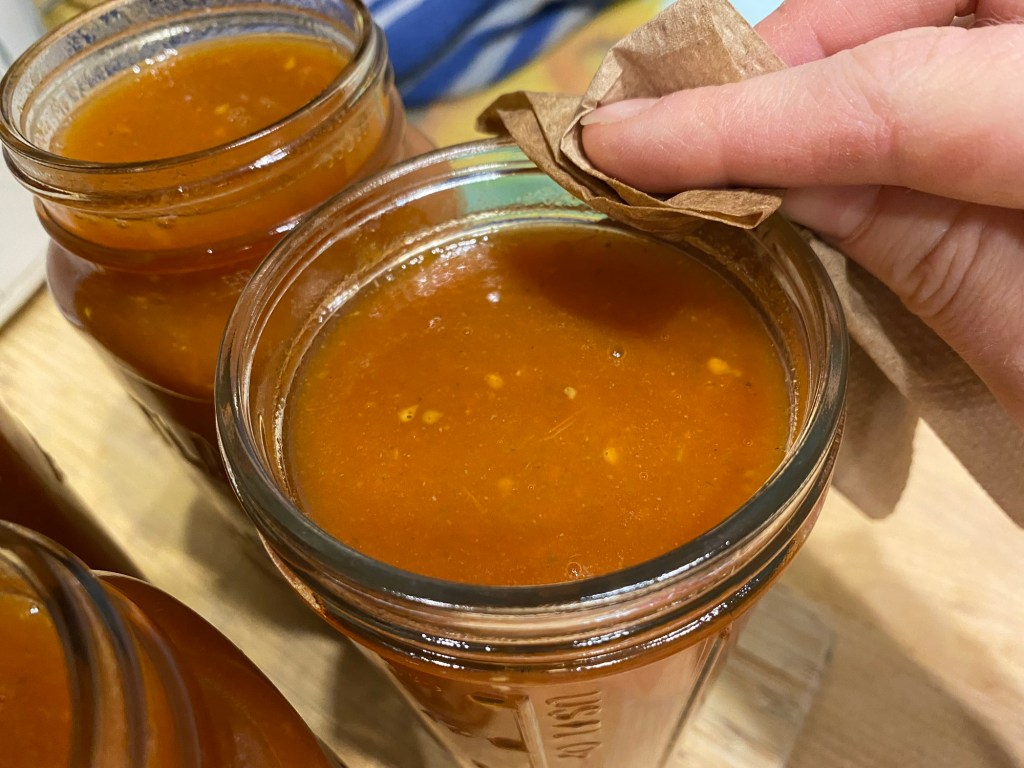
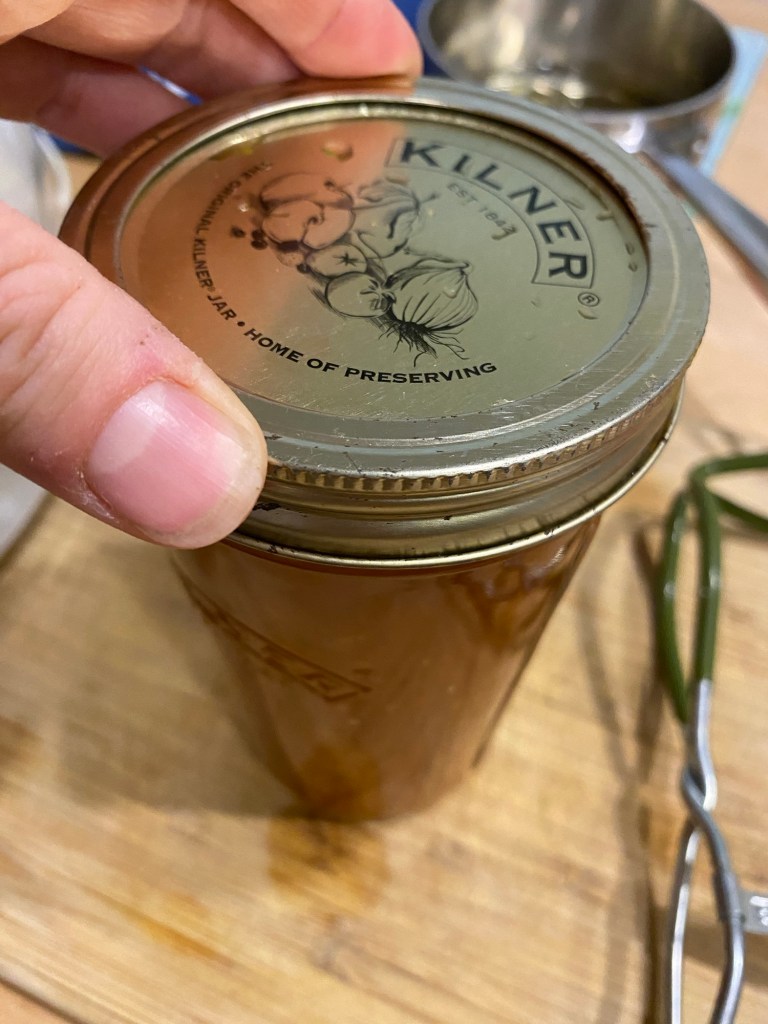
6. Serve and enjoy!
Nutritional Benefits of Green Split Peas:
Green split peas are high in fibre, high in protein, and low in calories. They have been found to contain rich amounts in: iron, protein, magnesium, zinc, phosphorus and potassium (among many others!).
Split peas help to lower high cholesterol, blood pressure, and have anti-inflammatory benefits. They also have been found to help to prevent heart disease, diabetes, osteoporosis, cancer, and many other chronic illnesses.
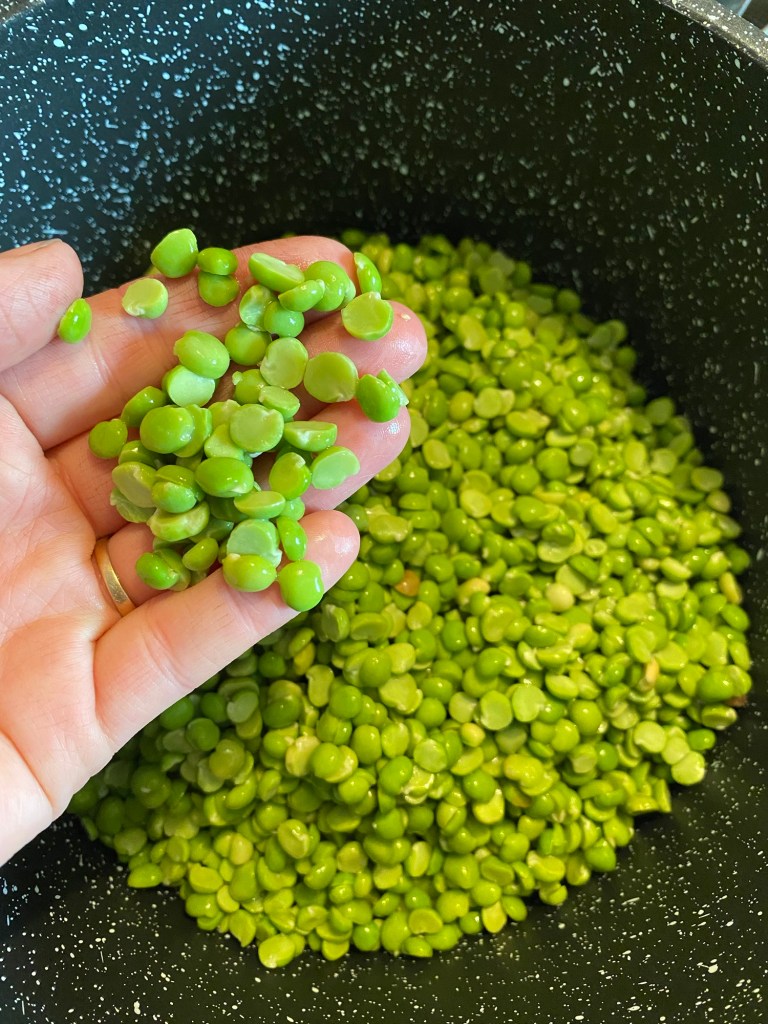
Why Soak the Split Peas?
Soaking the split peas overnight (or at least for several hours before cooking) not only softens them and shortens their cooking time, but it also helps the split peas to release the lectins that are in them.
Lectins are toxins that are found in beans, peas, soybeans, peanuts, lentils and whole grains. Although many people say it doesn’t matter to soak the dried split peas before cooking them, I always feel better to soak and rinse them first, and know that our digestive systems are the happier for it!
Some side effects of un-soaked but cooked green split peas have been noted to include: bloating, gas, stomach pains and diarrhea. These split peas are very good for you–especially when they’ve been prepared and cooked properly!

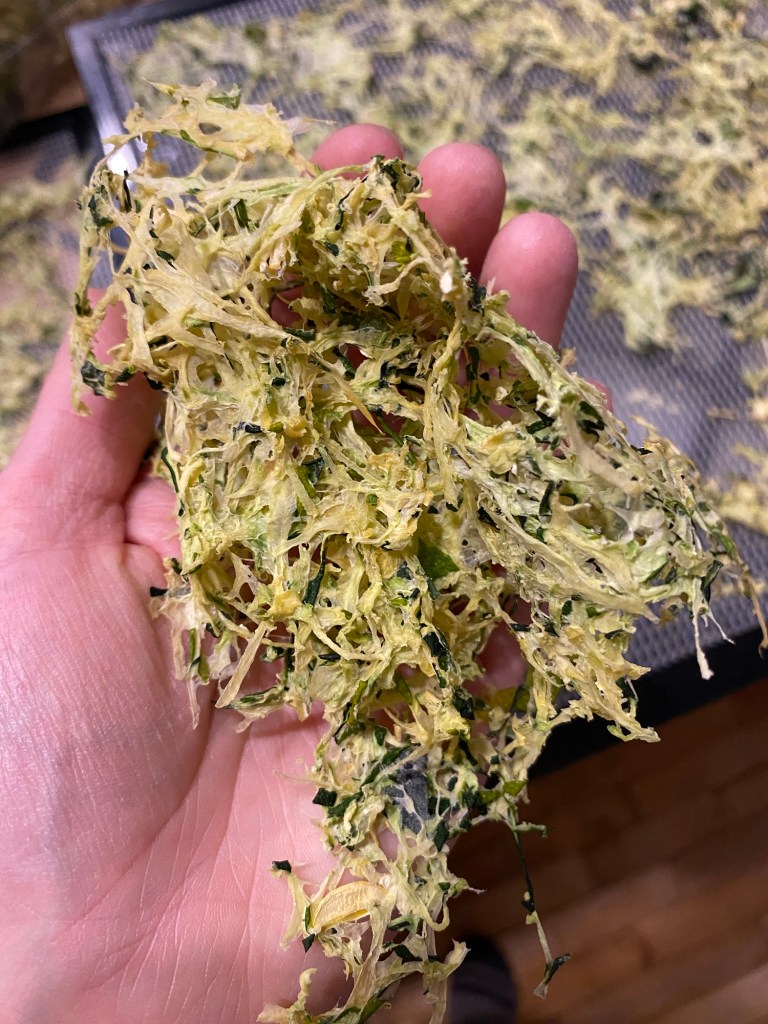
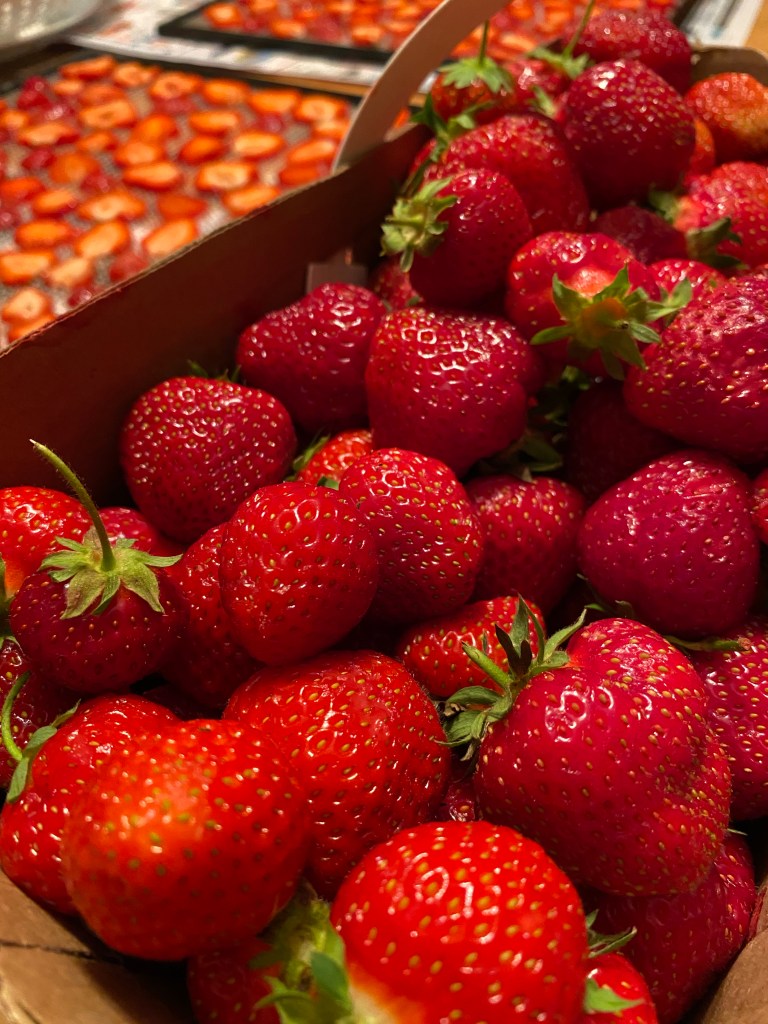
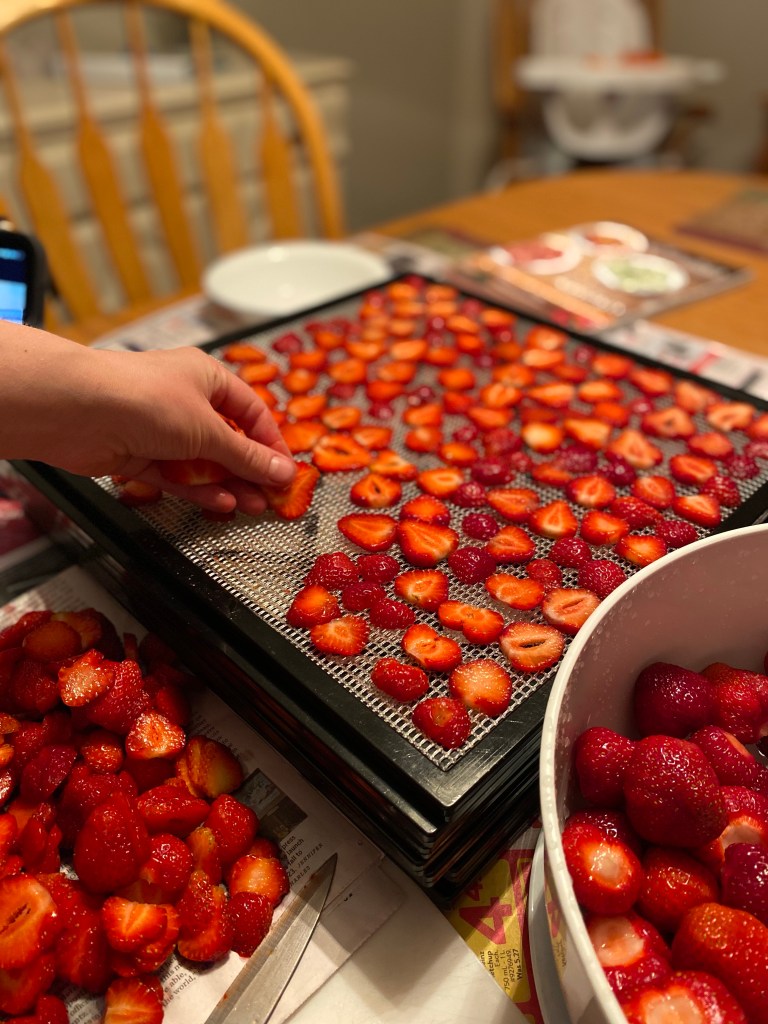
Interested in learning more about dehydrating your own vegetables?
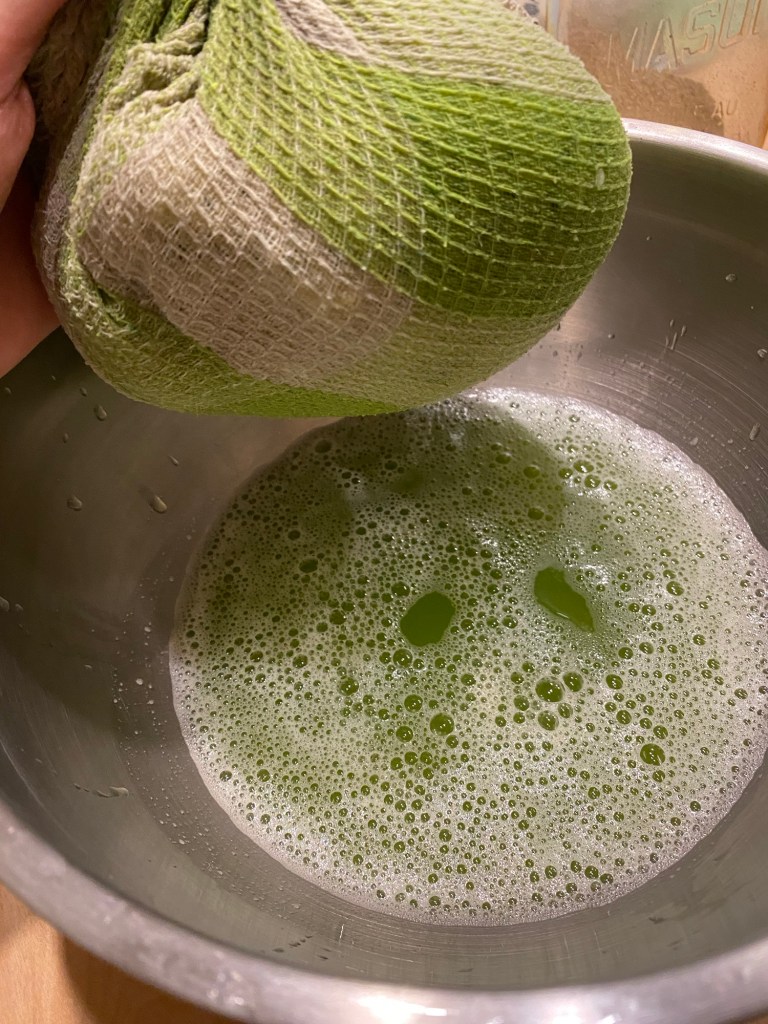
You can check out the post: How to Dehydrate Celery for Flavourful Recipes HERE.
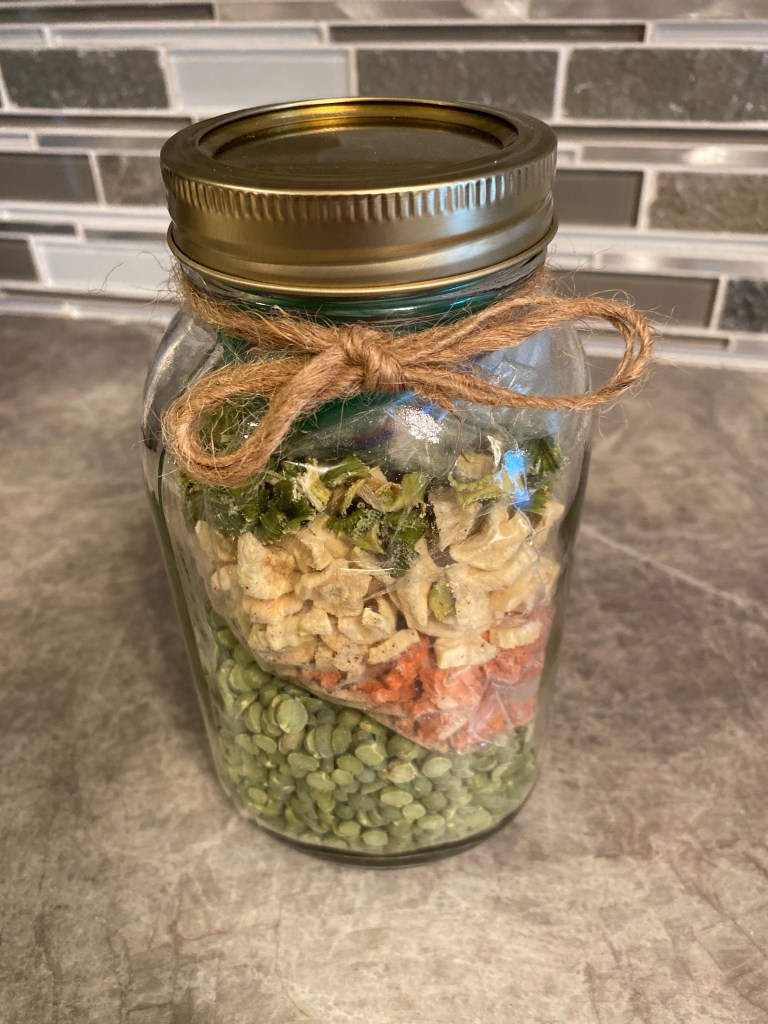
Want to make this recipe into a ready-made soup mix?

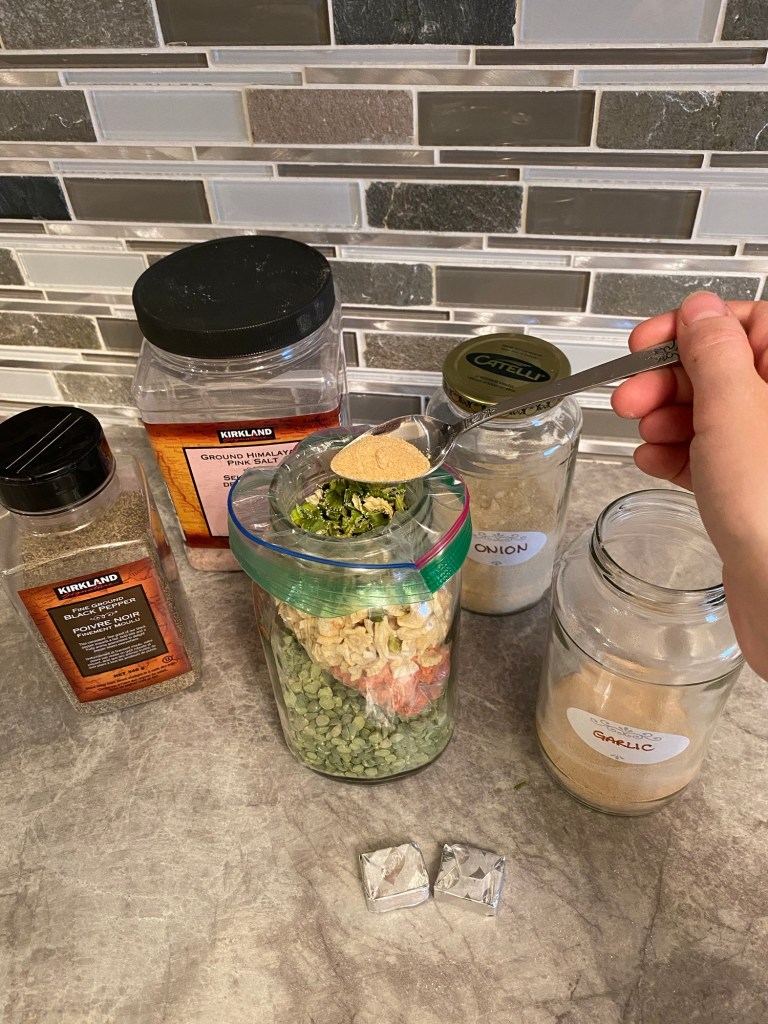
I had some fun turning this recipe into a completely dry vegetarian soup mix, fitting easily into a 1 L glass mason jar. Perfect for a nutritious emergency pantry meal or to use on a camping trip. You just need to add water! (and bacon or other meat if desired, or sprinkle dried bacon bits on the top when serving)
Using mason jars also make these ready-to-cook meals a cute gift!
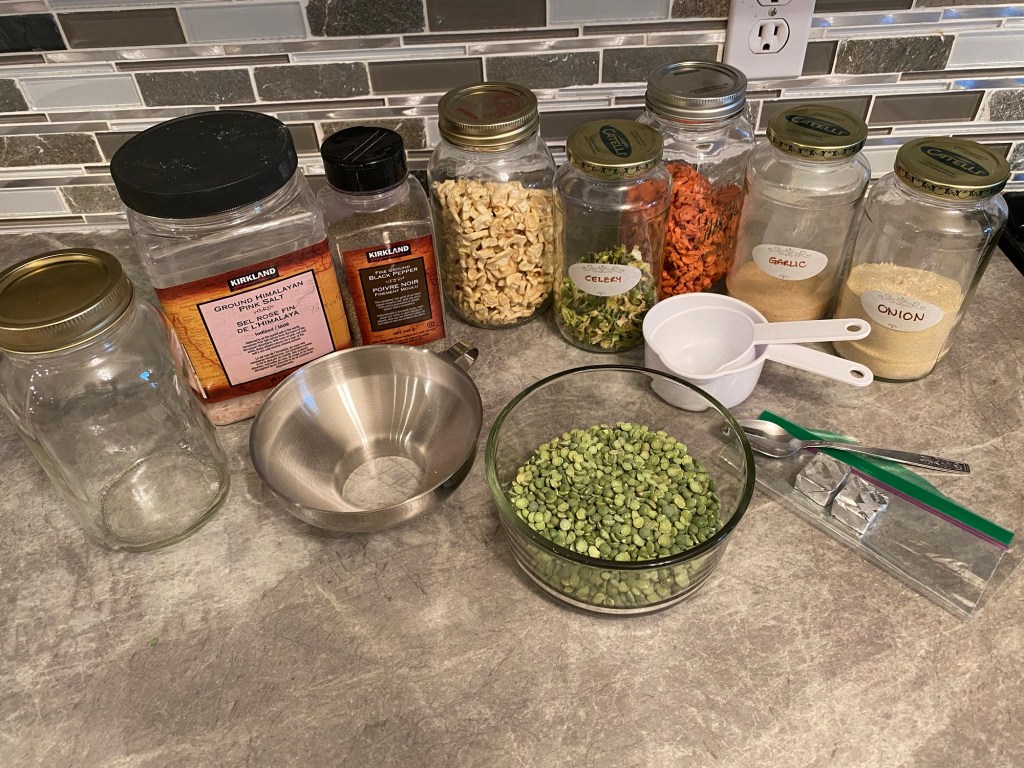
Supplies Needed:
Ingredients:
- 1 + 1/2 cups of dried green split peas
- 3/4 cup dried & diced carrot
- 3/4 cup dried & diced parsnips
- 1/2 cup dried & diced celery
- 1 teaspoon sea salt
- 1/4 teaspoon black pepper
- 1 teaspoon dried onion powder
- 1 teaspoon dried garlic powder
- 2 cubes of chicken/vegetable stock
Directions:
- Measure dried green split peas into the bottom of the jar.
- Next, put the ziploc bag inside and begin filling with the remaining ingredients, except stock cubes.
- Close ziploc bag, poke inside jar, and place stock cubes on top. Seal jar with lid.
Additional Note:
You can of course use whatever container type you like for storing the soup mix, my personal preference for storing in my pantry is 1 Litre mason jars, so I made measurements to fit in this size.
For camping I would put it all into a large ziploc bag, just separating the green split peas in a separate bag inside.

To Cook:
- Pull out the stock cubes and set aside. Open up the ziploc bag and pour contents into a separate bowl.
- Green split peas are now separate from the rest of ingredients and can be soaked in the jar or another bowl overnight.
- Rinse split peas well with cold water and put in soup pot with 4 + 1/2 cups of cold water.
- Add remaining ingredients, and bring to a boil.
- Reduce to medium-low and simmer 1-2 hours, stirring occasionally until dried vegetables are cooked through and tender. Add more water as needed.
- If desired, you can sprinkle dried bacon bits on the top.
Made this Recipe?
I’d LOVE to see your results!! Feel free to post to your social media account and tag Northbird using one of the links below or post in the comments!
Other Soups and Entrees to Check Out:


Subscribe to Northbird’s email list to get weekly posts on: tasty recipes, activity ideas for kids, natural living tips, and some genuine mom thoughts and encouragement!
More Great Ideas for Your Homemade Pantry!


Hi, I’m Jessie!
I’m a Wife and Homeschooling Mom living in a remote town in Northern Ontario, Canada. I love making wholesome meals for my family from scratch, homeschooling our girls and learning more about natural living.
Read more about my story HERE.
Recent posts from Northbird:


Green Split Pea and Bacon Soup
A highly nutritious and tasty winter soup recipe.
Supplies Needed:
Ingredients
Directions:
- Soak dry green split peas overnight in cold water. If this step is missed, start soaking for 4-6 hours before cooking soup, so that peas can still partially sprout. Rinse well in cold water. (See below for more information on why it is so important to soak peas and legumes)
- Saute onion and garlic with olive oil or butter in large soup pot. Add 8 cups of cold water and the rest of the ingredients.
- Bring to boil, then reduce to simmer on medium for 1-2 hours until all vegetables are soft and tender, stirring occasionally.
- I like to use the immersion blender at this point to puree some of the soup but leave a few chunks in.
- When soup is nearly done, cut bacon into small pieces and fry in separate pan until cooked through. (I use kitchen scissors, only reserved for cutting bacon!) Add to soup, along with a little tasty bacon grease (if desired!).
- Serve and enjoy!
Nutrition
Per 1 serving: 442 calories; 29.3 g fat; 36.1 g carbohydrates;
13.8 g protein.
Green Split Pea and Bacon Soup (Shelf-Stable Version)
A ready to cook soup mix: Just Add Water! Great for make-ahead camping meals or stocking in your pantry for an emergency.
Supplies Needed:
Ingredients
Directions:
- Measure dried green split peas into the bottom of the jar.
- Next, put the ziploc bag inside and begin filling with the remaining ingredients, except stock cubes.
- Close ziploc bag, poke inside jar, and place stock cubes on top. Seal jar with lid.
Cooking Directions:
- Pull out the stock cubes and set aside. Open up the ziploc bag and pour contents into a separate bowl.
- Green split peas are now separate from the rest of ingredients and can be soaked in the jar or another bowl overnight.
- Rinse split peas well with cold water and put in soup pot with 4 + 1/2 cups of cold water.
- Add remaining ingredients, and bring to a boil.
- Reduce to medium-low and simmer 1-2 hours, stirring occasionally until dried vegetables are cooked through and tender. Add more water as needed.
- If desired, you can sprinkle dried bacon bits on the top.
Nutrition
Per 1 serving: 225 calories; 0.8 g fat; 47.1 g carbohydrates;
11.4 g protein.