Find Northbird on social media:
This post contains affiliate links. As an Amazon associate, I earn from qualifying purchases. This means that I make a small commission at no extra cost to you. You can read my full disclosure HERE.
Have you ever had an abundance of really robust zucchini’s growing in your garden?! And then had no idea of what to do with them?!
A few summers ago while helping to plant out my parents garden, “someone” decided that since we had the space and enough happy seedlings, we should plant over 20 zucchini plants.
The vision was to have enough zucchinis harvested throughout the summer to not only be used in stirfrys and other meals, but to make some tasty zucchini chips to dehydrate. In this way, we could have a crunchy, homemade snack to enjoy for the long winter months. (Or at least that was the intention behind planting so many zucchini plants!)
Did this happen? Did the zucchinis grow as expected? Well yes they did grow, so much in fact that it turned into a daily game of “twister” in the jungle of giant zucchini plants to find them!
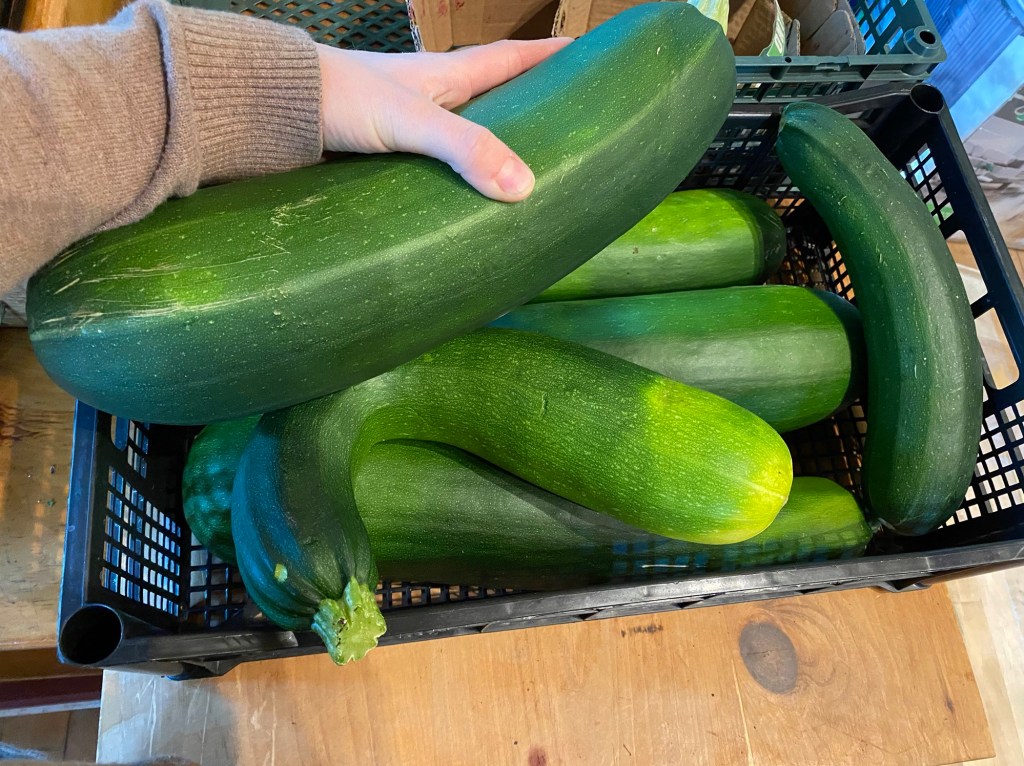
We harvested many delicious and delicate normal-sized zucchinis, and they were enjoyed very much. But what happened when we forgot to go on our jungle zucchini adventure for a few days?!
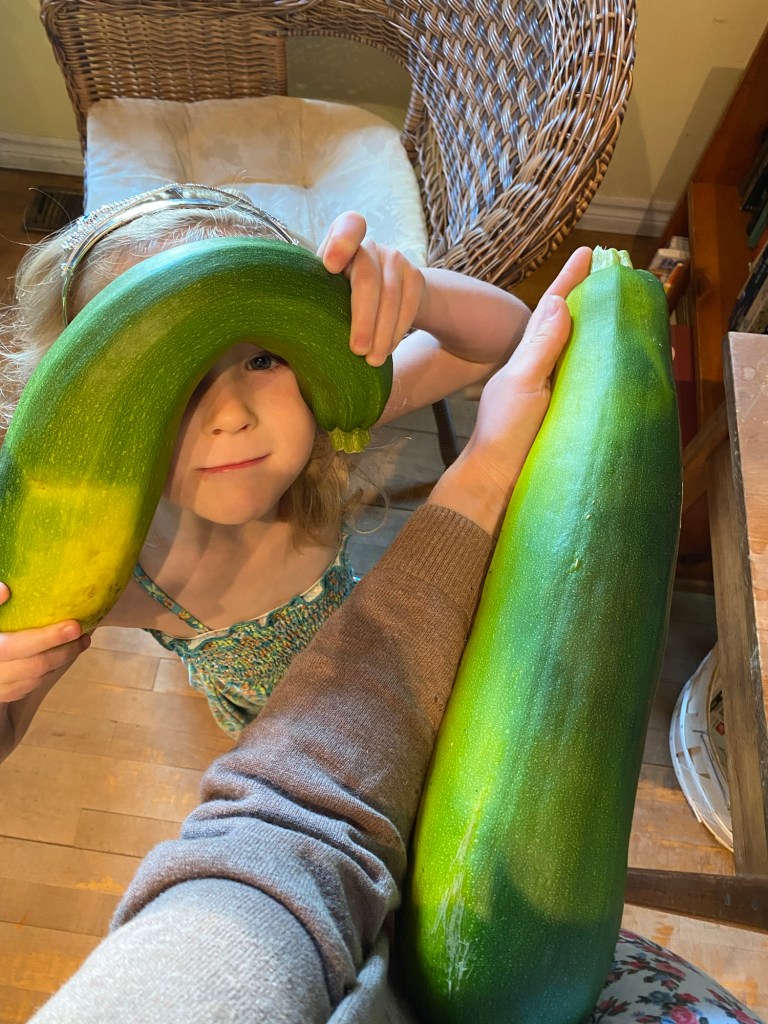
Yup.
And with 20 zucchini plants, I’m sure you can imagine how fun it was for the kids to discover all of these monstrous vegetables that became somewhat of a nightmare for my mother and I to figure out what to do with.
So what can you do with large zucchinis? The taste is certainly not as flavourful as the delicate petite ones, because they are much more watery inside.
We ate them anyway in so many different ways until we got SO BORED OF EATING ZUCCHINI!

Thankfully, I found somewhere online about dehydrating shredded zucchinis as a form of preserving them to enjoy at our leisure, and this became our solution.
I have since then dehydrated shredded zucchini multiple times, and successfully re-hydrated them to use in soups, frittatas, and baking.

I have also used this recipe and subbed in the asparagus with a few handfuls of re-hydrated shredded zucchini and it tastes DELICIOUS.
Nutrition:
Zucchini is a wonderful garden vegetable that is packed full of important antioxidants, vitamins and minerals. It is high in fibre, which helps to regulate your digestion and keep you feeling “full” longer.
Zucchini is also low in calories, which makes it valuable to those trying to lose weight. I learned this summer that it is a staple for the keto diet (we subbed in zucchini noodles many times for regular pasta).
Studies have also shown that zucchini is beneficial to eye health, heart health, lowering risks of anaemia, regulating blood sugar levels, supporting the immune system, and assisting in muscle growth (to just name a few!).

Ways to Use Dehydrated Shredded Zucchini in Cooking:
- Soups and Stews as a “filler”
- Baking (breads, muffins, etc)
- Omelettes and other egg dishes
- Fried potato patties/ hashbrowns
- Pancakes
I’m sure there are many more ideas and ways to get creative with shredded zucchini. When I learn some more, I’ll share on here with you!
How to Re-hydrate Zucchini?
Simply put a few handfuls of the shredded dried zucchini bits into a bowl of warm water and wait 5 minutes or so until it plumps up. Then you can squeeze out the excess water and use as normal.
How Long to Store Dehydrated Zucchini?
It is best if used up within a year, but I have also used some that is a few years old and it still re-hydrated fine and tasted the great!
Make sure it is properly stored in a cool, dark, dry place, in a sealed container to avoid any moisture seeping in to cause mold.
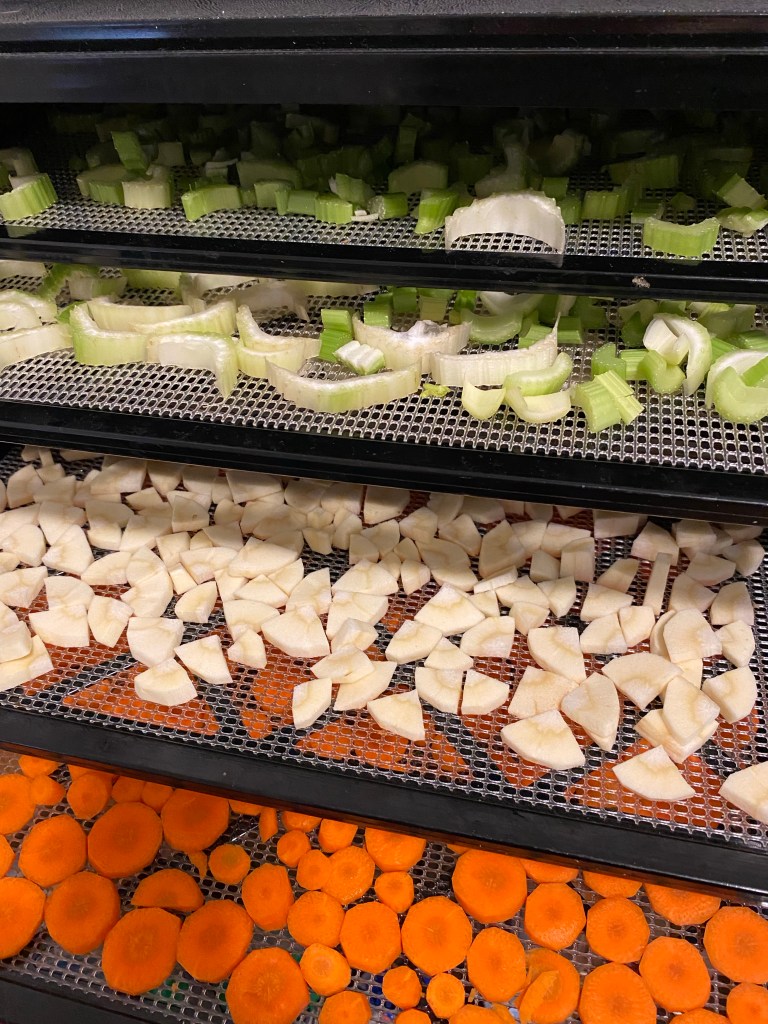
A quick visual of the harvesting process from start to finish!
How to Dehydrate Zucchini
Supplies Needed:
Ingredients:
- Zucchini
Directions:
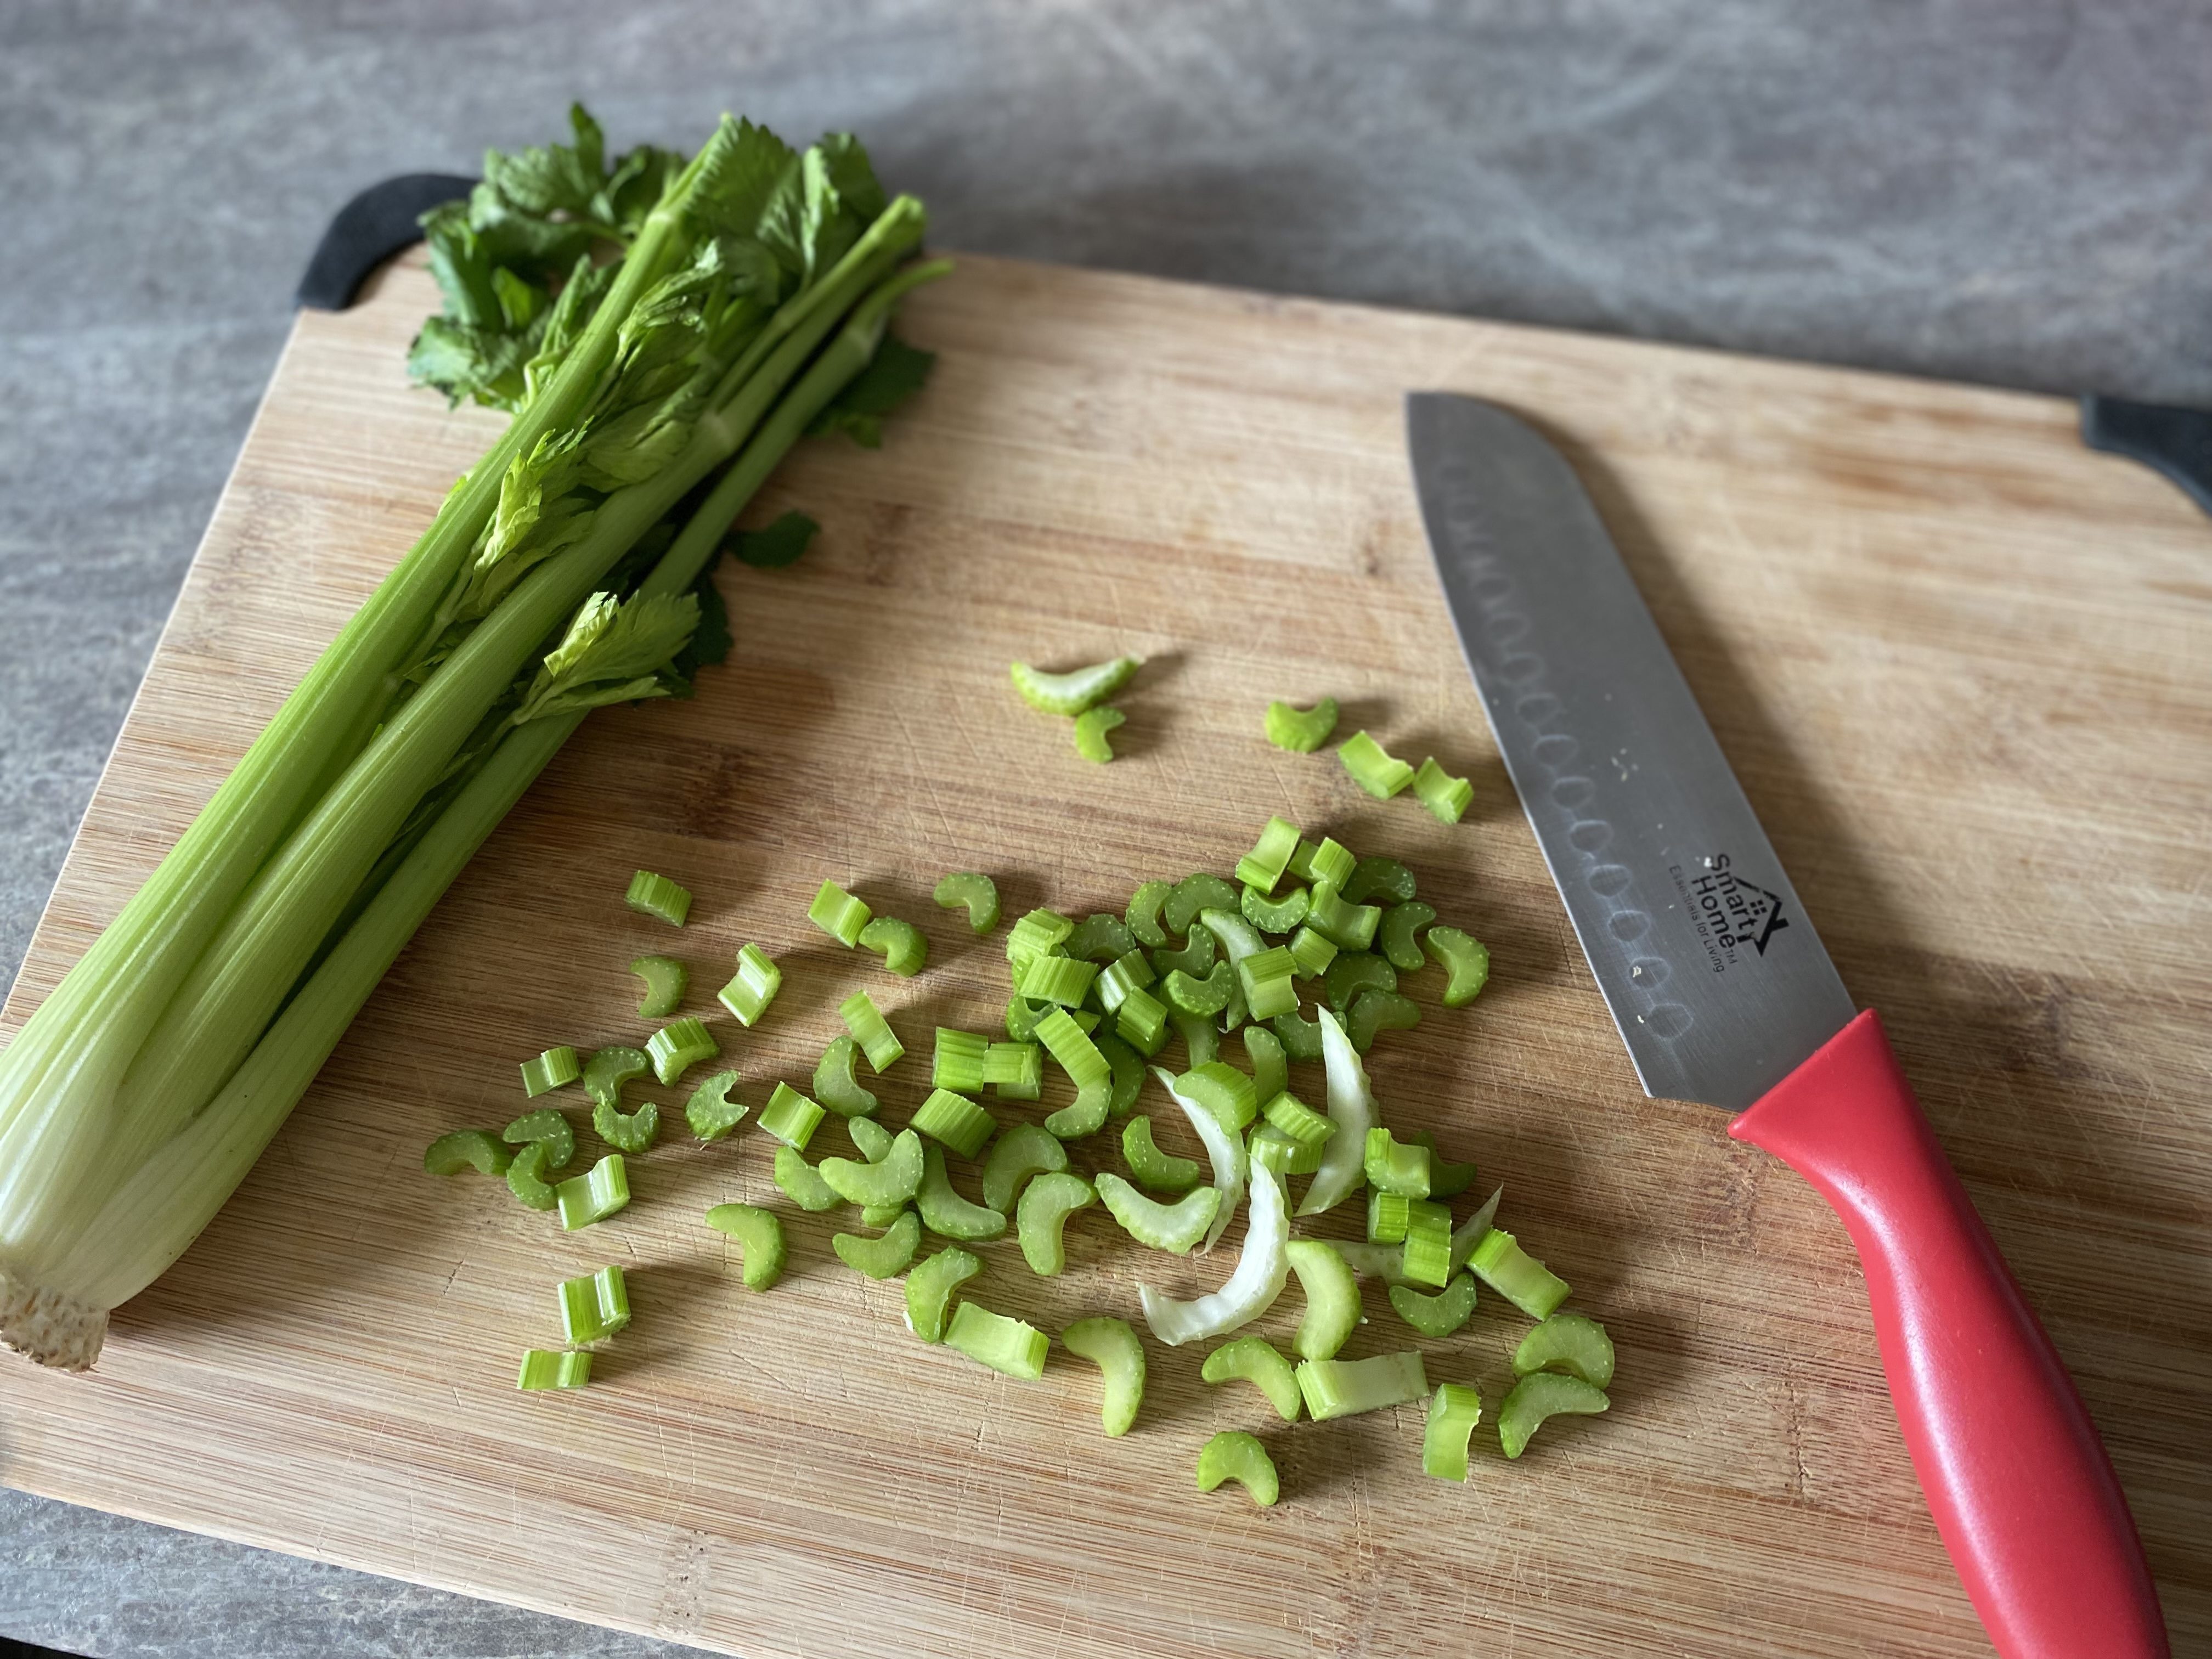
- Cut up zucchini into chunks that will easily fit in your food processor.
- Use a shredding insert and shred zucchini until fine strings.


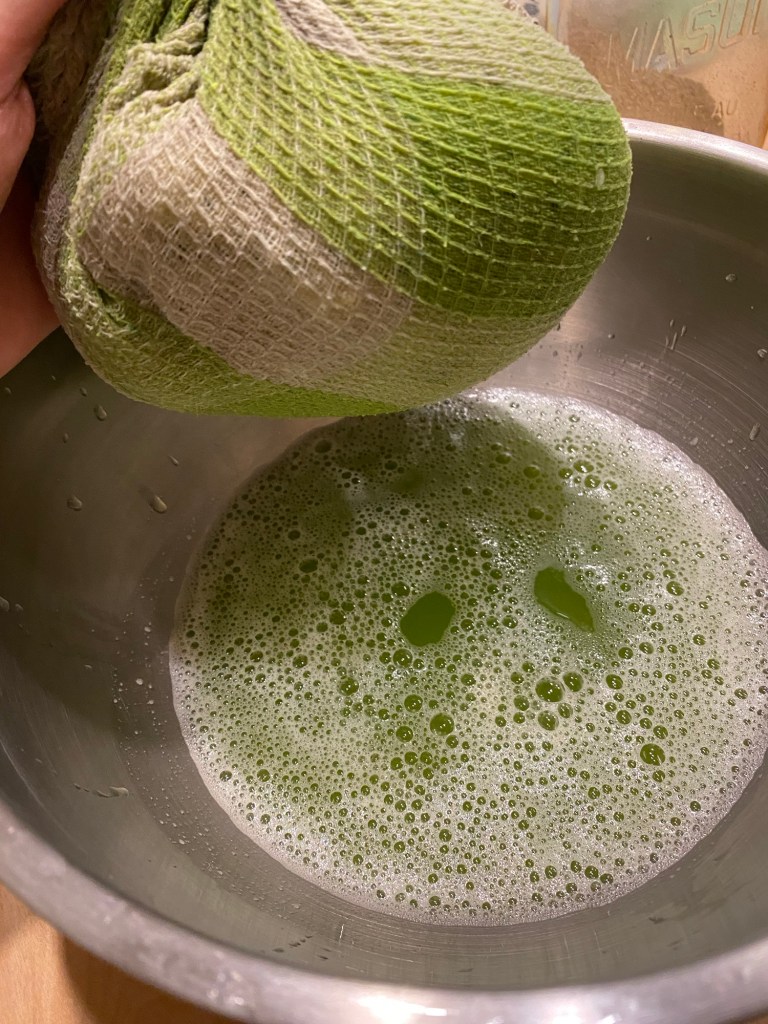
3. Place tea towel or large nut milk bag into a large bowl. Put the shredded zucchini into the towel, gather it up and squeeze out as much of the water as you can.

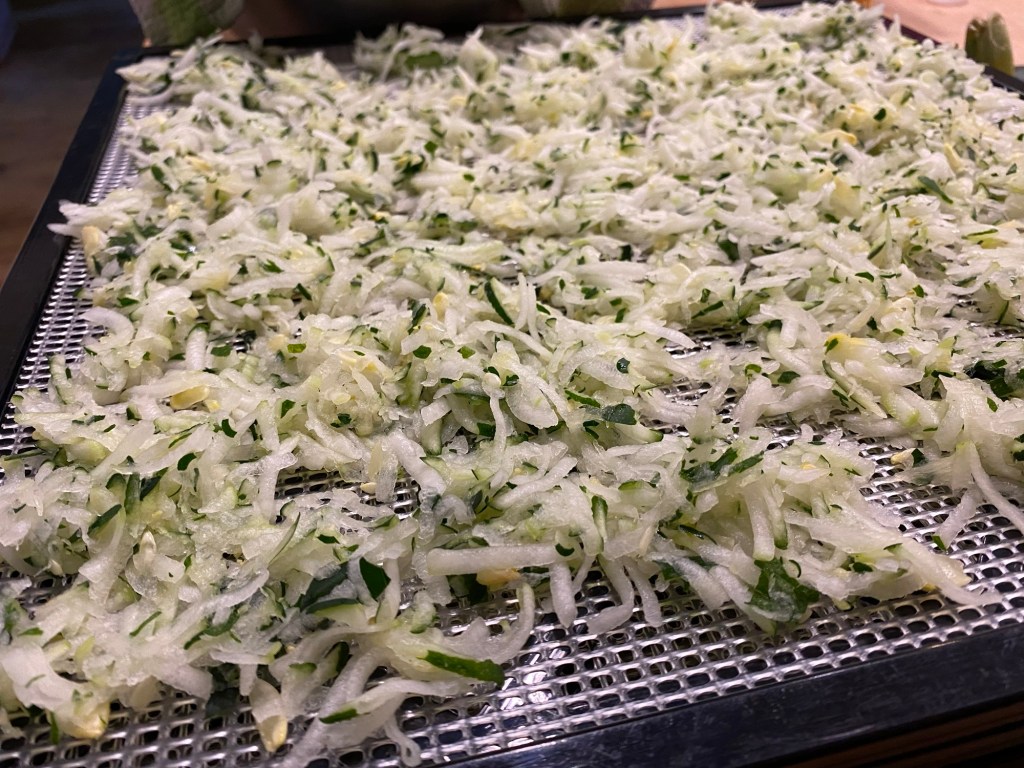
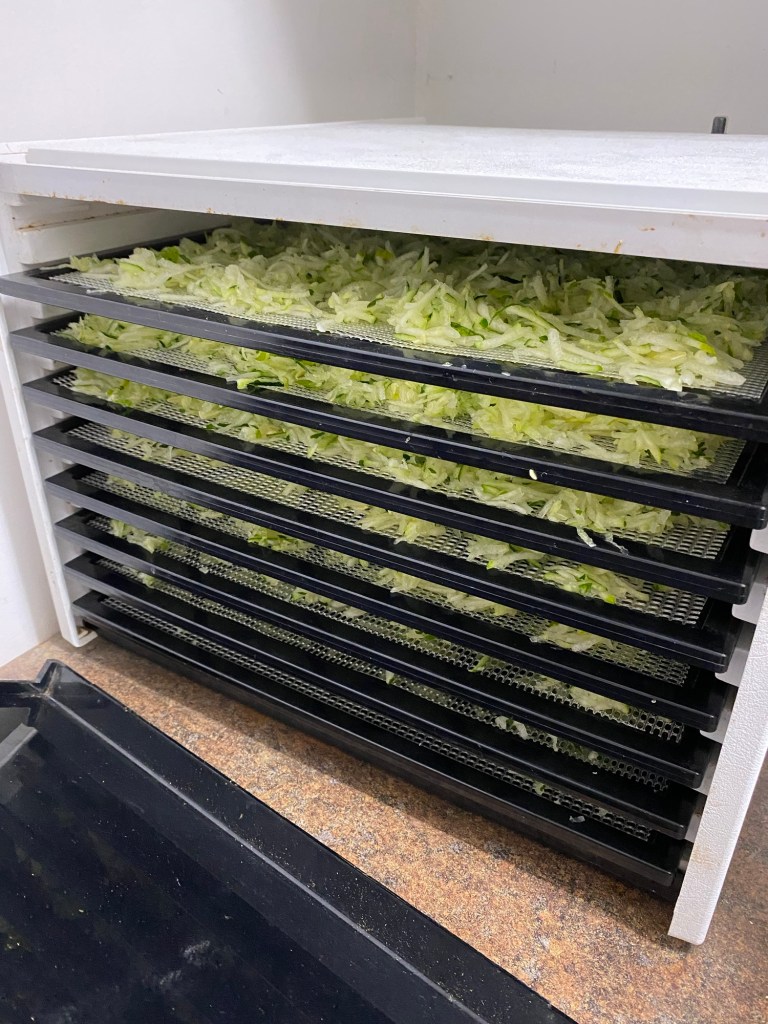
4. Place shredded zucchini evenly onto drying racks, leaving spaces for air to pass through.
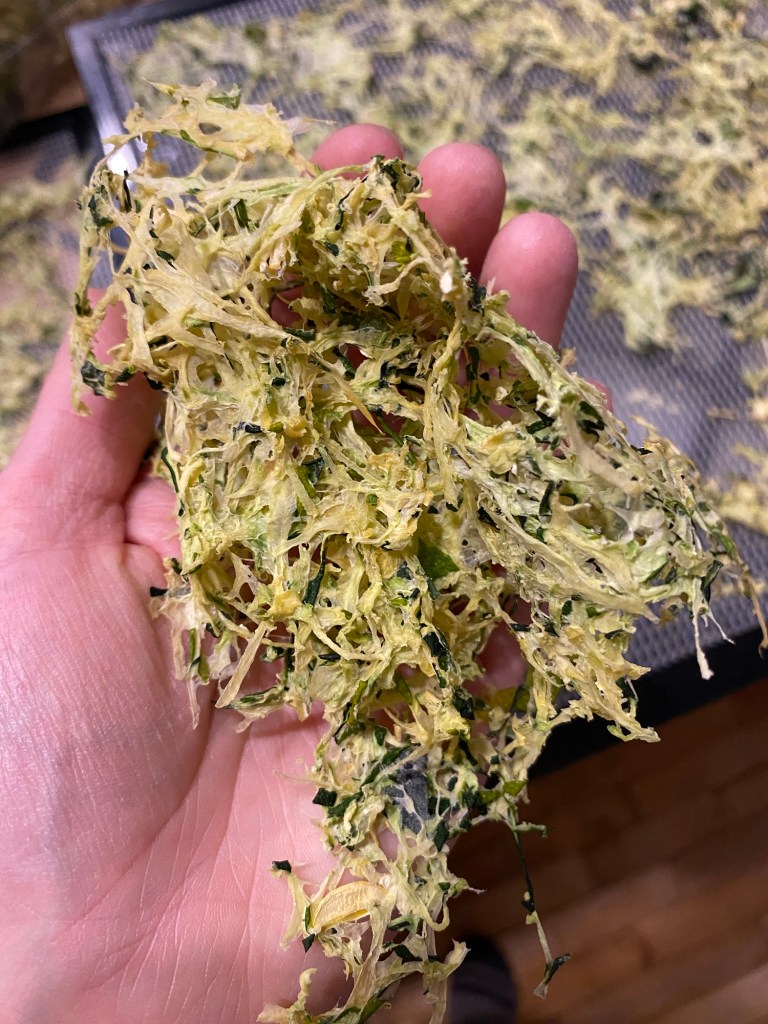
5. Dehydrate at 125 degrees fahrenheit, for 8-12 hours until dry and brittle. Timing will depend on the humidity of your drying area, and how well you are able to squeeze out the water in the towel.
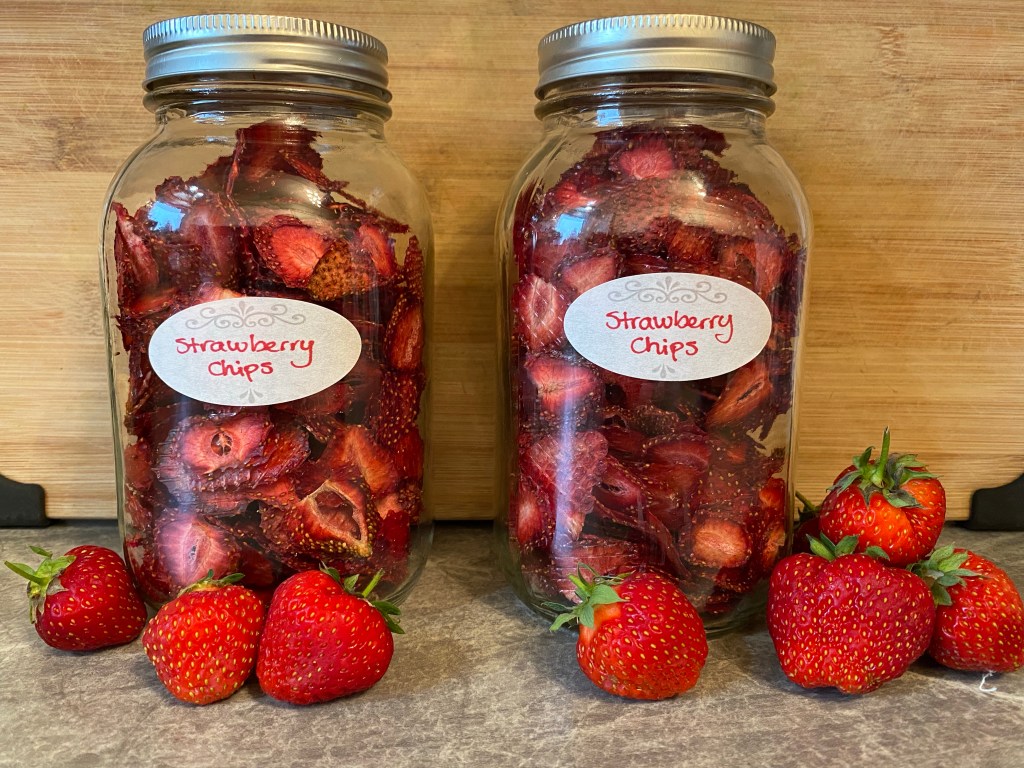
6. Remove and place in sealed containers, and store in a cool, dark and dry place. Best if used up within a year.

7. When ready to use in cooking or baking, simply put desired amount of dried zucchini in a bowl of warm water and let sit for 5 minutes. Drain and squeeze out extra water before use.
More Great Ideas for Your Homemade Pantry!


Hi, I’m Jessie!
I’m a Wife and Homeschooling Mom living in a remote town in Northern Ontario, Canada. I love making wholesome meals for my family from scratch, homeschooling our girls and learning more about natural living.
Read more about my story HERE.

Subscribe to Northbird’s email list to get weekly posts on: tasty recipes, activity ideas for kids, natural living tips, and some genuine mom thoughts and encouragement!
Recent posts from Northbird:


How to Dehydrate Zucchini
Dehydrate your garden zucchinis to enjoy later in your favourite cooking and baking recipes!
Supplies Needed:
Ingredients
- Zucchini
Directions:
- Cut up zucchini into chunks that will easily fit in your food processor.
- Use a shredding insert and shred zucchini until fine strings.
- Place tea towel or large nut milk bag into a large bowl. Put the shredded zucchini into the towel, gather it up and squeeze out as much of the water as you can.
- Place shredded zucchini evenly onto drying racks, leaving spaces for air to pass through.
- Dehydrate at 125 degrees fahrenheit, for 8-12 hours until dry and brittle. Timing will depend on the humidity of your drying area, and how well you are able to squeeze out the water in the towel.
- Remove and place in sealed containers, and store in a cool, dark and dry place. Best if used up within a year.
- When ready to use in cooking or baking, simply put desired amount of dried zucchini in a bowl of warm water and let sit for 5 minutes. Drain and squeeze out extra water before use.
Nutrition
Per 1 serving: 8 calories; 0.1 g fat; 1.7 g carbohydrates;
0.6 g protein.