Find Northbird on social media:
This post contains affiliate links. As an Amazon associate, I earn from qualifying purchases. This means that I make a small commission at no extra cost to you. You can read my full disclosure HERE.

Looking for a festive and oh so delicious desert this Christmas season? Then this is a must on the menu!
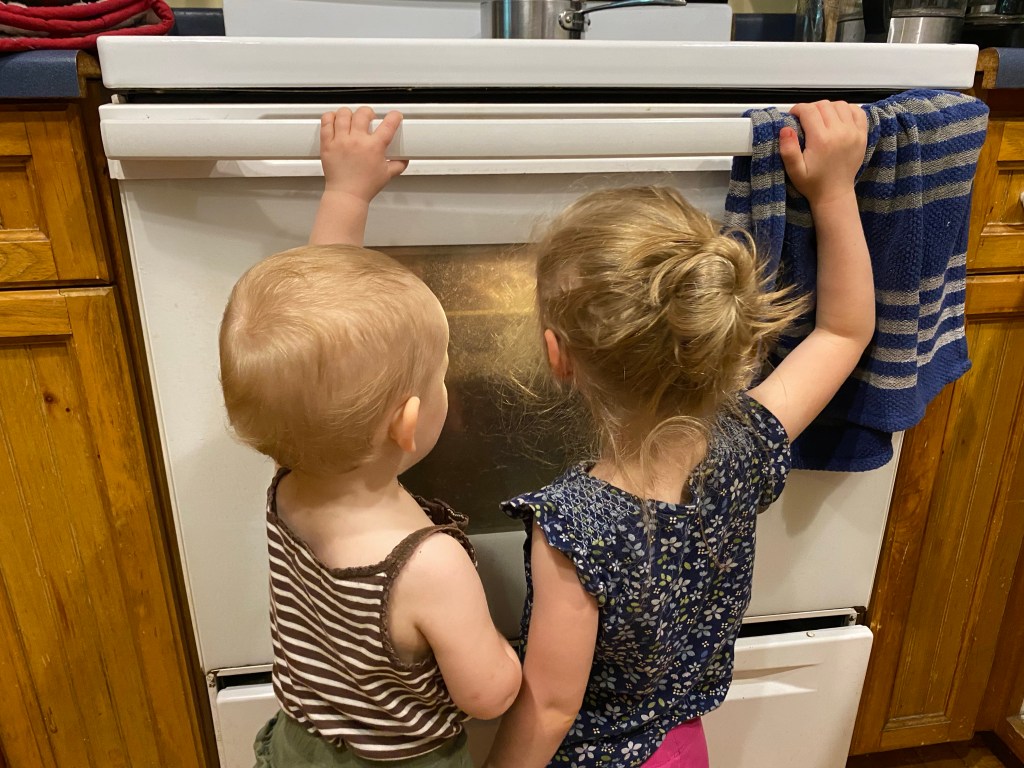
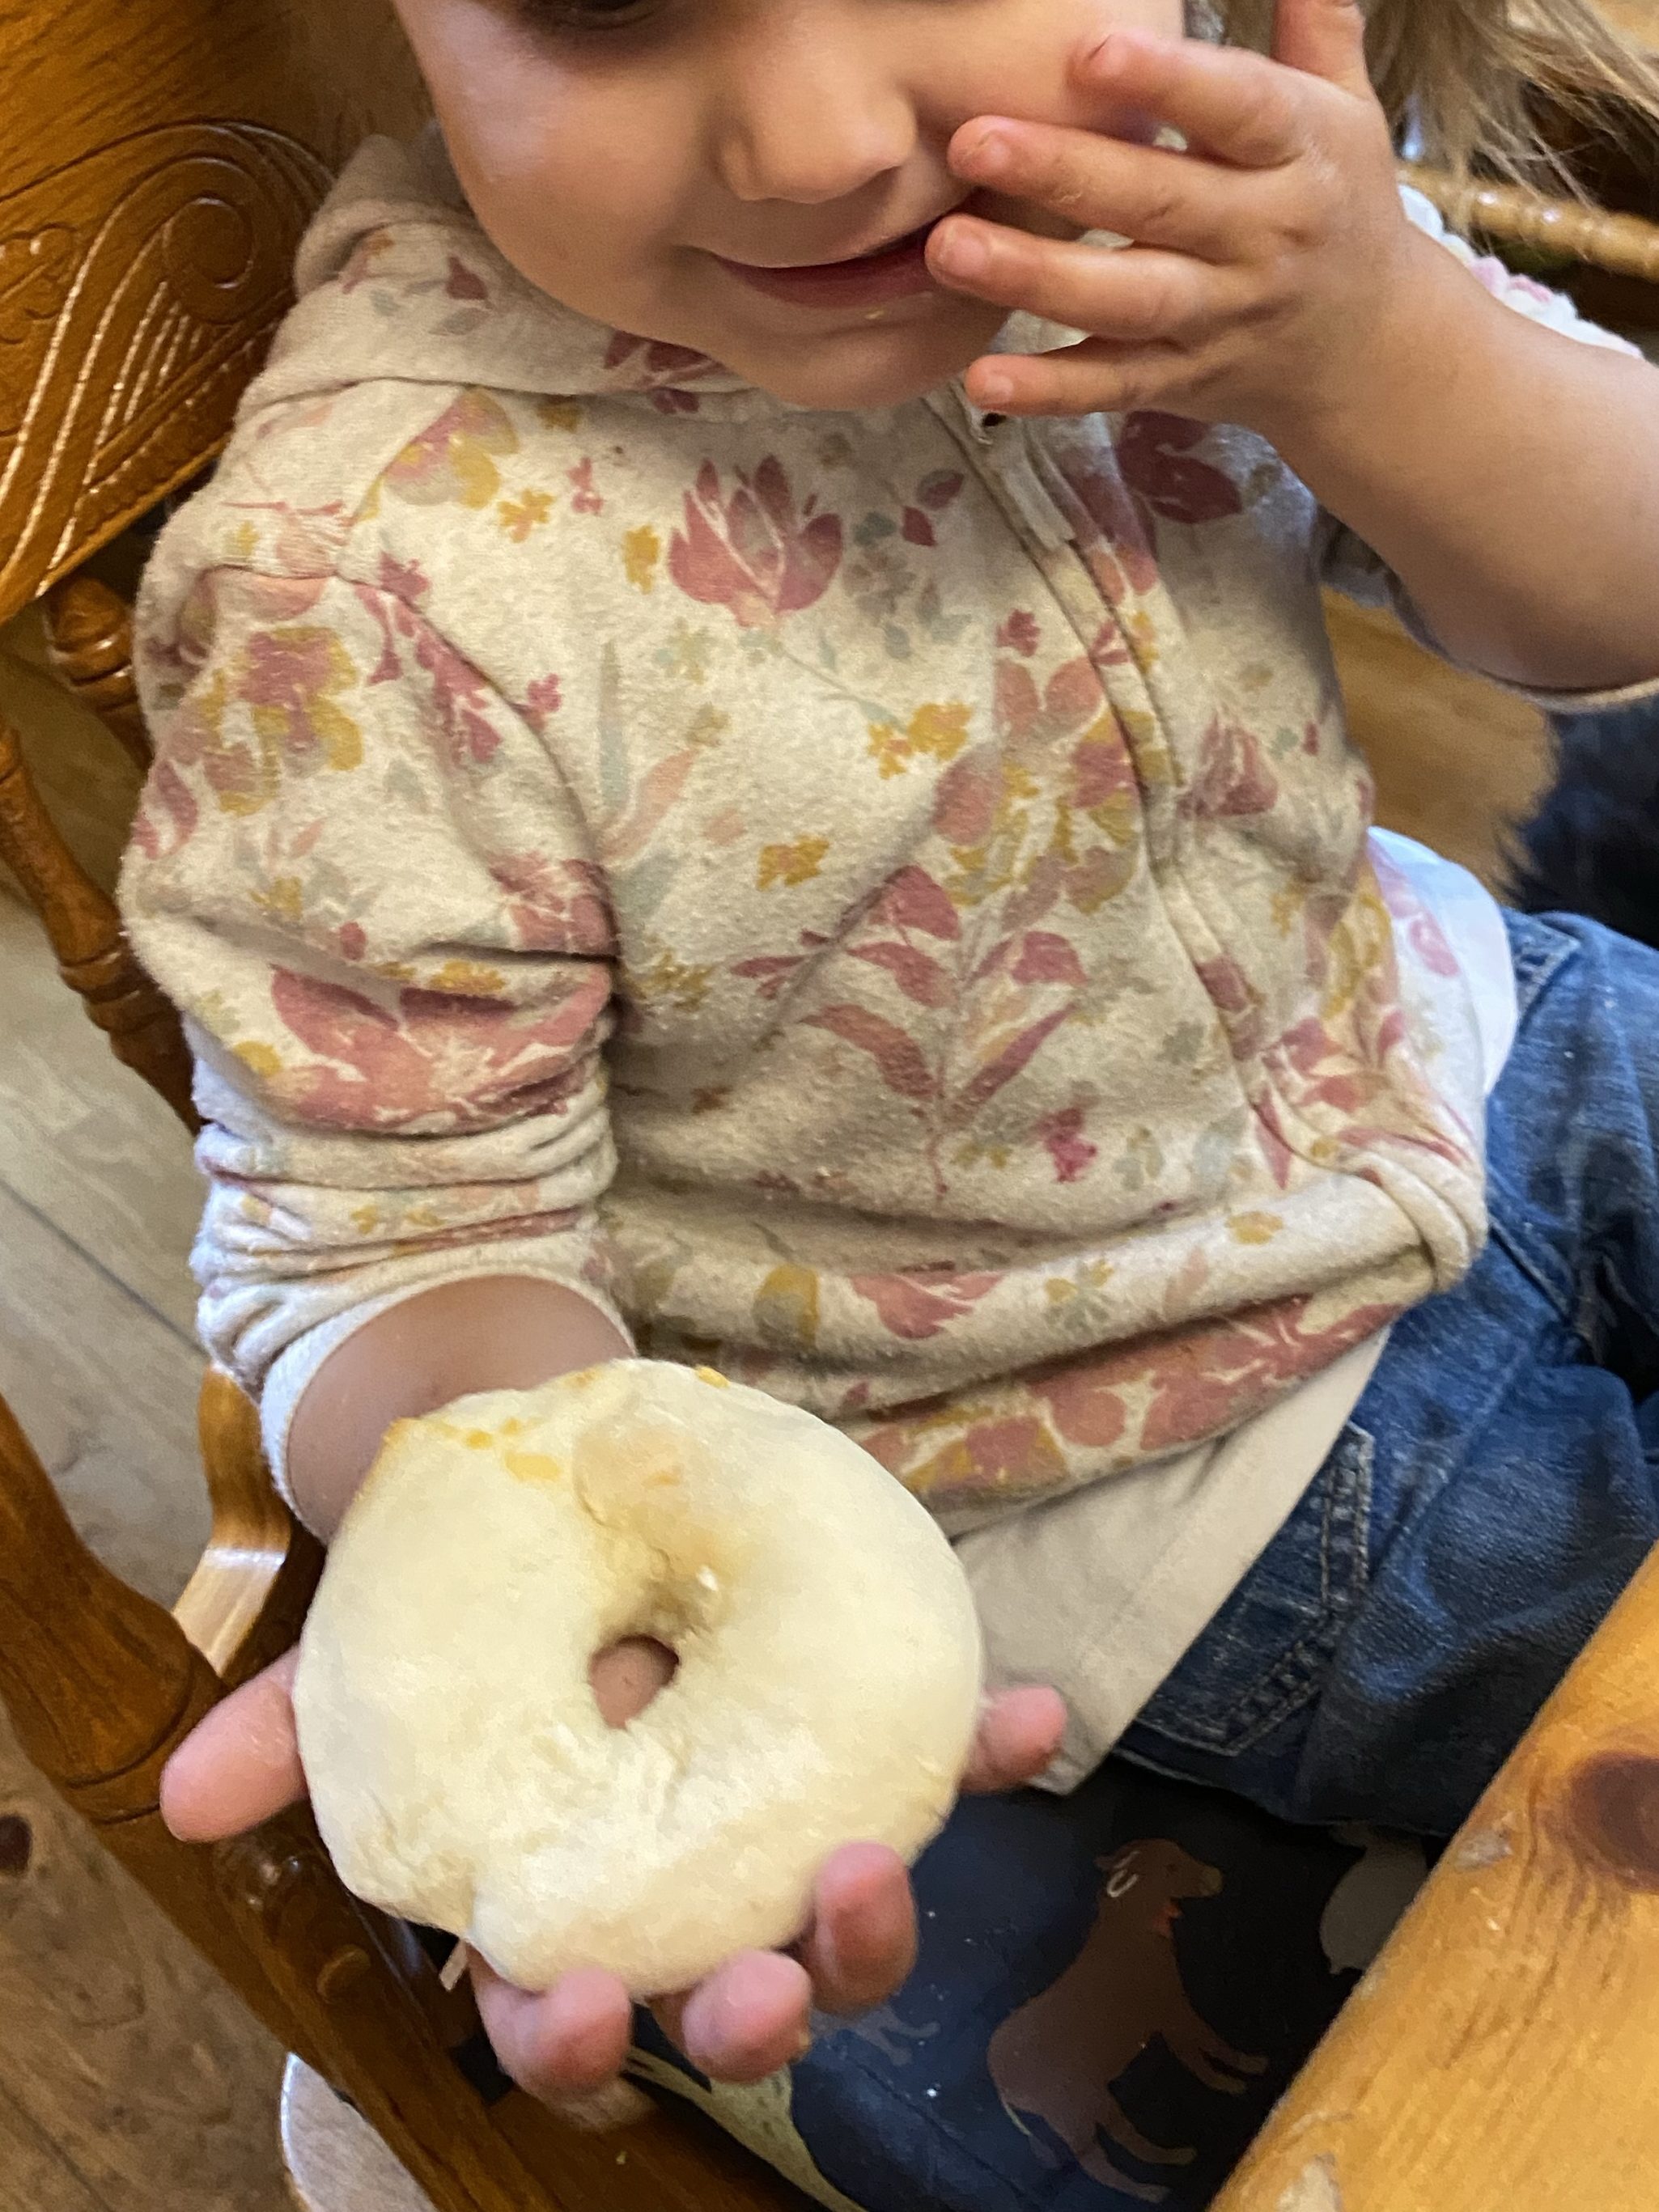
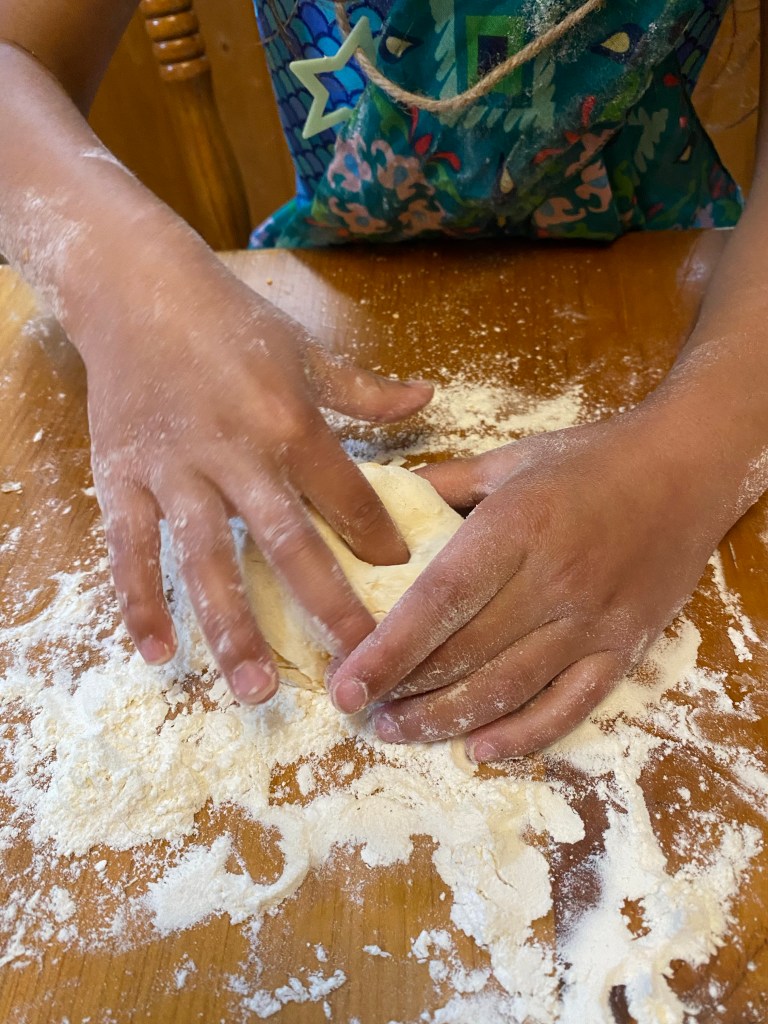
Every Christmas, my mother-in-law makes this tasty Cranberry Loaf for the family to enjoy. In recent years, the little grandkids have become her helpers in the kitchen when making this loaf.
When we decided that this would be a great recipe to feature on Northbird this Christmas season, my daughter “L” insisted that she could make it for the pictures. She did a fantastic job, making it just like when she makes it with Grammy, and even let her little sister help stir the bowl (well sometimes!).

Did You Know these Amazing Health Benefits of Eating Cranberries?!
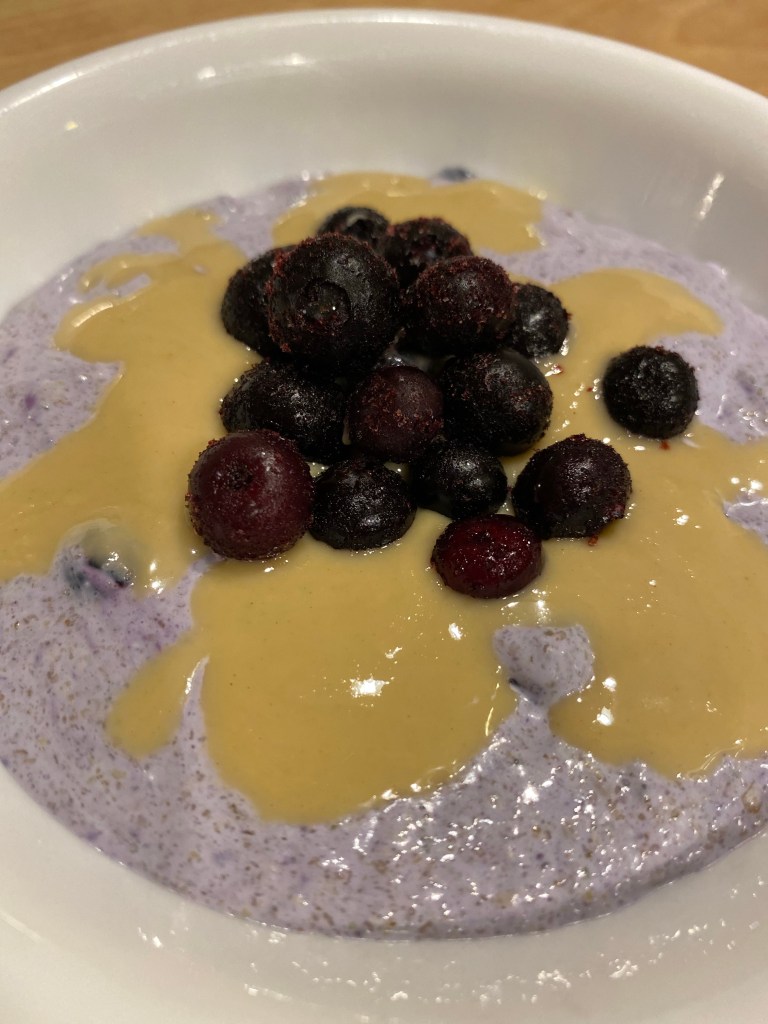
- Cranberries are most known for reducing the risk of urinary tract infections. This is due to the proanthocyanidins in the berries that help to prevent bacteria from sticking to the urinary tract. A build up of bacteria in the urinary tract is what causes infections and other illnesses if left untreated.
- The proanthocyanidins in Cranberries also help to support your teeth, and some research suggests gum disease as well.
- Cranberries contain Vitamin E, which supports hair and skin health.
- Cranberries have high levels of anioxidants, which support the immune system and help prevent illness and diseases.
- Cranberries have high levels of phytonutrients, which is great for reducing inflammation in the body.
- Cranberry juice contains phytochemicals that help to maintain healthy digestion in your body.
- Cranberries are also very high in Vitamin C (ascorbic acid), boosting your immune system and helping to maintain health.
- Cranberry juice helps to lower cholesterol levels, which lowers the risk of heart disease.
- Please Note: When buying cranberry juice at the store for medicinal purposes, it is always important to read the label carefully and to select a brand that is 100% pure cranberry juice, no added sugar, and not a juice cocktail mix.
Watch the girls make this easy and delicious cranberry loaf!
How to Make Carol’s Cranberry Loaf
Supplies Needed:
Ingredients:
- 1 + 1/2 cups all purpose flour
- 1 teaspoon baking powder
- 1/4 teaspoon salt
- 1/4 cup milk (room temperature)
- 1/4 cup orange juice
- 6 Tablespoons soft butter
- 3/4 cup sugar
- 2 large eggs (room temperature)
- 1 + 1/2 cups frozen cranberries
- 1/2 tablespoon flour
- 1 cup powdered sugar
- 1 + 1/2 tablespoons orange juice (no pulp)
Directions:
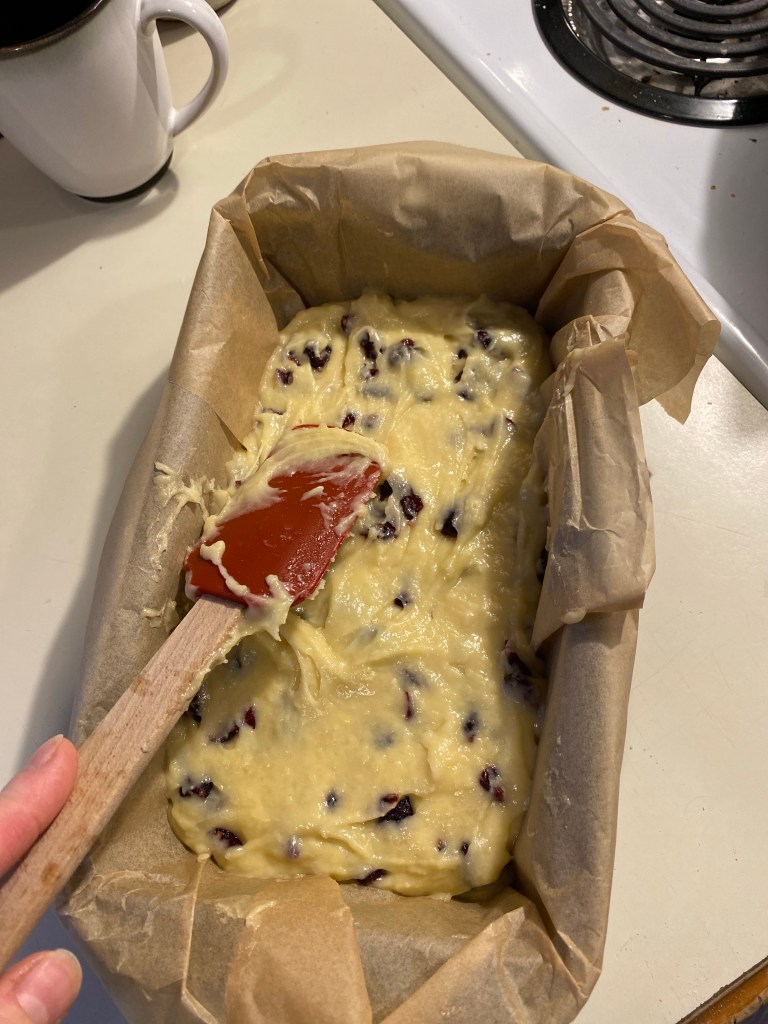
- Preheat oven to 350 degrees fahrenheit. Butter loaf pan and dust with flour. (Our pan was not in the best of shape so we lined it with parchment paper instead)
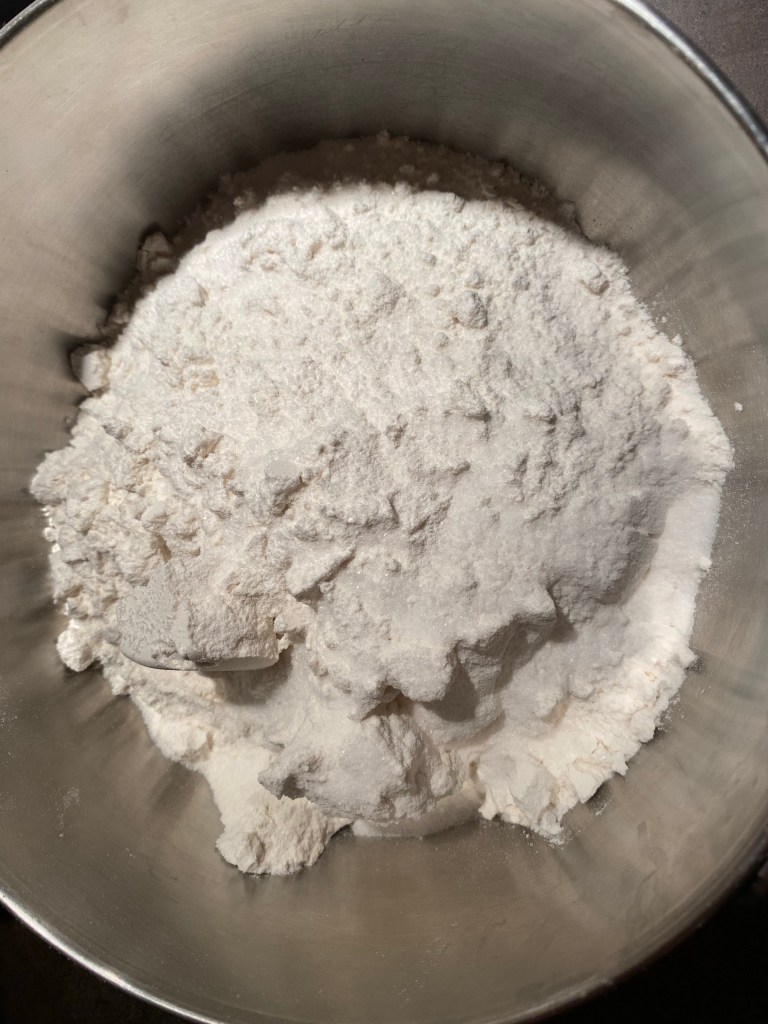
- In a medium sized bowl, mix together: flour, baking powder and salt. Set aside.
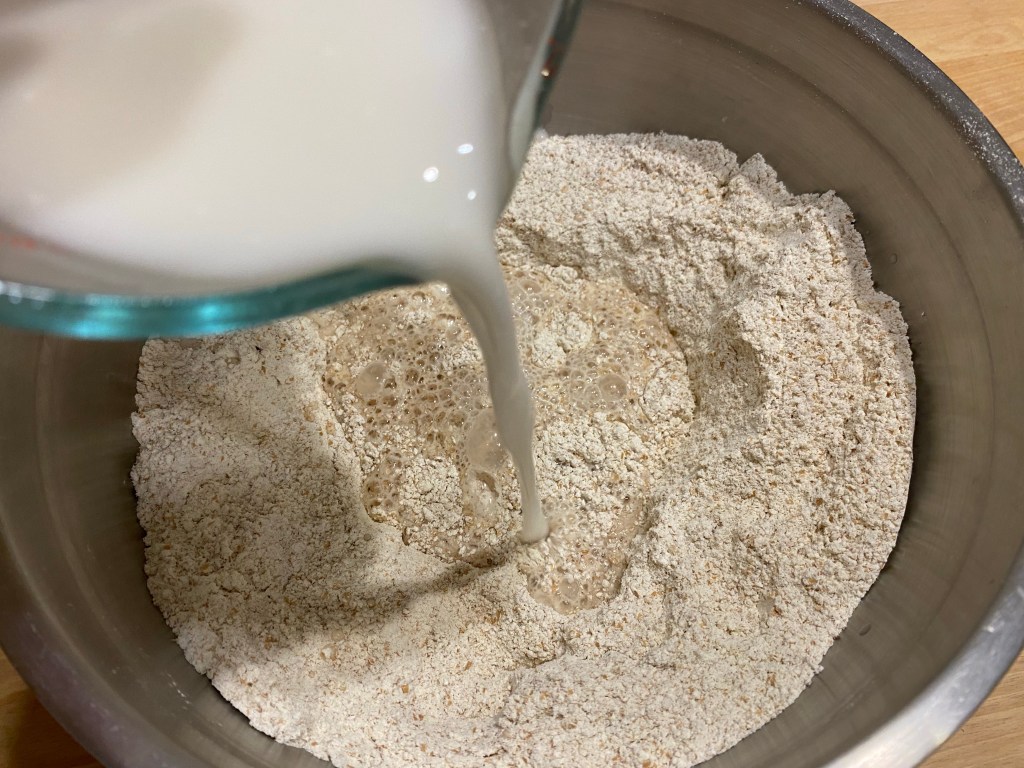
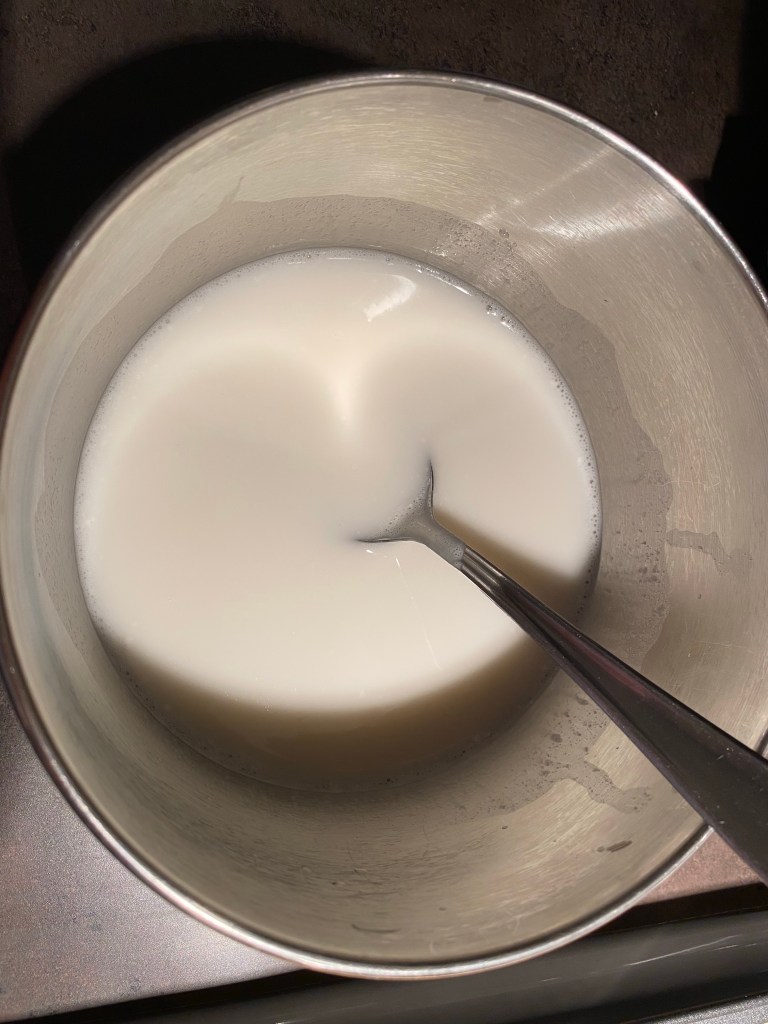
- In a small bowl, combine milk and orange juice. Set aside.
- In a large mixing bowl, cream together butter and sugar. Add whisked eggs and mix until smooth.
- Add the flour/baking powder/salt mixture and the milk/orange juice mixture to the large bowl (butter/sugar/eggs), and mix until fully blended together.


6. In a small bowl, toss the frozen cranberries in flour. Gently fold into the batter.
7. Put in prepared loaf pan, and bake on middle rack for 45-50 minutes until golden and firm on top.

8. Let cool in pan for several minutes, then remove and cool more on wire rack.
9. To prepare glaze: Mix together powdered sugar and orange juice until smooth. Drizzle or spread with spoon to cover the top of the cranberry loaf. Enjoy!

One note to mention from the original recipe: We didn’t have any frozen cranberries when making this for the pictures, so we substituted in dried cranberries instead frozen. The amount of berries also came to a little less than it called for, due to much snacking from the girls in the middle of mixing up the batter!
Please also note: You will want to make sure you plan ahead a little for this recipe, and let the following ingredients come to room temperature prior to mixing: Milk, Butter, and Eggs.

More Desert & Snack Recipes:


Hi, I’m Jessie!
I’m a Wife and Homeschooling Mom living in a remote town in Northern Ontario, Canada. I love making wholesome meals for my family from scratch, homeschooling our girls and learning more about natural living.
Read more about my story HERE.

Subscribe to Northbird’s email list to get weekly posts on: tasty recipes, activity ideas for kids, natural living tips, and some genuine mom thoughts and encouragement!
Recent posts from Northbird:


Carol's Cranberry Loaf
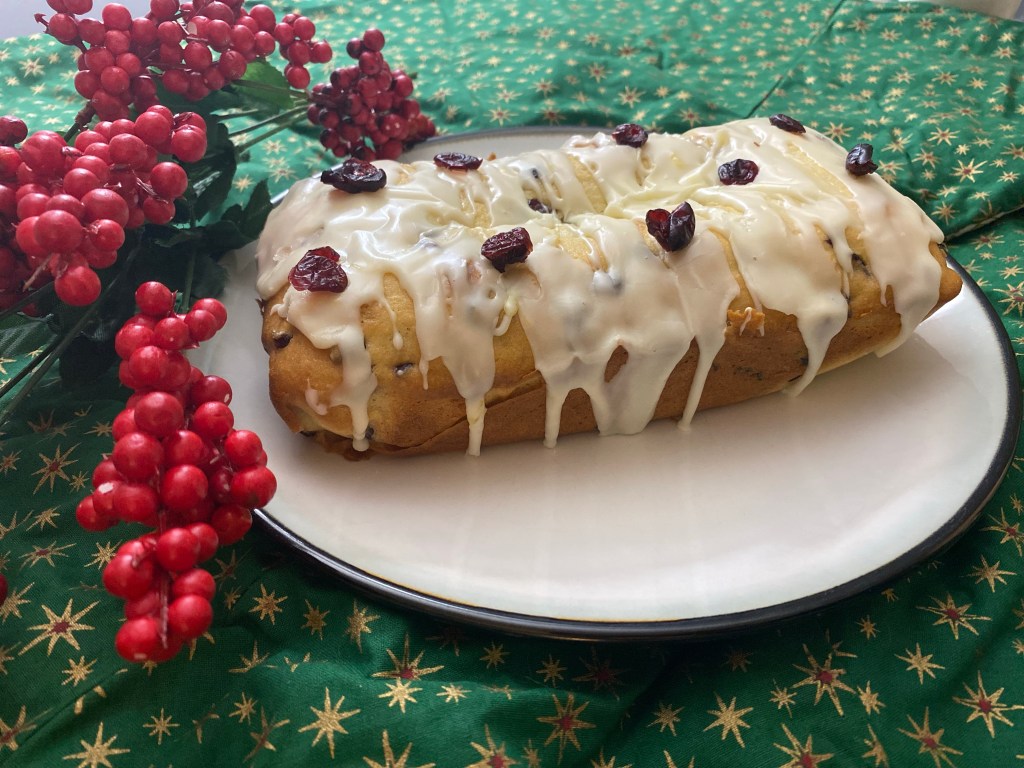
Looking for a festive holiday desert this season? Carol’s Cranberry Loaf is a great addition to your Christmas menu!
One note to mention from the original recipe: We didn’t have any frozen cranberries when making this for the pictures, so we substituted in dried cranberries instead frozen. The amount of berries also came to a little less than it called for, due to much snacking from the girls in the middle of mixing up the batter!
Please also note: You will want to make sure you plan ahead a little for this recipe, and let the following ingredients come to room temperature prior to mixing: Milk, Butter, and Eggs.
Ingredients:
- 1 + 1/2 cups all purpose flour
- 1 teaspoon baking powder
- 1/4 teaspoon salt
- 1/4 cup milk (room temperature)
- 1/4 cup orange juice
- 6 Tablespoons soft butter
- 3/4 cup sugar
- 2 large eggs (room temperature)
- 1 + 1/2 cups frozen cranberries
- 1/2 tablespoon flour
- 1 cup powdered sugar
- 1 + 1/2 tablespoons orange juice (no pulp)
Directions:
- Preheat oven to 350 degrees fahrenheit. Butter loaf pan and dust with flour. (Our pan was not in the best of shape so we lined it with parchment paper instead)
- In a medium sized bowl, mix together: flour, baking powder and salt. Set aside.
- In a small bowl, combine milk and orange juice. Set aside.
- In a large mixing bowl, cream together butter and sugar. Add whisked eggs and mix until smooth.
- Add the flour/baking powder/salt mixture and the milk/orange juice mixture to the large bowl (butter/sugar/eggs), and mix until fully blended together.
- In a small bowl, toss the frozen cranberries in flour. Gently fold into the batter.
- Put in prepared loaf pan, and bake on middle rack for 45-50 minutes until golden and firm on top.
- Let cool in pan for several minutes, then remove and cool more on wire rack.
- To prepare glaze: Mix together powdered sugar and orange juice until smooth. Drizzle or spread with spoon to cover the top of the cranberry loaf. Enjoy!
Nutrition
For 1 loaf divided into 8 slices, 1 slice: 343 calories; 9.8 g fat; 62 g carbohydrates;
4 g protein; 191 mg sodium.