Find Northbird on social media:
This post contains affiliate links. As an Amazon associate, I earn from qualifying purchases. This means that I make a small commission at no extra cost to you. You can read my full disclosure HERE.

We LOVE curry night! Once a week we have either a stir fry or curry served with rice. My favourite is curry of course because it’s a little less work and can be easily made ahead and kept warm.
Before Jesse and I got married (or even met), I spent several months in a bible school that had an outreach focus in Asia. After training, my team and I lived in a missionary’s house in Tokyo, Japan, for a month, followed by another month in Southern Thailand. It was during this time that I grew to love eating different curries and of course rice.
There are hundreds of different curry recipes, originating from many different countries and cultures. I love trying different ones out and letting my somewhat enthusiastic family try them (they are not as excited to try anything remotely spicy!).
This Chickpea Coconut Curry has become my go-to recipe for last minute curry cooking. It may change week-to-week based on what vegetables I have available, but I love this particular mix of ingredients. It is generally easier on the more sensitive palate, making it a great choice on the menu for little ones.


Nutritional Benefits of Chickpeas:
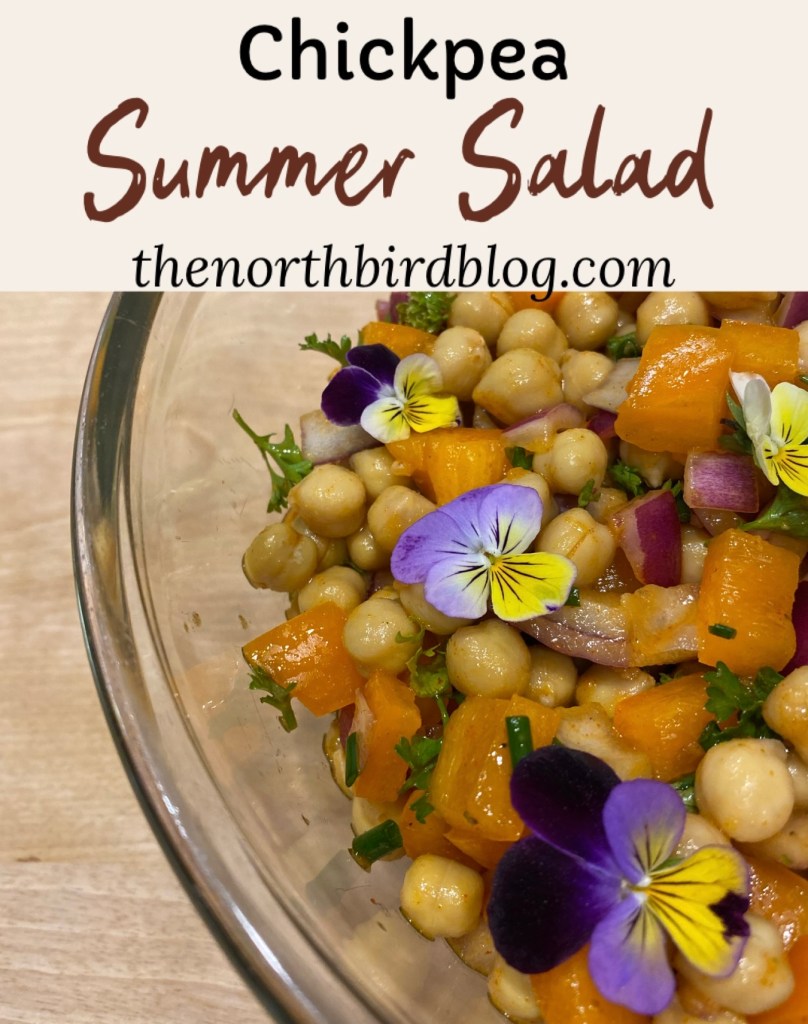
Chickpeas are also known as garbanzo beans, and are widely used in many different cuisines. From falafel to curries to hummus, there are countless types of dishes that feature chickpeas.
They are high in protein, which makes them a favourite alternative for replacing meat protein. They are also high in healthy fats, carbs and fibre. Some other nutritional components include: Manganese, Folate (Vitamin B9), Copper, Iron, Zinc, Phosphorus, Magnesium, Thiamine, Vitamin B6, Selenium and Potassium.
Health Benefits May Include:
- Help you to feel full longer
- Weight management
- Boosts bone & muscle health
- Helps to regulate blood sugar levels
- Assists with digestion
- May reduce risk of chronic illnesses
- Supports brain function
- May help relieve anxiety and depression
- Boosts red blood cell production (Iron deficiency)
You can read more HERE about why Chickpeas are an amazing addition to your diet.
Is Coconut Milk good for you?
Coconut milk is an amazing source of healthy saturated fats and high in calories. It is typically made from grinding the white flesh part of a matured brown coconut and then mixed with water. It is important to not confuse coconut milk with coconut water, which usually comes from an immature green coconut and is estimated 94% water.
The coconut milk has varying thickness of fat in it, and used for different dishes. In most cuisines, the thicker the milk is, the more likely it is used for deserts and creams. The thinner milk is usually used for making soups, curries and sauces.
My mother usually has at least one can of coconut milk buried at the back of her fridge. She chills the can so that the milk layers will separate and the thicker cream can be used as desert toppings.
I heard a story a while ago of how some babies that were born in the south pacific islands were given coconut milk when there was no baby formula or substitute nursing mothers available. And these babies thrived with no developmental concerns.
Perhaps one thing to note about drinking coconut milk, is that not all store bought brands are actually good for you. Many of them contain preservatives and added sugars, so it’s always a good idea to read the labels!

Here’s a short video of how to make Chickpea Coconut Curry…!
How to Make Chickpea Coconut Curry
Supplies Needed:
Ingredients:
- 1/4 cup coconut oil
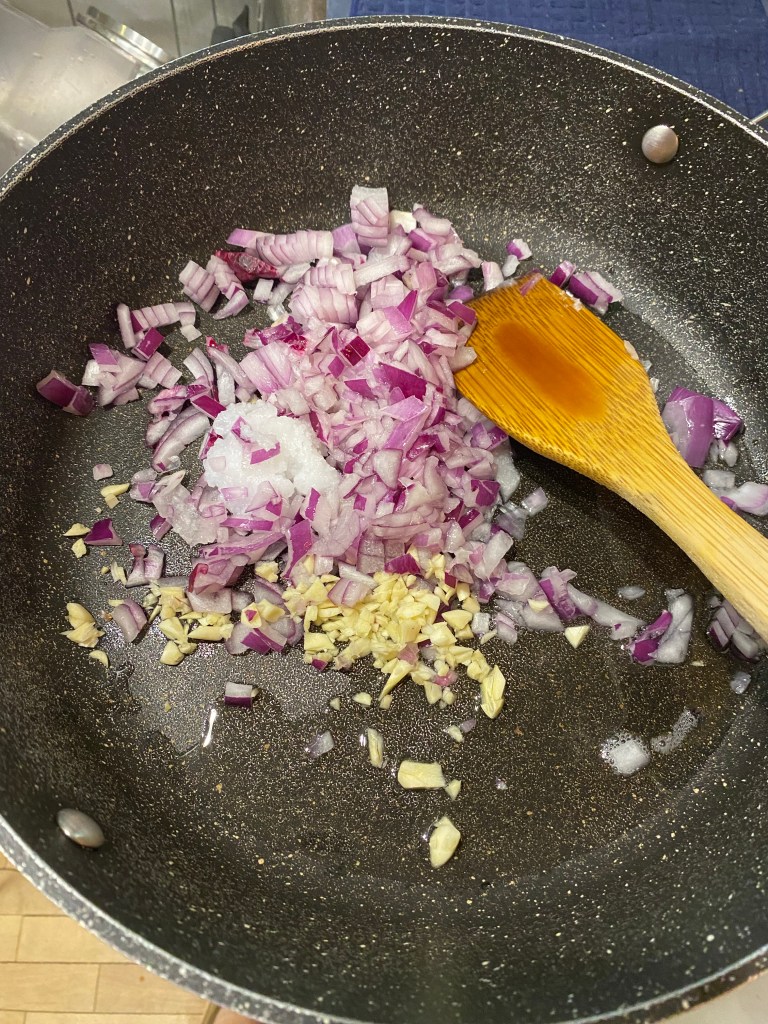
- 1 onion, chopped
- 4 garlic cloves, minced
- 1 small finger of ginger root, minced
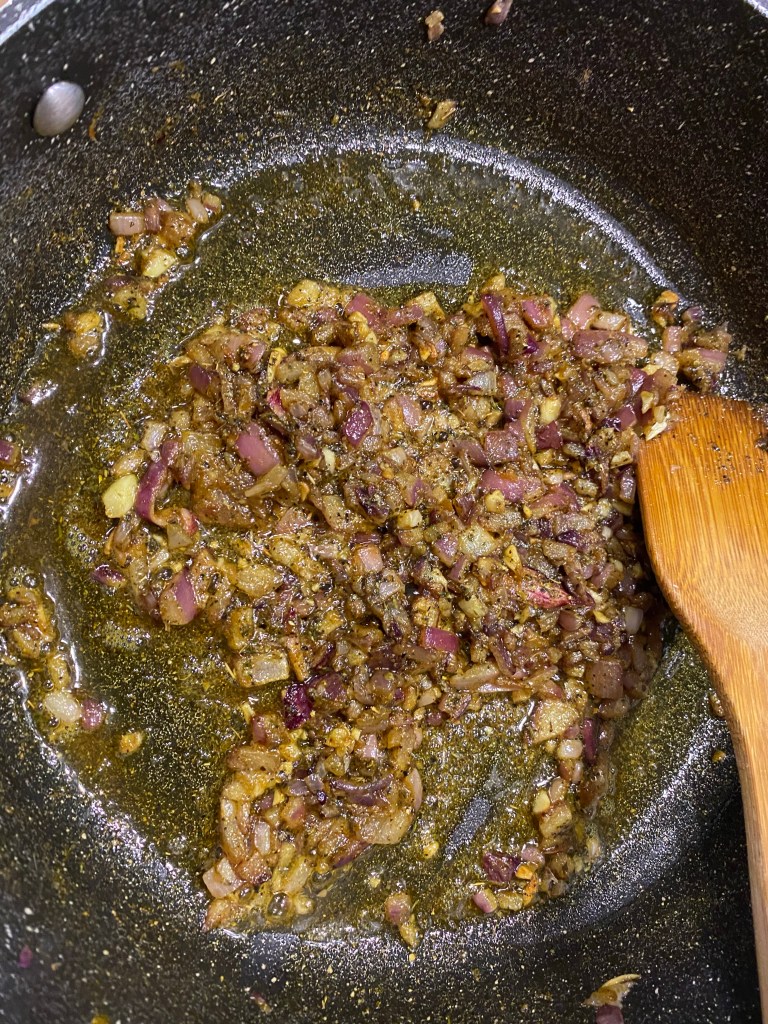
- 1/2 teaspoon coriander, ground
- 2 tablespoons yellow curry (or more to taste)
- Pepper and salt to taste
- 2 teaspoons Italian seasoning herbs
- 1 can (14oz/400ml) coconut milk
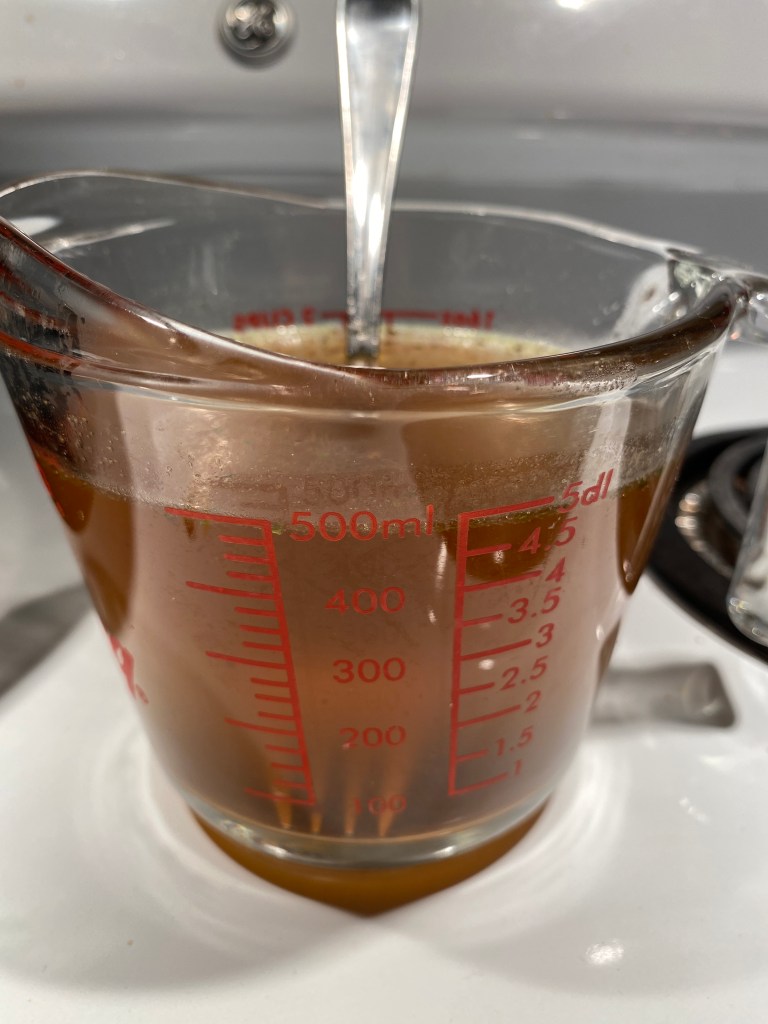
- 2 cups beef stock (can use chicken or vegetable)
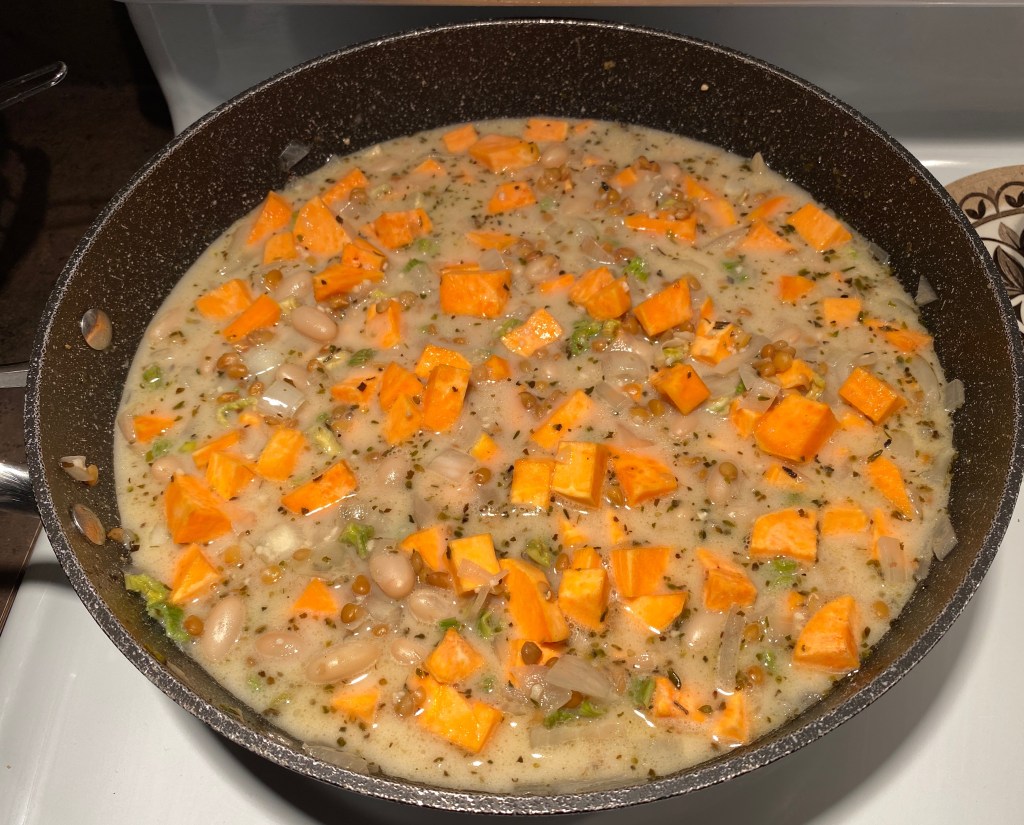
- 6 small sweet potatoes
- 1 can (19oz/540ml) Chickpeas
- 6 small mushrooms
- 2 bay leaves
Directions:
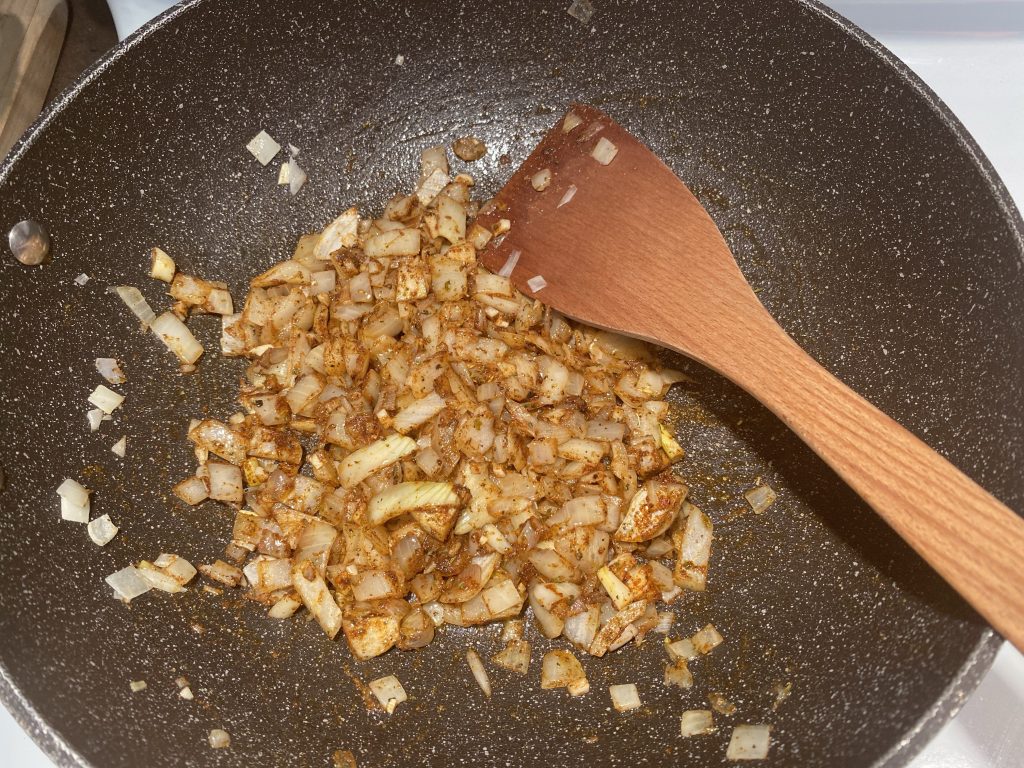
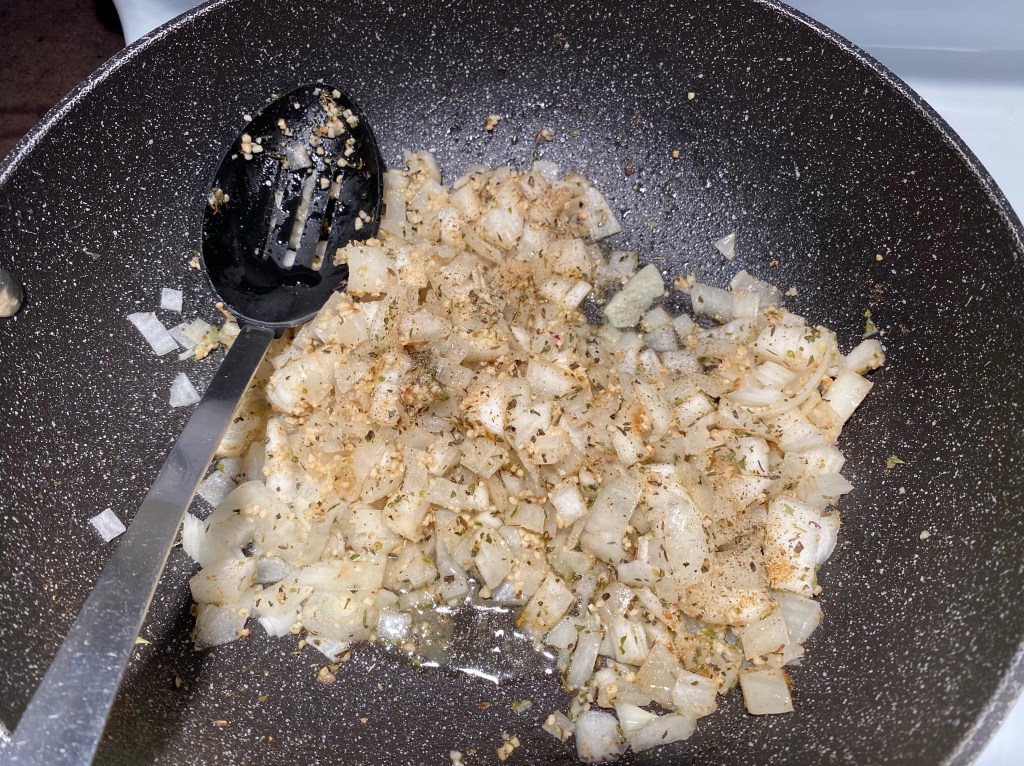
- Melt the coconut oil in wok or large skillet over medium heat.
- Add the onion, garlic and ginger. Cook for 2 minutes or until the onions have softened.
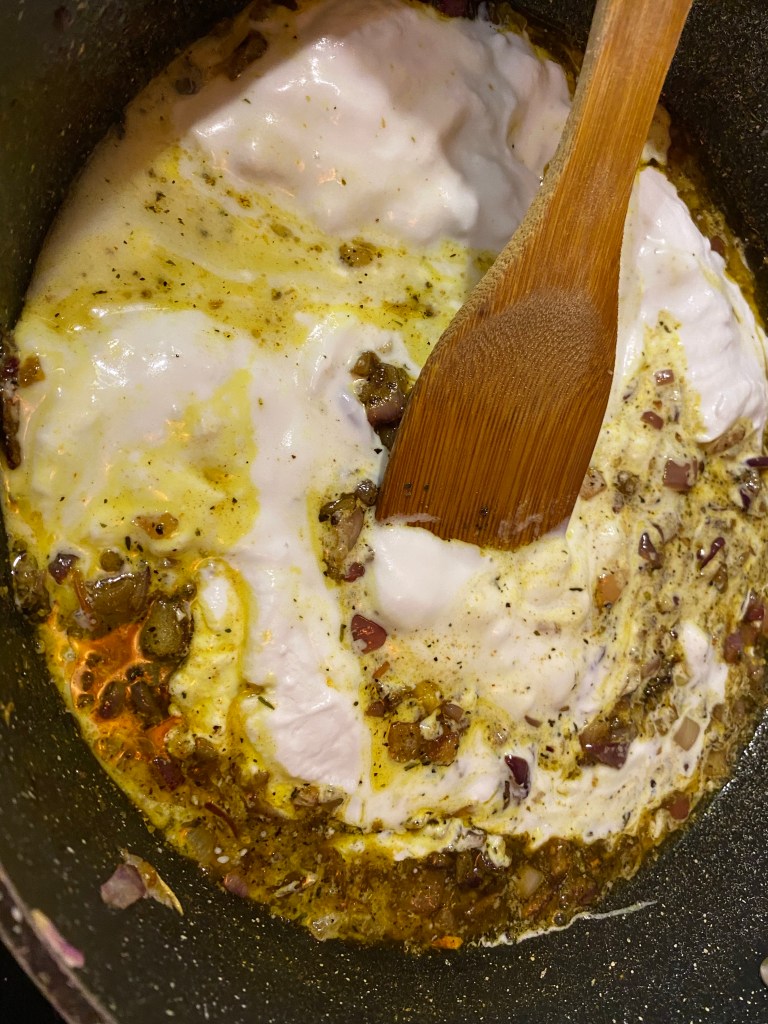
- Add the spices/herbs: coriander, curry, salt, pepper, and Italian seasoning. Stir for 1 minute.
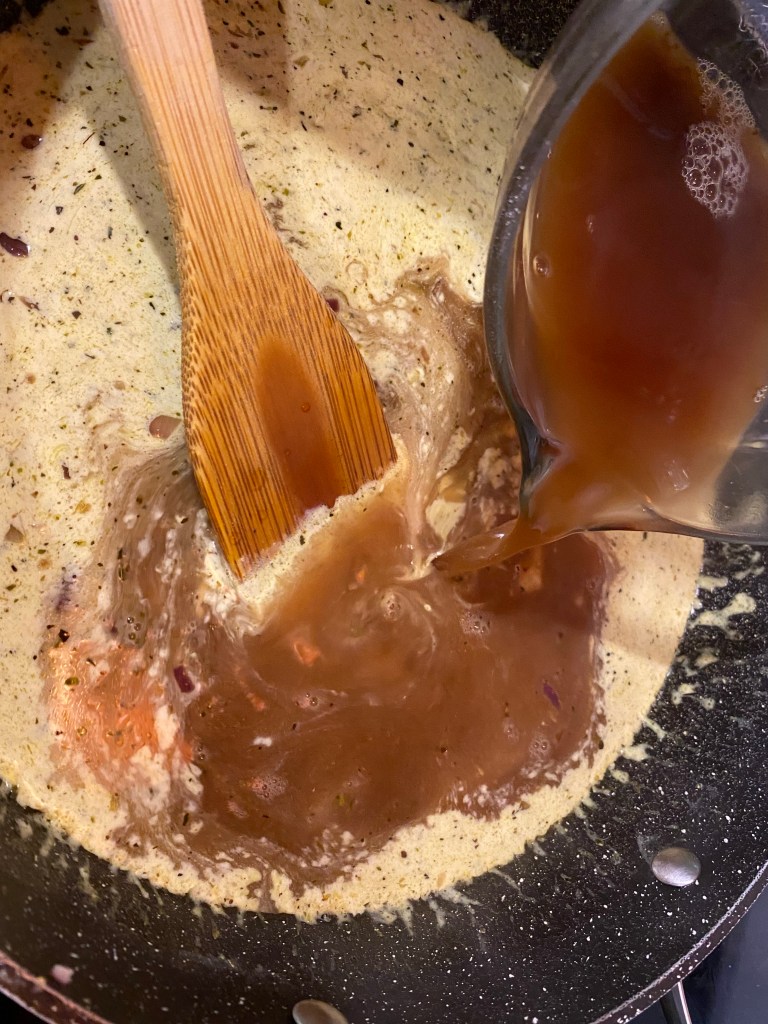
4. Add the coconut milk and stir in, followed by the beef stock. Cook for 5 minutes and stir well.
5. Add the remaining ingredients (sweet potatoes, chickpeas, mushrooms, bay leaves, and any other vegetables you would like to add!).

6. Continue cooking and stirring occasionally for another 15-20 minutes, until curry thickens and vegetables are tender.
7. Serve over rice and garnish with fresh basil or parsley.
Additional Note: This recipe is lovely with some fresh Naan bread for dipping. I am developing a recipe to share on here soon!
Other Soups and Entrees to Check Out:


Hi, I’m Jessie!
I’m a Wife and Homeschooling Mom living in a remote town in Northern Ontario, Canada. I love making wholesome meals for my family from scratch, homeschooling our girls and learning more about natural living.
Read more about my story HERE.

Subscribe to Northbird’s email list to get weekly posts on: tasty recipes, activity ideas for kids, natural living tips, and some genuine mom thoughts and encouragement!
Recent posts from Northbird:


Chickpea Coconut Curry
Delicious and Creamy Curry on your table in under an hour!
Ingredients:
Directions:
- Melt the coconut oil in wok or large skillet over medium heat.
- Add the onion, garlic and ginger. Cook for 2 minutes or until the onions have softened.
- Add the spices/herbs: coriander, curry, salt, pepper, and Italian seasoning. Stir for 1 minute.
- 4. Add the coconut milk and stir in, followed by the beef stock. Cook for 5 minutes and stir well.
- Add the remaining ingredients (sweet potatoes, chickpeas, mushrooms, bay leaves, and any other vegetables you would like to add!).
- Continue cooking and stirring occasionally for another 15-20 minutes, until curry thickens and vegetables are tender.
- Serve over rice and garnish with fresh basil or parsley.
Nutrition
For 1 approximate serving: 192 calories; 13 g fat; 16 g carbohydrates;
3.7 g protein.