Find Northbird on social media:
This post contains affiliate links. As an Amazon associate, I earn from qualifying purchases. This means that I make a small commission at no extra cost to you. You can read my full disclosure HERE.

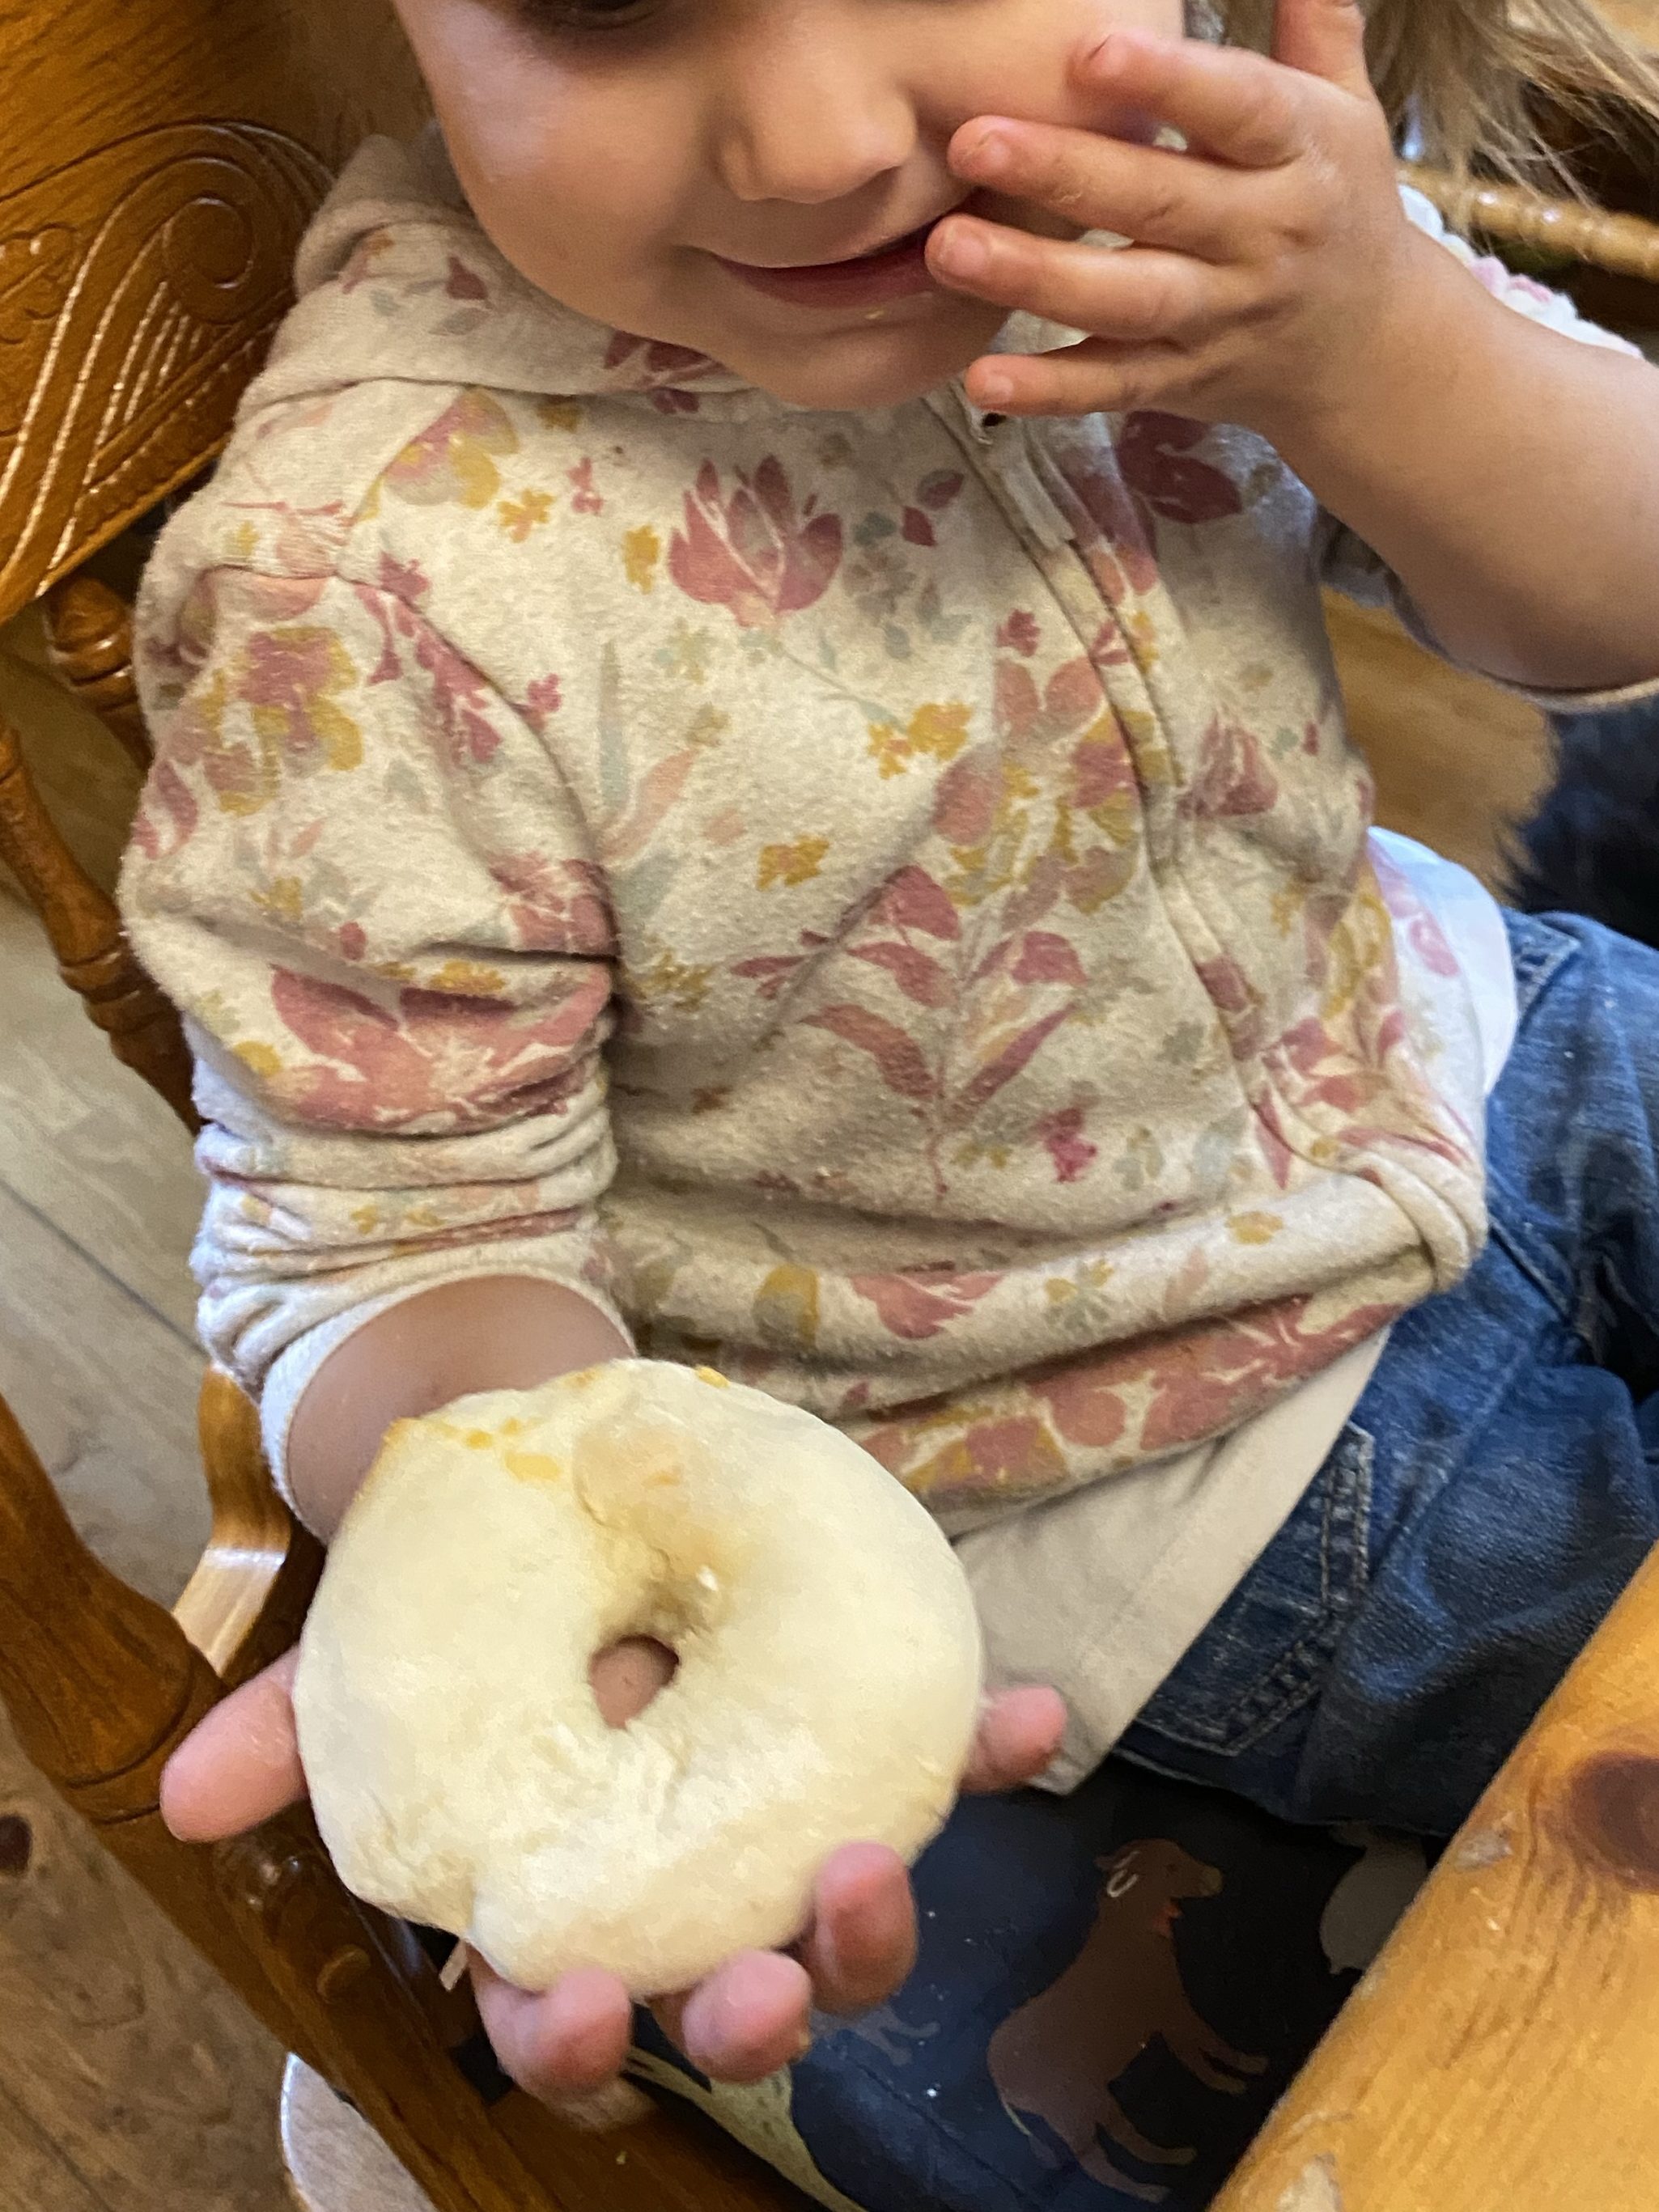
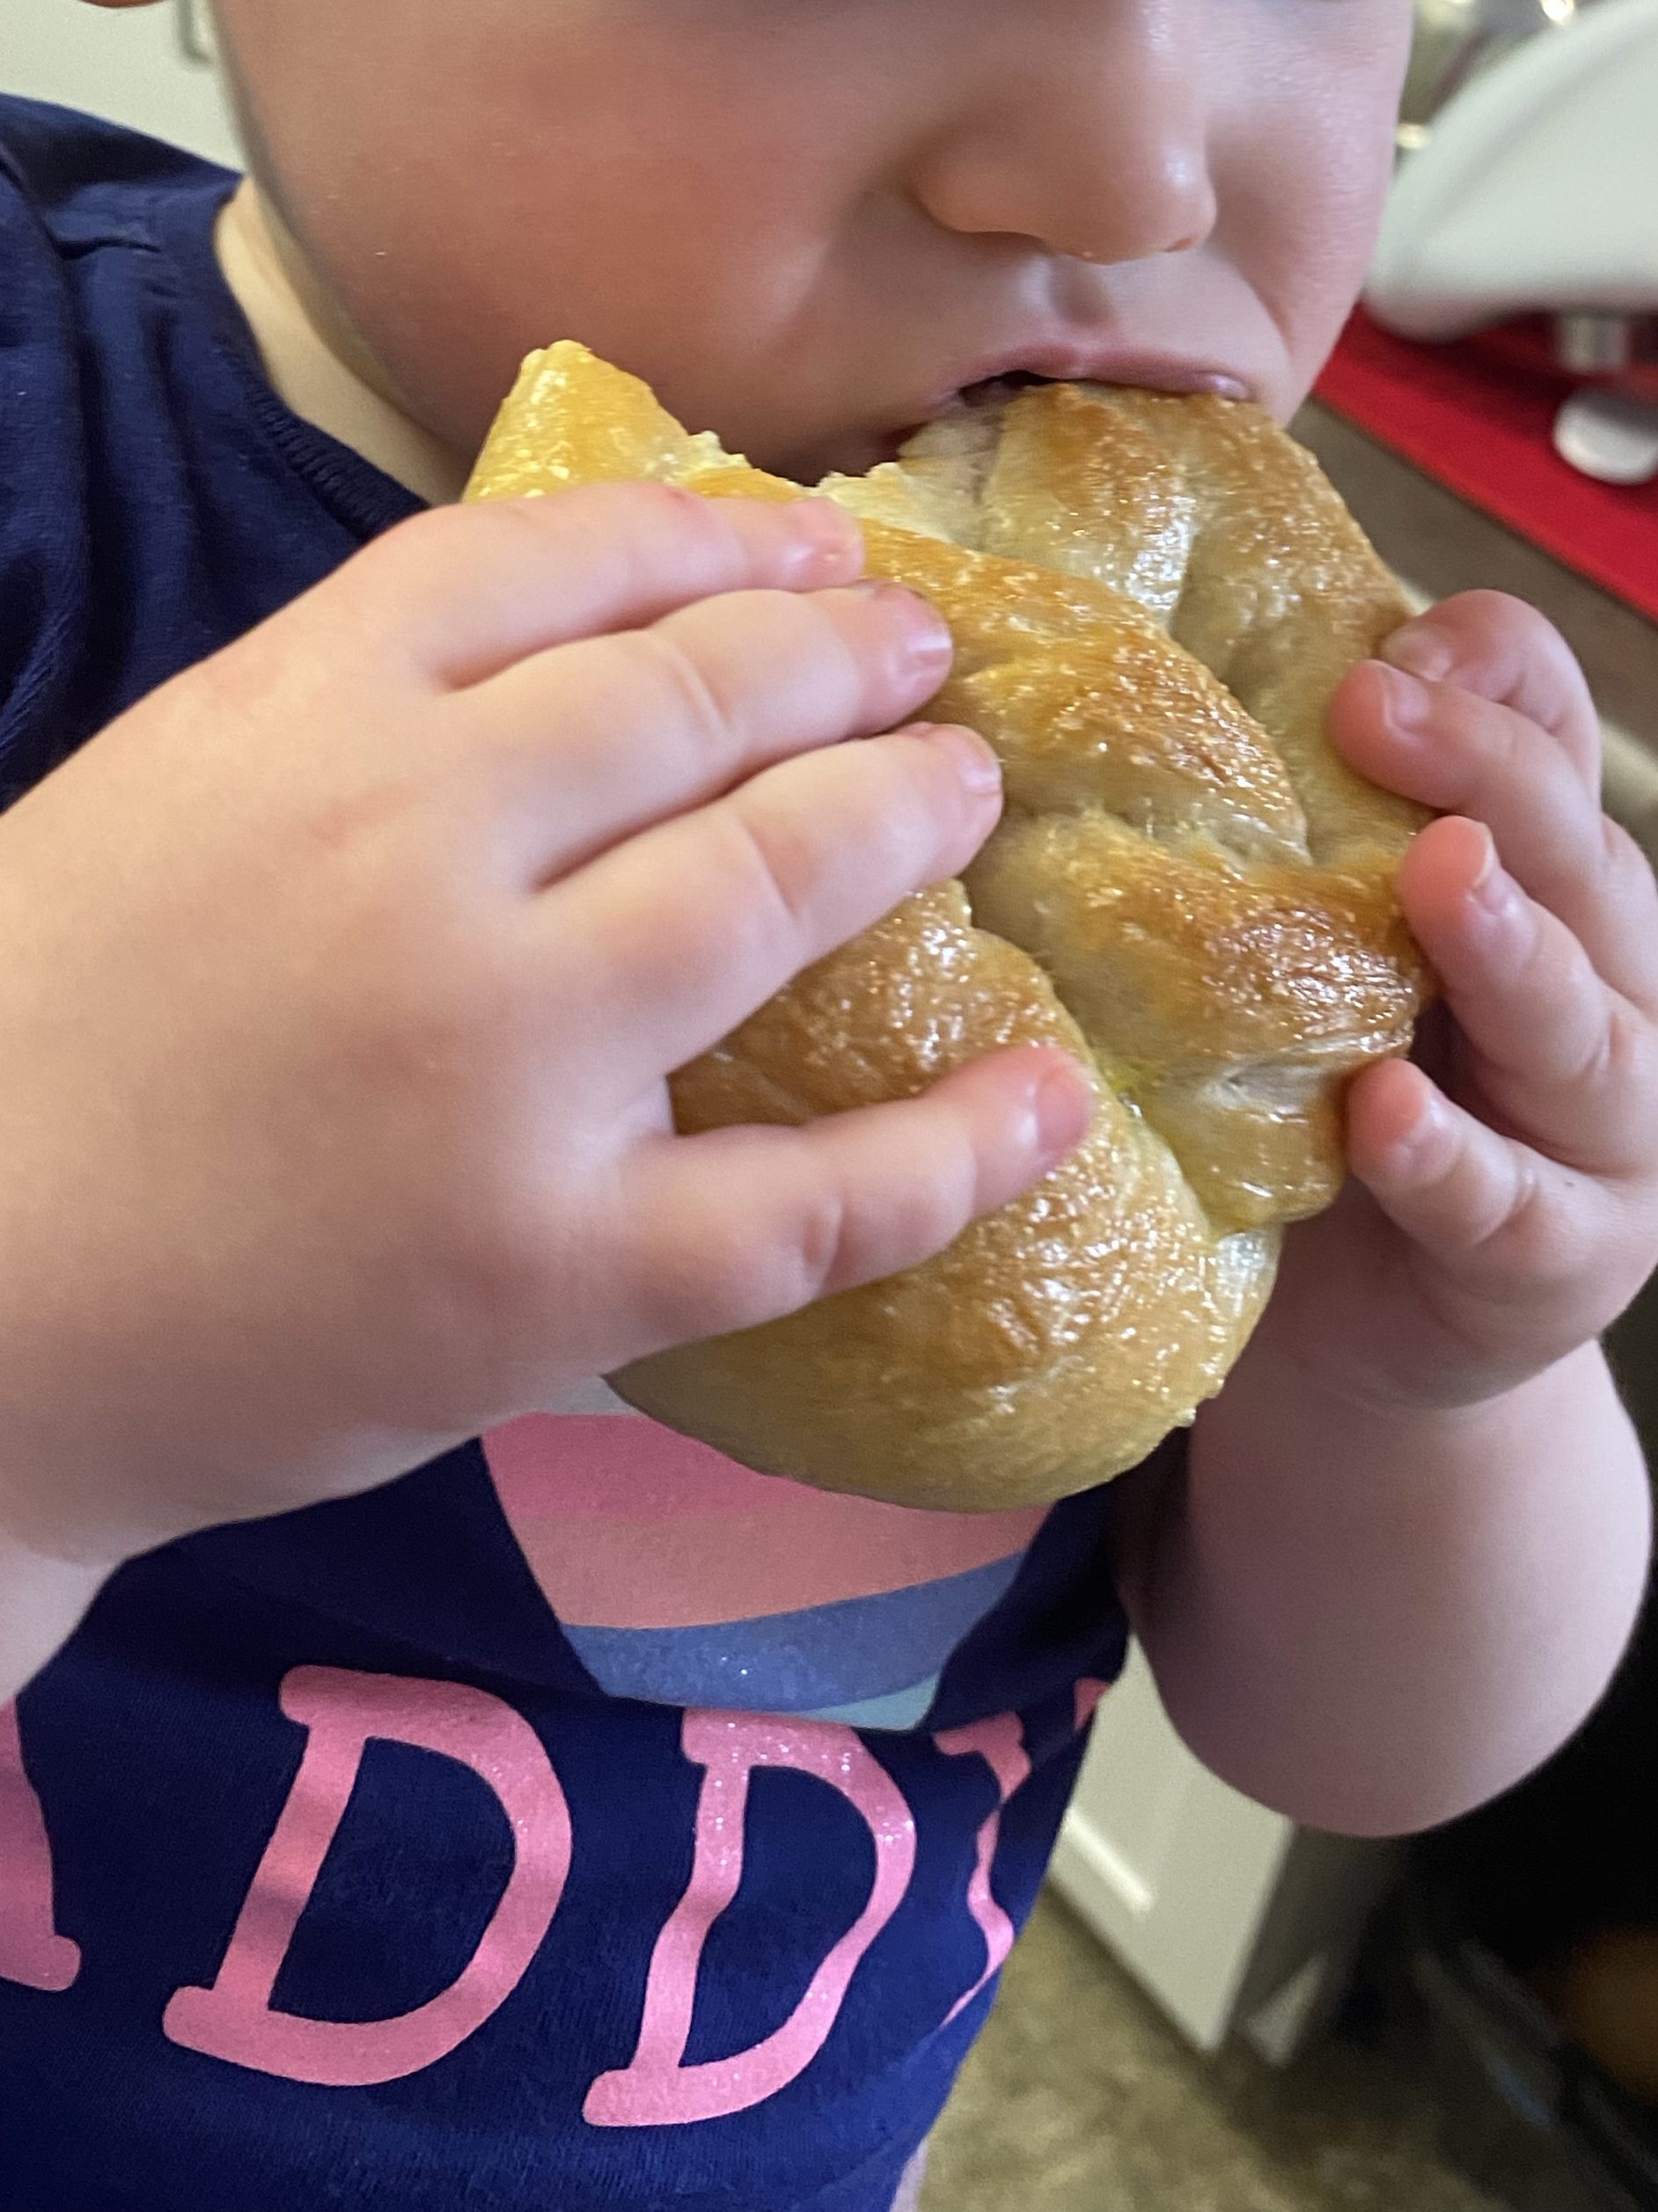
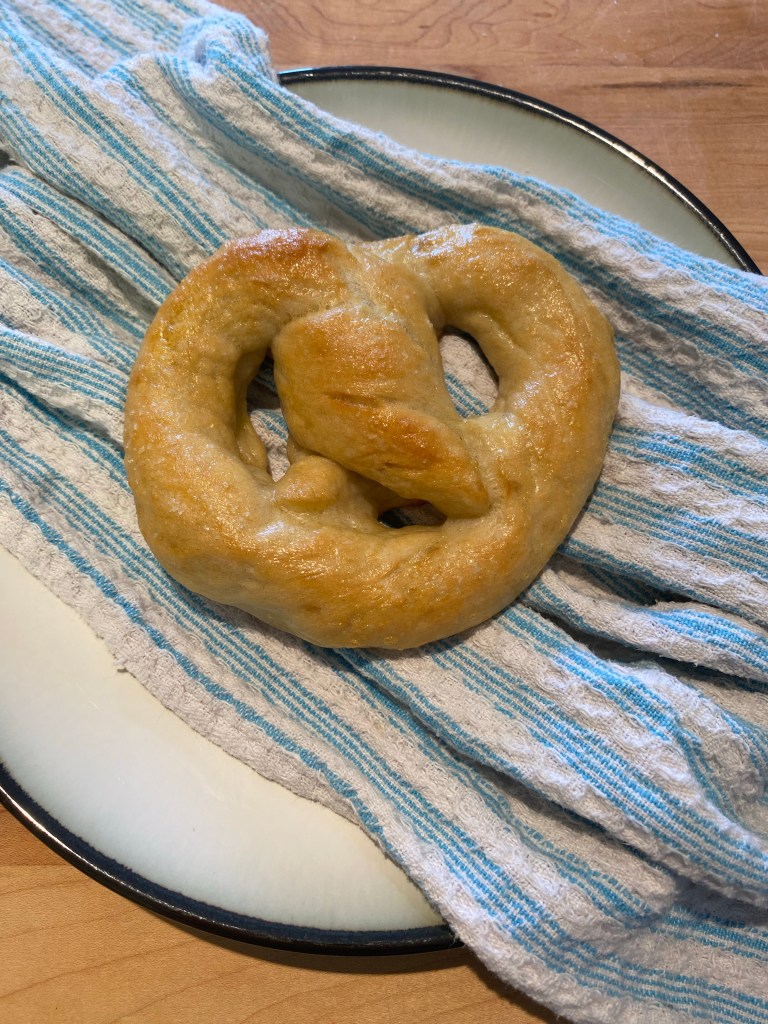
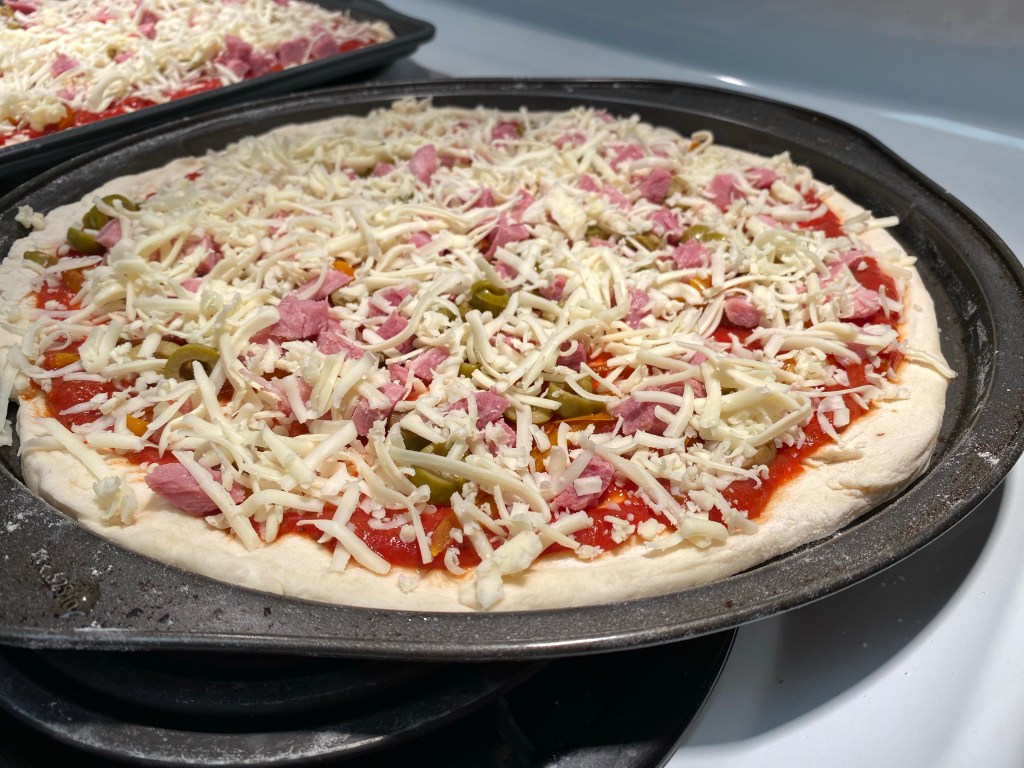
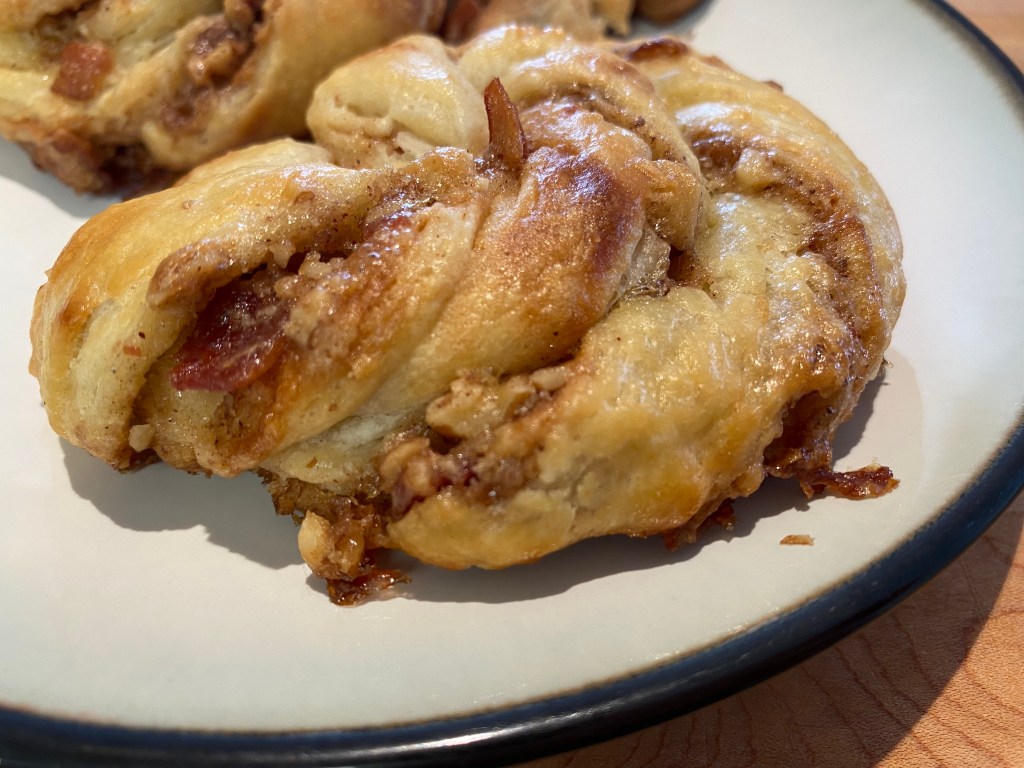
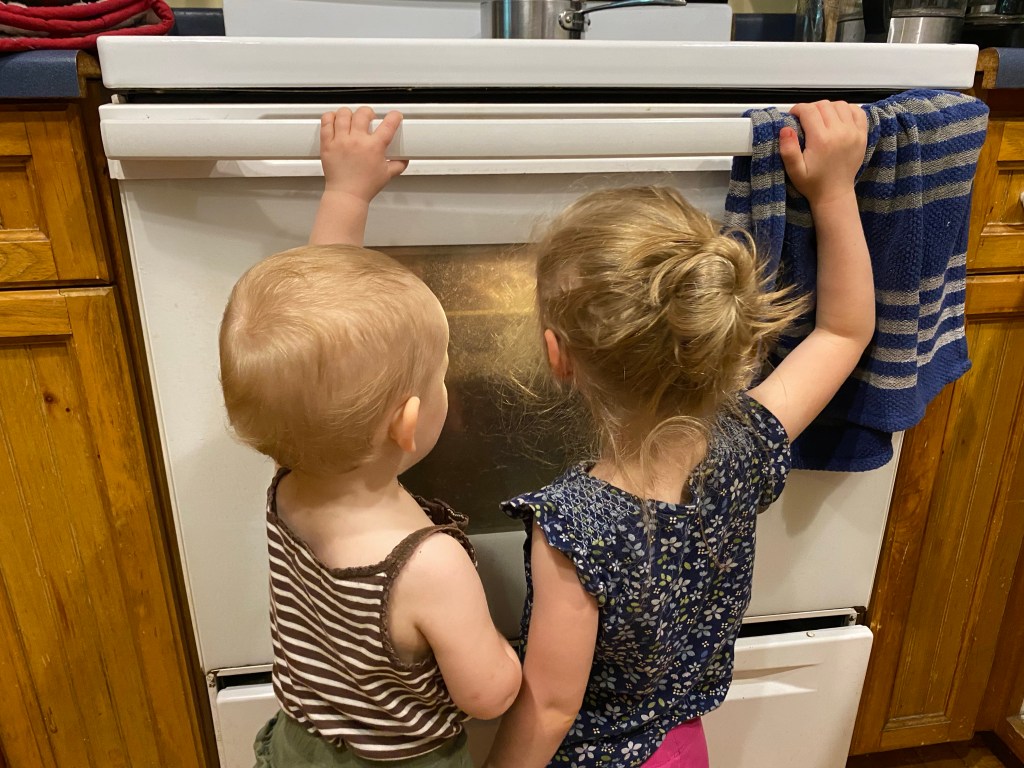
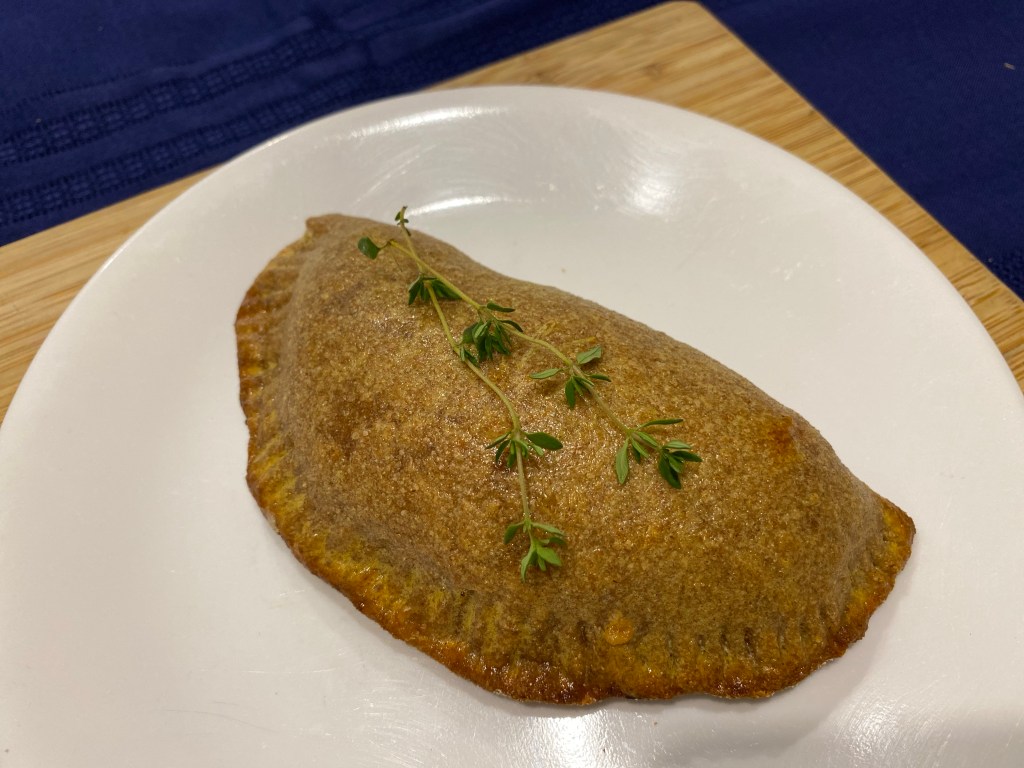
We’ve had some fun lately experimenting with our Friday pizza meals. One fun development was making these “pizza pockets”, or Panzerottis. The kids loved making these with me, and especially watching them puff up in the oven!
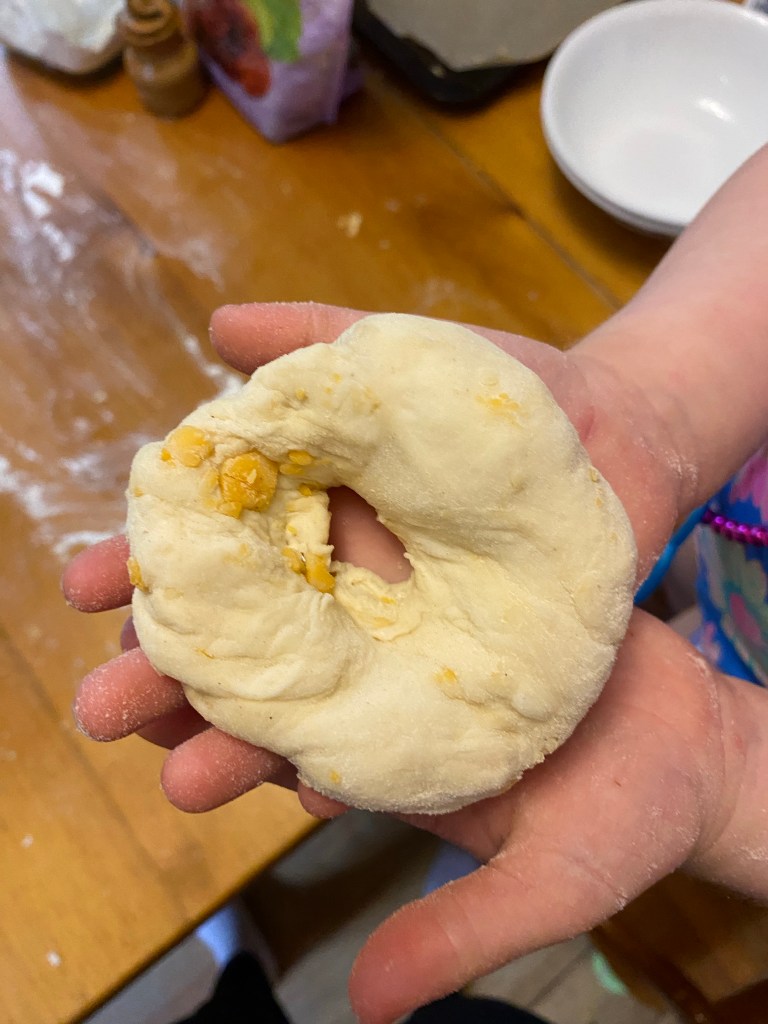
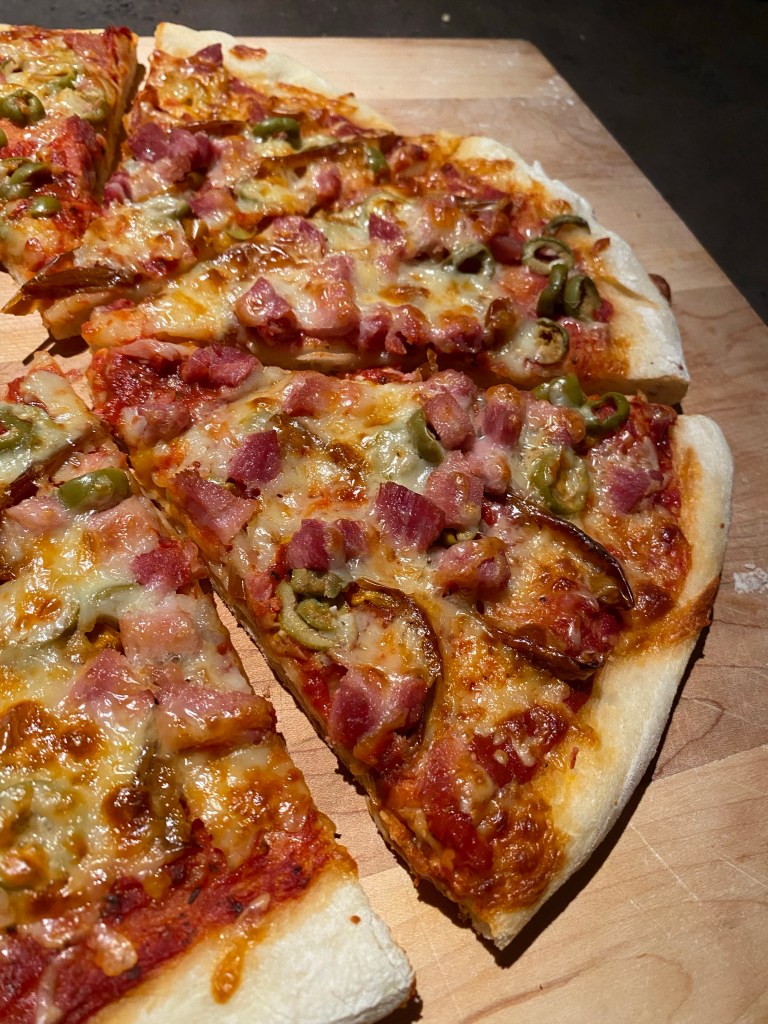
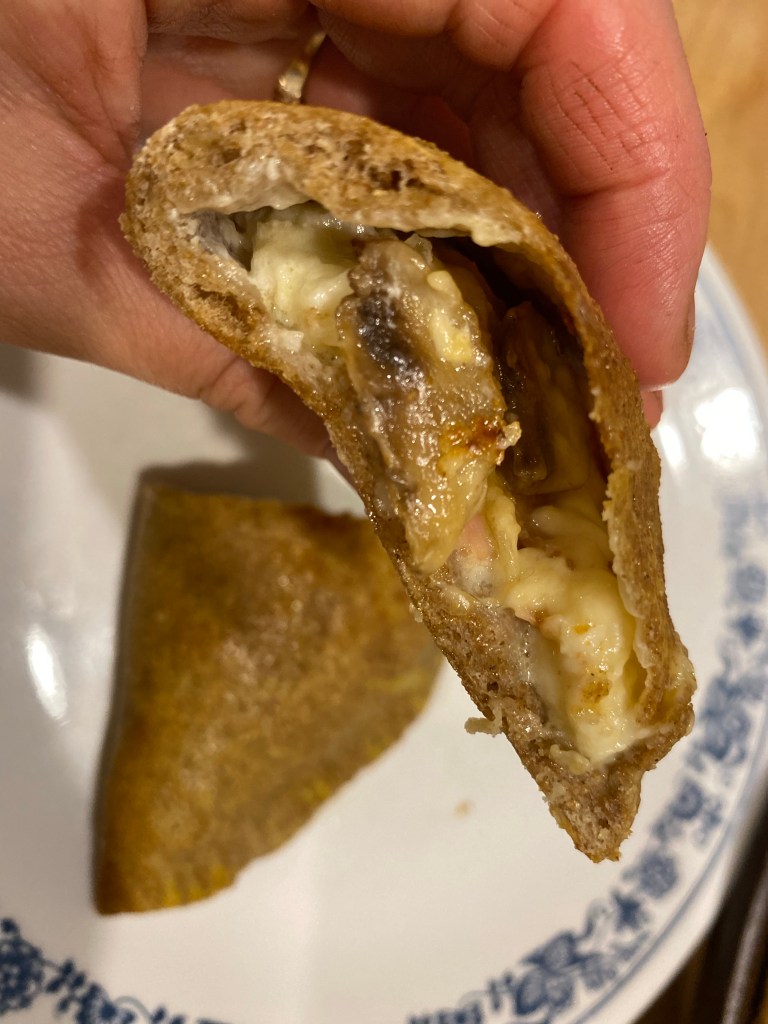
The first few I made had some thin spots in the crust so they broke open and delicious cheese spilled out –or as my oldest said “It pooped out some cheese!”
What is the difference between a Panzerotti and a Calzone?
Panzerottis, or “pizza pockets/hot pockets” can be fried or baked, but are usually fried. They are smaller in size than Calzones, and can be made with a variety of ingredients. For this particular recipe, I made them in the oven, baked alongside a large pizza with similar toppings.
Calzones, or “pizza turnovers” are usually about the size of a medium pizza, folded or inverted on itself with the crust on the outside. Calzones are usually oven-baked, have a thicker crust and are served with a dipping sauce.
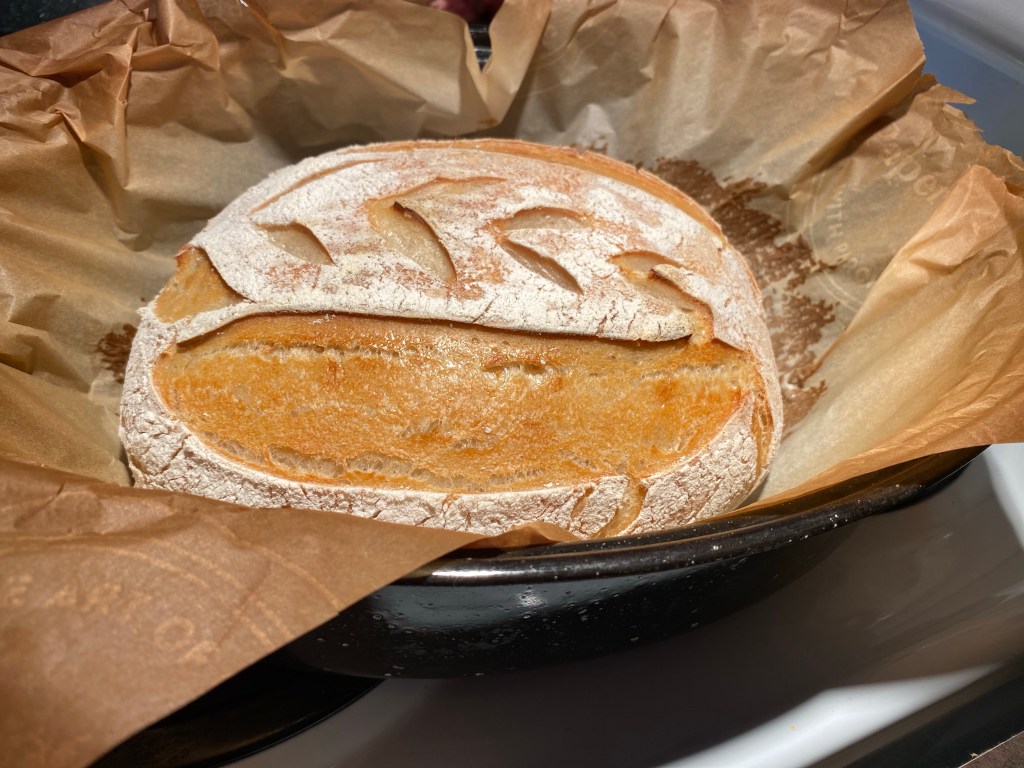
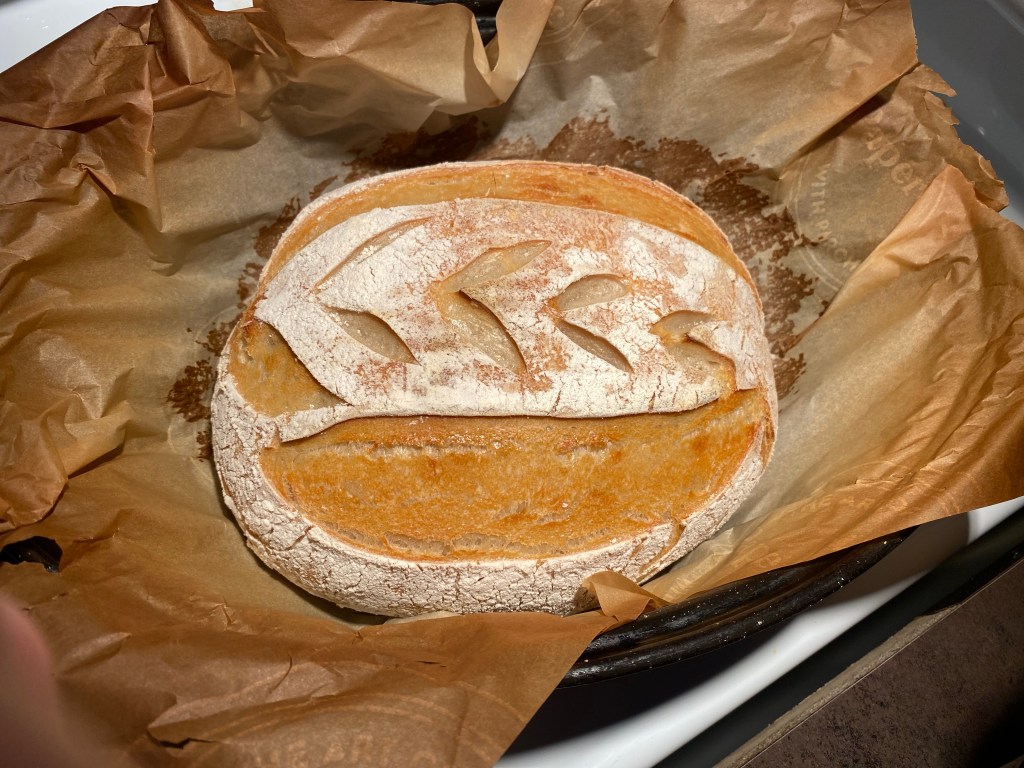
What is Sourdough?
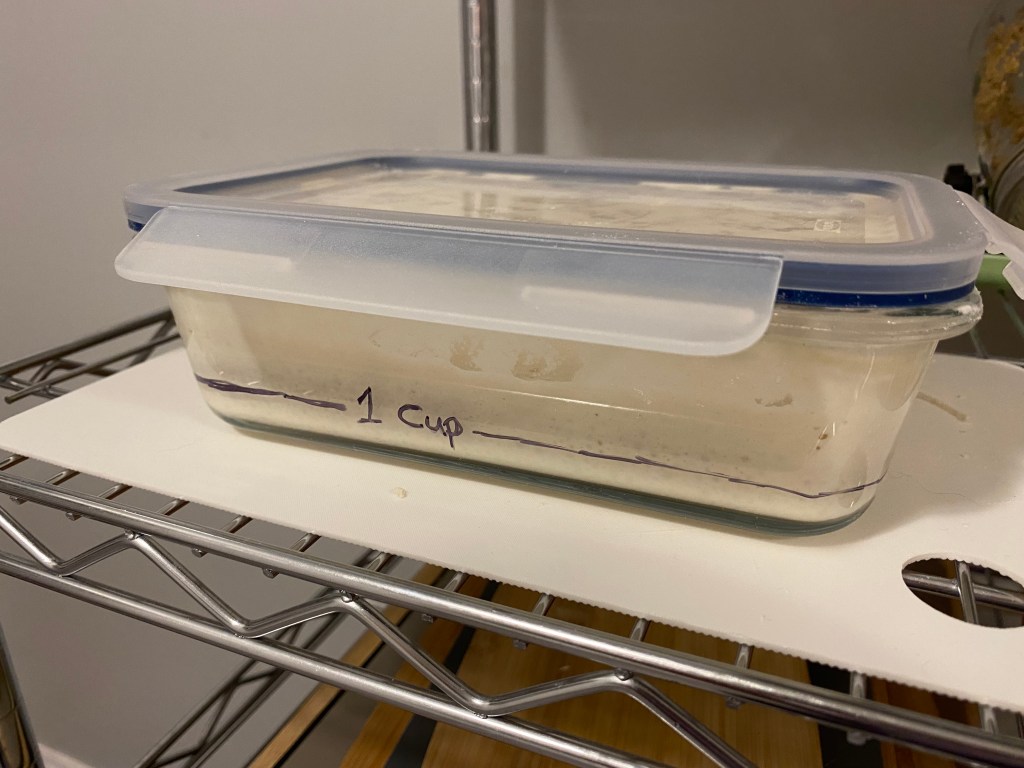
Sourdough is made using a fermented mixture of flour and water, called the “starter”, and mixed with more water, flour, and usually salt. The dough naturally rises as it ferments during resting stages.
There is a lower amount of gluten in sourdough baking, which is why the dough needs to be “stretched” multiple times to help it expand and become fluffy.

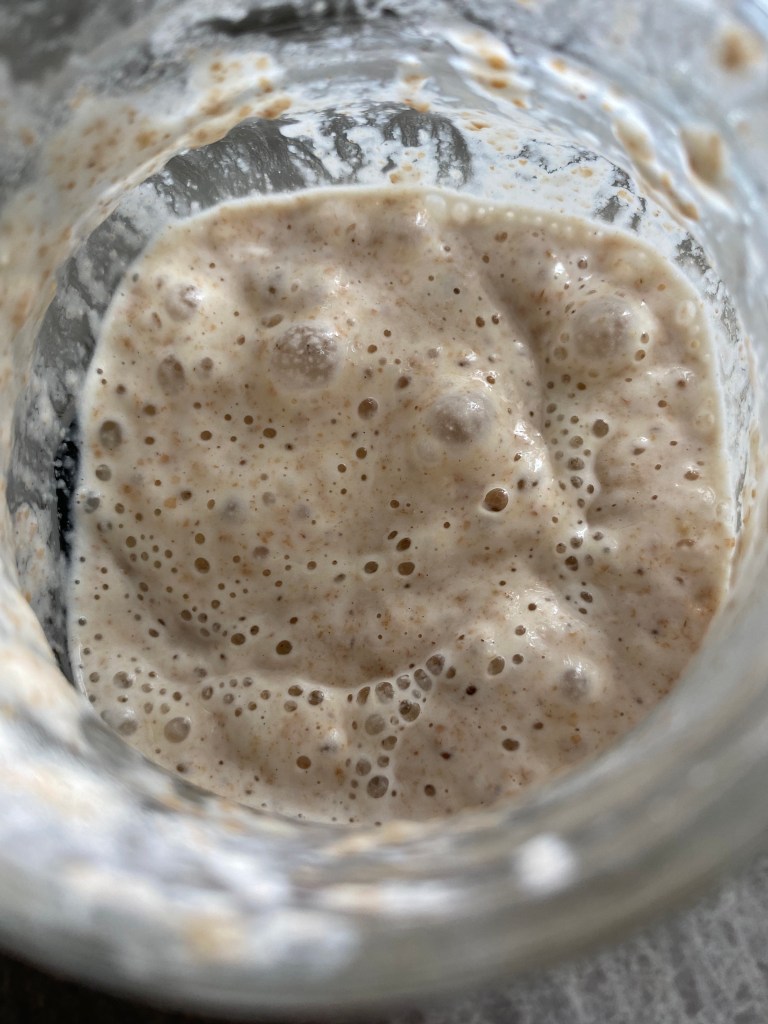
A sourdough starter is a fermented mixture of flour and water. Every day it is “fed” usually equal parts water and flour by weight, and within several hours it becomes bubbly and doubled in size. This is called “active starter”. The “active” timing depends on your kitchen’s temperature and humidity, and also the feeding ratio of flour and water.
For more information on “Sourdoughing”, you can see THIS POST (Sourdough Bread).

Click HERE to get my easy Sourdough Pizza recipe!
How to Make Sourdough Panzerotti (Pizza Pockets)
Supplies Needed:
- Mixing bowl and spoon
- Measuring cups
- Teaspoon & tablespoon
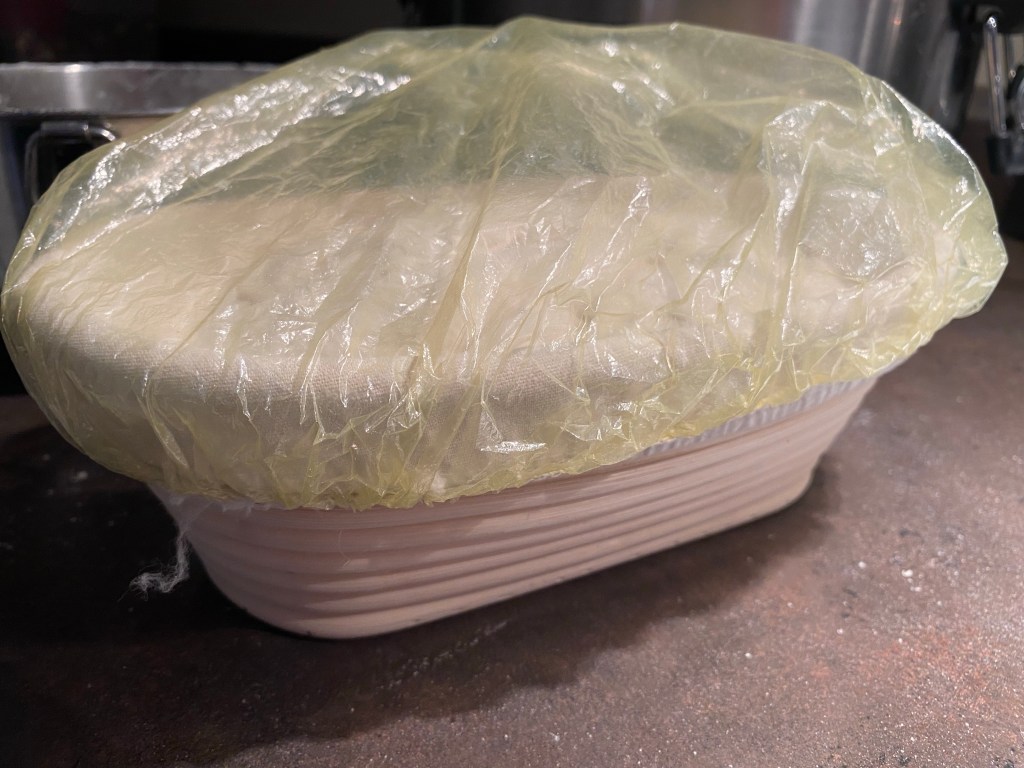
- Beeswax cover, plastic wrap or clean tea towel
- 2-3 Baking sheets
- Rolling pin
- Oil brush
- Pizza cutter
Ingredients:
- 1/3 cup active sourdough starter
- 1 + 3/4 cup water, lukewarm
- 4 cups all purpose flour
- 2 teaspoons sea salt, finely ground
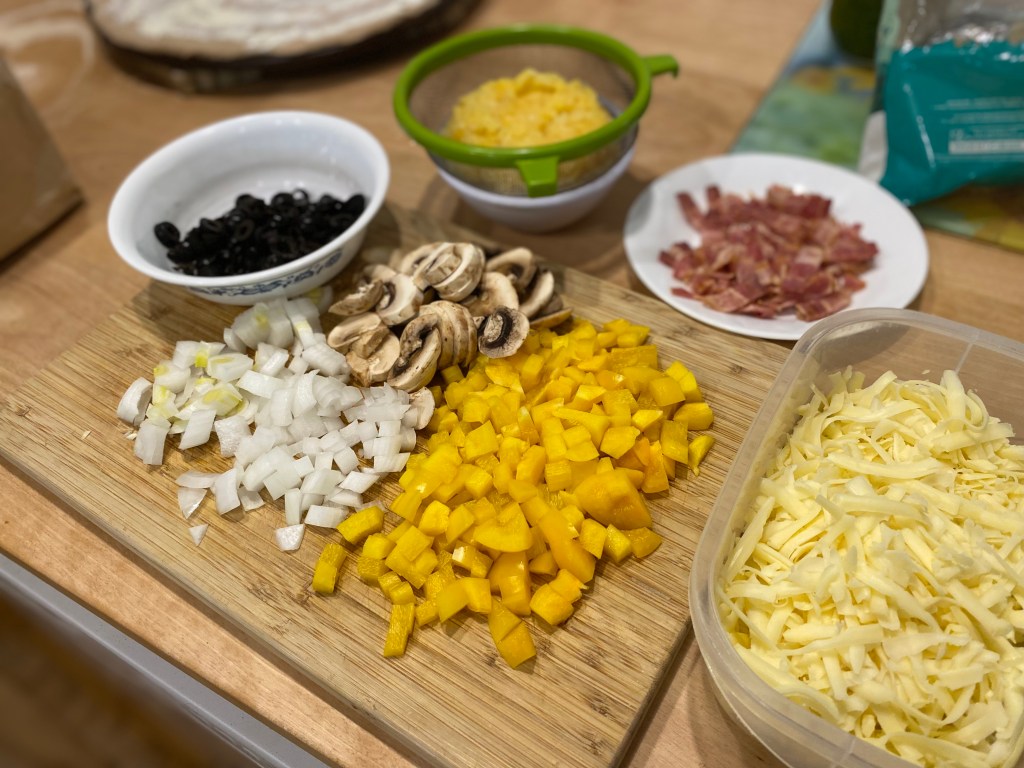
Pizza Topping Ideas:
- Cheese: Mozzarella and white cheddar are my favourites to use on pizza, but they are undoubtedly the most expensive part of the pizza. Where we live in the north, one 400g block costs around $10! We buy several blocks at a time when we are in the south and they go on sale, and if the expiry date is close, then the cheese intended for pizza goes directly into the freezer. Frozen cheese can tend to crumble a little when thawed, but that works just fine for pizza, right?!
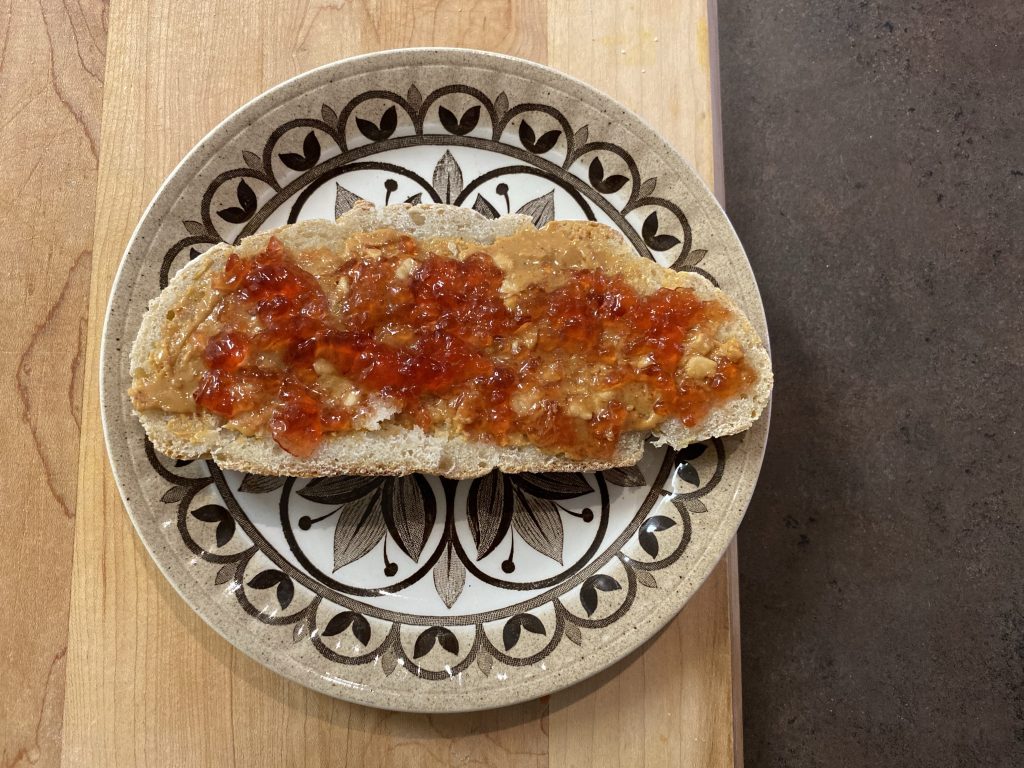
- Pizza sauce: You can use regular canned pizza sauce or also pasta sauce, it just won’t be as thick. (In a later post I’ll share my mother’s Garlic Cream Sauce for pizza!)
- Meat: If we have a ham, chicken, beef roast, etc then I’ll cut off small cooked portions and put in freezer bags and label for pizza. I also use cooked bacon, kohlbassa and pepperoni and do the same thing.
- Peppers: I love dehydrating peppers from the summer garden and using them year long on pizzas! They re-hydrate easily in a bowl of water for a few minutes prior to putting on the pizza.
- Mushrooms: You can also dehydrate these, and rehydrate in water like the peppers. (it’s on my bucket list and I’ll share with you how it turns out!)
- Olives: these are easy to buy canned and sliced.
- Pineapple: We are one of those families that enjoys fruit on pizza! Easy to buy small cans of diced pineapple for northern storage or buy fresh, dice and freeze in portioned ziploc bags.
- Herbs: It’s always nice to sprinkle some herbs on top at the end. Fresh herbs in the summer, and dried herbs in the winter (unless we are organized to grow some windowsill herbs year long!) Oregano, thyme, chives and rosemary are delicious sprinkled on pizza.
- Other veggies: We have also used zucchini, vidalia onion, red onion and arugula.
Directions: Day One
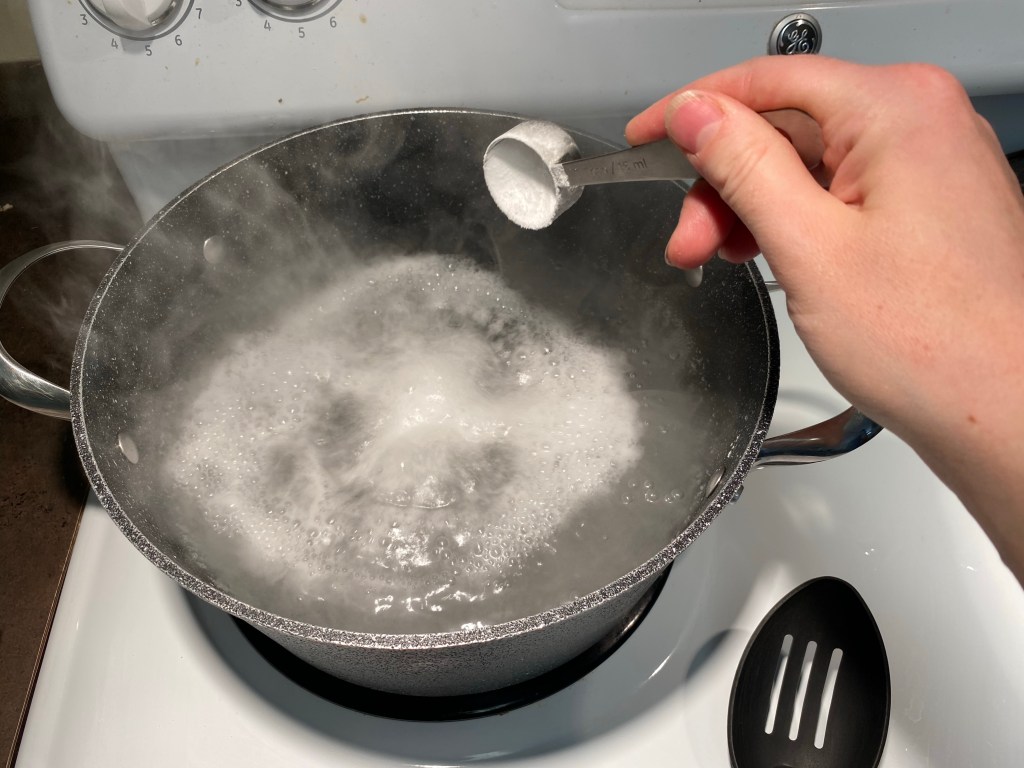
1. Feed your sourdough starter in the morning
- The starter I use is mostly made from all purpose flour and whole wheat flour. I feed it once a day: 3 tablespoons of flour and 2 tablespoons of lukewarm water (well water or distilled water). After a good stir, it rests in a warm area of the kitchen and within 8-10 hours is ready. See above for more details on the starter.
- If your kitchen is warmer, than your starter may take less time to activate. You could feed your starter in the early afternoon instead to keep with this recipe’s timing.

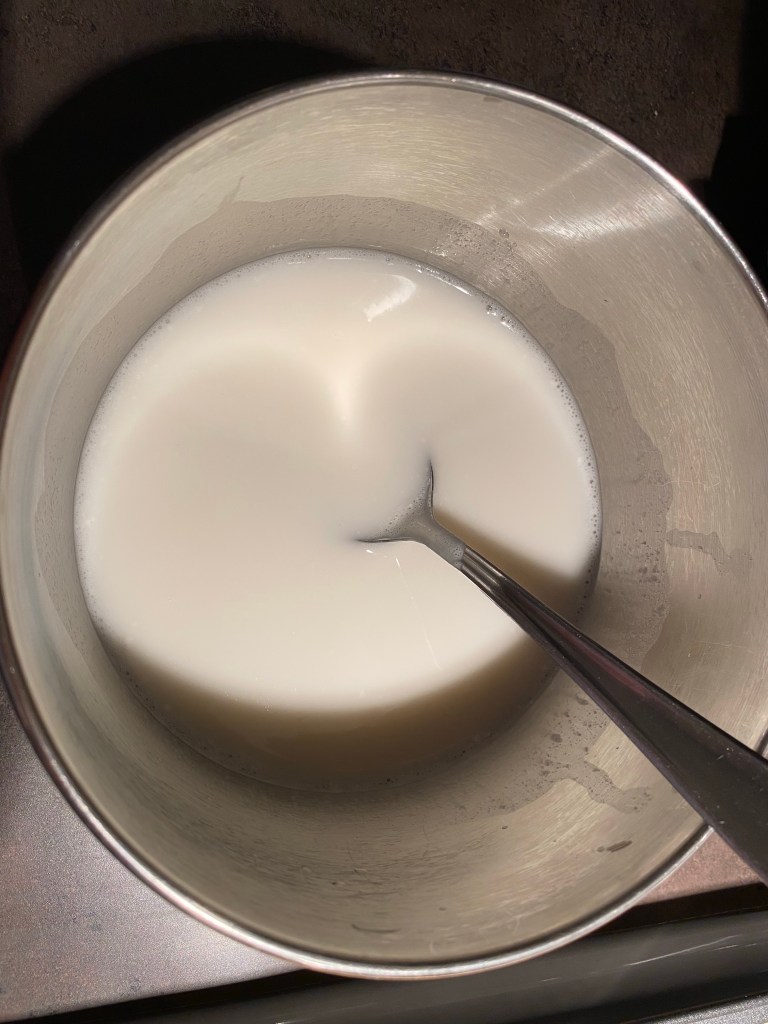
2. Mix your Dough in the Evening
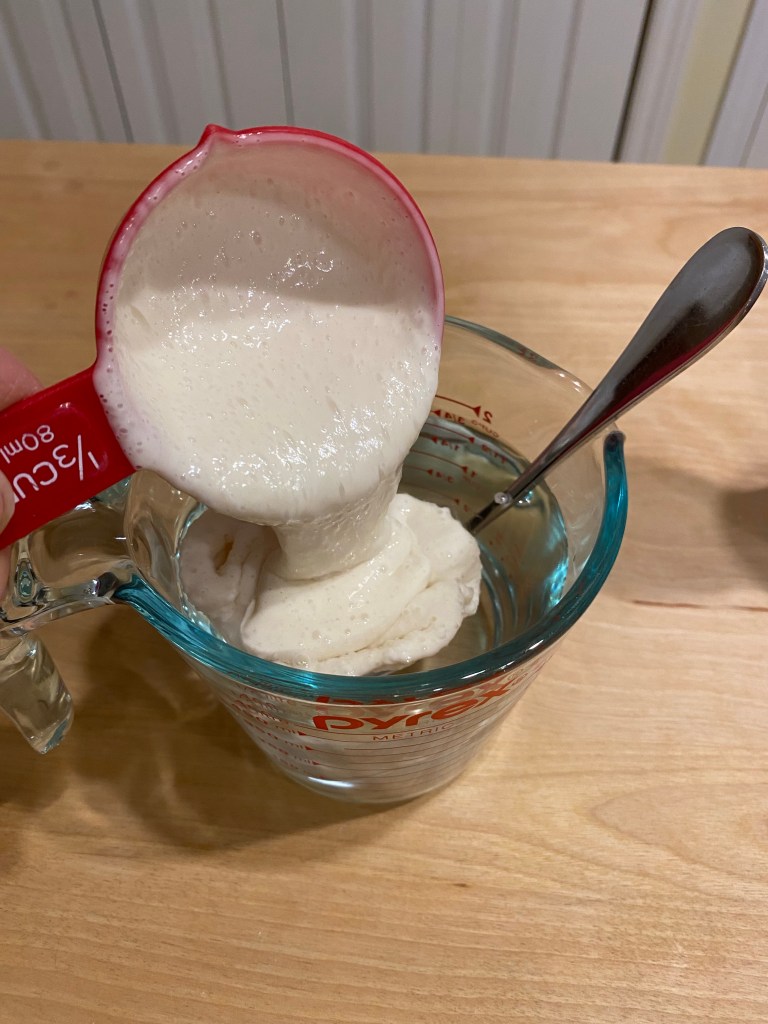
- Mix your active starter with the water and set aside. At this point if the measured starter floats on top of the measured water, you know it’s going to be a great rising pizza dough! Sometimes my timing has been a little off due to life getting crazy, and my starter doesn’t float (even though it looked bubbly and risen in the starter jar). If this happens to you, just add another 1-2 tablespoons of starter and it should still rise good.
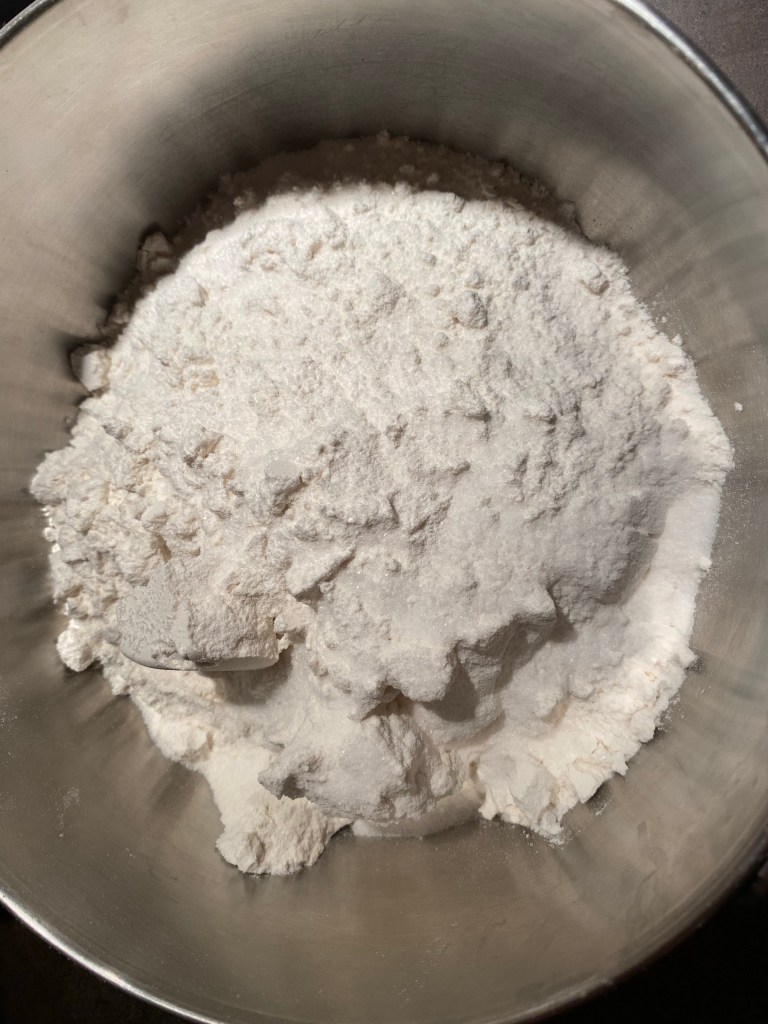
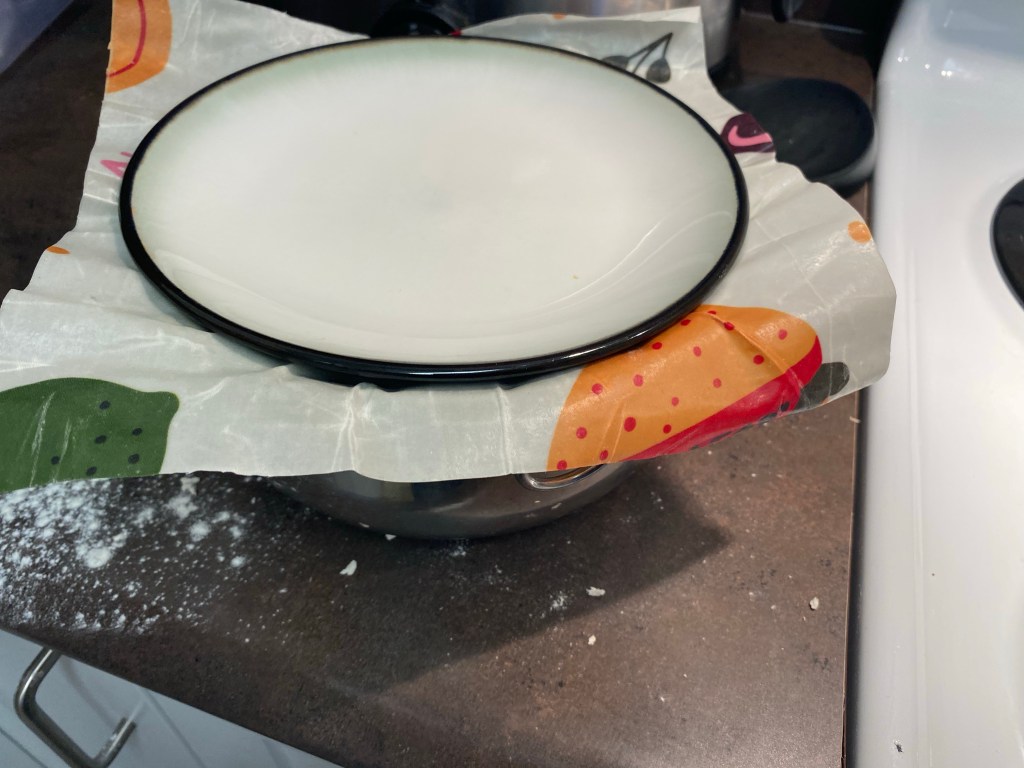
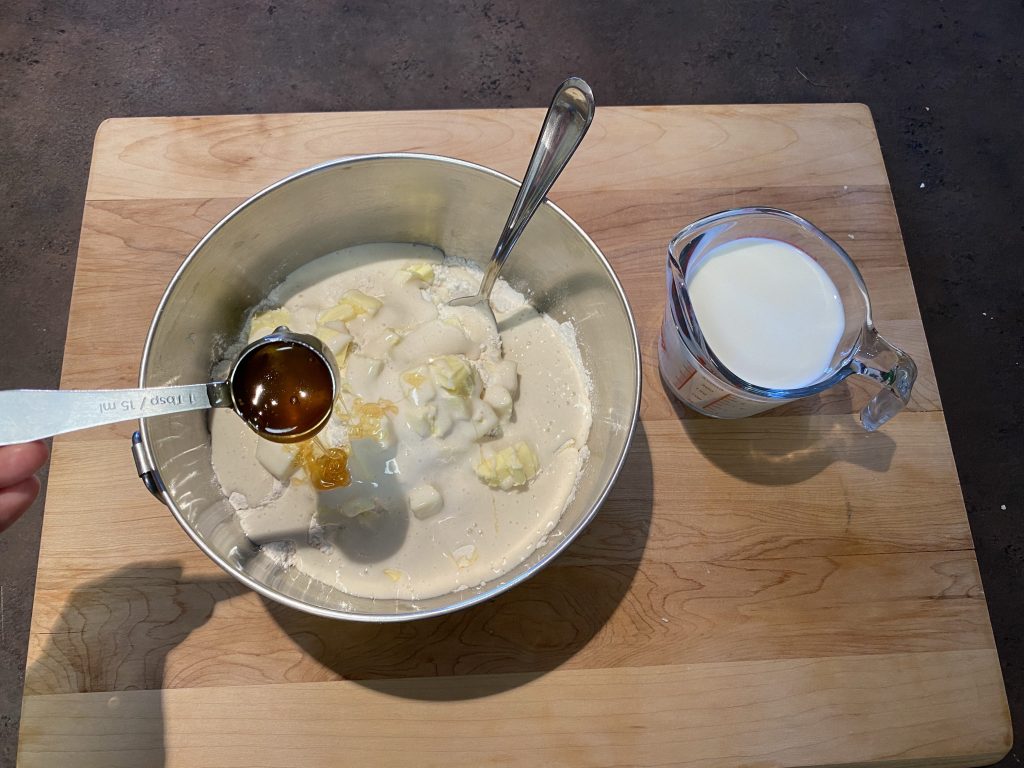
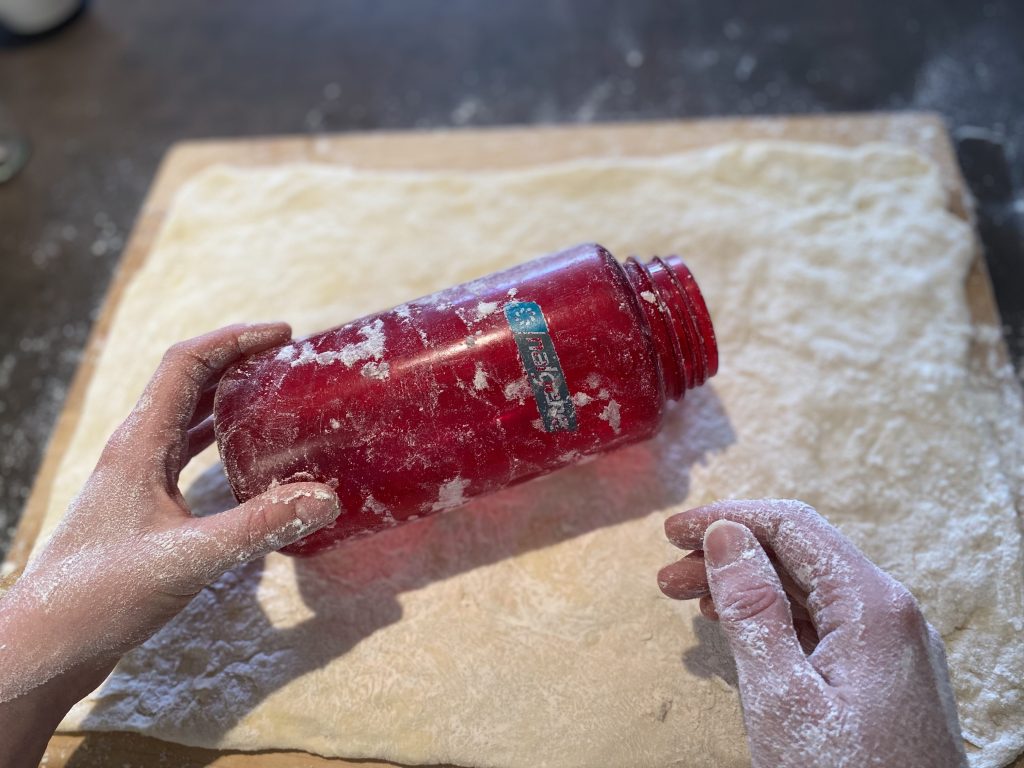
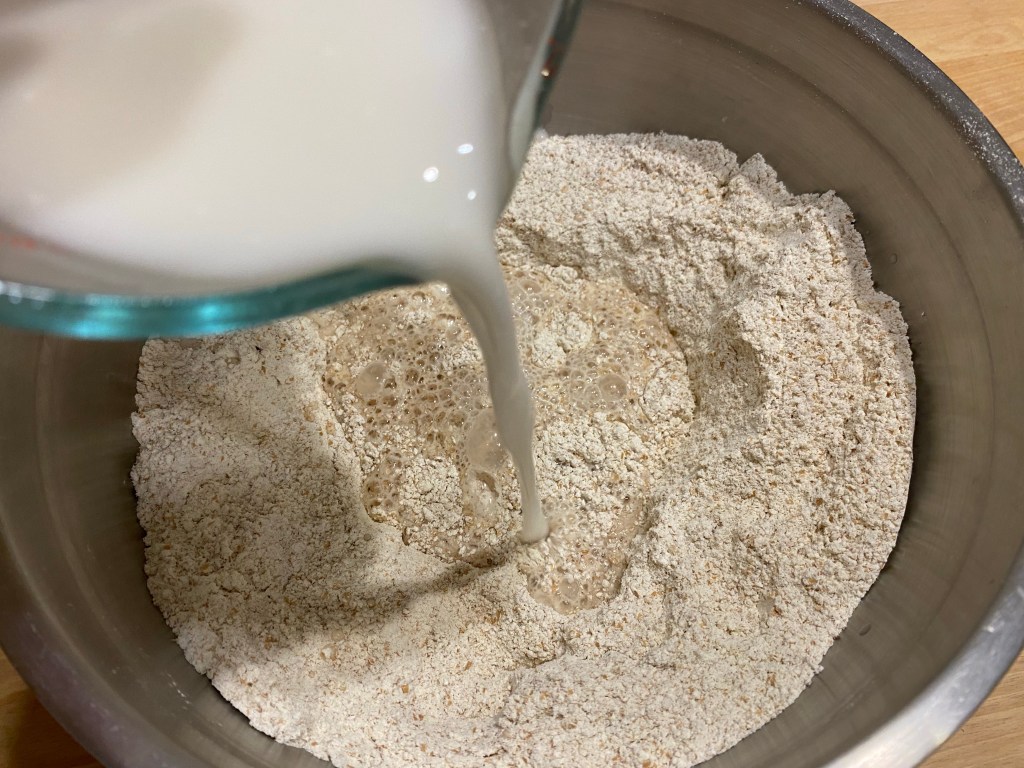
- Mix the flour and salt together in a larger bowl, then add the wet ingredients and stir together until it forms a sticky ball. I find it easier to finish mixing it with my hands. If it is dry, resist the urge to add any water! Cover with beeswax cover, plastic wrap or towel and heavy plate and rest for 30 minutes.
- I have made this recipe with spelt, whole wheat and all purpose flour, with similar results for each. Add a little more flour for spelt and whole wheat, or mix with all purpose to lighten it up a little. These pictures were done using freshly milled whole wheat flour, which can be more grainy in texture than all purpose flour.

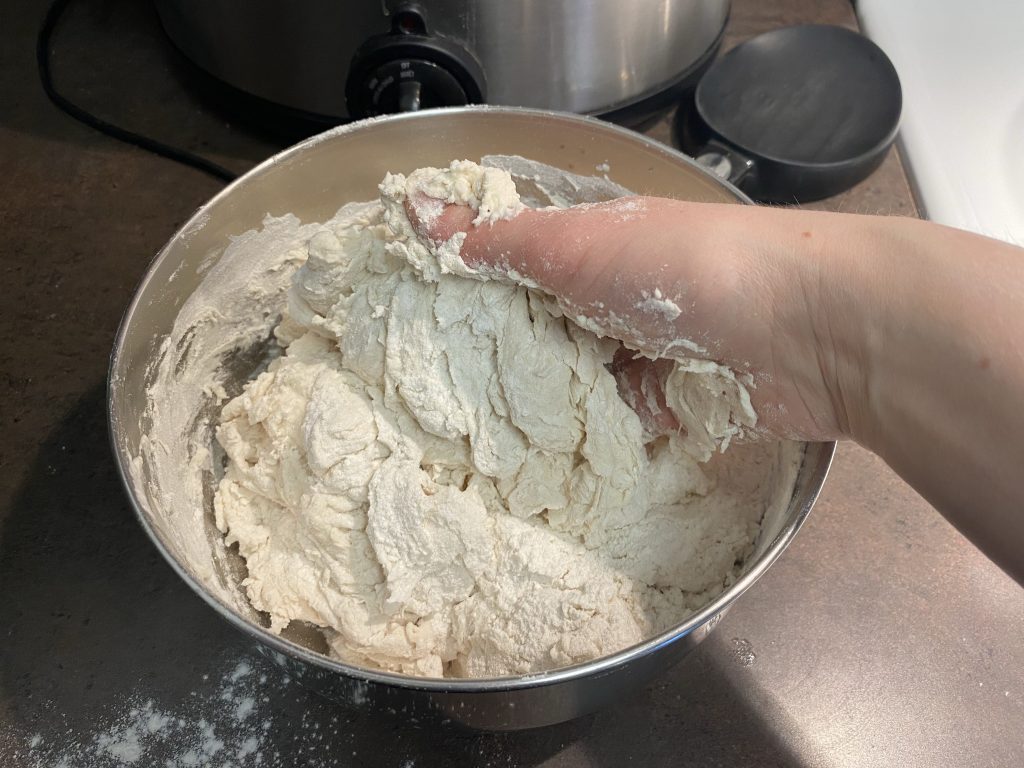
3. Stretch & Fold: 1st Way
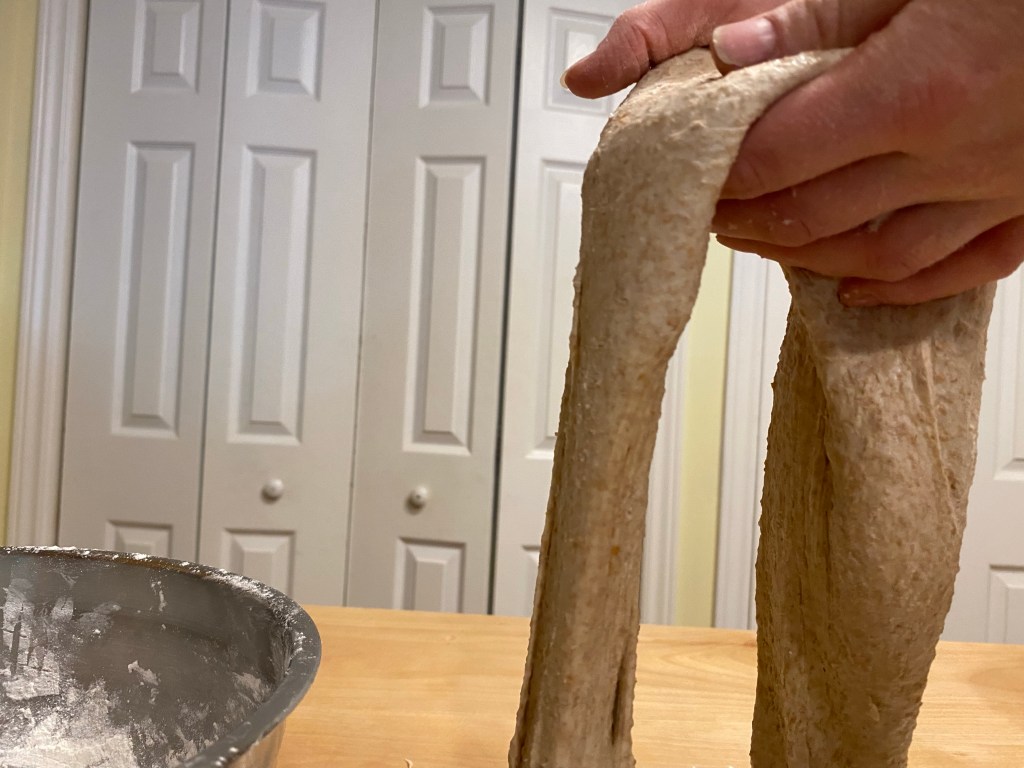
- Wet one hand and gently loosen dough from edges of bowl. Take a handful of dough from the top of the bowl and pull towards you *See picture. Turn bowl 1/4 turn and repeat for a total of 4 stretch & folds to complete circle.
- Cover and rest 20 minutes
- Repeat stretch & fold full circle
- Cover and rest 20 minutes
- Repeat stretch & fold full circle
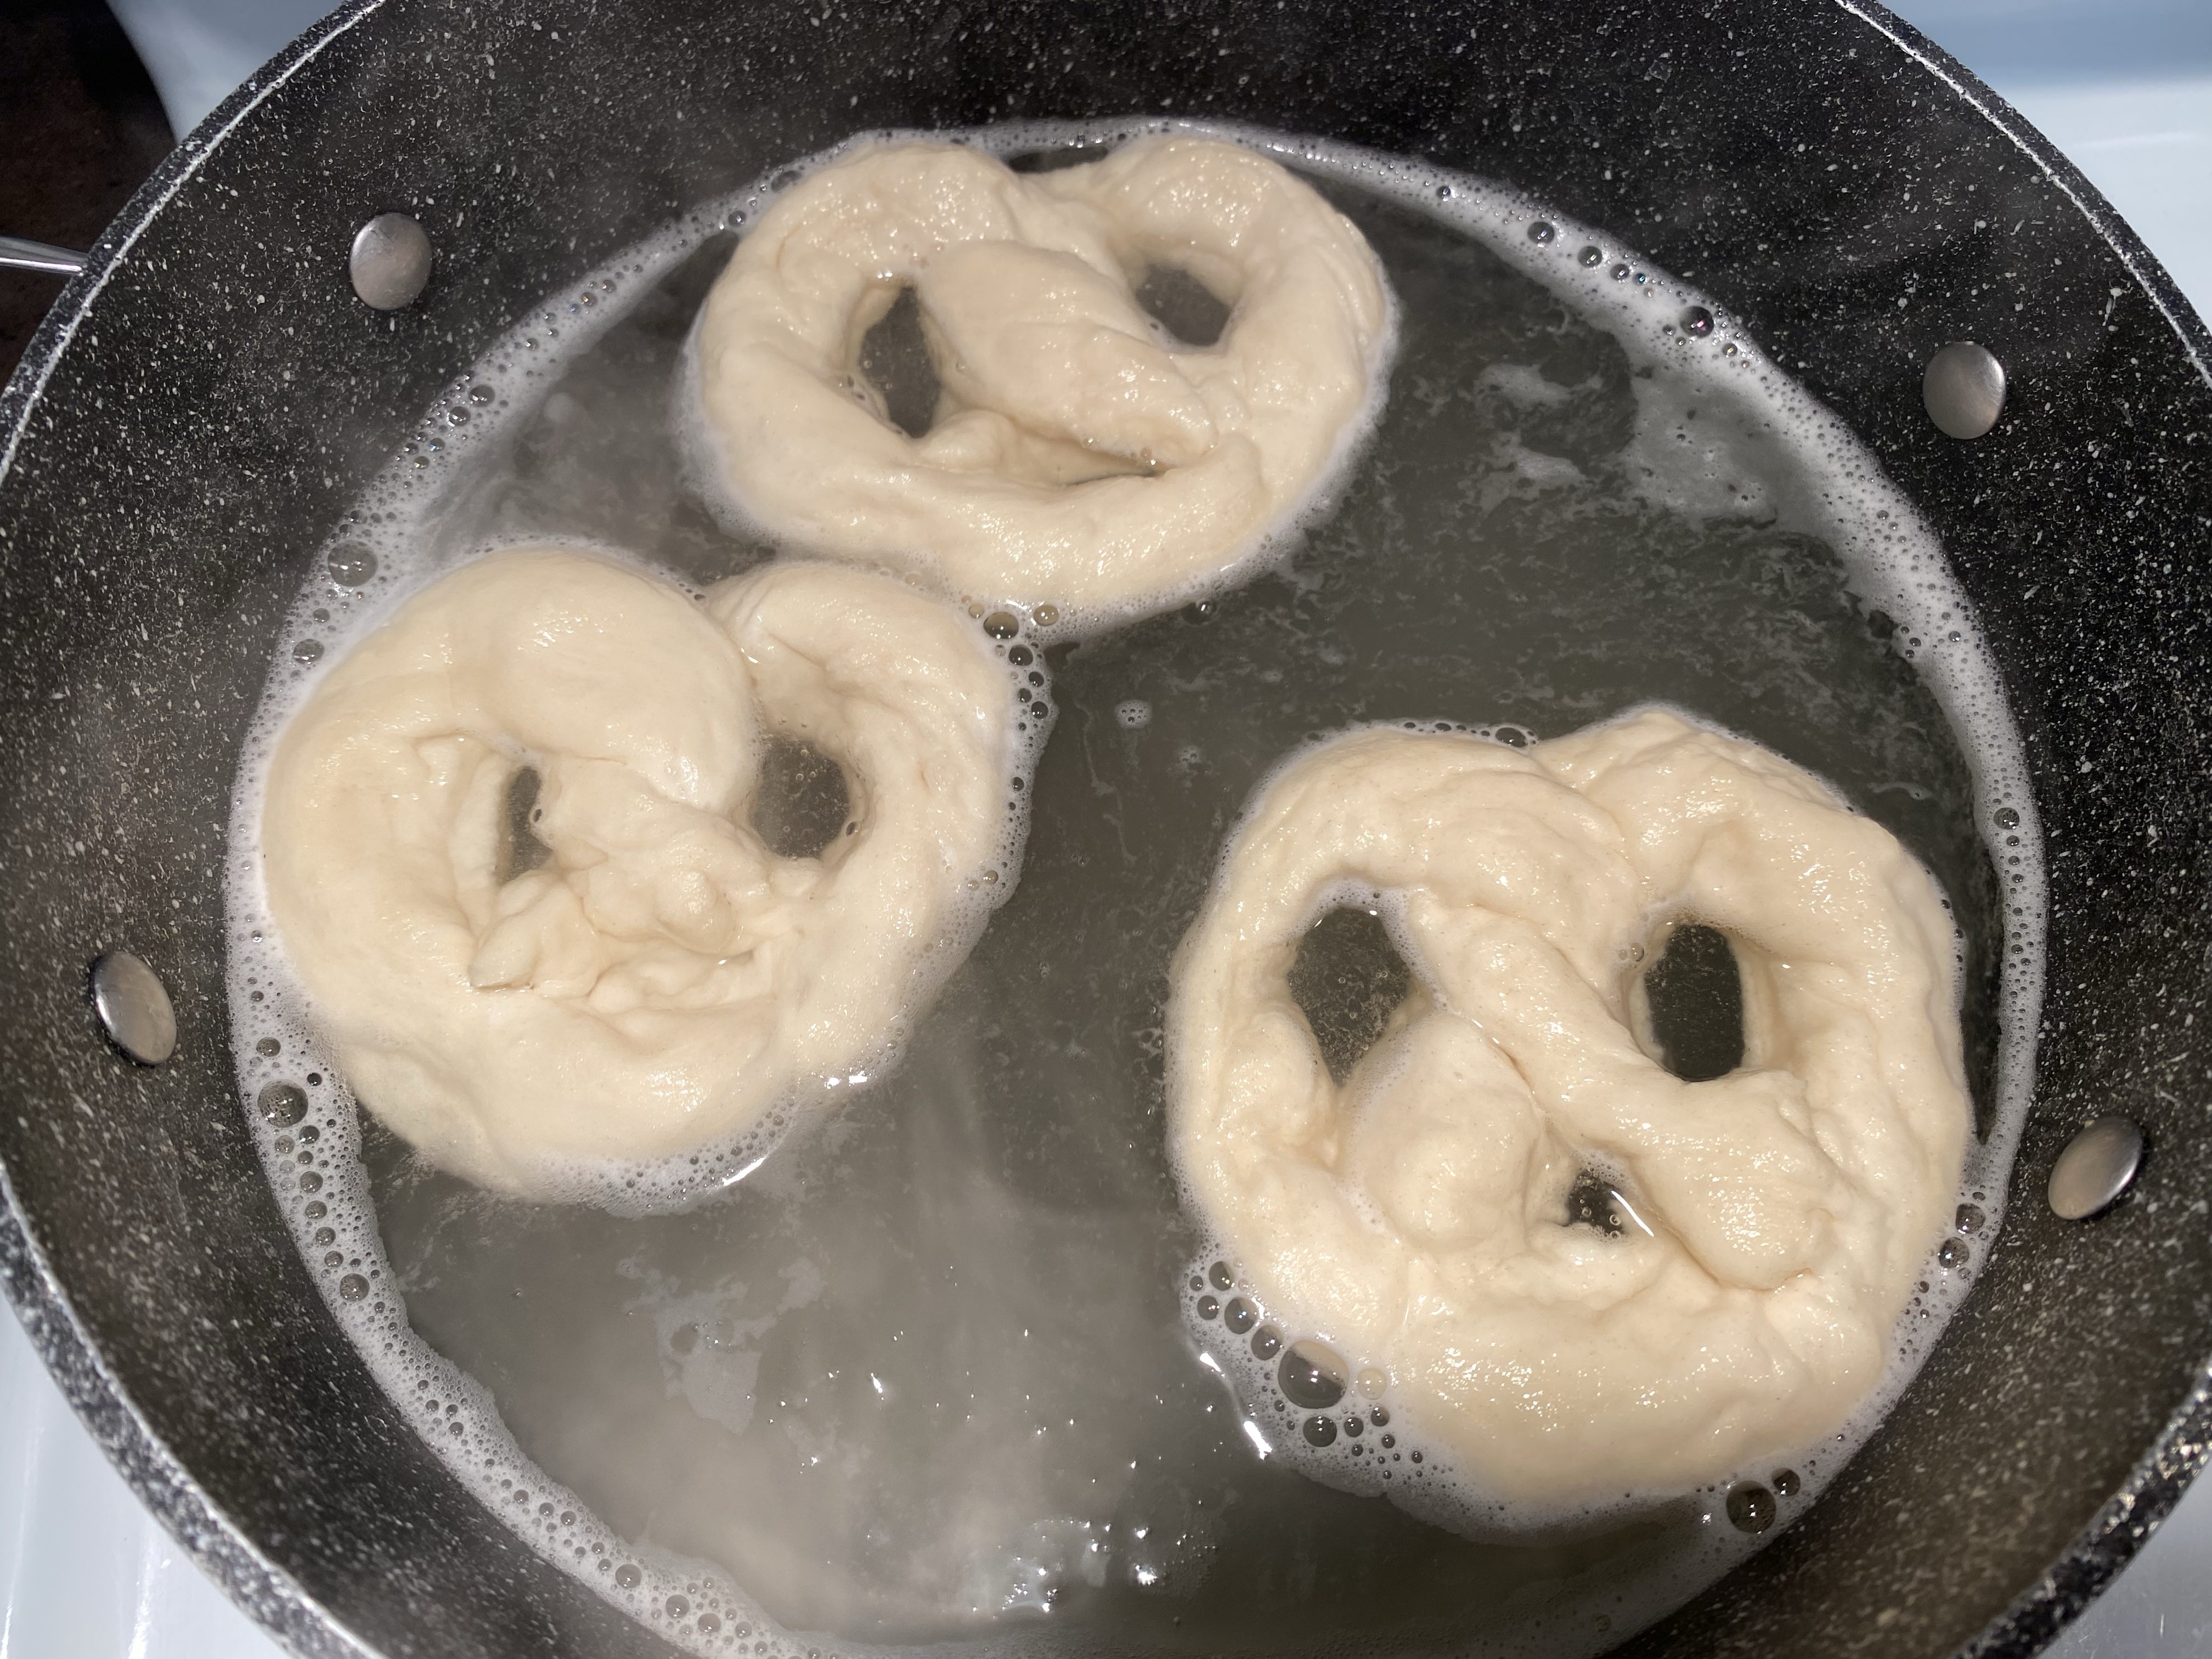
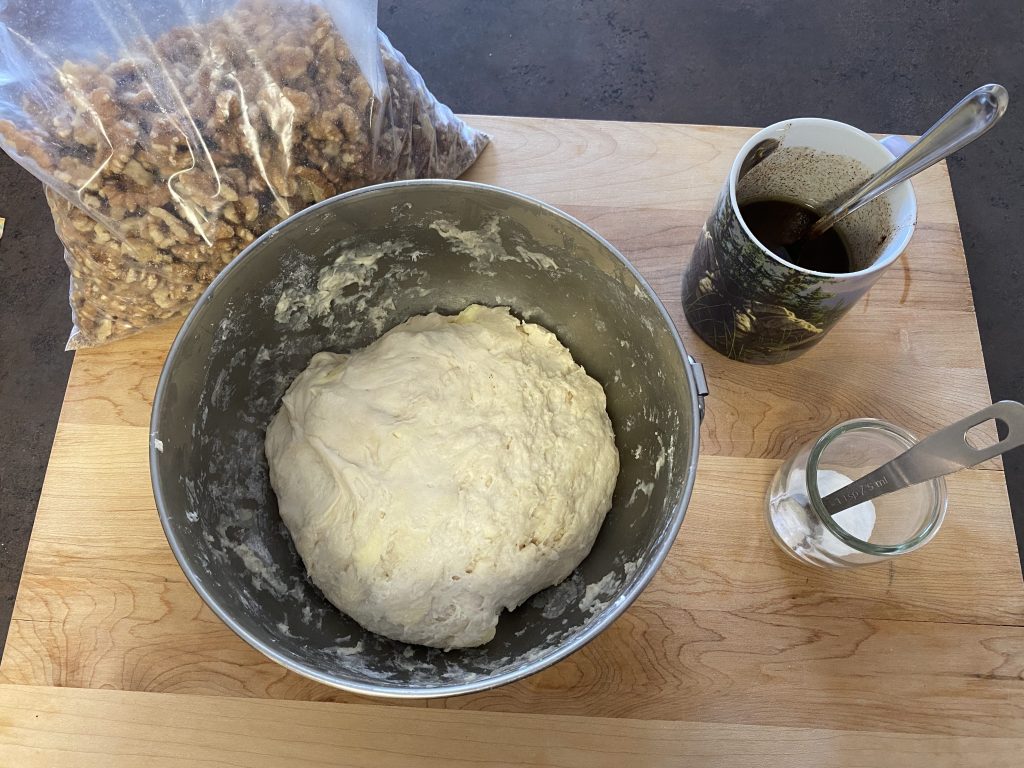
- Cover and rest overnight 10-12 hours.


Directions: Day Two
1. The next morning, lift & fold: 2nd way
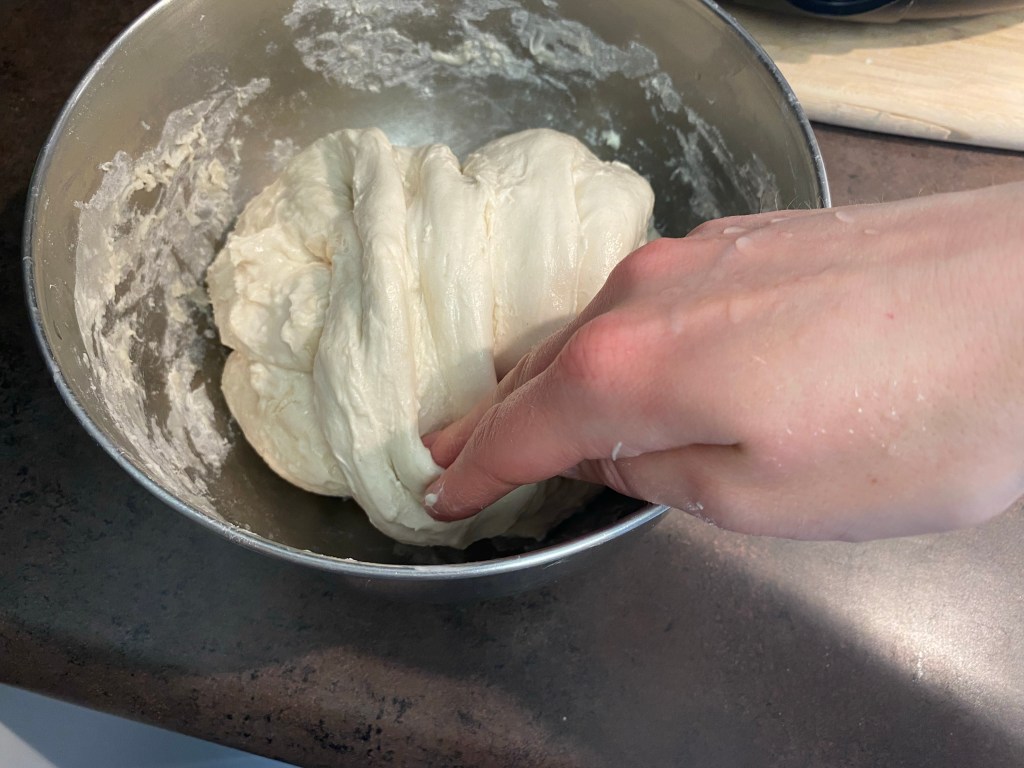
- Wet both hands and loosen dough from edges of bowl. Using both hands, pick up dough from middle and let it droop over the sides of your hands. *See picture. Gently lower into bowl and let it fold on top of itself. Turn bowl 1/4 turn and repeat for total of 4 to complete full circle.
- Note: If it is stiff at first, you can pick it up and gently stretch a little with your wet hands to encourage the gluten. *See picture.
- Cover and rest 20 minutes
- Repeat lift & fold full circle
- Cover and rest 20 minutes
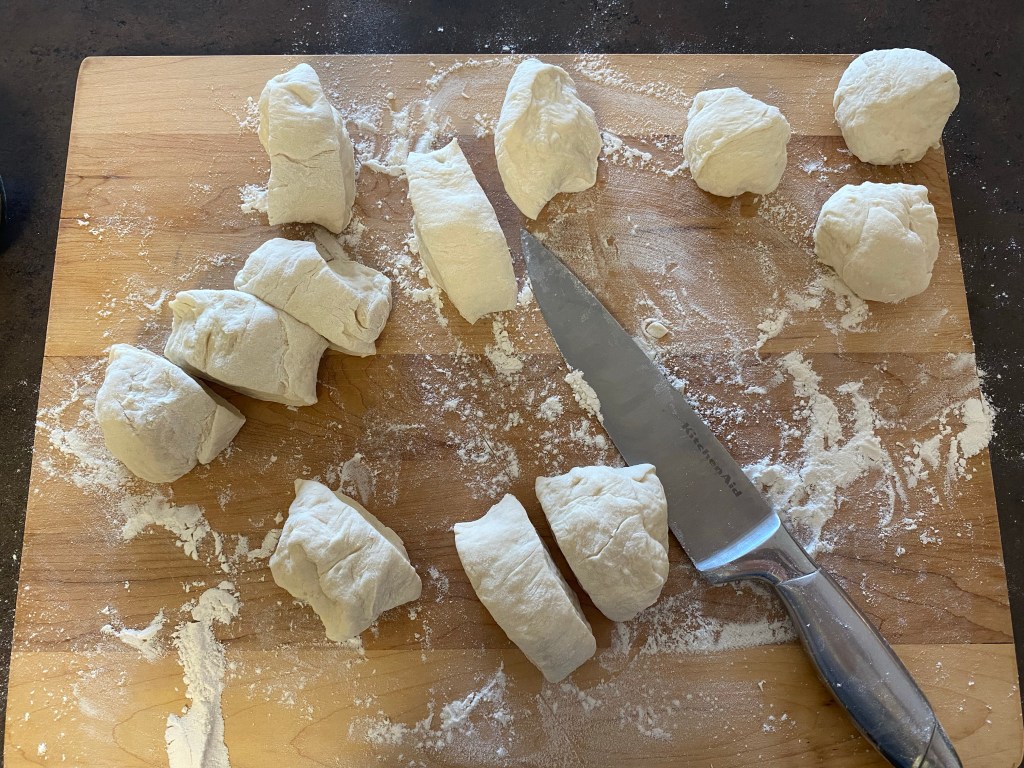
2. Shape and Stuff
- Preheat oven to 425 degrees fahrenheit.
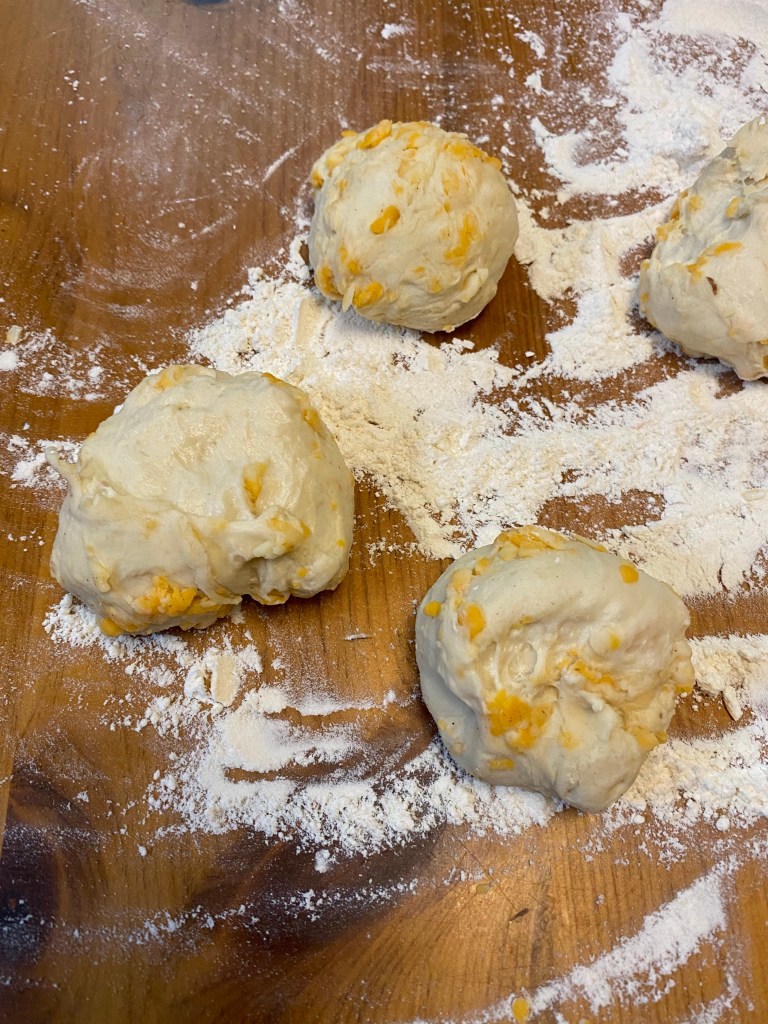
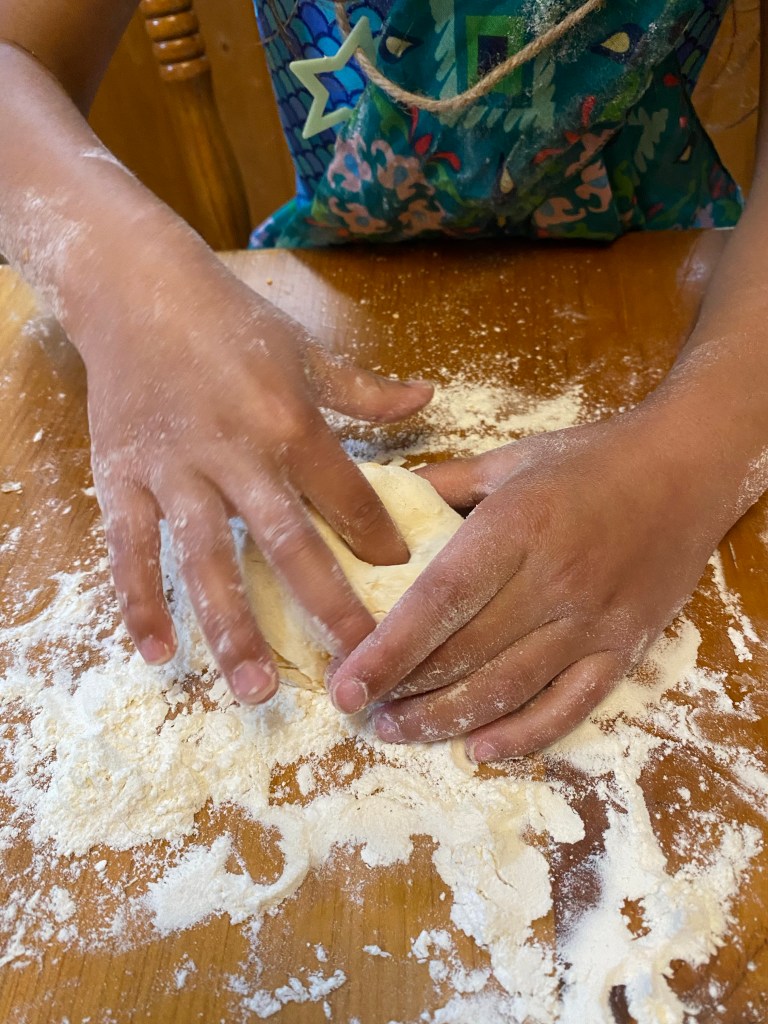
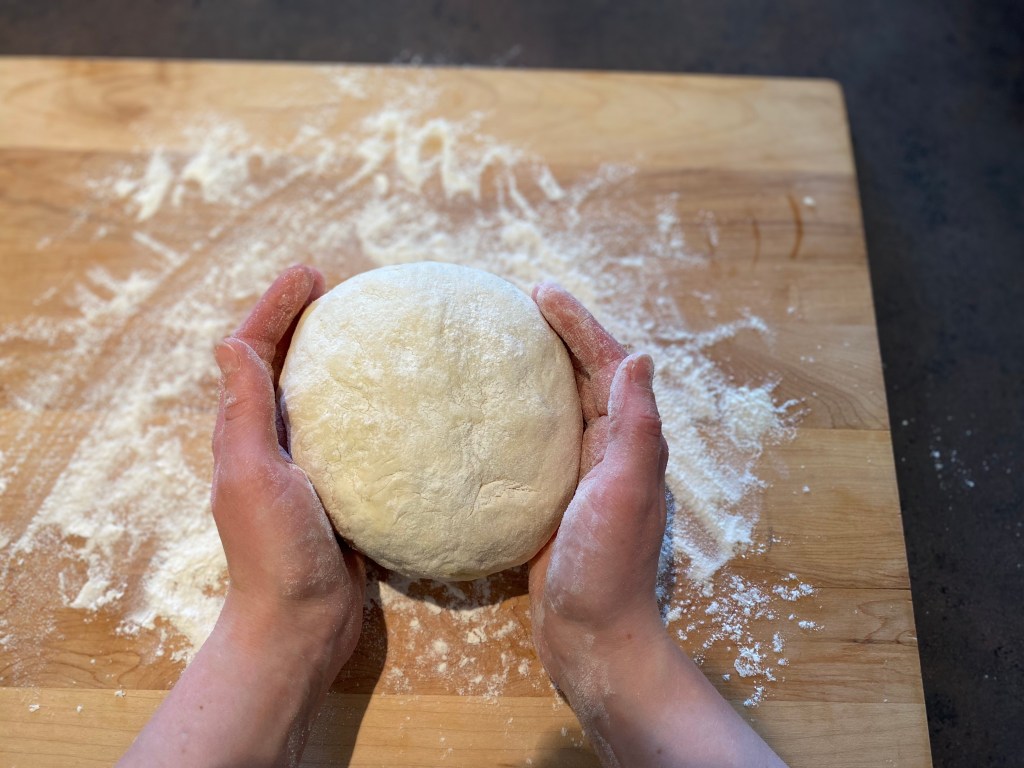
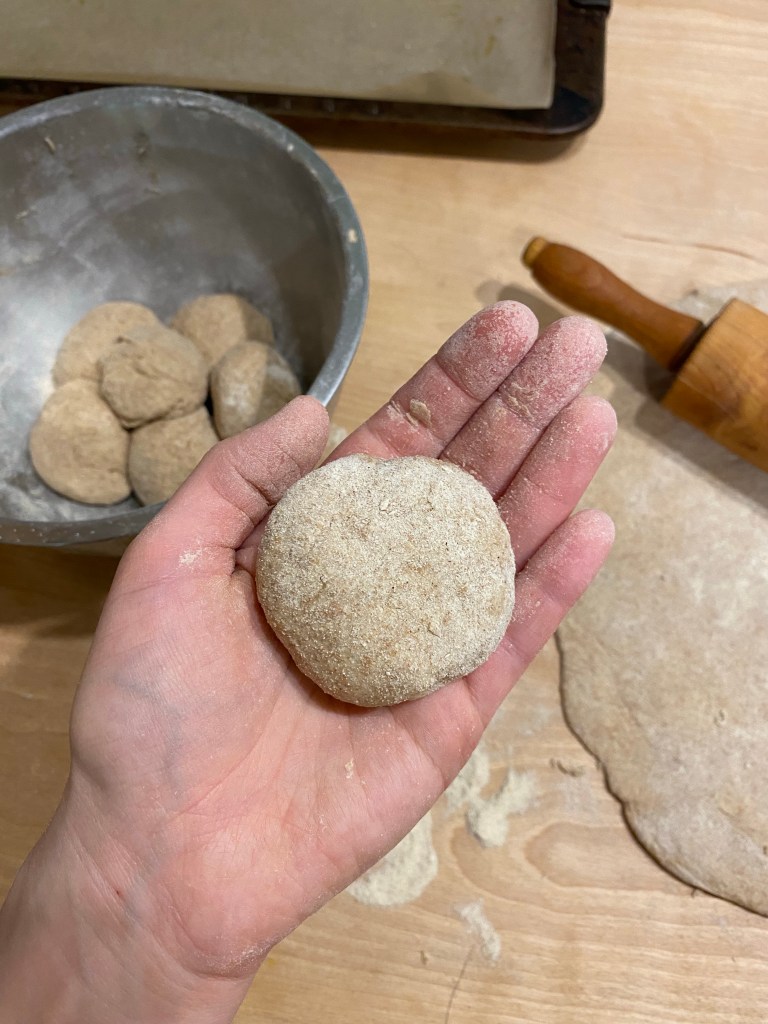
- Separate the dough into 2″ balls. Roll out into 6-9″ diameter circles.
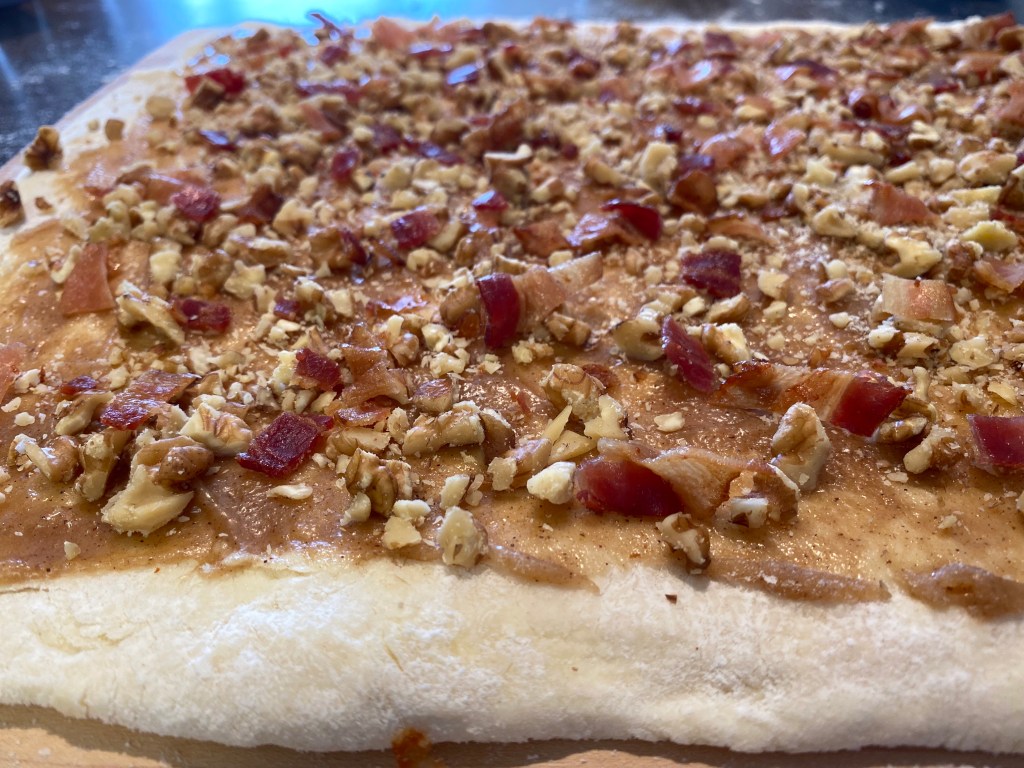
- Cover the top with pizza sauce, or whatever sauce you like, leaving a 1/2-1″ edging around.
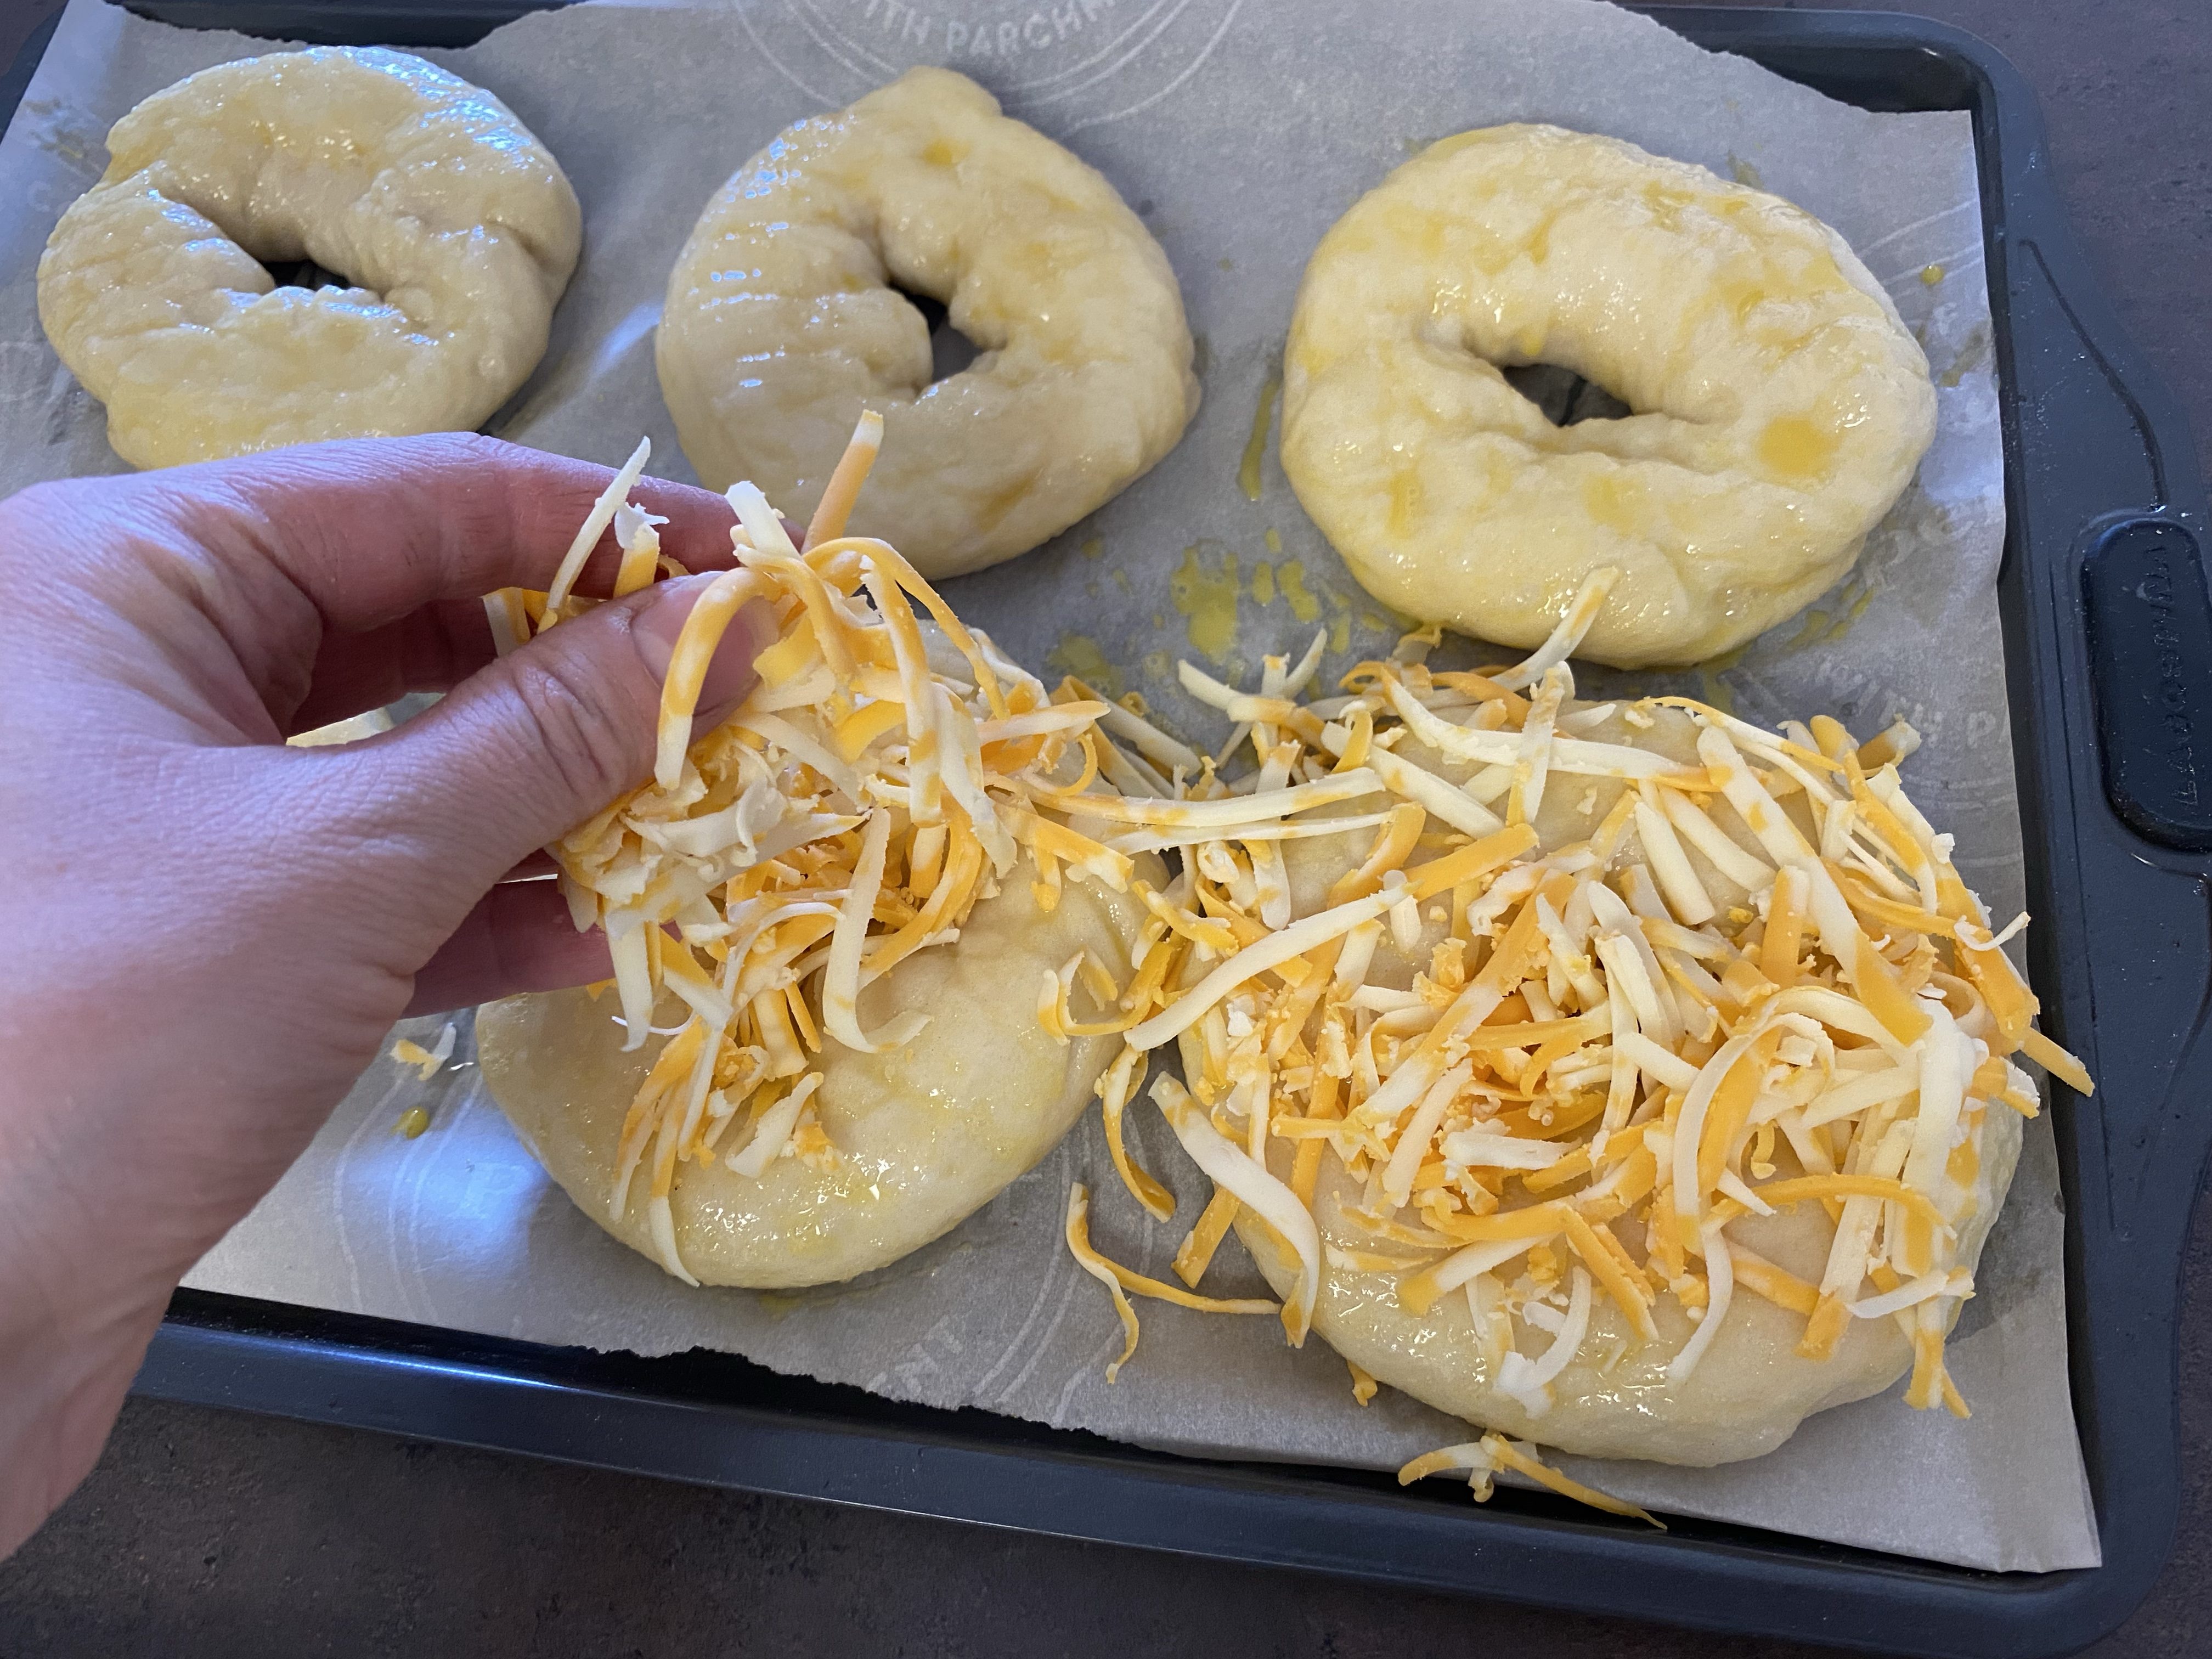
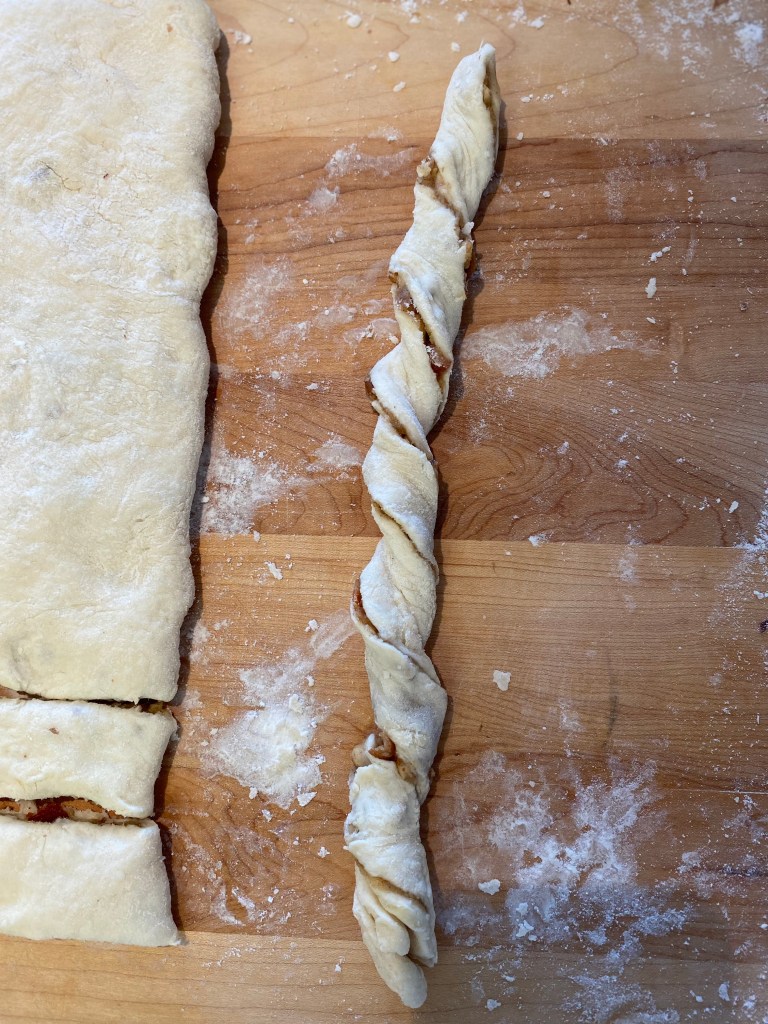
- Fill one half of the dough with pizza toppings.


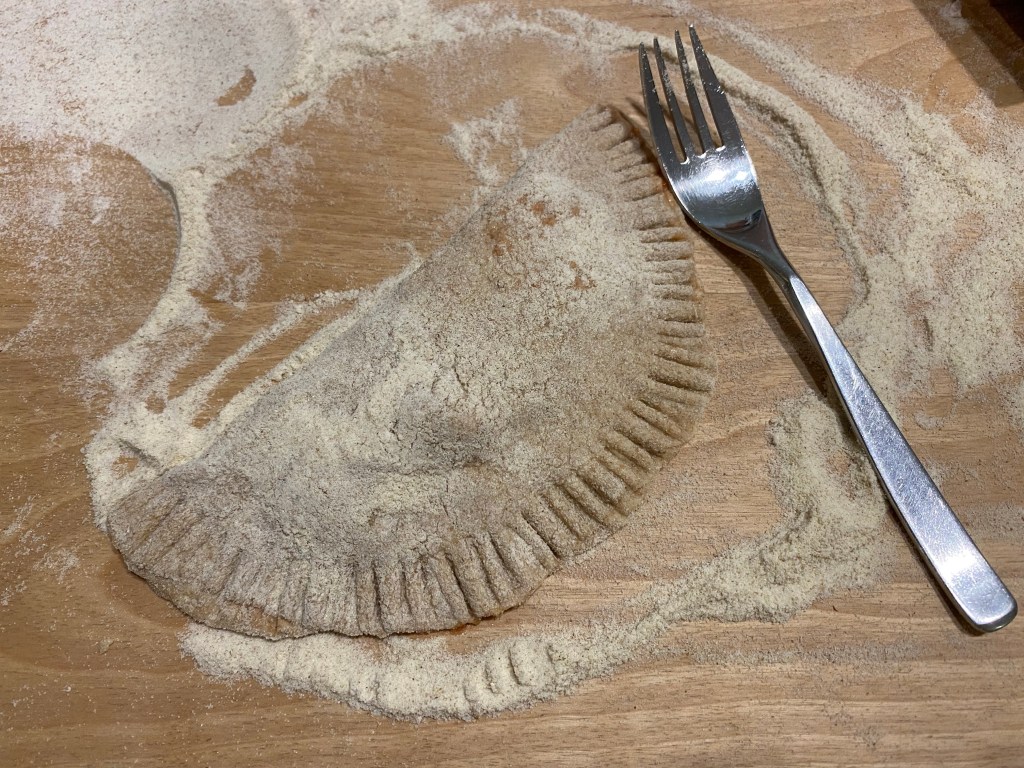
- Fold over dough and press edges firmly with a fork.
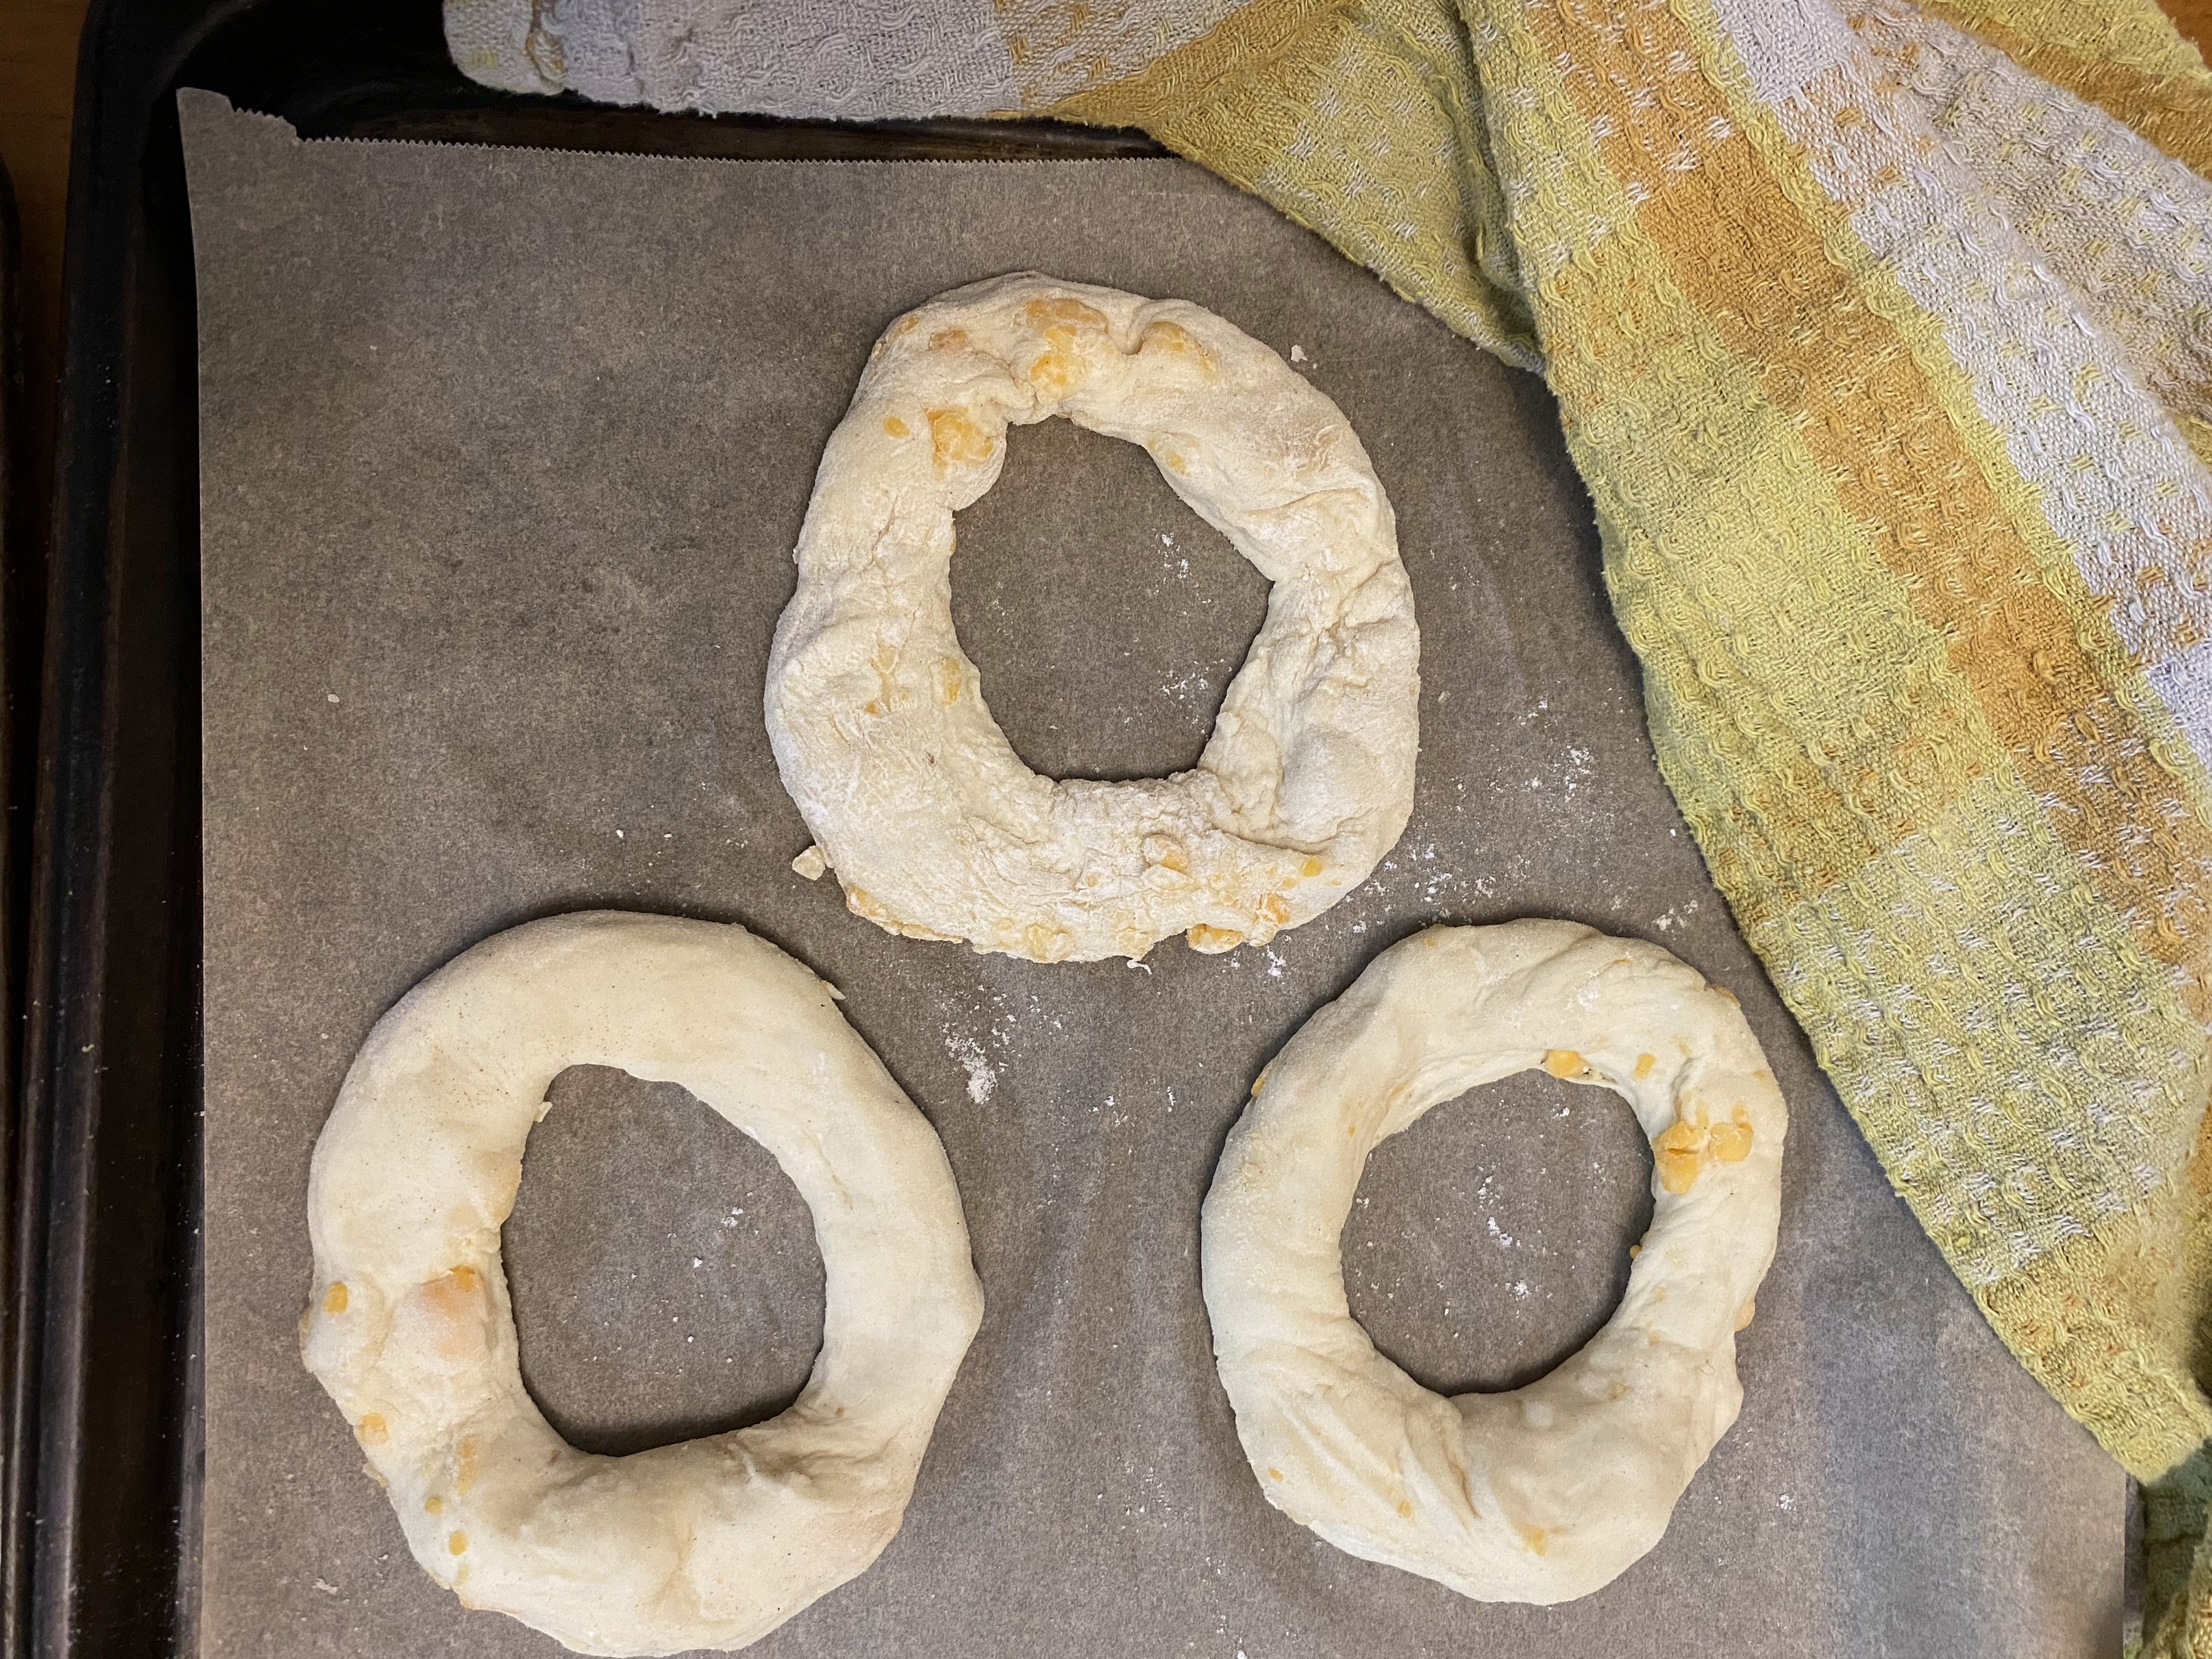
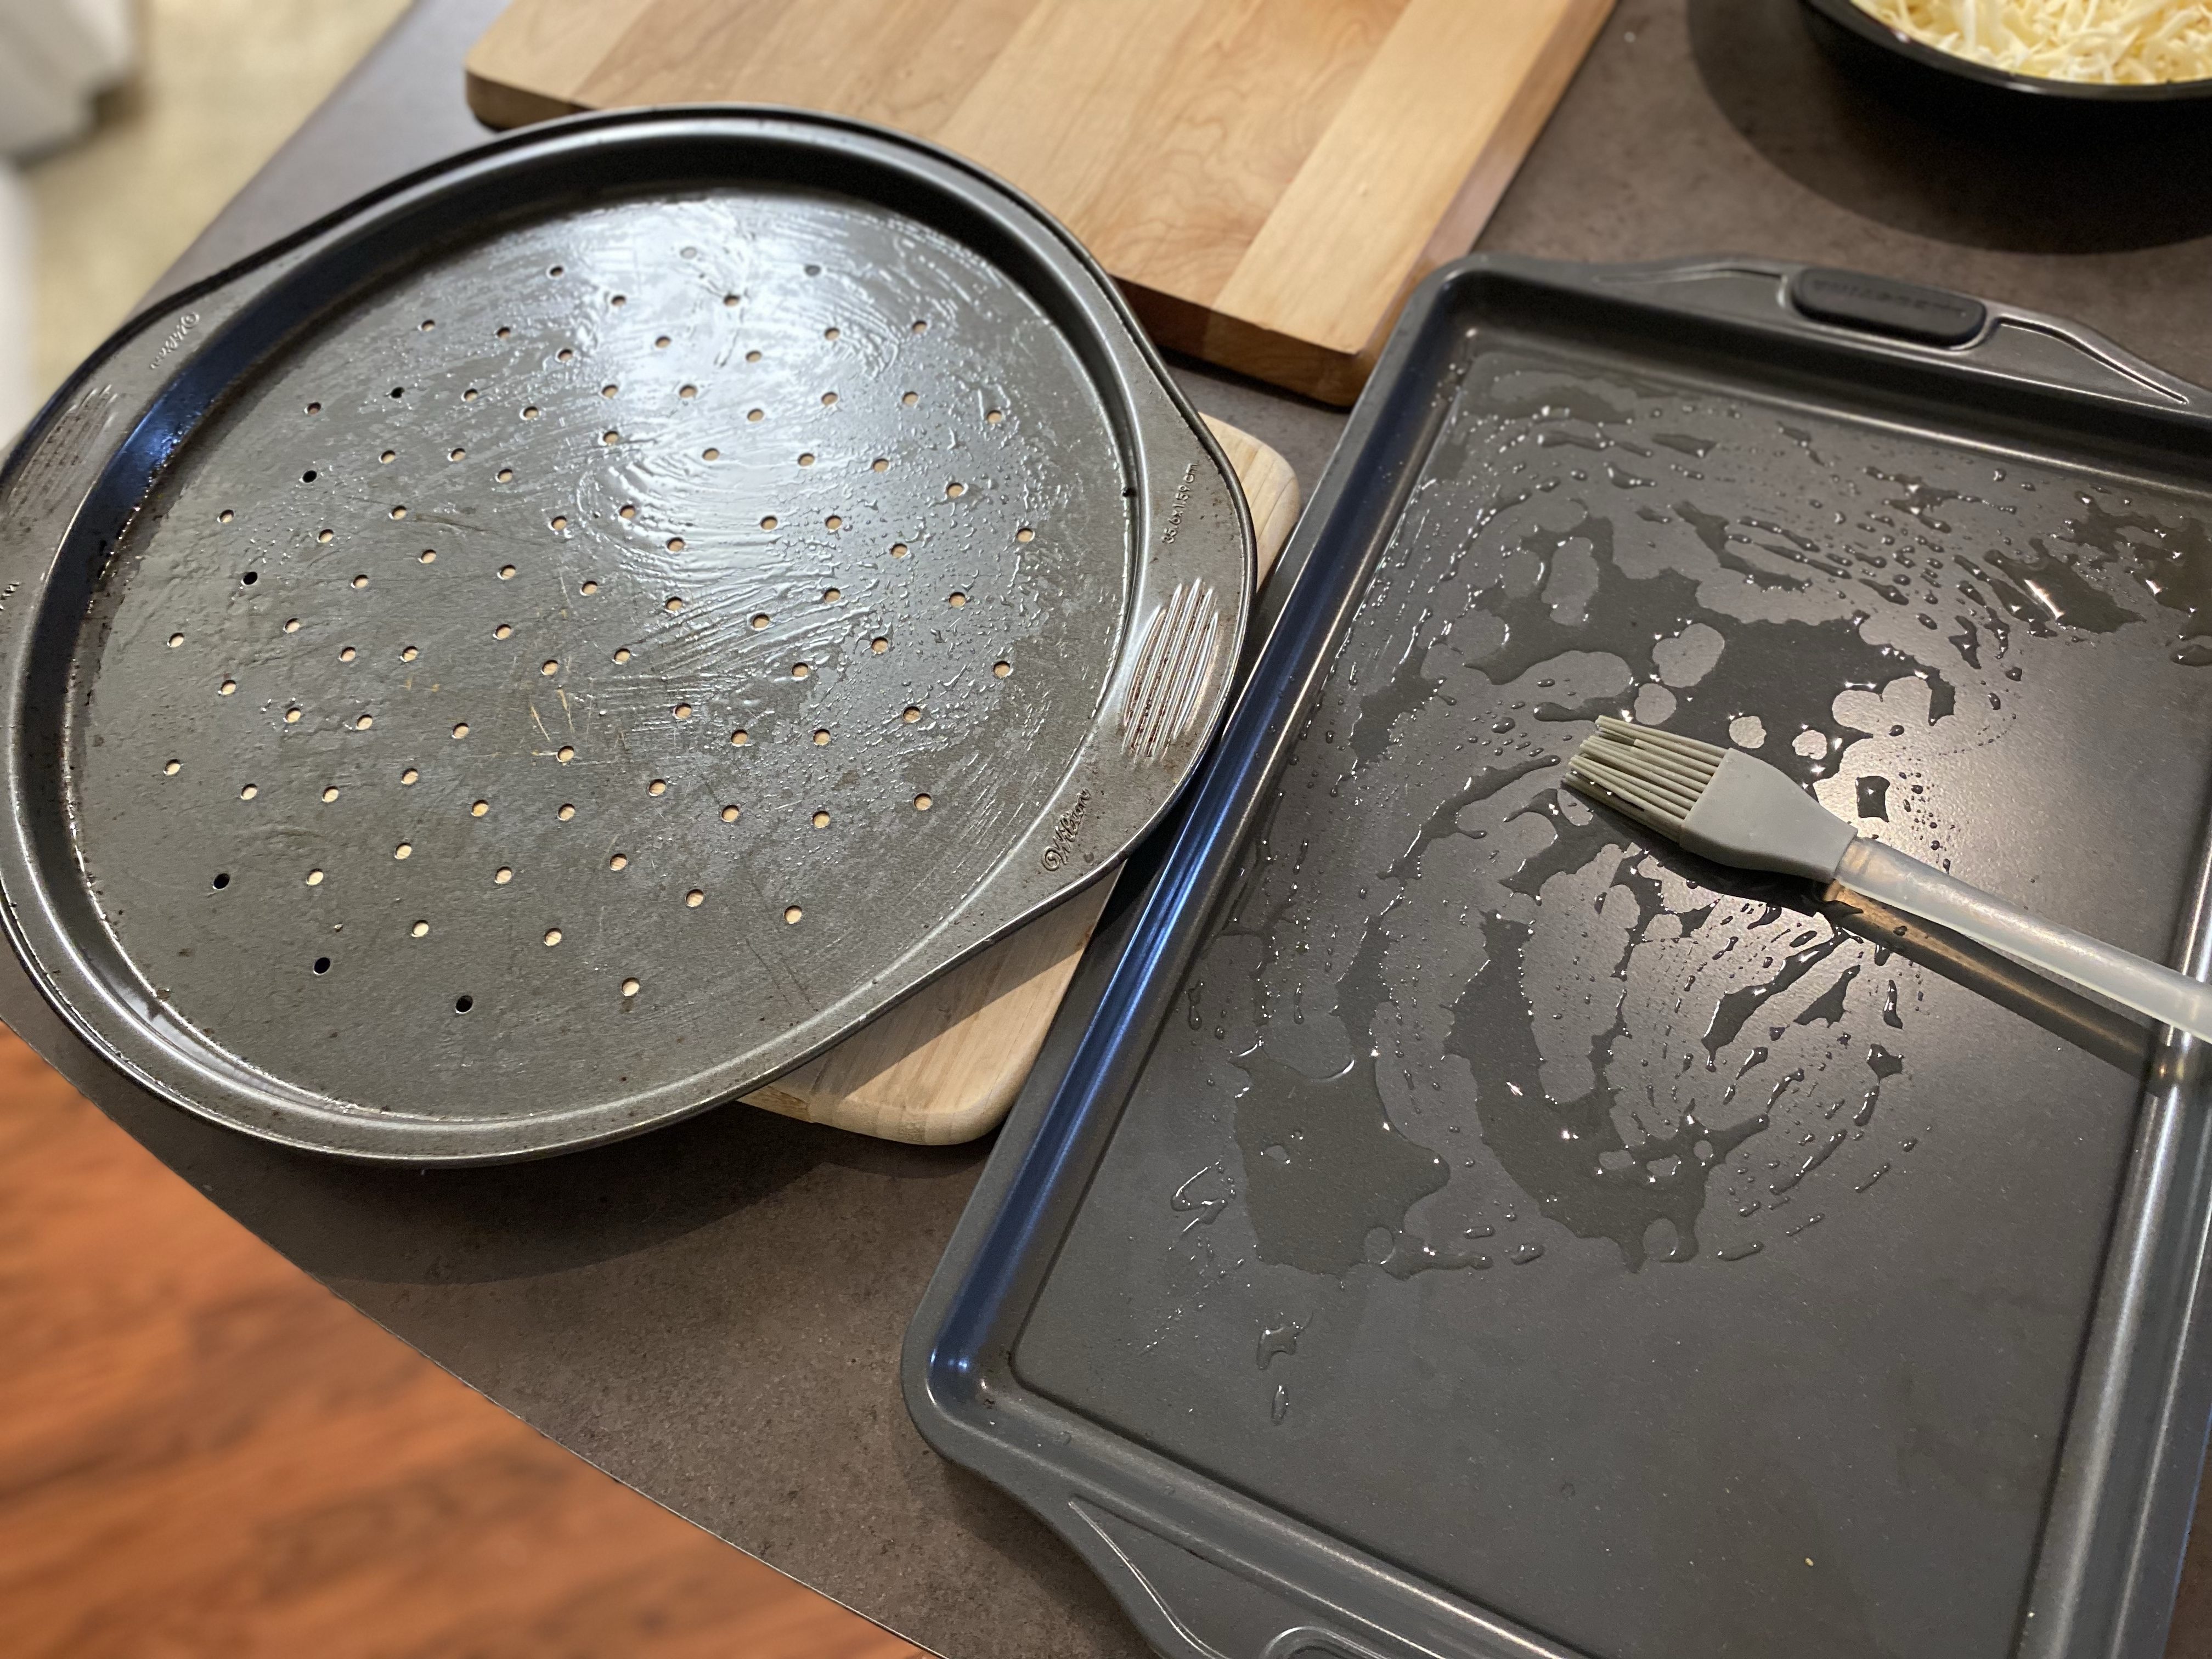
- Place on parchment covered baking sheets.
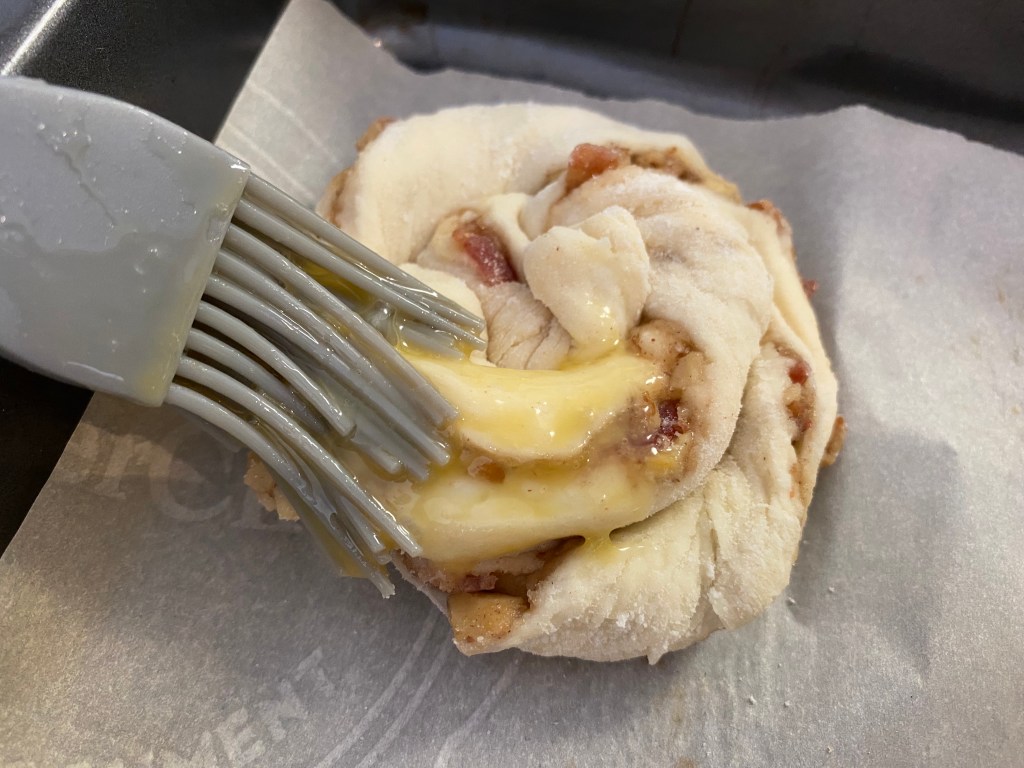
- Cover dough with egg yolks and sprinkle with any seasonings or herbs.
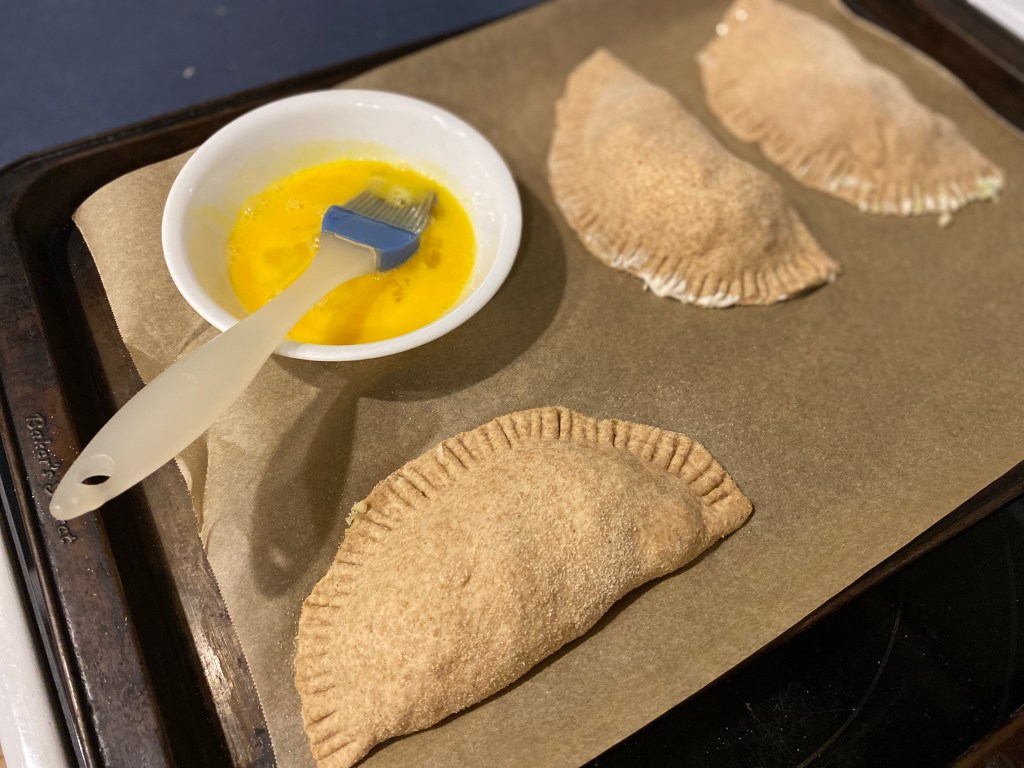
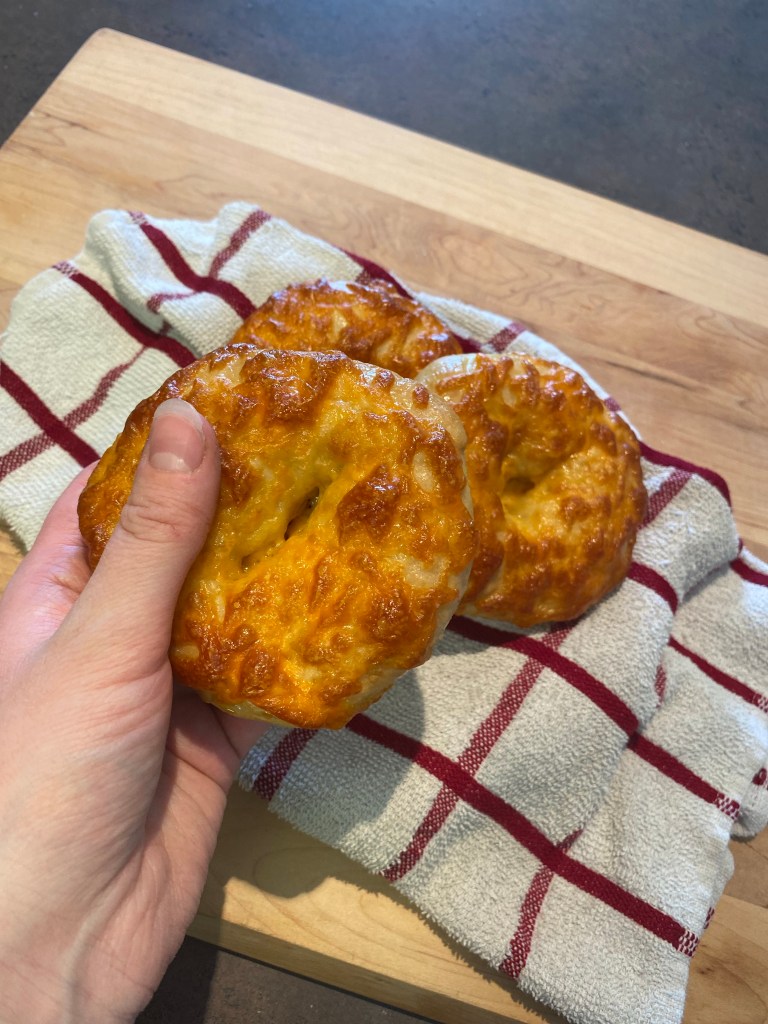
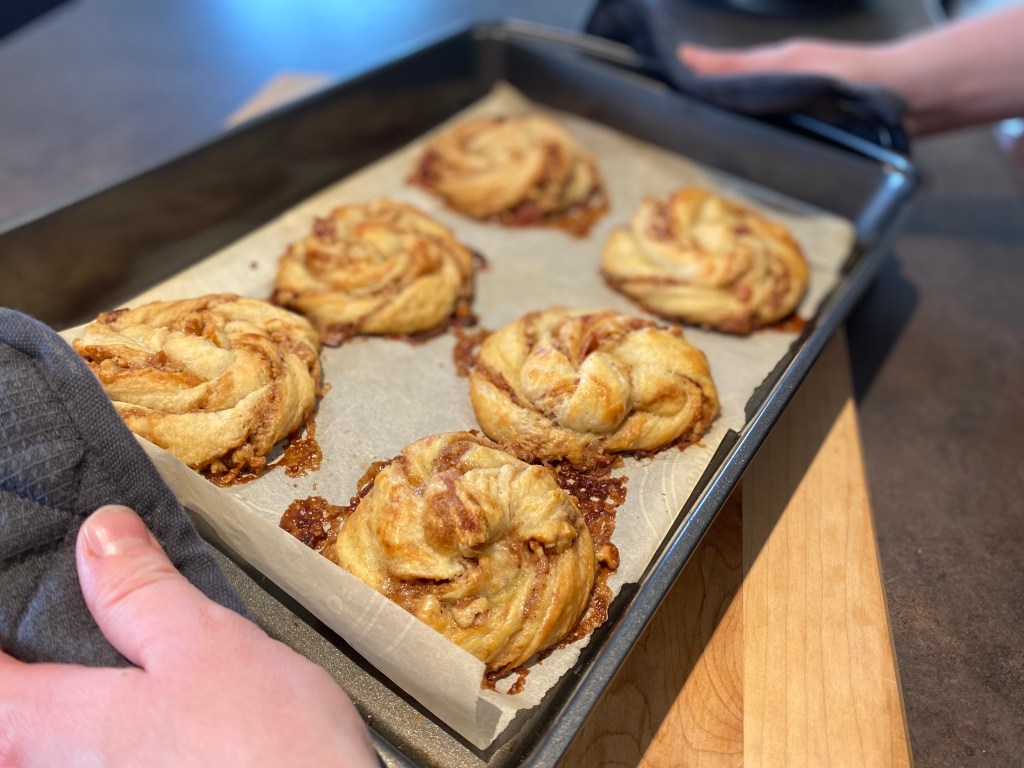
3. Bake the Panzerotti
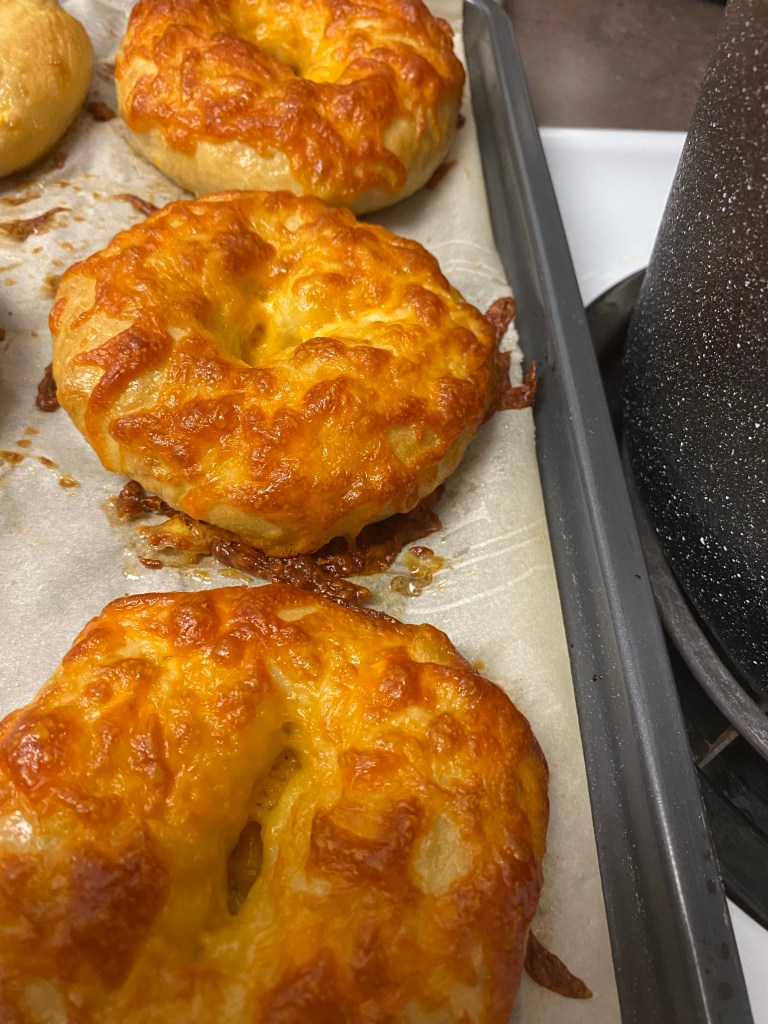
- Bake the panzerottis for 12-18 minutes until crust is cooked and golden brown.
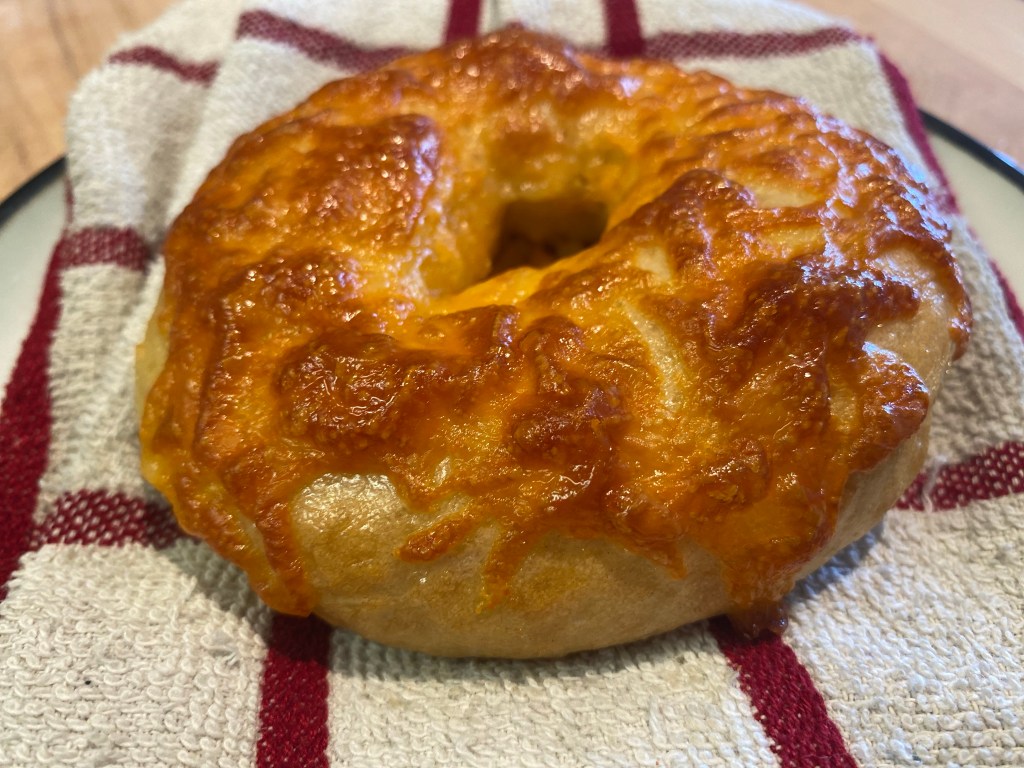
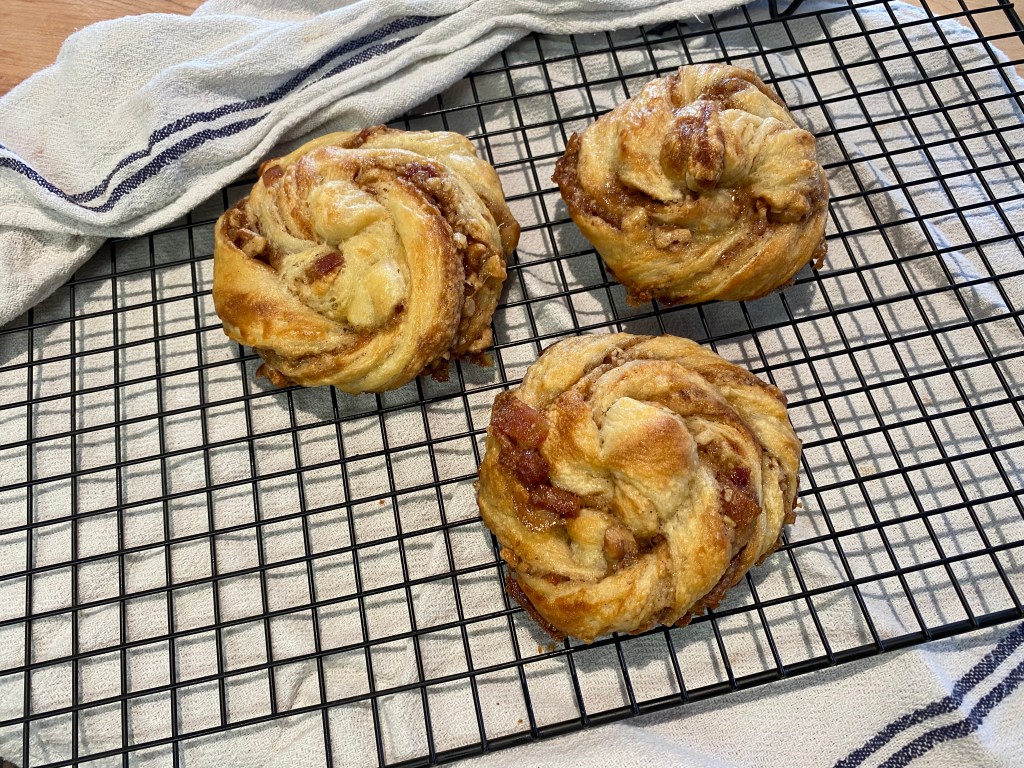
- Let cool for a few minutes before biting into!
Other Soups and Entrees to Check Out:


Hi, I’m Jessie!
I’m a Wife and Homeschooling Mom living in a remote town in Northern Ontario, Canada. I love making wholesome meals for my family from scratch, homeschooling our girls and learning more about natural living.
Read more about my story HERE.

Subscribe to Northbird’s email list to get weekly posts on: tasty recipes, activity ideas for kids, natural living tips, and some genuine mom thoughts and encouragement!
Recent posts from Northbird:


Sourdough Panzerottis
Homemade Panzerottis (Pizza Pockets)
Supplies Needed:
Ingredients:
Please Note: This recipe takes two days to make.
Directions: Day One
1. Feed Your Starter In the Morning
- The starter I use is mostly made from all purpose flour and whole wheat flour. I feed it once a day: 3 tablespoons of flour and 2 tablespoons of lukewarm water (well water or distilled water). After a good stir, it rests in a warm area of the kitchen and within 8-10 hours is ready. See above for more details on the starter
- If your kitchen is warmer, than your starter may take less time to activate. You could feed your starter in the early afternoon instead to keep with this recipe’s timing.
2. Mix your Dough in the Evening
- Mix your active starter with the water and set aside. At this point if the measured starter floats on top of the measured water, you know it’s going to be a great rising pizza dough! Sometimes my timing has been a little off due to life getting crazy, and my starter doesn’t float (even though it looked bubbly and risen in the starter jar). If this happens to you, just add another 1-2 tablespoons of starter and it should still rise good.
- Mix the flour and salt together in a larger bowl, then add the wet ingredients and stir together until it forms a sticky ball. I find it easier to finish mixing it with my hands. If it is dry, resist the urge to add any water! Cover with beeswax cover or plastic wrap and rest for 30 minutes.
- I have made this recipe with spelt, whole wheat and all purpose flour, with similar results for each. Add a little more flour for spelt and whole wheat, or mix with all purpose to lighten it up a little.
3. Stretch & Fold: 1st Way
- Wet one hand and gently loosen dough from edges of bowl. Take a handful of dough from the top of the bowl and pull towards you *See picture. Turn bowl 1/4 turn and repeat for a total of 4 stretch & folds to complete circle.
- Cover and rest 20 minutes.
- Repeat stretch and fold full circle.
- Cover and rest 20 minutes.
- Repeat stretch and fold full circle.
- Cover and rest overnight 10-12 hours.
Directions: Day Two
1. Lift & Fold: 2nd Way
- Wet both hands and loosen dough from edges of bowl. Using both hands, pick up dough from middle and let it droop over the sides of your hands. *See picture. Gently lower into bowl and let it fold on top of itself. Turn bowl 1/4 turn and repeat for total of 4 to complete full circle.
- Note: If it is stiff at first, you can pick it up and gently stretch a little with your wet hands to encourage the gluten. *See picture.
- Cover and rest 20 minutes
- Repeat 2nd way of stretch & fold full circle
- Cover and rest 20 minutes
2. Shape and Stuff
- Preheat oven to 425 degrees fahrenheit.
- Separate the dough into 2″ balls. Roll out into 6-9″ diameter circles.
- Cover the top with pizza sauce, or whatever sauce you like, leaving a 1/2-1″ edging around.
- Fill one half of the dough with pizza toppings.
- Fold over dough and press edges firmly with a fork.
- Place on parchment covered baking sheets.
- Cover dough with egg yolks and sprinkle with any seasonings or herbs.
3. Bake the Panzerottis
- Bake the panzerottis for 15-18 minutes until crust is crispy and golden brown.
- Let cool for a few minutes before biting into!
Nutrition
For approximately 1 Panzerotti, crust only: 121.6 calories; 1 g fat; 23.8 g carbohydrates;
3.2 g protein; 290 mg sodium.