Find Northbird on social media:
This post contains affiliate links. As an Amazon associate, I earn from qualifying purchases. This means that I make a small commission at no extra cost to you. You can read my full disclosure HERE.

Why we love making these baked “Eggie Bites”:
Packed full of protein, these Eggie Bites are a great source of energy to start the day off or to recharge with at lunch time!
Our kids love them for their soft, cheesy taste and each have their favourite preferences for meat protein. “L” likes it with bacon, while “F” likes it with Salami. (My favourite is with sausage bits!)
I love making large batches of most things that I can freeze and then save time and energy on preparing later. This recipe is of course a wonderful make-ahead-and-freeze meal that thaws and reheats very well.
I have made other baked egg recipes where the egg tasted a little “rubbery” (I doubt I’m not the only one that doesn’t like this!) After trying a few recipes and experimenting, I have found the solution to making a softer baked “Eggie Bite” is with adding cottage cheese to the mix.
This recipe makes approximately 2 dozen Eggie Bites, depending on how many additional ingredients you add in.

Nutritional Information:
Each Eggie Bite Contains:
- 135 calories
- 8.3 g fat
- 2.6 g carbohydrates
- 12.5 g protein

How to Make Eggie Bites
Supplies Needed:
- Mixing Bowl
- Whisk
- Measuring cups/Teaspoons
- Muffin Baking Tray
- Silicone Muffin Cups (optional, but I do find these work really well to “pop out” afterwards!)
- Cheese Grater
- Cutting Board
- Knife
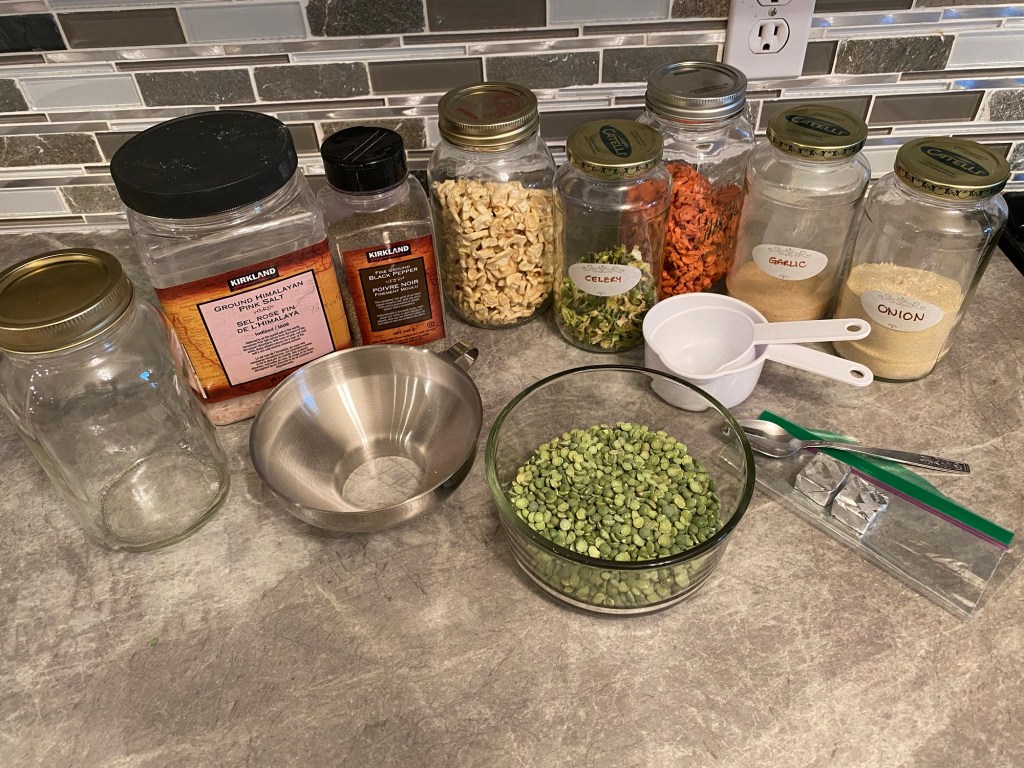
Ingredients:
- 1 dozen eggs, whisked smooth
- 1 small tub 500g cottage cheese (2 cups)
- 1 cup cheddar or other cheese, shredded (reserve some for the tops)
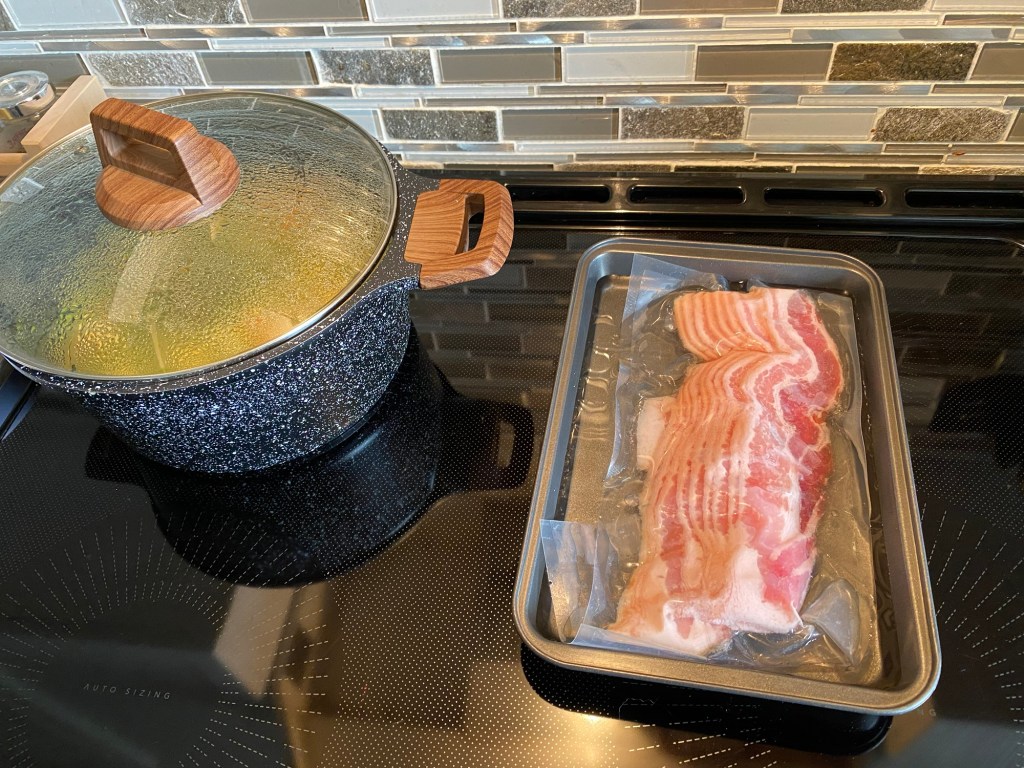
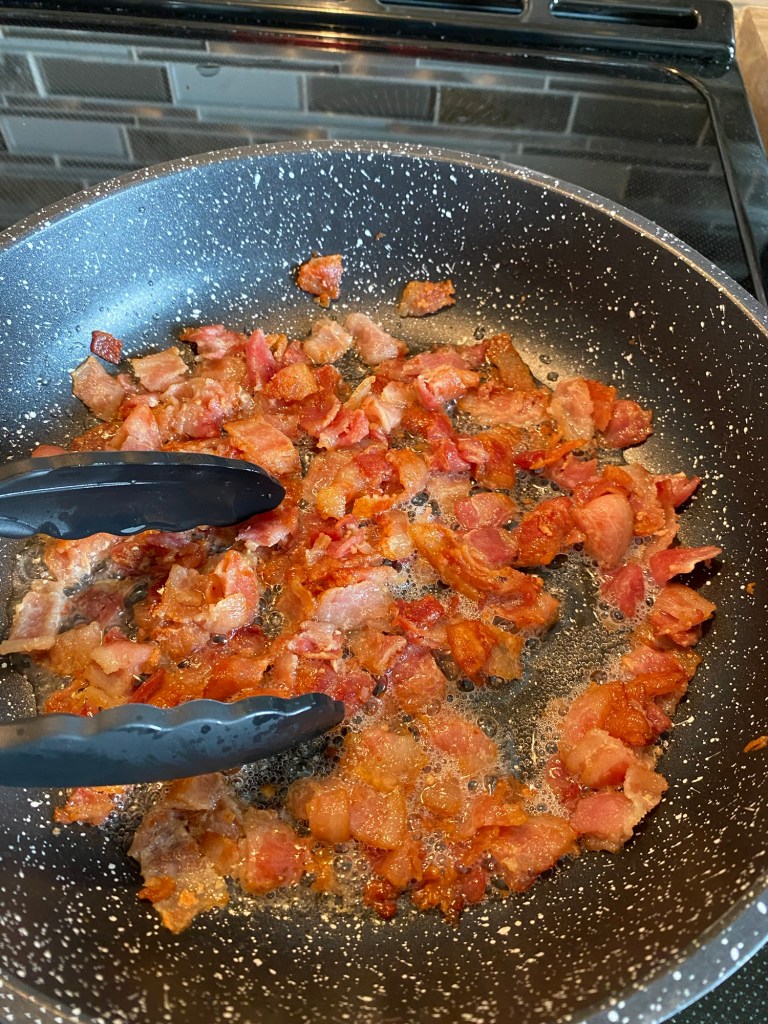
- 1.5 cups of cooked meat, cut up into small pieces (bacon, salami, ham, chicken, sausage, etc)
- 1/2 teaspoon salt
- 1/2 teaspoon pepper
Additional Vegetable Ideas:
- Mushrooms, chopped
- Green Onion/Scallions chopped (we cut up the tops with kitchen scissors)
- Peppers, diced
- Tomatoes, diced
- Asparagus, chopped
Directions:
1. Preheat oven to 325 degrees Fahrenheit.
2. Whisk up the eggs, then add all other ingredients and mix well together.

3. If using, set the silicone cups into muffin pan, or simply grease muffin pan well with oil.
4. Fill muffin cups nearly full (they will slightly puff up in oven then shrink down again as cooling)

5. Bake for 30-35 minutes until Eggie Bites are golden on top and firm when poked gently.
6. Cool in pan for 5-10 minutes before transferring them to a cooling rack. If in silicone cups, simply pop out. If in regular muffin pan, gently twist and lift out with a thin spatula.
7. Serve while hot and enjoy!


Storing instructions:
In the fridge: cool completely and store in a sealed container in the fridge for 3-4 days. To serve: eat them cool or gently reheat in the microwave or oven.
In the freezer: cool completely and transfer to a sealed container or ziploc freezer bag. Remove extra air of the bag with a straw (to prevent it from getting freezer burn). Label, and eat up within 3 months. To thaw: Reheat in the microwave or oven!

Made this Recipe?
I’d LOVE to see your results!! Feel free to post to your social media account and tag Northbird using one of the links below or post in the comments!
Check out these other Breakfast Recipes from the Northbird Kitchen!


Hi, I’m Jessie!
I’m a Wife and Homeschooling Mom living in a remote town in Northern Ontario, Canada. I love making wholesome meals for my family from scratch, homeschooling our girls and learning more about natural living.
Read more about my story HERE.

Subscribe to Northbird’s email list to get weekly posts on: tasty recipes, activity ideas for kids, natural living tips, and some genuine mom thoughts and encouragement!
Recent posts from Northbird:


Make-Ahead Eggie Bites: Easy and Nutritious
Jessica Burman, 2025 © The Northbird Blog. https://www.thenorthbirdblog.com
Supplies Needed:
Ingredients:
- 1 dozen eggs, whisked smooth
- 1 small tub 500g cottage cheese (2 cups)
- 1 cup cheddar or other cheese, shredded (reserve some for the tops)
- 1.5 cups of cooked meat, cut up into small pieces (bacon, salami, ham, chicken, sausage, etc)
- 1/2 teaspoon salt
- 1/2 teaspoon pepper
Additional Vegetable Ideas:
- Mushrooms, chopped
- Green Onion/Scallions chopped (we cut up the tops with kitchen scissors)
- Peppers, diced
- Tomatoes, diced
- Asparagus, chopped
Directions:
- Preheat oven to 325 degrees Fahrenheit.
- Whisk up the eggs, then add all other ingredients and mix well together.
- If using, set the silicone cups into muffin pan, or simply grease muffin pan well with oil.
- Fill muffin cups nearly full (they will slightly puff up in oven then shrink down again as cooling)
- Bake for 30-35 minutes until Eggie Bites are golden on top and firm when poked gently.
- Cool in pan for 5-10 minutes before transferring them to a cooling rack. If in silicone cups, simply pop out. If in regular muffin pan, gently twist and lift out with a thin spatula.
- Serve while hot and enjoy!
Storing Instructions:
- In the fridge: cool completely and store in a sealed container in the fridge for 3-4 days. To serve: eat them cool or gently reheat in the microwave or oven.
-In the freezer: cool completely and transfer to a sealed container or ziploc freezer bag. Remove extra air of the bag with a straw (to prevent it from getting freezer burn). Label, and eat up within 3 months. To thaw: Reheat in the microwave or oven!
Nutrition
Per 1 Eggie Bite: 135 calories; 8.3 g fat; 2.6 g carbohydrates;
12.5 g protein.