Find Northbird on social media:
This post contains affiliate links. As an Amazon associate, I earn from qualifying purchases. This means that I make a small commission at no extra cost to you. You can read my full disclosure HERE.

Why I like making my own hand soap:
We have been using variations of this recipe for about 8 years now, and I’ve never regretted it for a number of reasons:
- I’ve noticed a huge difference in the condition of the skin on my hands while using this gentle hand soap, in comparison to using a store-bought hand soap. My hands are more smooth, and less prone to drying out.
- I know EXACTLY what is in the ingredients and what I am allowing my skin to absorb.
- This costs a fraction of the amount for store-bought hand soap pumps.
- I can choose which pure essential oil scent each batch will have!
I would like to give credit to my sister-in-law K and my mother S, for sharing their homemade hand soap recipes with me several years ago, and being the inspiration to create this simple recipe that keeps our hands fresh and clean!
What to know about Castile Soap:
Castile soap is an amazing natural and non-toxic product made from combining plant-based oils and an alkali. It is also biodegradable and contains no synthetic or chemicals that are tough on the environment.
It is named after the Castile region in Spain, where castile soap bars have been made for centuries and are treasured for their quality and gentleness on skin.
Typical ingredients include: olive oil, jojoba oil, coconut oil, sunflower seed oil, hemp, and alkalis such as: sodium or potassium hydroxide if it is a liquid soap, or sodium hydroxide if it is a soap bar.
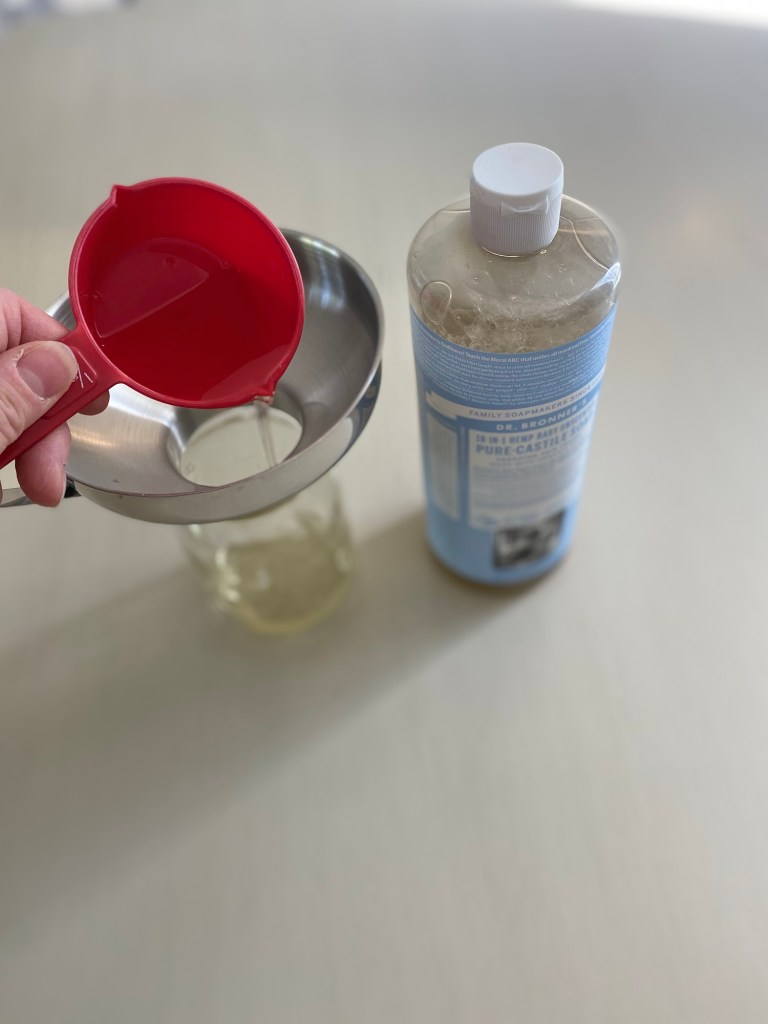
I have use a few different castile liquid soaps over the years, but this one from Dr. Bronners is my favourite. They come in scented or unscented bottles per your preference.
Vitamin E Oil Health Benefits:
I always add a few drops of Vitamin E Oil into whatever skin care products I am making. It is highly beneficial to the skin because of its moisturizing properties, and helps to cure skin problems such as psoriasis, eczema, dryness and itchiness to name just a few!
It is also a wonderful antioxidant and helps to keep your immune system strong.
Why are Pure Essential Oils better to use in your home than Artificial Scents?
Artificial fragrances and perfumes are everywhere: in candles, in air fresheners, hand soaps, body lotions, shampoos & conditioners, and in most commercial based laundry products. This is one reason why it is so important to check labels and list of ingredients!
Synthetic scents are usually petroleum based and these chemicals have very serious effects on the human body. Some common chemicals used include benzophenone and styrene (carcinogenic) and phthalates (endocrine disruptors). You can read more about this HERE.
I suppose that makes sense why there are so many allergies and asthmatic reactions to strong scents!

Commonly used Essential Oils for Hand Soaps and their Medicinal Uses: (I’ve also added a few that primarily aid skin conditions)
- Lavender: Lowers stress, anxiety, and headaches. Improves sleep quality, relaxes muscles, lowers pain. Also used to treat head lice and stimulate hair growth.
- Peppermint: A great resource for opening up the sinuses and relieving headaches.
- Sandalwood: Calming and a relaxing scent.
- Lemon: A bright and refreshing scent that helps to even out the skin tone.
- Eucalyptus: An antiseptic, anti-fungal, anti-viral, and anti-bacterial essential oil. Fights infection and promotes healing.
- Rosehip: Primarily used for treating eczema, acne and rashes. It has linoleic acid in it which shrinks pimples and reduces inflammation.
- Sweet Orange Oil: An anti-bacterial, anti-inflammatory, aides in digestion, but most known to act as a mood enhancer and relaxant.
- Geranium: Used to treat depression, balance hormones, improve circulation, and sleep aid to name a few.
- Carrot Seed Oil: An antioxidant, anti-fungal and anti-bacterial. Primarily used to treat skin infections and inflammations.
- Jasmine: Used to treat depression and anxiety, aides in balancing hormones and improving energy and sleep.
- Grapefruit: Treats acne and other skin infections. Mood enhancer and may also help with weight loss.
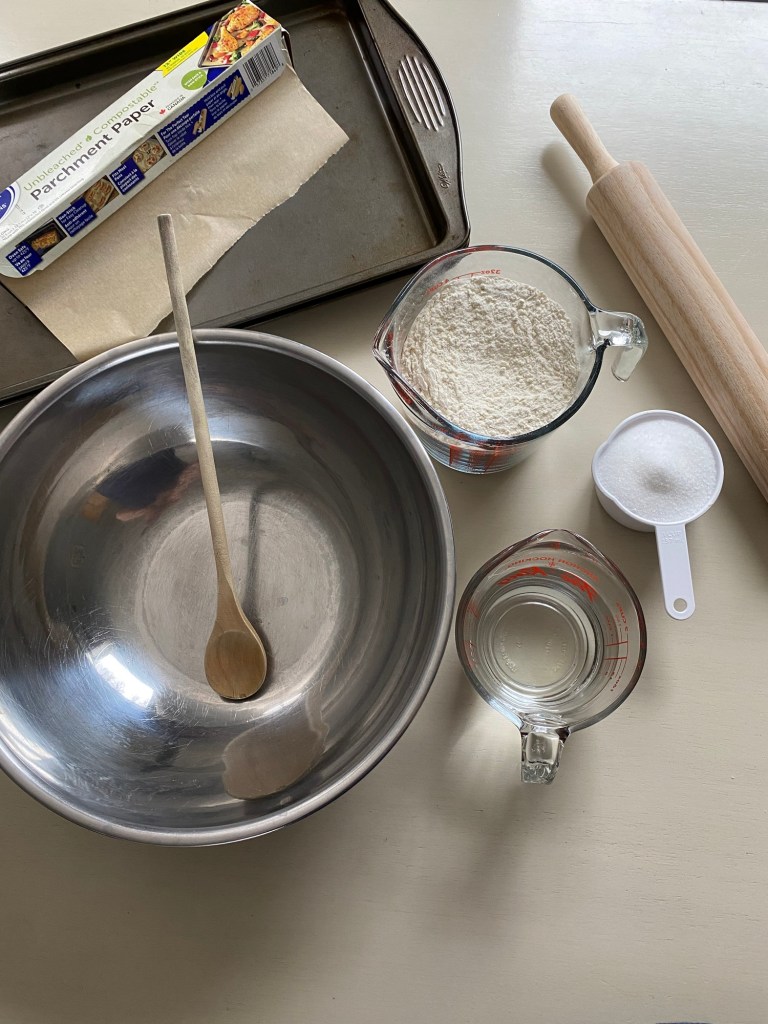
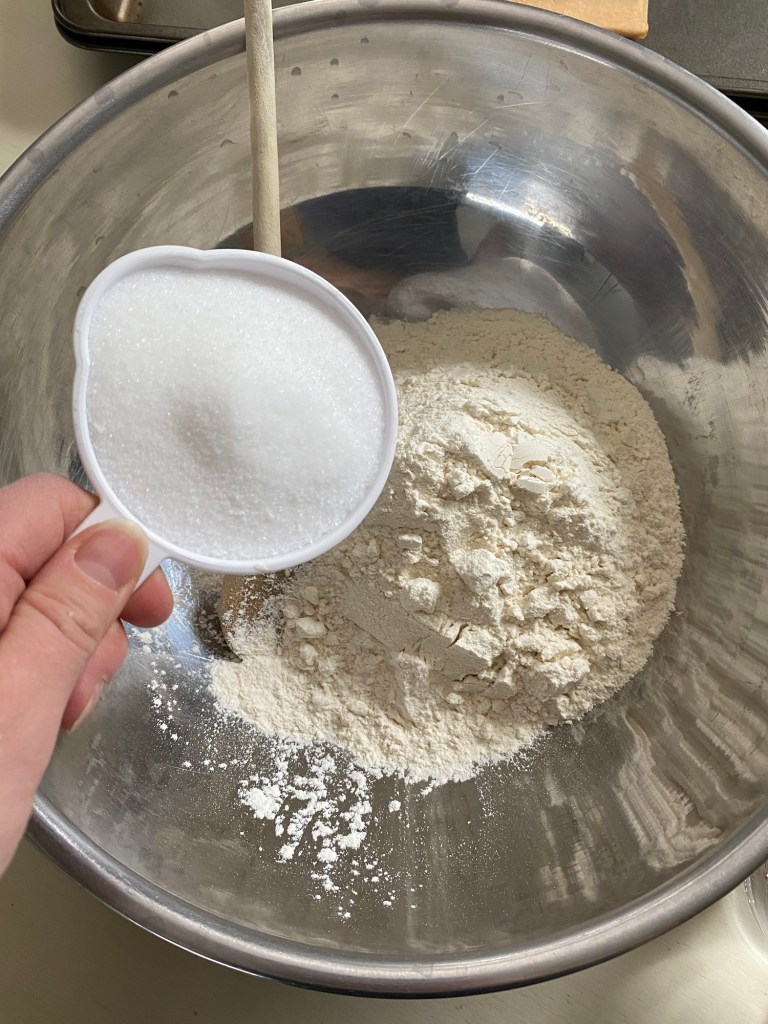
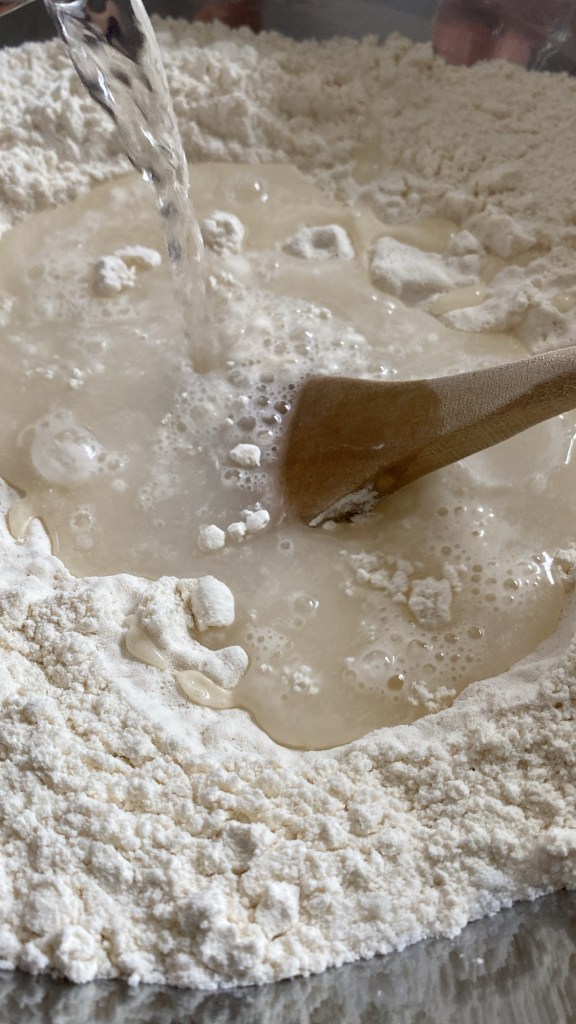
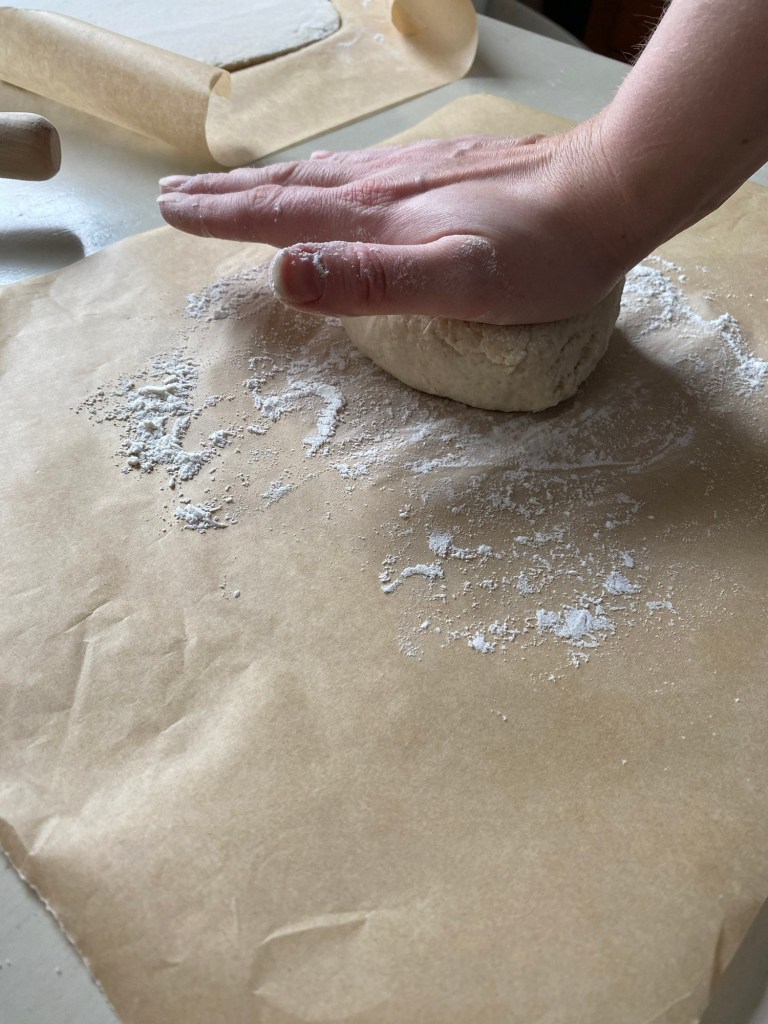
Here is a short visual of how to make your own hand soap using the ingredients listed below.
♫ Music by Mark Mothersbaugh

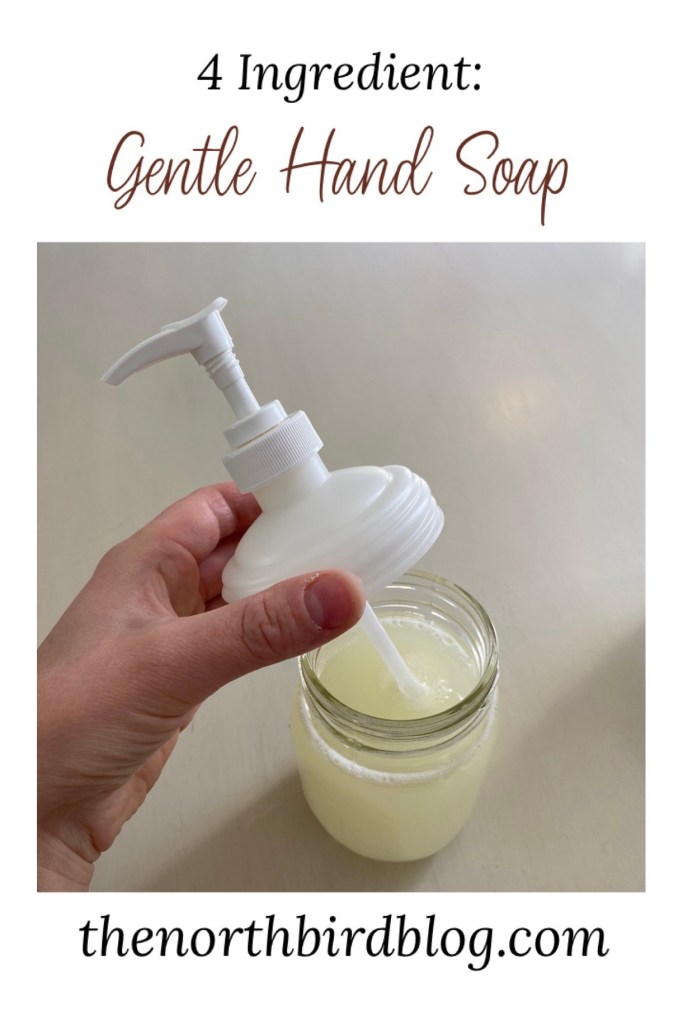
How to Make Homemade Hand Soap
Supplies Needed:
- Mason glass jar, 500ml (pint)
- Pump lid fitting mason glass jar
- Measuring cups and teaspoon
- Jar funnel -I love this one!
- Stirring spoon
Ingredients:
- 1 1/2 cups Water
- 1/2 cup Liquid Castile Soap
- 1 teaspoon Vitamin E Oil
- 10-15 drops Pure Essential Oil (optional, see suggestions above!)
Directions:
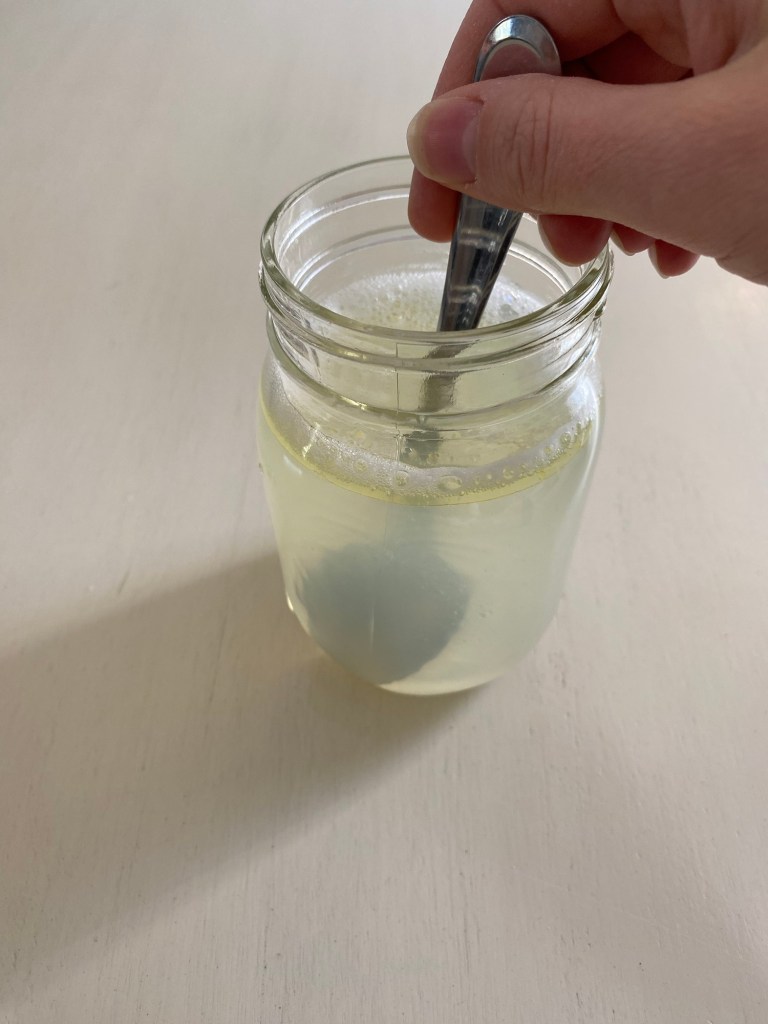
- Mix Castile soap, water and vitamin e oil together in glass jar.
- Add favourite essential oil(s) until scent is as desired.
- Mix together well.
- Secure lid and prime pump. Enjoy!
Additional Notes:
- If the vitamin e oil separates to the top after a few hours, this is normal. Just give it a shake and continue use.


More Ideas for Natural Living:


Hi, I’m Jessie!
I’m a Wife and Homeschooling Mom living in a remote town in Northern Ontario, Canada. I love making wholesome meals for my family from scratch, homeschooling our girls and learning more about natural living.
Read more about my story HERE.

Subscribe to Northbird’s email list to get weekly posts on: tasty recipes, activity ideas for kids, natural living tips, and some genuine mom thoughts and encouragement!

Check out on the Natural Living Page:
An on-going picture collection of various herbs, vegetables, fruits, oils, etc and highlighting some of the amazing health benefits that they have to offer us!
Recent posts from Northbird:


DIY Natural Hand Soap Recipe for Healthy Skin
Gentle on skin, and made from natural ingredients, this homemade hand soap is one of my favourite household recipes!
By Jessica Burman © 2025 The Northbird Blog. http://www.thenorthbirdblog.com
Supplies Needed:
Ingredients
Directions:
- Mix Castile soap, water and vitamin e oil together in glass jar.
- Add favourite essential oil(s) until scent is as desired.
- Mix together well.
- Secure lid and prime pump. Enjoy!