Find Northbird on social media:
This post contains affiliate links. As an Amazon associate, I earn from qualifying purchases. This means that I make a small commission at no extra cost to you. You can read my full disclosure HERE.

There is not long to wait now until Christmas, and with this exciting season comes all the delicious baked treats and goodies! (my self-control gets really challenged this time of year!)
I love seeing all the unique and tasty recipes that different families make every year as part of their Christmas traditions.
My family had a few delicious traditions every year that we always looked forward to: My sister would always make chocolate peanut butter balls, my mom always made delicious Christmas cake (that would sometimes last many, many months!) and I was always a fan of making sugar cookies with all the fun icing and sprinkles.
Other tasty Christmas treats that I remember making from my childhood are gingerbread, caramel corn, and a few different shortbreads and scones. When I got married and started learning about my in-law’s family traditions, I was particularly interested in learning the favourite cooking and baking recipes that he grew up with.

This particular recipe belonged to my husband’s grandma “Marion”, who I never met, but I’m told was one of the kindest and gentlest of women. Her family background was Scottish, which is very fitting because shortbread of course originates from: Scotland!
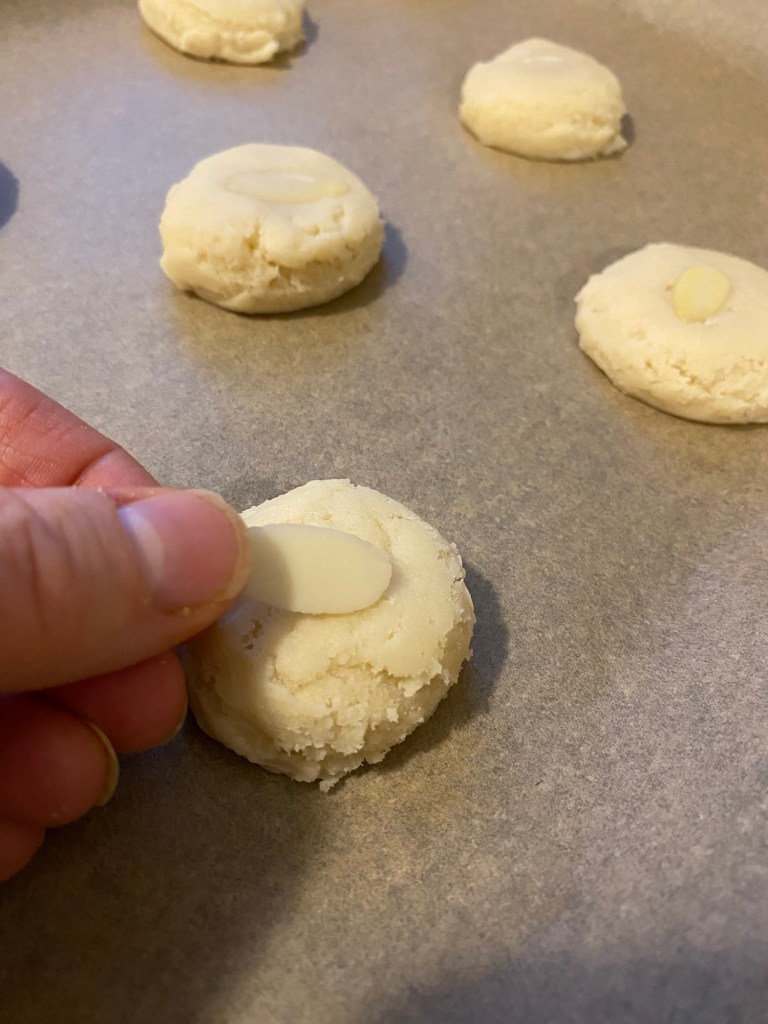
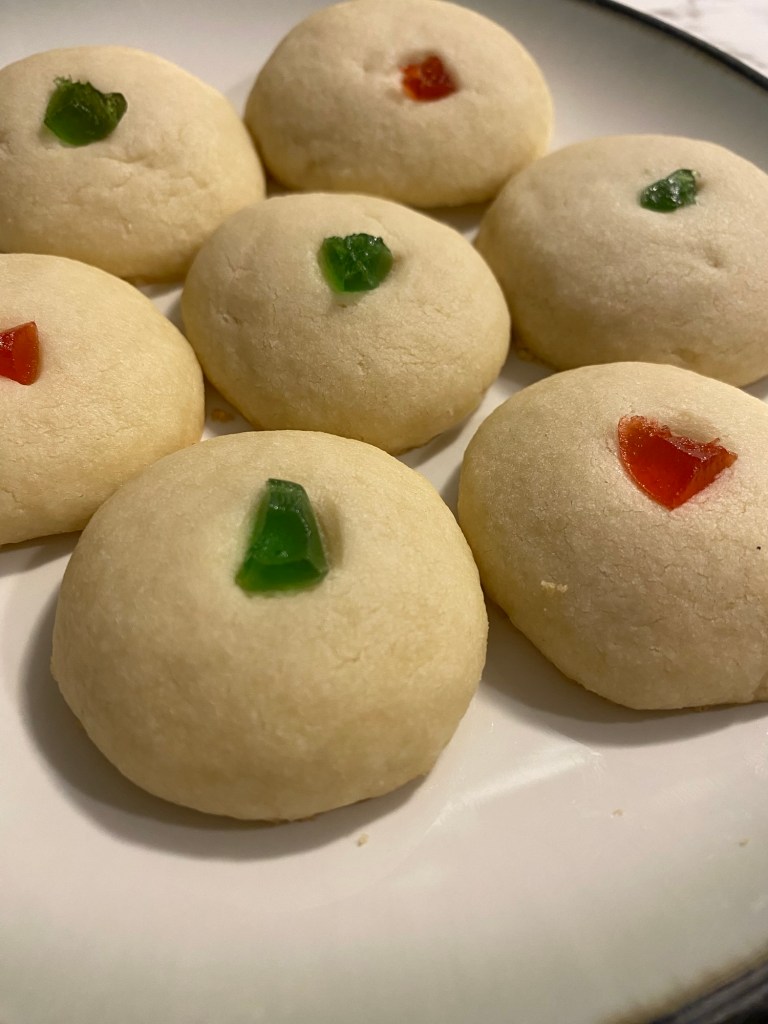
Traditionally, Grandma Marion made these with candied cherries in the center, but my mother-in-law has also been making these for years with sliced almonds pressed on top. And when my husband and I wanted to make them for his students at school, we made them with maraschino cherries on top (that’s all that we had at the time for decoration!)
My favourite thing about these cookies? The butter. So so good, it just melts in your mouth!
I hope you enjoy making these tasty shortbread cookies!
Here’s a short video showing how to make these tasty and buttery cookies!
How to Make Marion’s Shortbread Cookies:
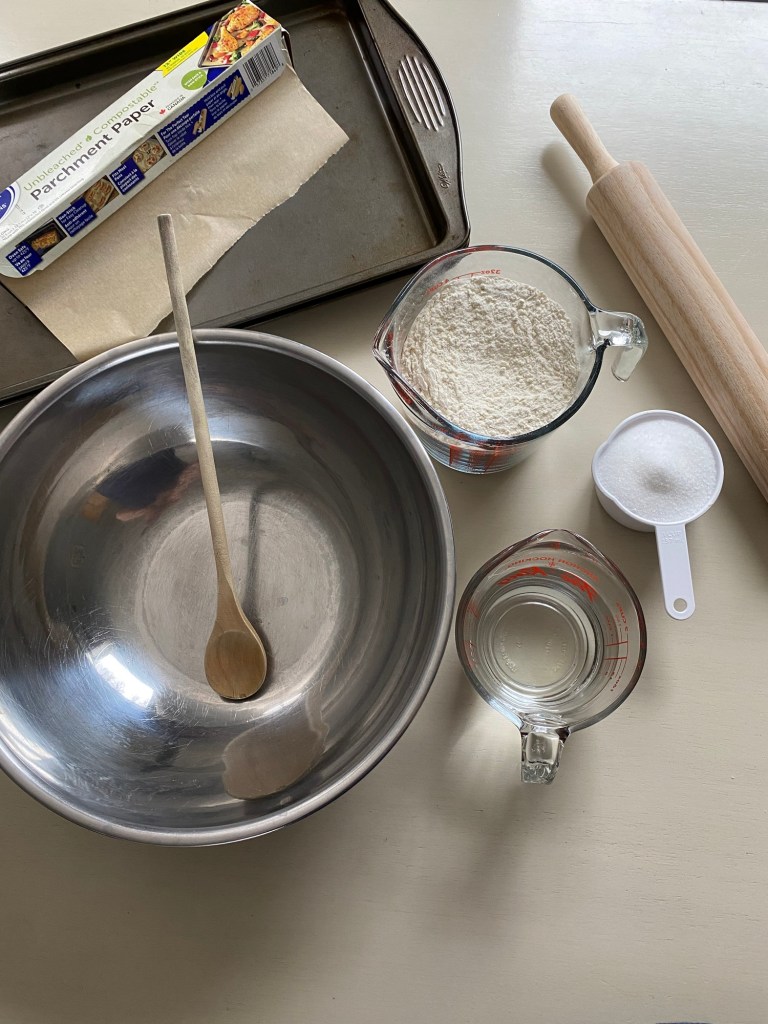
Supplies Needed:
Note: This recipe really works best with an electric mixer or food processor if possible. If doing it by hand, it may take a little longer to mix thoroughly together.
Ingredients:
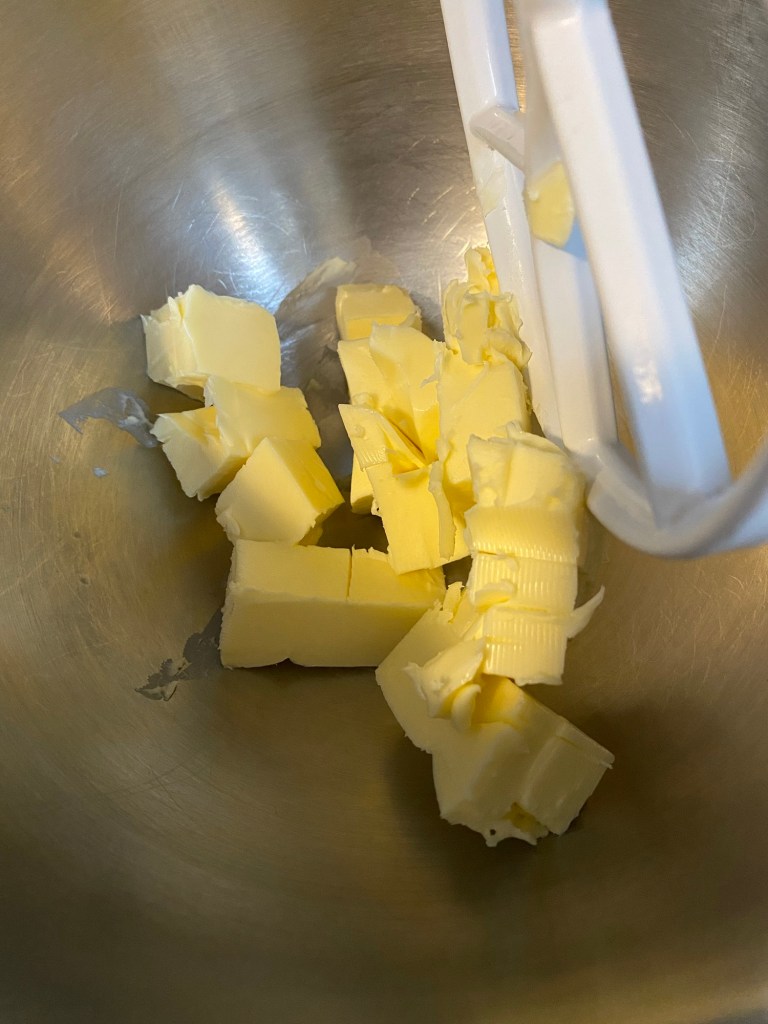
- 1/2 pound, (1 cup) butter, soft (butter is a MUST for this recipe, it will not turn out right with margarine or other substitute.
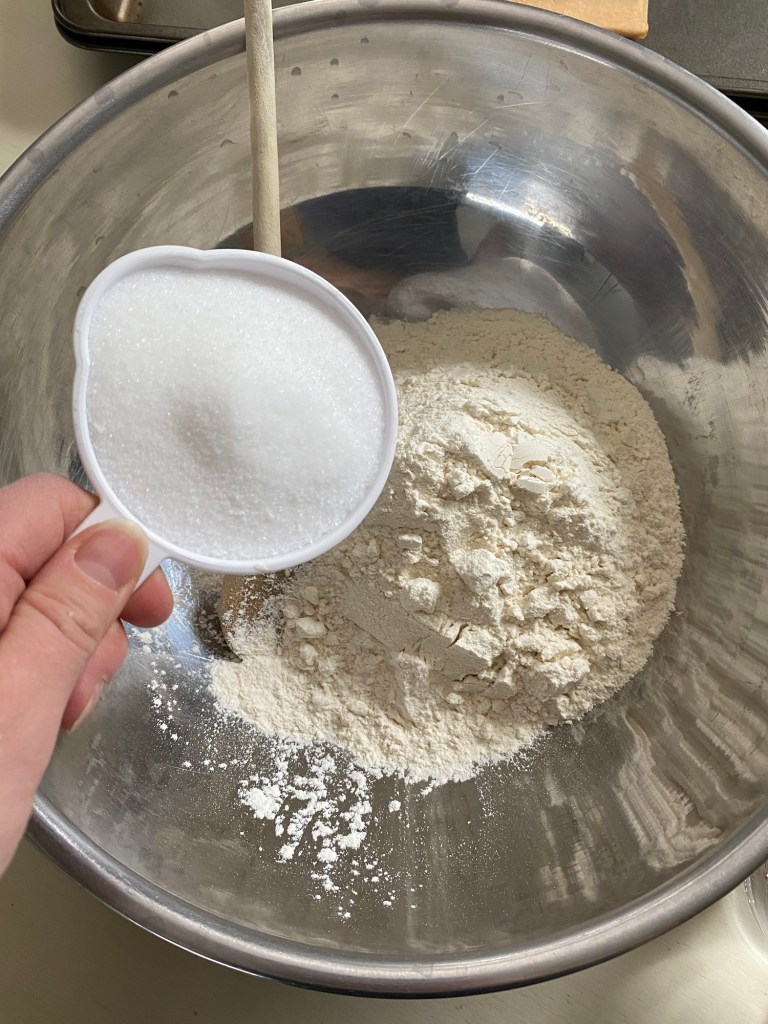
- 1/3 cup icing sugar
- 1/4 cup cornstarch
- 1/2 teaspoon vanilla
- 1+1/2 cups all purpose flour
- Topping Ideas:
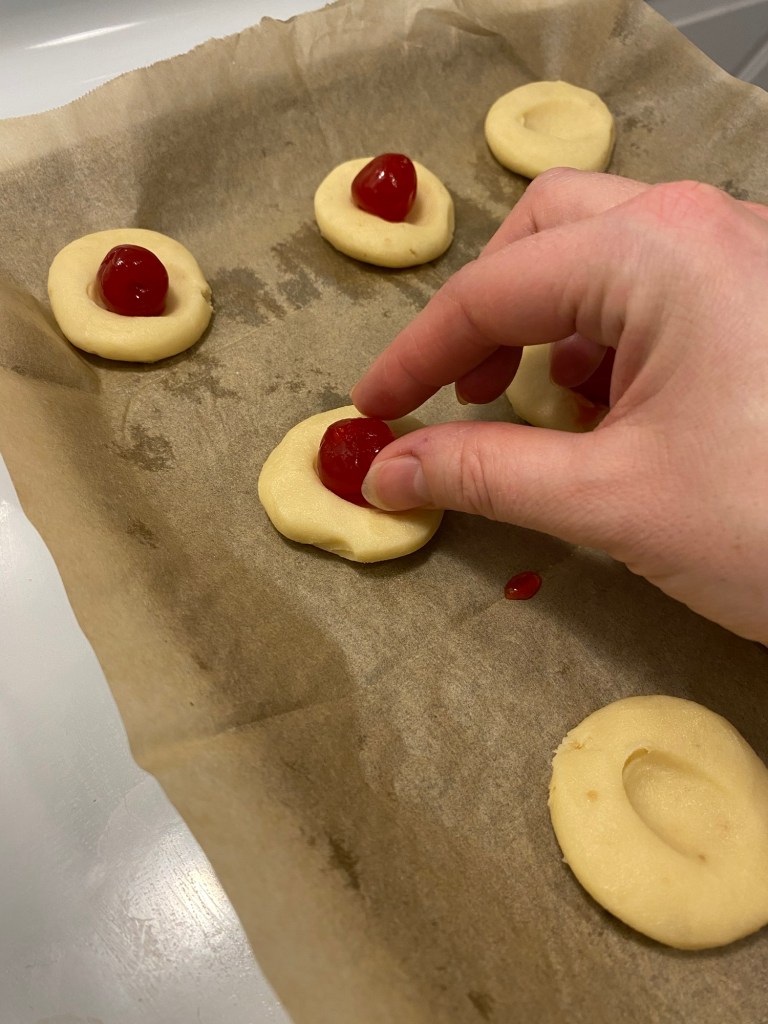
Note: Traditionally, these cookies were topped with the little square candied cherries, but they are also very tasty using slivered almonds or maraschino cherries!
Directions:
- Preheat oven to 350 degrees fahrenheit.
- Beat the butter until creamy.
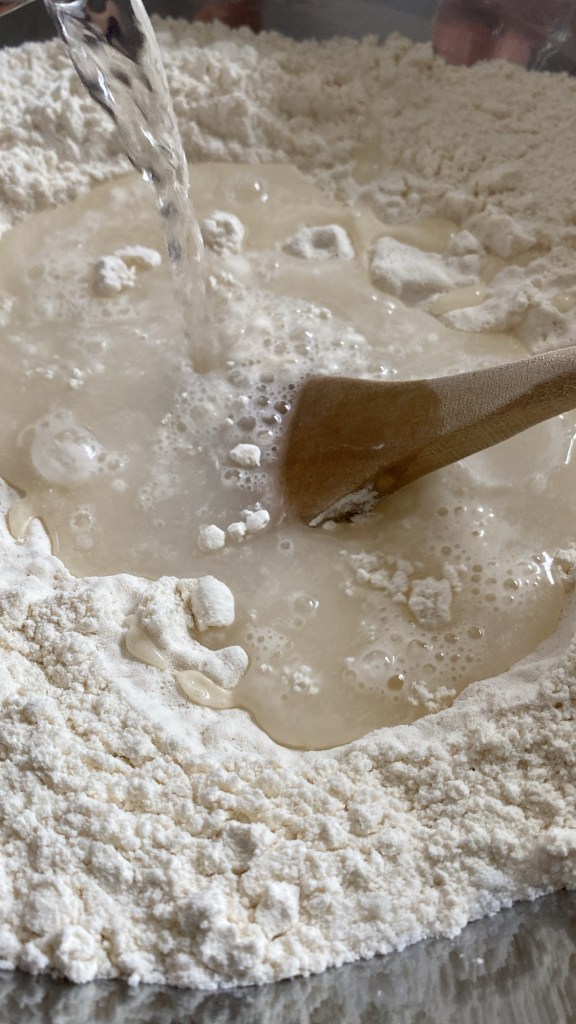
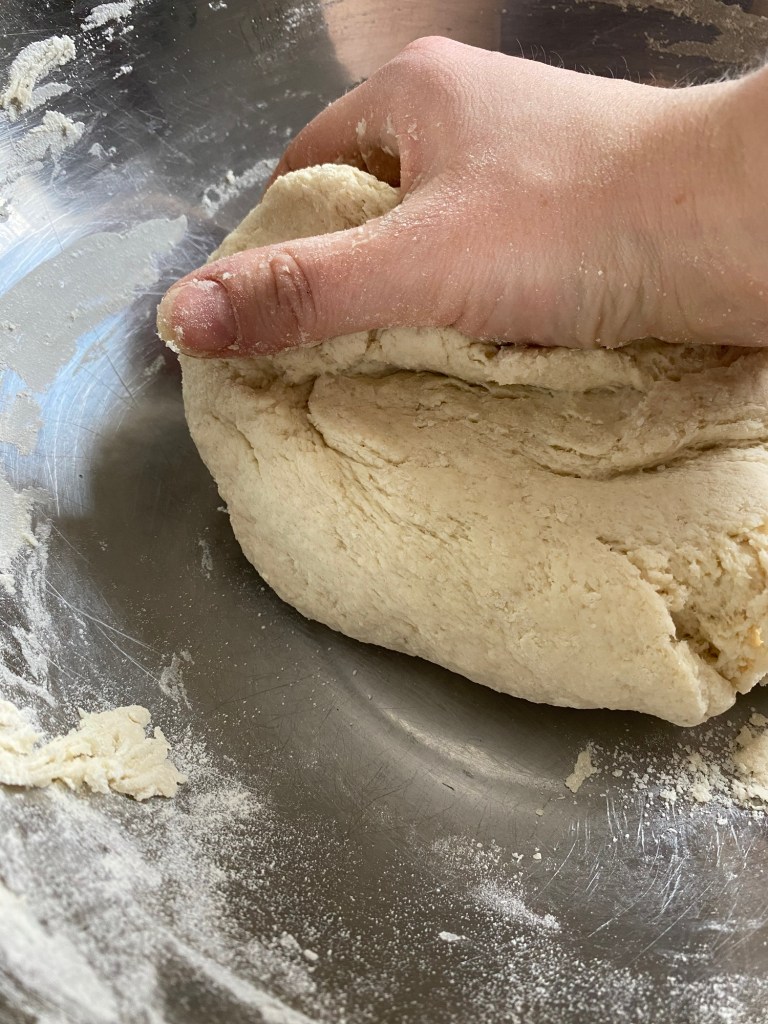
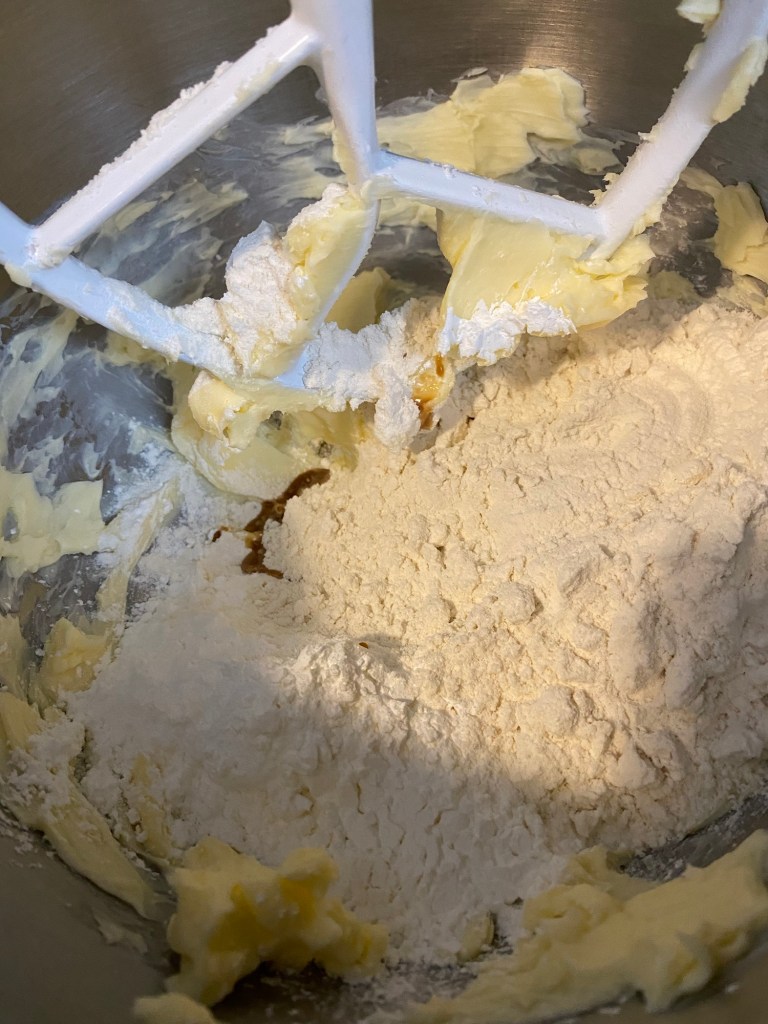
3. Add the rest of the ingredients to the butter and mix for about 5 minutes until it comes together and the sides of the bowl are clean. It will look very dry at first while mixing, but just be patient and let the butter do it’s work. It is ready when you can clump it together in your hand.

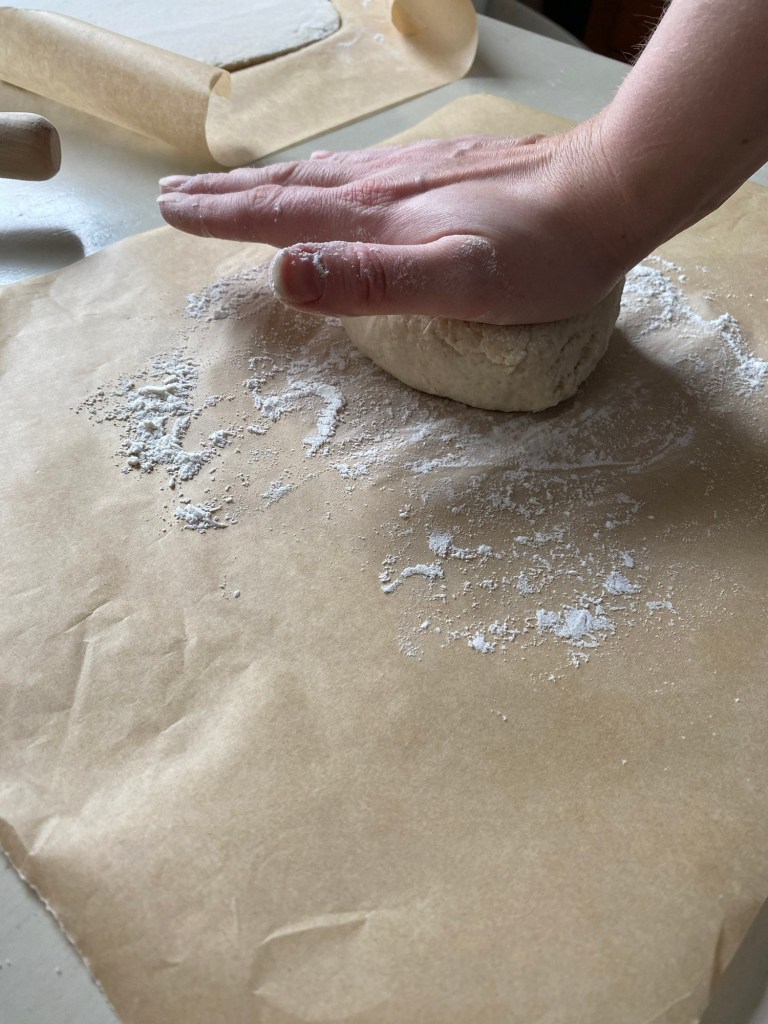
4. Roll in your hands into 1 inch balls and flatten them a little, placing them on a parchment covered baking sheet. Note: You will want to do this quickly as the warmth from your hands will be melting the butter causing it to lose shape!

5. Decorate the tops if desired (see ideas above) and gently push into the dough so it doesn’t fall off. If using larger maraschino cherries, make an imprint with your finger first.

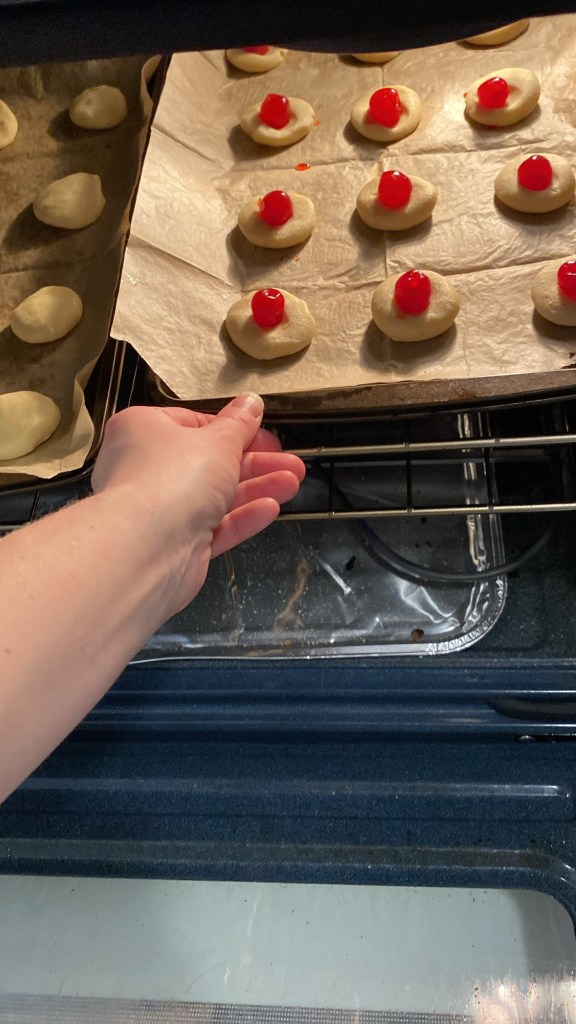
6. Bake in middle of oven at 350 degrees fahrenheit for about 12 minutes. The bottoms should be lightly golden, and you’ll see the sides start to show golden as well.
7. Let the cookies cool before removing from baking sheet (about 10-15 minutes)

8. Makes about 2 dozen cookies.
How to store these cookies:
Store in sealed container at room temperature up to 5 days, or in the fridge for longer to maintain freshness. You can also freeze them in a sealed container if you are making them in advance of the holidays, and just take them out to thaw for 1/2 hour prior to serving!
Made this Recipe?
I’d love to hear how your cookies turned out! Feel free to tag Northbird using one of the links below if you are posting to social media, or share in the comments below!
Happy Baking!
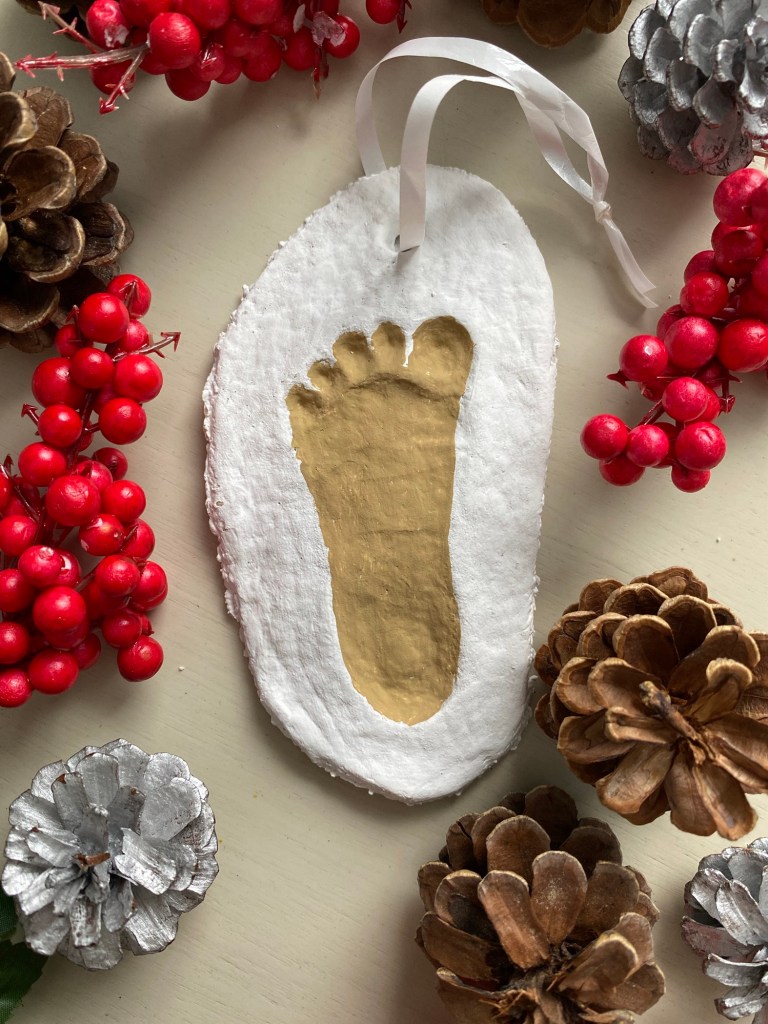
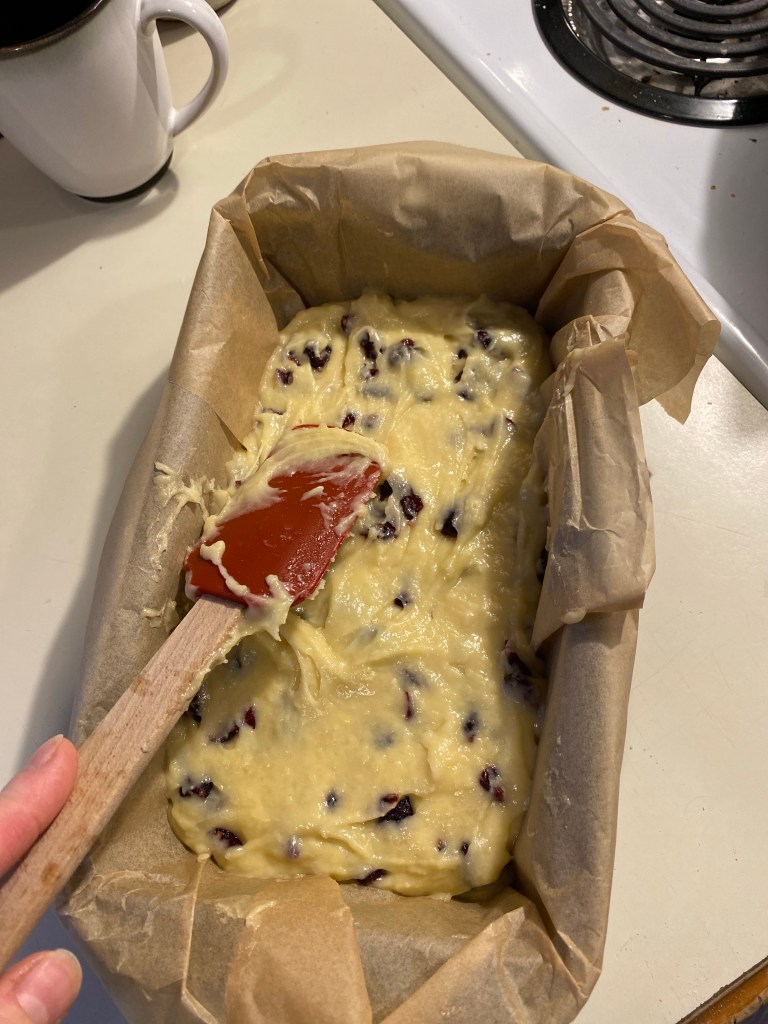
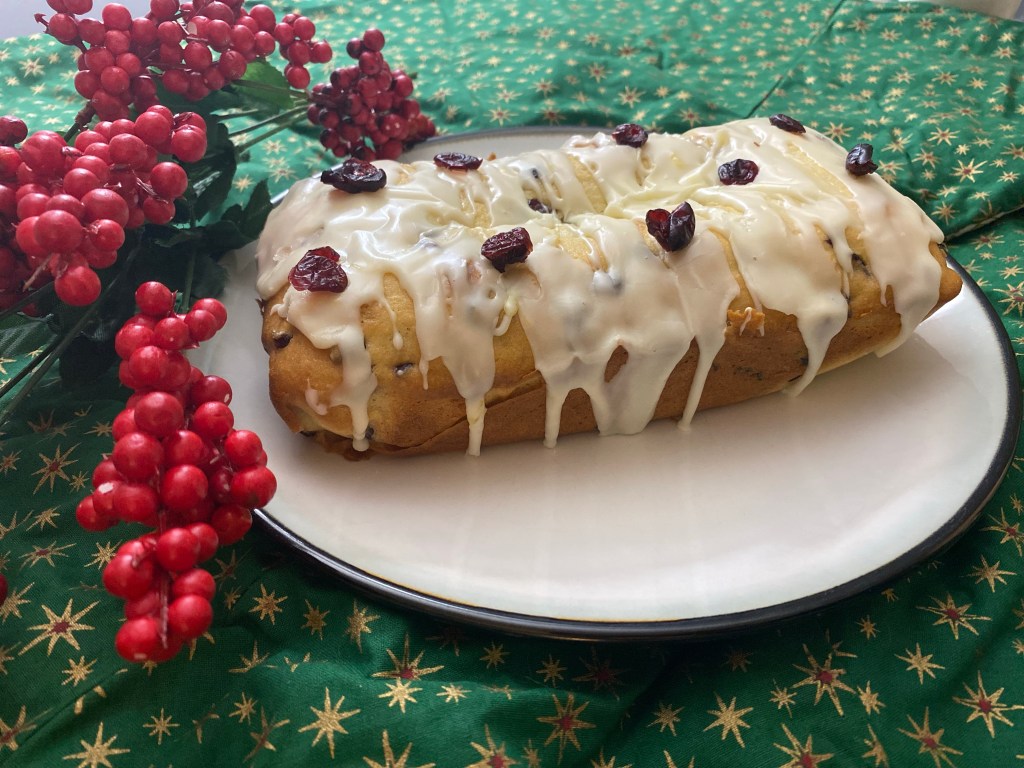
If you are a cranberry fan, you might like to check out these other tasty recipes that include cranberries from the Northbird Blog:


More Desert & Snack Recipes:


Hi, I’m Jessie!
I’m a Wife and Homeschooling Mom living in a remote town in Northern Ontario, Canada. I love making wholesome meals for my family from scratch, homeschooling our girls and learning more about natural living.
Read more about my story HERE.

Subscribe to Northbird’s email list to get weekly posts on: tasty recipes, activity ideas for kids, natural living tips, and some genuine mom thoughts and encouragement!
Recent posts from Northbird:


Marion's Shortbread Cookies
A favourite tradition of my husband's family! So buttery and good, these Easy Shortbread Cookies will just melt in your mouth!
Store in sealed container at room temperature up to 5 days, or in the fridge for longer to maintain freshness. You can also freeze them in a sealed container if you are making them in advance of the holidays, and just take them out to thaw for 1/2 hour prior to serving!
The Northbird Blog, 2024 http://www.thenorthbirdblog.com
Supplies Needed:
Ingredients
Directions:
- Preheat oven to 350 degrees fahrenheit.
- Beat the butter until creamy.
- Add the rest of the ingredients to the butter and mix for about 5 minutes until it comes together and the sides of the bowl are clean. It will look very dry at first while mixing, but just be patient and let the butter do it’s work. It is ready when you can clump it together in your hand.
- Roll in your hands into 1 inch balls and flatten them a little, placing them on a parchment covered baking sheet. Note: You will want to do this quickly as the warmth from your hands will be melting the butter causing it to lose shape!
- Decorate the tops if desired (see ideas above) and gently push into the dough so it doesn’t fall off. If using larger maraschino cherries, make an imprint with your finger first.
- Bake in middle of oven at 350 degrees fahrenheit for about 12 minutes. The bottoms should be lightly golden, and you’ll see the sides start to show a hint of golden as well.
- Let the cookies cool before removing from baking sheet (about 10-15 minutes)
- Makes about 2 dozen cookies.
Nutrition
Per 1 cookie: 68 calories; 3.4 g fat; 7.4 g carbohydrates;
0.7 g protein.