Find Northbird on social media:
This post contains affiliate links. As an Amazon associate, I earn from qualifying purchases. This means that I make a small commission at no extra cost to you. You can read my full disclosure HERE.

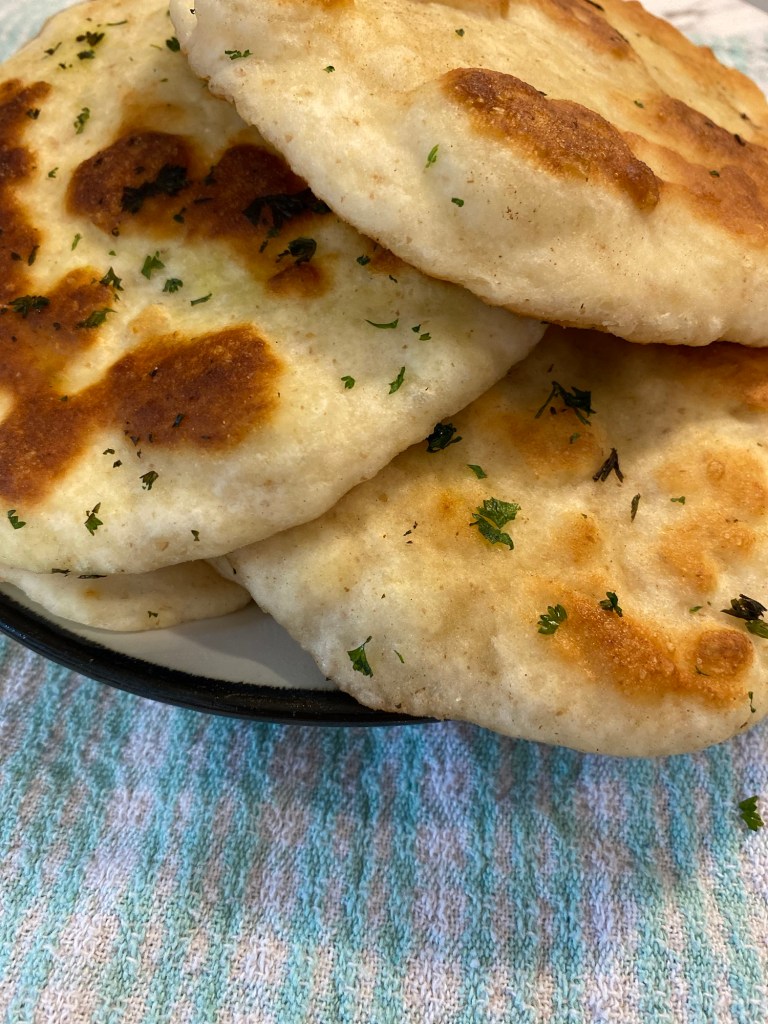
We love eating naan bread! We tend to have either a type of curry, stirfry or butter chicken with rice for dinner once a week, and this is our favourite pairing with it.
In our home, my husband likes thin and extra buttery naan bread, while the kids and I enjoy it a little thicker. So whenever I make some, I try to roll some out a little thinner than others, so that everyone has some the way they like it best. And always lather with lots of butter…before and after frying!
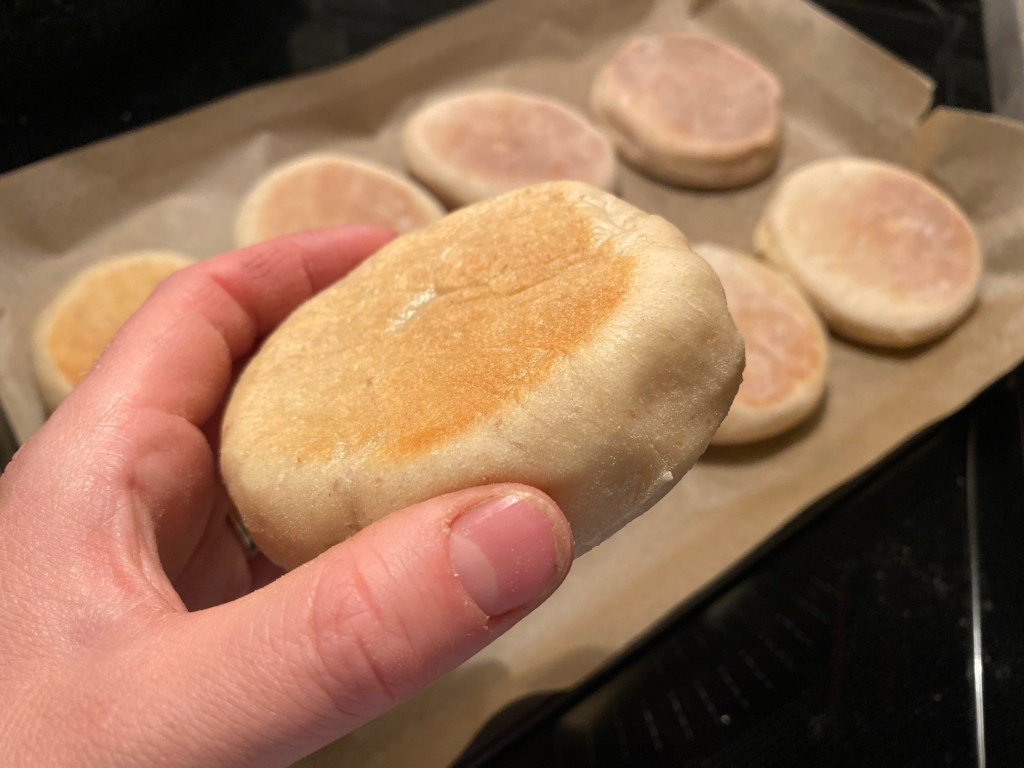
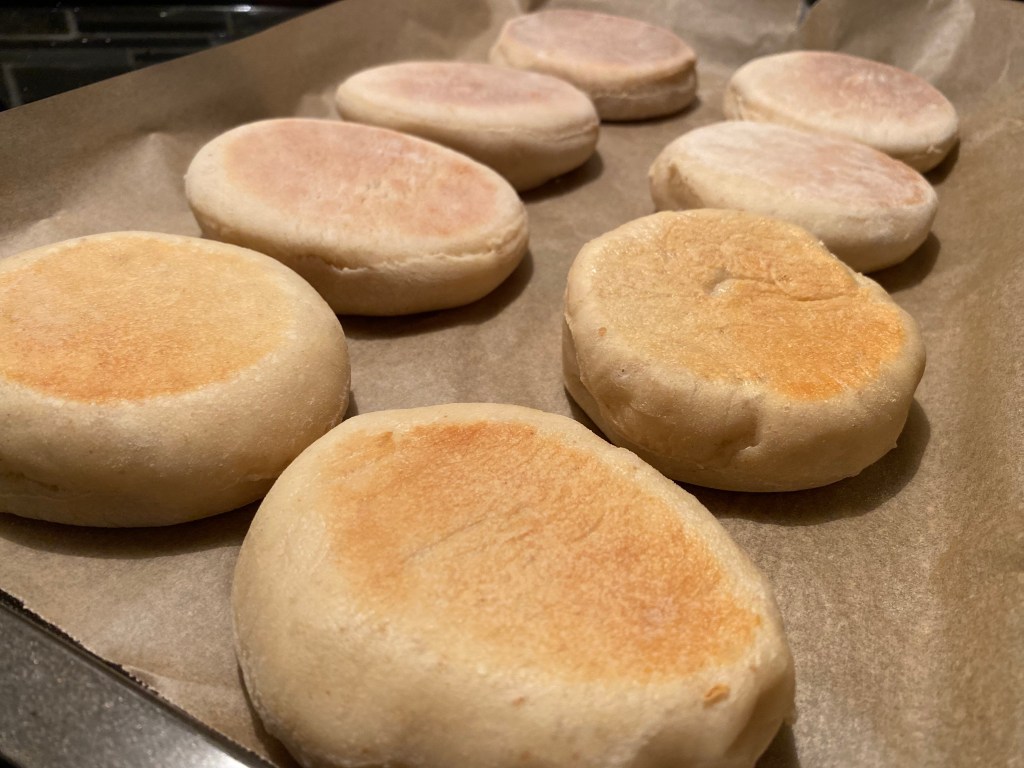
Feel free to adjust the thickness of this naan bread recipe to your preference! The instructions below are for a 1/2 inch thickness palm sized naan.
I’ve played around with adjusting this recipe for a while now and am finally ready to share the delicious results. I hope you enjoy it as much as we do!

History of the Naan Bread:
India. This country has long been on my bucket list to visit, a culture rich in traditions, history and especially in food! Naan bread, curries, spices, butter chicken, samosas, saag paneer, tikka masala, tandoori chicken, and biryani. All so so good!
The word “naan” itself actually comes from the ancient Persian civilization meaning “bread baked on hot pebbles”. It is thought by some that naan bread started to become popular in India around the 1520s, after yeast arrived in India from Egypt. It was a delicacy reserved for the nobility, so think on that while you enjoy your dinner tonight, my noble friend!
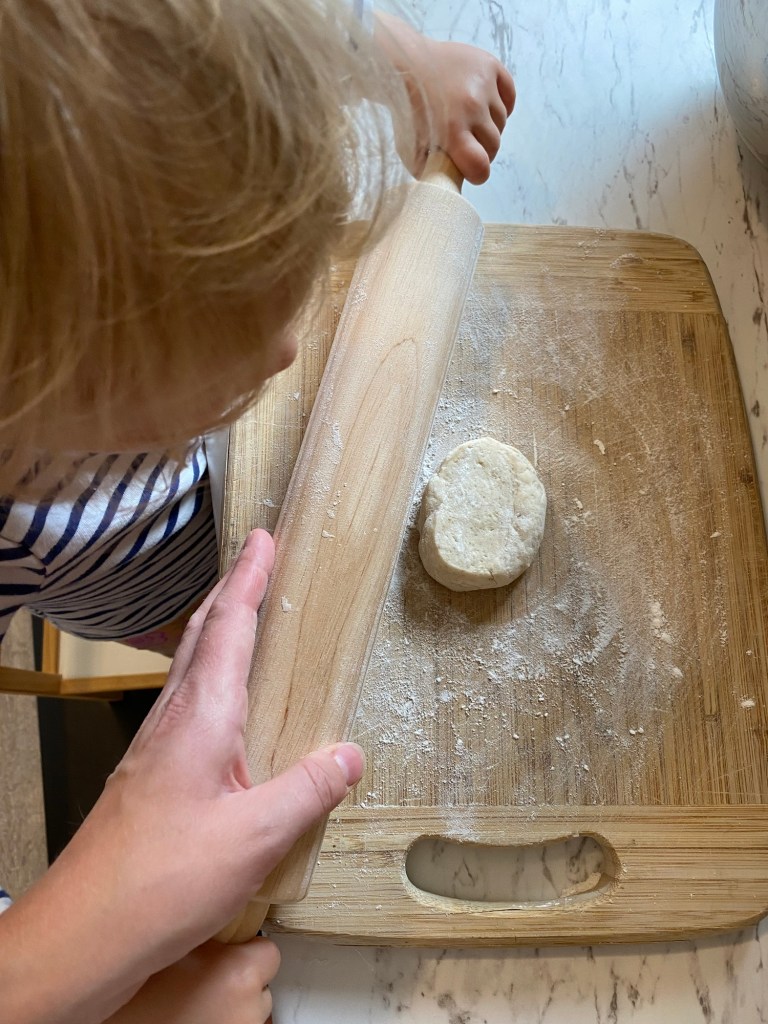
Make it with Your Kids!
Any time I have something that involves using a rolling pin, or just dough in general, I love getting the kids involved in preparing it. They have fun rolling out and shaping their own naans. You could also get out the cookie cutters to cut out some fun shapes to fry up!
These were sooo yummy to make!
♫ Music by Matthew Compton
How to Make Naan Bread with Sourdough Discard
Supplies Needed:
- Mixing bowl and spoon
- Skillet
- Dish for melting butter
- Cooking Brush
- Spatula
- Cutting Board
- Knife
- Rolling Pin
Ingredients:
- 2 cups all purpose flour (I have also made this with mixing in spelt and whole wheat flour, just add a few more tablespoons of flour to balance the dough consistency)
- 1 teaspoon organic baking powder
- 1/4 teaspoon baking soda
- 1 teaspoon white or raw sugar
- 1/2 teaspoon ground sea salt
- 1 Tablespoon olive oil
- 1/4 cup yogurt or whole milk
- 1/2 cup sourdough discard starter
- 2-4 Tablespoons water (add as needed, a little more if using yogurt)
- Flour for dusting when rolling out
- 1/3 cup melted butter
- 1/2-1 Tablespoon chopped fresh parsley (can also use dried parsley, but fresh is best)
Directions:
1. Mix flour, baking powder, baking soda, sugar and salt together.
2. Add olive oil, yogurt/milk, and sourdough discard. Mix well. Add 2-4 tablespoons of water as needed until it becomes a doughy consistency.
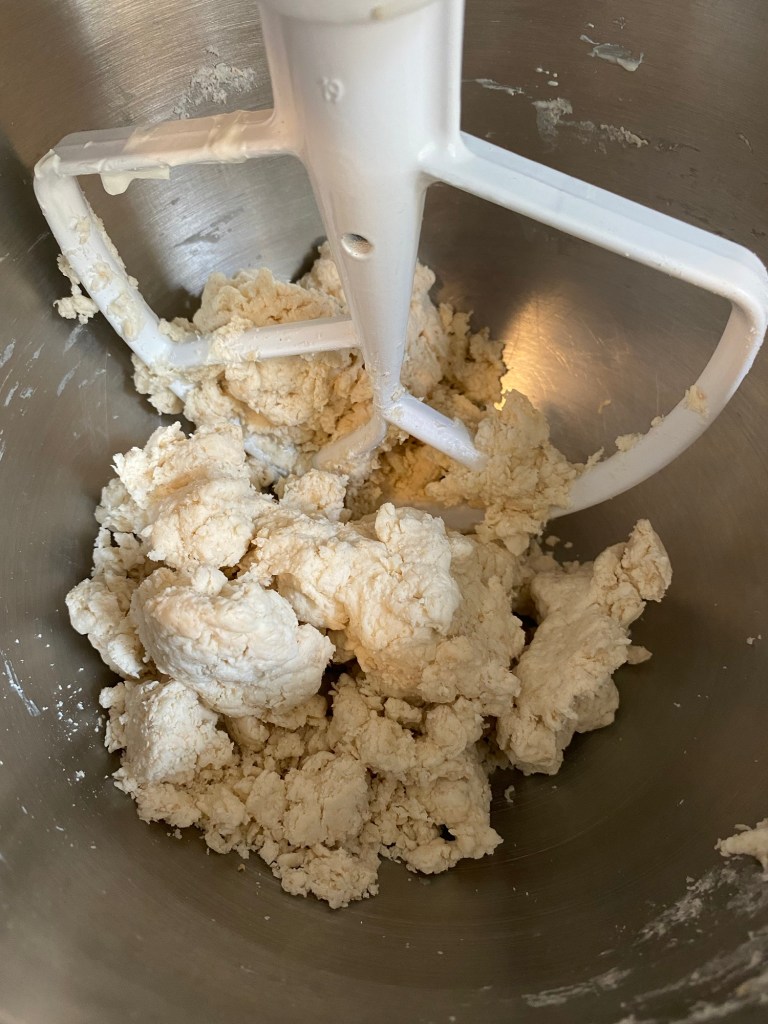
3. Knead for 2-3 minutes until it is a soft dough. Dust with a little flour as needed.
4. Cover and let rest for 30 minutes-1 hour.

5. Preheat skillet to medium heat. Melt butter in microwave or in a small pot.
6. Finely chop the parsley and set aside.
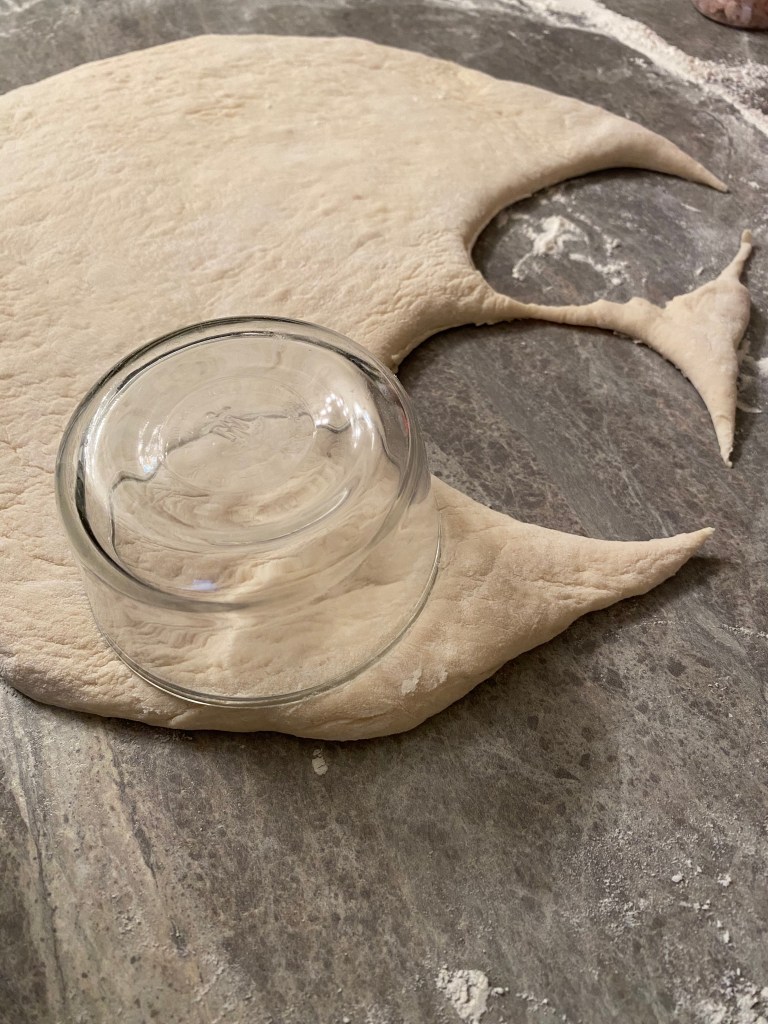
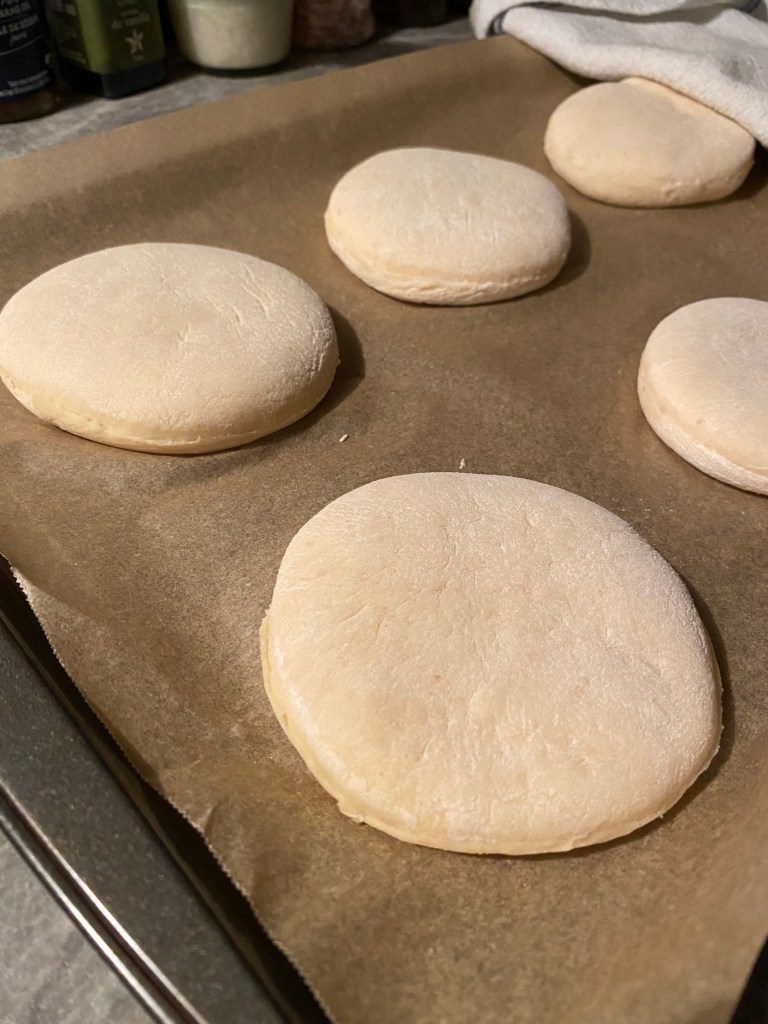
7. Form dough into a “log” and cut into 8 equal rounds.
8. Roll dough piece out on a flour covered surface until it is 1/4 inch evenly thick.

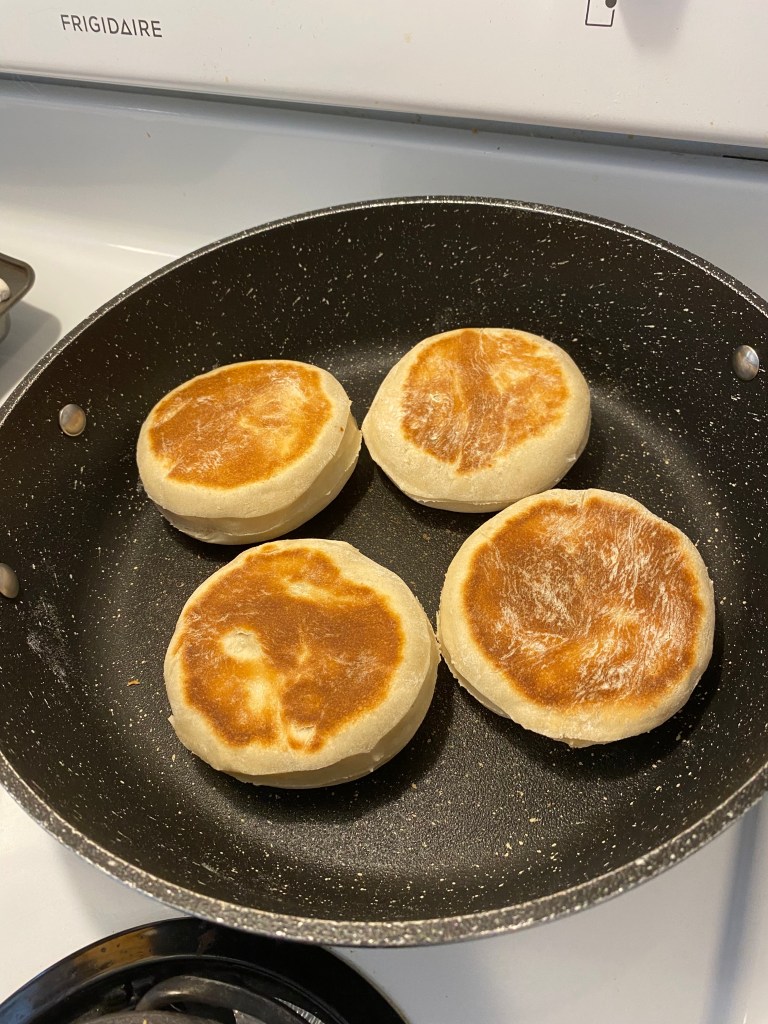
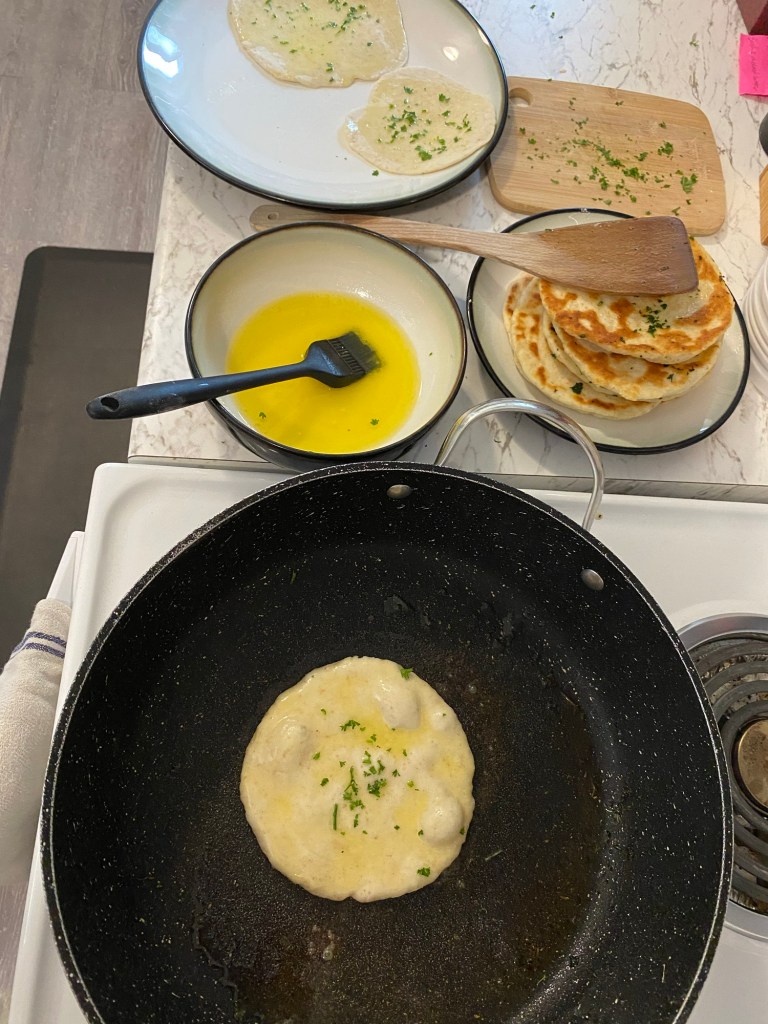
9. Brush melted butter and sprinkle with parsley on one side. Fry with the buttered side down on the pre-heated skillet. While it is starting to bubble and sizzle, brush the top side with more butter and sprinkle with parsley. It should take about 1-2 minutes until golden spots appear, then flip over for another 1-2 minutes until golden.
10. Keep warm in tinfoil until ready to serve. The steam will keep them soft and prevent them from drying out!
11. Makes 8 palm-sized naans. Store leftovers in sealed container in fridge for up to 5 days.
Additional Tips:
*Make sure your pan is not too hot or it will just burn and not cook through.
*The thinner you roll out the naans, the quicker it will cook.
*Add as much butter as you want! (Before and especially after!)
Serve with a curry, butter chicken, or other saucy and flavourful dish!
Made this Recipe?
I’d love to hear how your naan bread turned out! Feel free to tag Northbird using one of the links below if you are posting your tasty dinner to social media, or tell me in the comments below!
Other Tasty Sourdough Recipes to Check Out!


Hi, I’m Jessie!
I’m a Wife and Homeschooling Mom living in a remote town in Northern Ontario, Canada. I love making wholesome meals for my family from scratch, homeschooling our girls and learning more about natural living.
Read more about my story HERE.

Subscribe to Northbird’s email list to get weekly posts on: tasty recipes, activity ideas for kids, natural living tips, and some genuine mom thoughts and encouragement!
Recent posts from Northbird:


Quick & Easy Naan Bread with Sourdough Discard
A soft and buttery naan bread recipe using sourdough discard. One of our favourite pairings when we make a stir fry, curry or butter chicken!
Supplies Needed:
Ingredients
Directions:
- Mix flour, baking powder, baking soda, sugar and salt together.
- Add olive oil, yogurt/milk, and sourdough discard. Mix well. Add 2-4 tablespoons of water as needed until it becomes a doughy consistency.
- Knead for 2-3 minutes until it is a soft dough. Dust with a little flour as needed.
- Cover and let rest for 30 minutes-1 hour.
- Preheat skillet to medium heat. Melt butter in microwave or in a small pot.
- Finely chop the parsley and set aside.
- Form dough into a “log” and cut into 8 equal rounds.
- Roll dough piece out on a flour covered surface until it is 1/4 inch evenly thick.
- Brush melted butter and sprinkle with parsley on one side. Fry with the buttered side down on the pre-heated skillet. While it starting to bubble and sizzle, brush the top side with more butter and sprinkle with parsley. It should take about 1-2 minutes until golden spots appear, then flip over for another 1-2 minutes until golden.
- Keep warm in tinfoil until ready to serve. The steam will keep them soft and prevent them from drying out!
- Makes about 8 palm-sized naans. Store leftovers in sealed container in fridge for up to 5 days.
Additional Tips:
*Make sure your pan is not too hot or it will just burn and not cook through.
*The thinner you roll out the naans, the quicker it will cook.
*Add as much butter as you want!
Nutrition
Per 1 serving: 322 calories; 19.7 g fat; 38.1 g carbohydrates;
3 g protein.