Find Northbird on social media:
This post contains affiliate links. As an Amazon associate, I earn from qualifying purchases. This means that I make a small commission at no extra cost to you. You can read my full disclosure HERE.
Ways to Eat Granola:
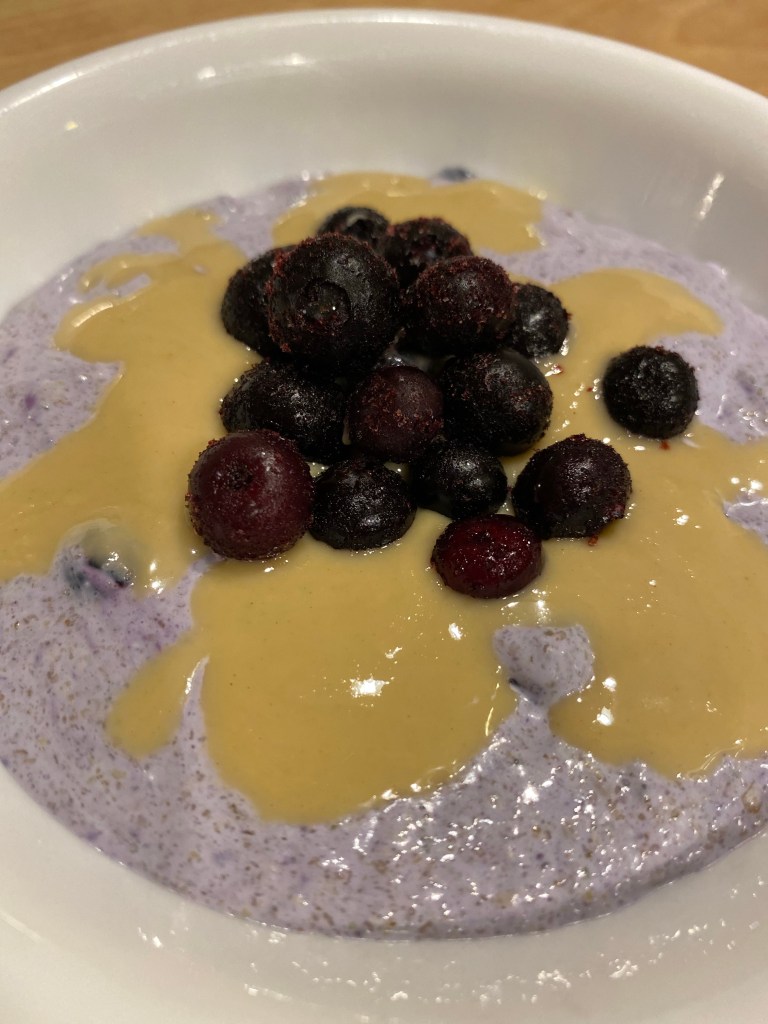
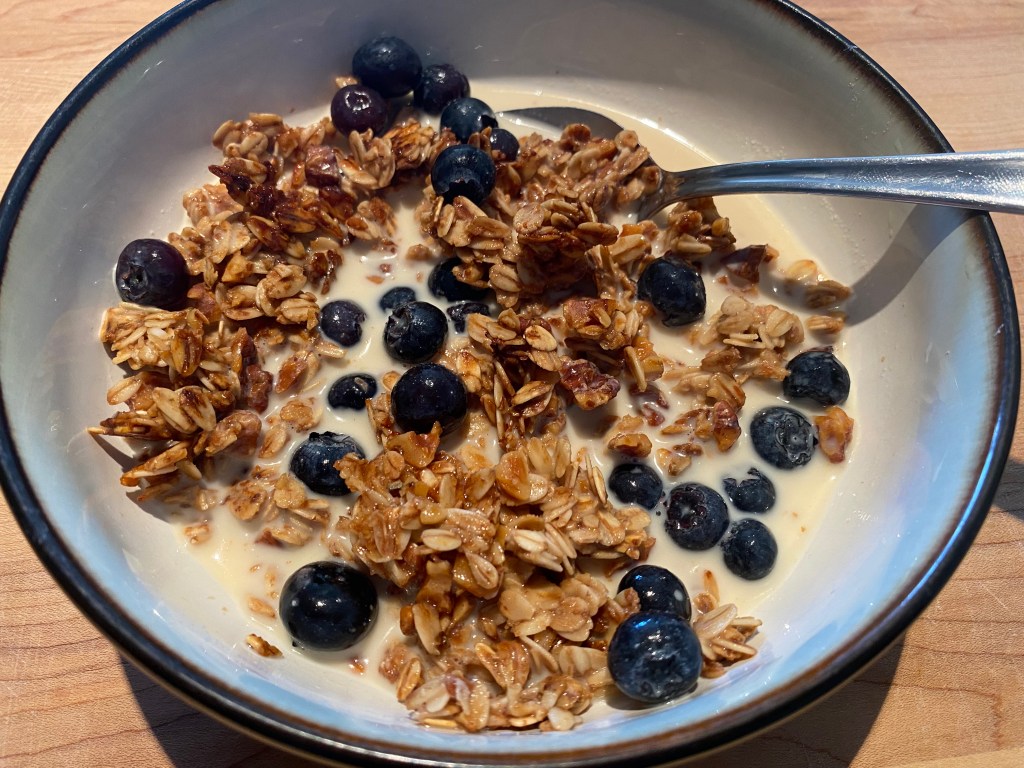
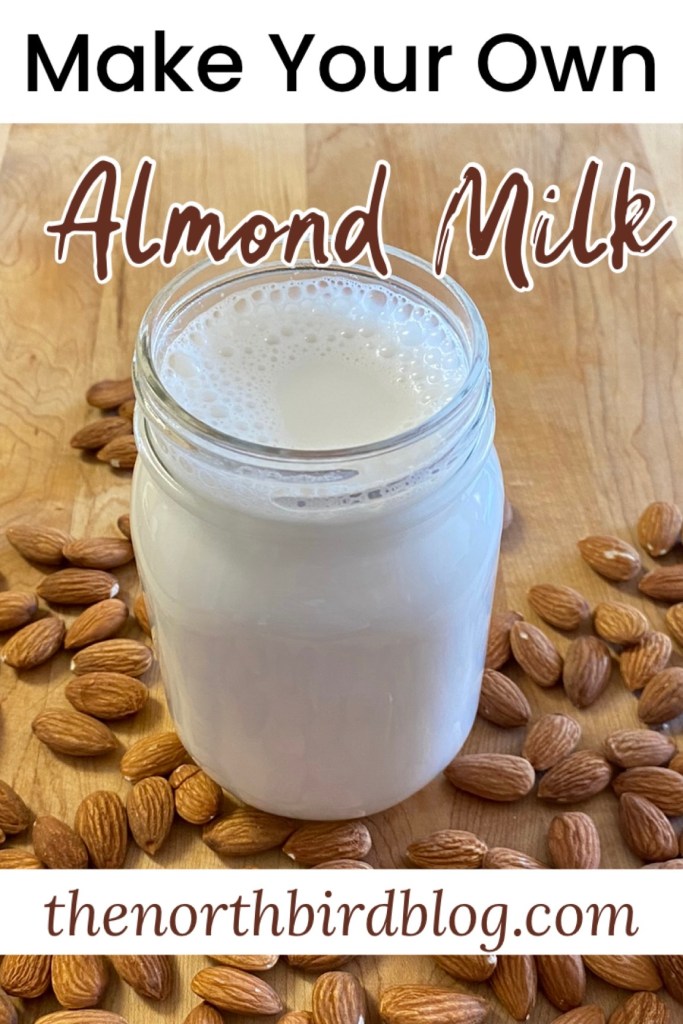
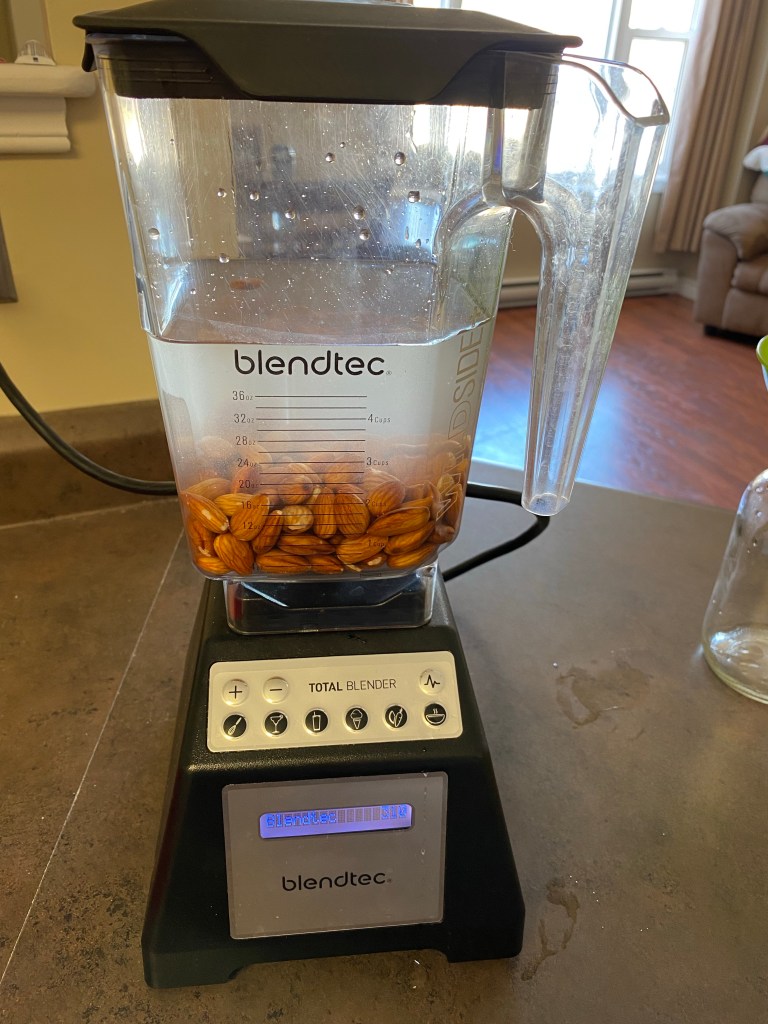
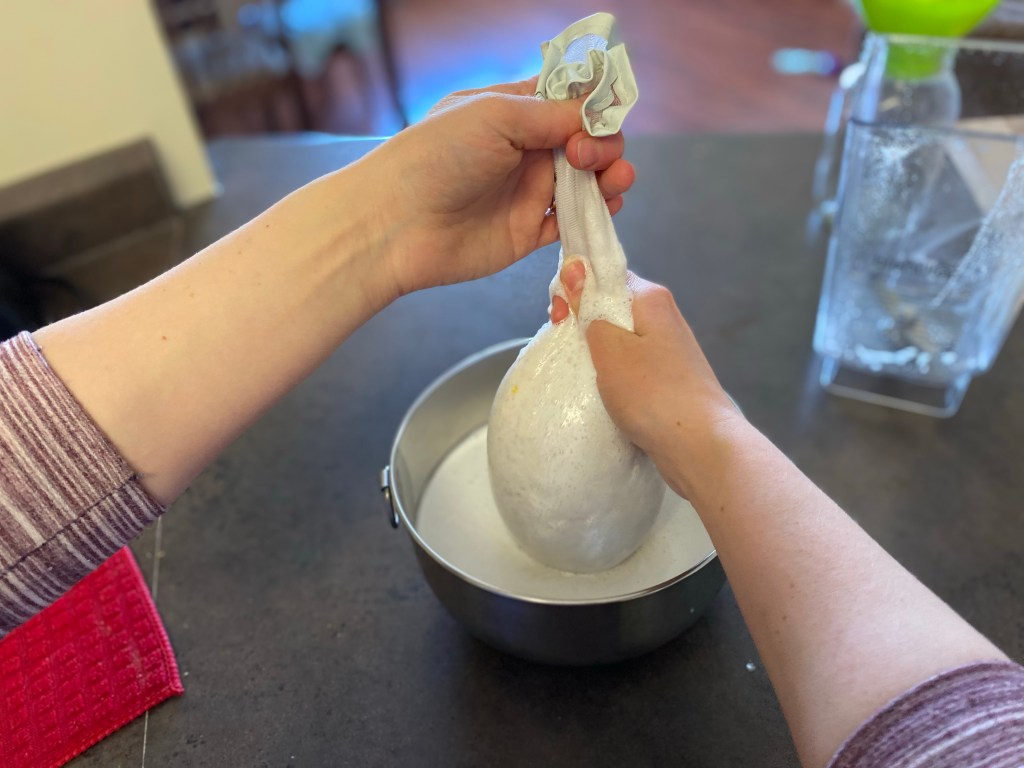
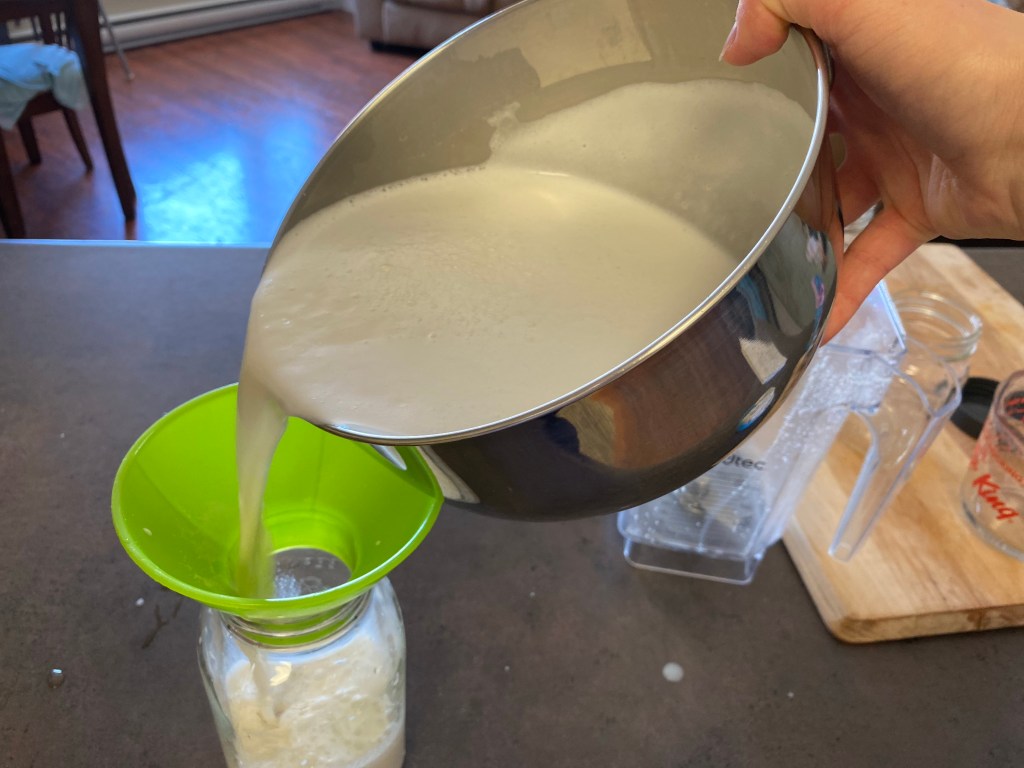
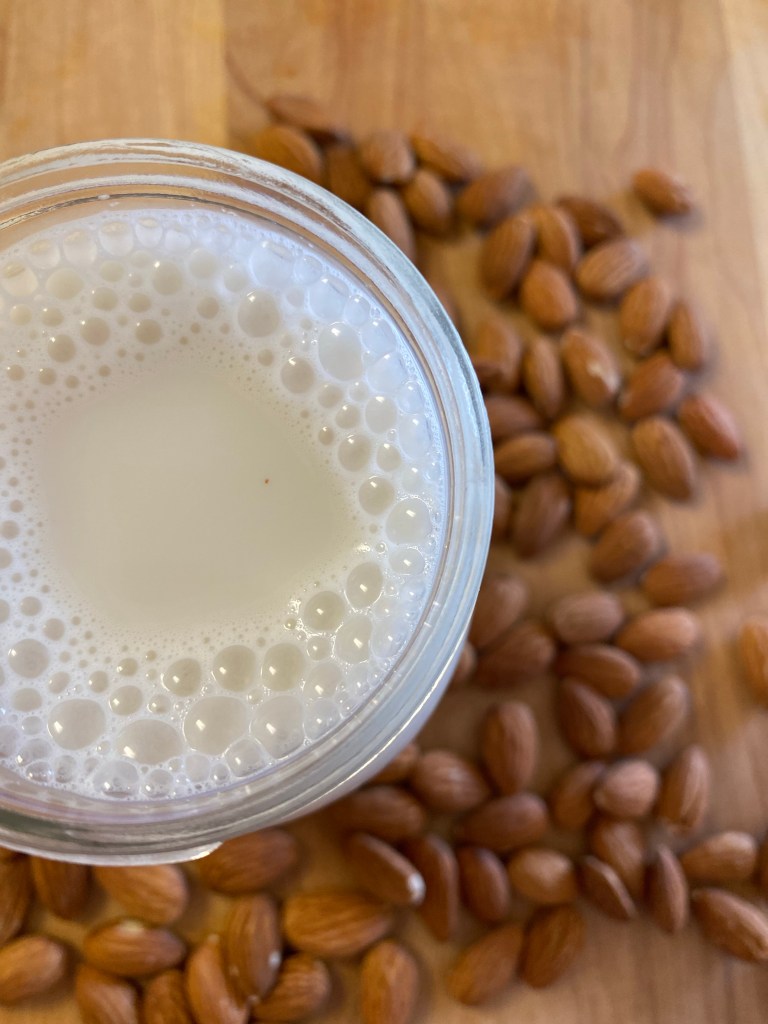
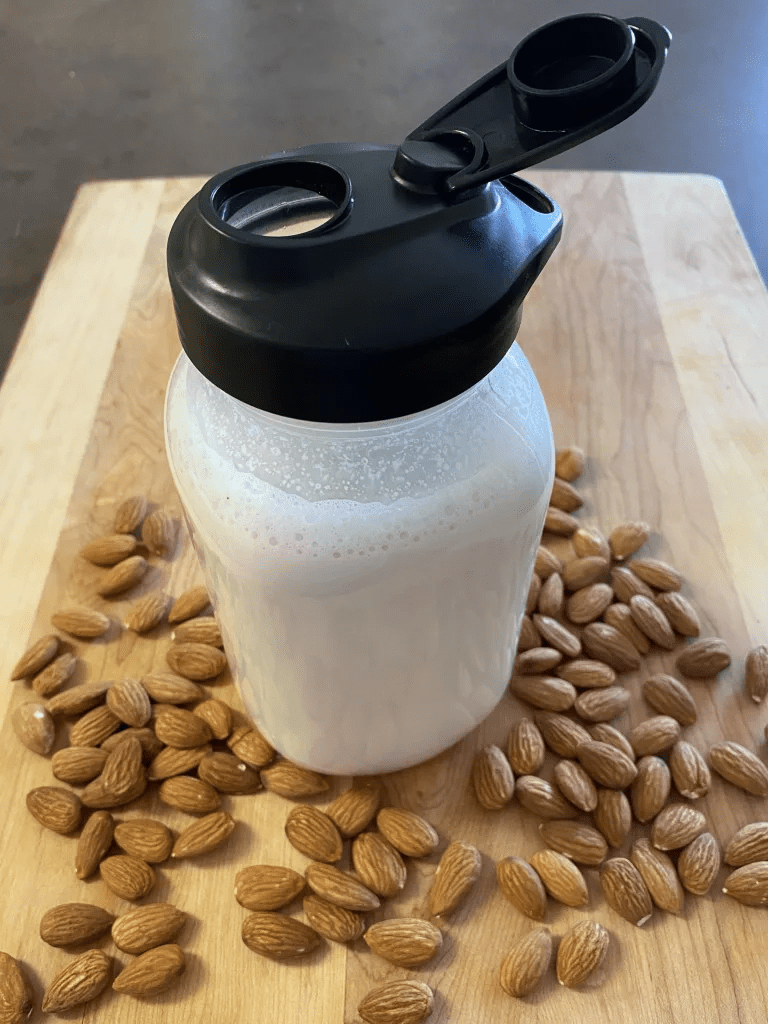
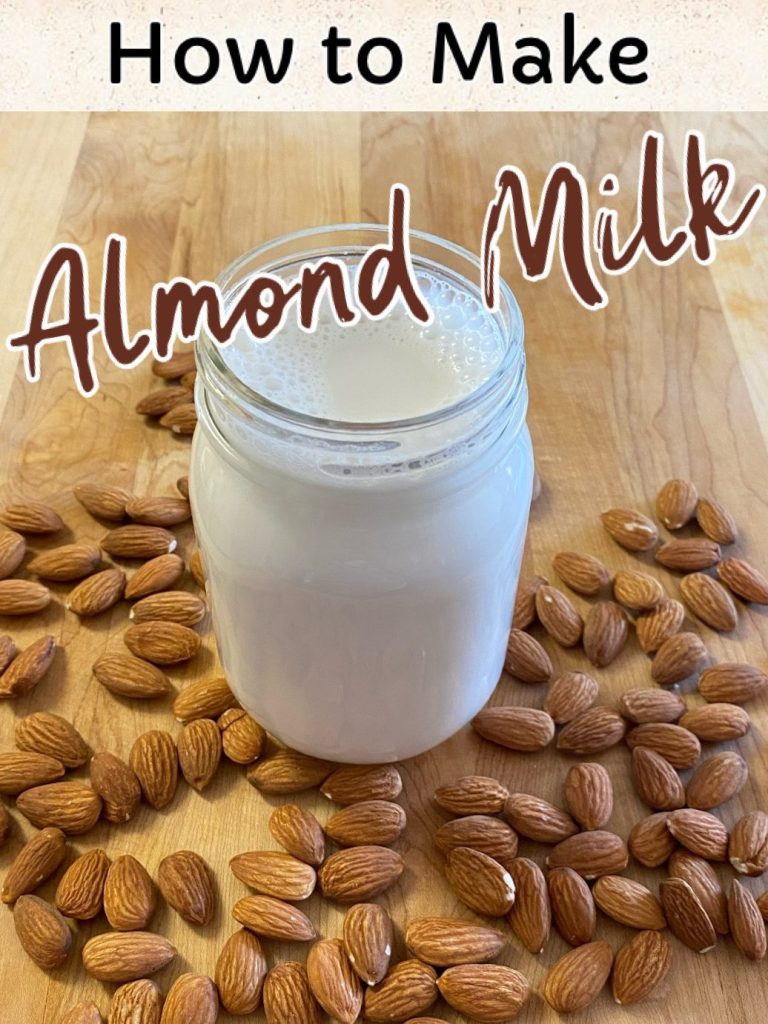
- Breakfast bowl with regular milk, oat milk, soy, or nut milks (try it with Homemade Almond Milk!) and add some berries for fresh sweetness.
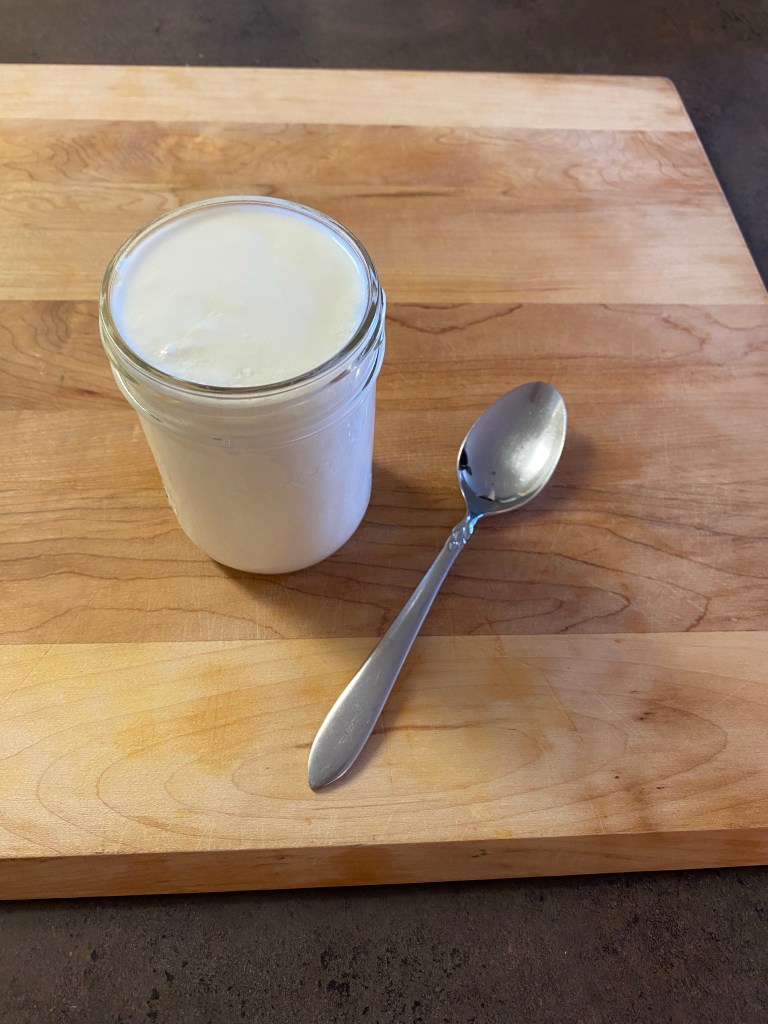
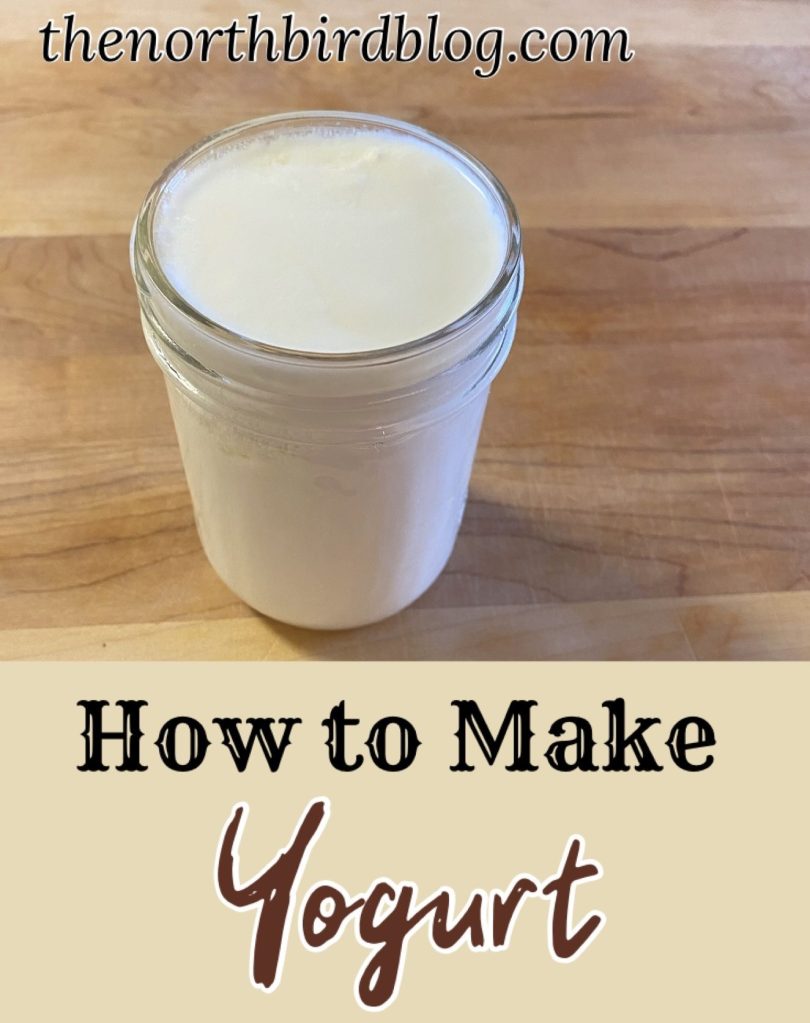
- Enjoy a bowl on top of yogurt (try it with a fresh batch of Homemade Crockpot Yogurt).
- Take a baggie of granola for your next hike or camping trip and add some dried fruit or seeds and nuts for a delicious trail mix.
- Make a Breakfast Parfait with frozen berries and yogurt!
- Use it as a baked desert crumb topping (Apple Crisp recipe coming soon!)
- Make granola bars from it! (Recipe being developed)
Health Benefits of Granola:
Healthy granola recipes are usually high in protein, fibre and healthy fats due to recipe variations that may include oats, nuts, seeds, dried fruits and organic unrefined oils. They are packed full of nutritious options that make a filling, on-the-go quick breakfast or a delicious snack option.
Protein:
Protein is essential to the body for not only helping to build muscle mass and bones, but also very important for weight loss and regulating metabolism. Additional functions may consist of:
- Slowing appetite and hunger cravings
- Feel “full” for longer, less calories eaten
- Helps with fat burning
- Lowering blood pressure
- Helps to maintain weight loss
- Boosts metabolism
- Builds muscle mass and strength
- Lowers risk of osteoporosis and fractures
- Helps to repair broken bones and tissues
| High Protein Ingredients You can put in Granola: | |
|---|---|
| Nuts | Walnuts, Almonds, Cashews, Peanuts, Pistachios, Brazil Nuts, Hazelnuts… |
| Seeds | Chia, Hemp, Sesame, Sunflower, Pumpkin, Flax… |
| Dried Fruits & Berries | Apricot, Kiwi, Blackberries, Cherries, Raisins, Banana… |
Fibre:
Fibre is mostly known for helping to keep the digestive system happy. Some other benefits of increased fibre may include:
- Regulating bowel movements
- Keeps you feeling fuller for longer
- Assists in lowering cholesterol
- Preventing blood sugar from spiking
- Helps to lower blood pressure
| High Fibre Ingredients You can put in Granola: | |
|---|---|
| Nuts | Chestnuts, Almonds, Hazelnuts… |
| Seeds | Chia, Flax, Pumpkin, Sesame, Sunflower… |
| Dried Fruits | Dates, Figs, Prunes, Apricots, Raisins… |
| Oats | Organic Rolled Oats |
Fats:
Fats are not only used as a source of energy in the body, but also aid in the following:
- Help to insulate and protect the organs
- Gives your body energy
- Supports cell growth
- Helps to regulate blood pressure and cholesterol
- Assists the body in absorbing vitamins A, E & D
- Reduces inflammation
- Assists in cell growth
| High Fats Ingredients You can put in Granola: | |
|---|---|
| Nuts | Walnuts, Macadamia, Coconut, Cashews… |
| Seeds | Sunflower, Pumpkin, Flax, Chia, Hemp… |
| Oils | Coconut oil, Avocado oil, Olive oil… |
| Seed & Nut Butters | Peanut butter, Almond butter, Tahini, Sunflower seed butter, Pumpkin seed butter |
| Dried Fruits & Berries | Plantain, Strawberries, Raspberries, Kiwi, Raisins |

Reasons to Make Your Own Granola:
- It is soooo easy! Chop… Melt… Mix… Spread… Bake… Eat!
- Way less expensive than buying from the store.
- Store-bought granolas are often made with lower quality ingredients and usually have more processed sugars and additives mixed in to prolong shelf life.
- When you make your own granola you know exactly what ingredients you are eating!
- Granola is a versatile recipe: You can add more nuts and seeds, and add dried fruits/berries at the end if desired.
- Granola is one of those easy and quick breakfast solutions to help your day start smoothly!
Try These Other Northbird Granola Recipes!

Apple Cinnamon Raisin Granola
Get your bowl ready to scoop up this tasty, brand-new homemade granola recipe! Sweetened with honey, dehydrated apple and raisins, and flavoured with cinnamon and vanilla, this delicious…

Pecan Peach Granola
This Granola blend has the crunchy delight of roasted pecans, sweetened with honey and dates, and filled with the flavour of summer peaches!

Something went wrong. Please refresh the page and/or try again.
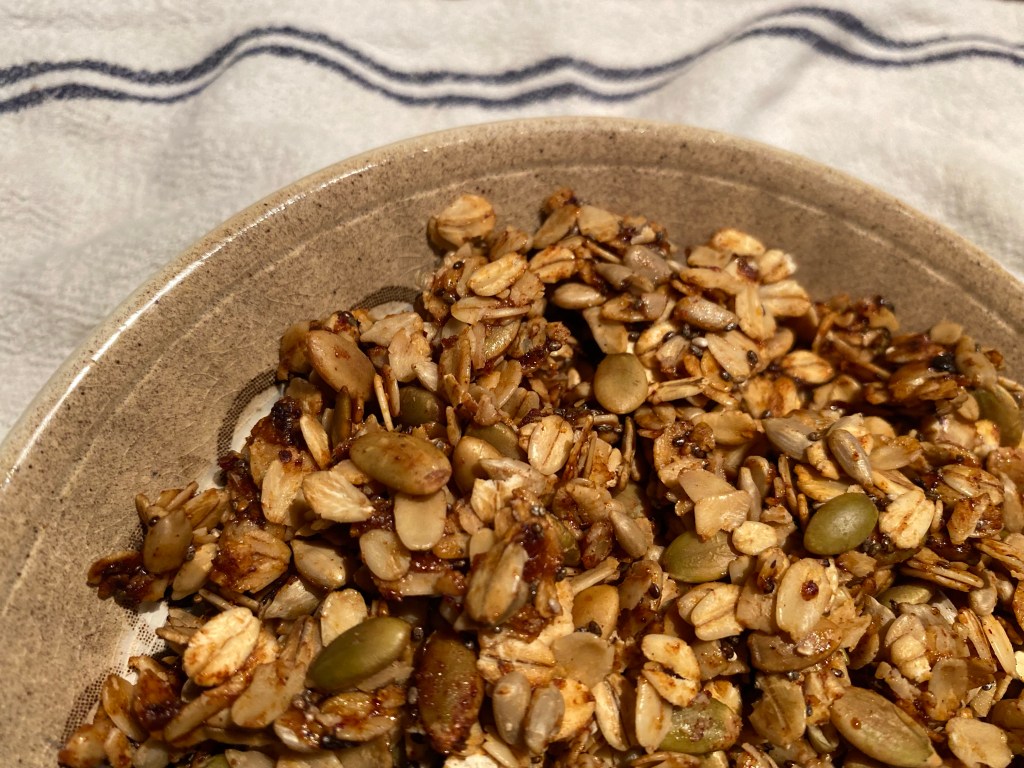
How to Make Super Seed Granola
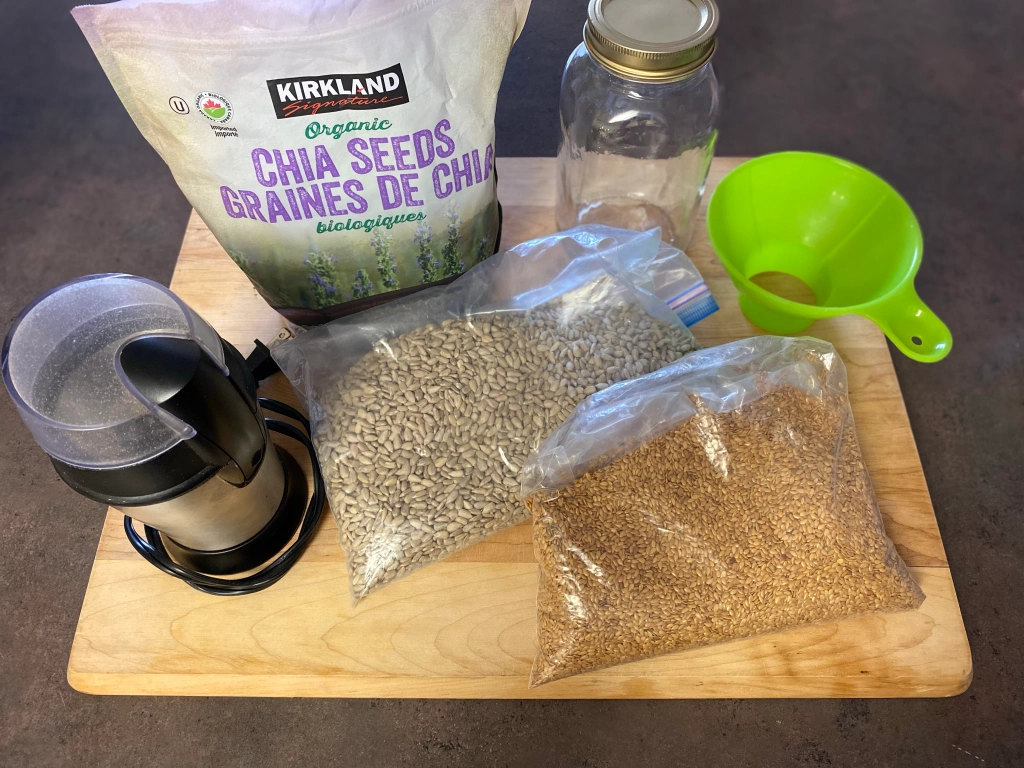
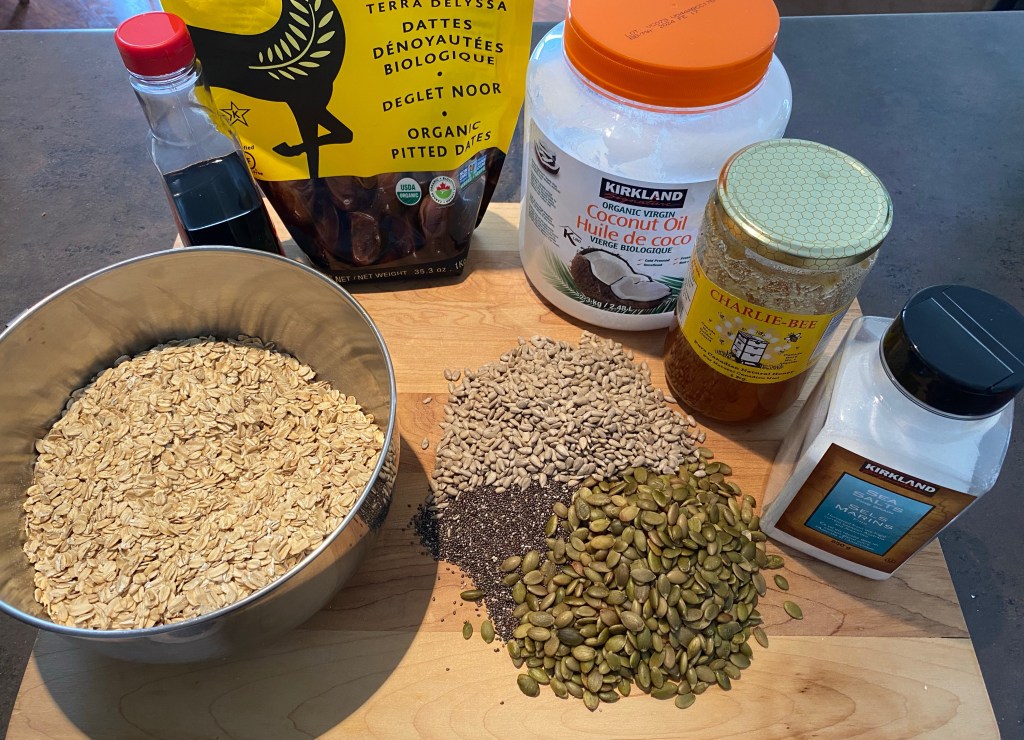
Supplies Needed:
- Small pot
- Large bowl
- Measuring cups
- Teaspoons & Tablespoons
- 2 Cookie sheets
- Parchment paper
- Granola storage container
Ingredients:
- 4 cups organic rolled oats
- 1 teaspoon ground cinnamon
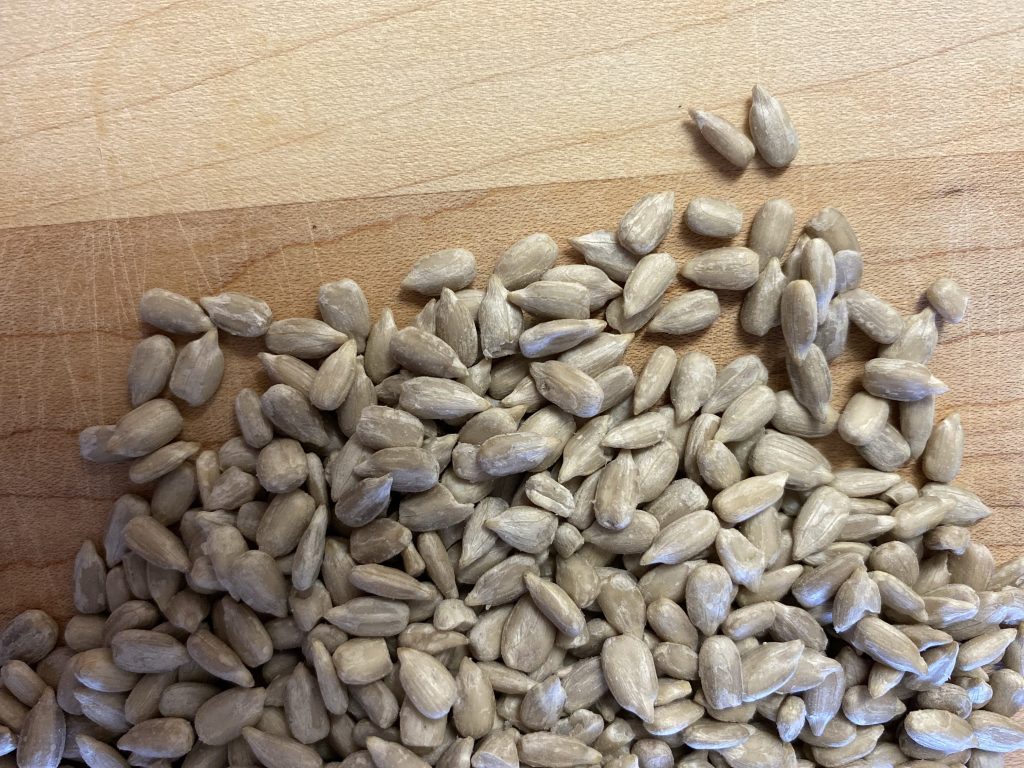
- 1 cup sunflower seeds
- 1 cup pumpkin seeds
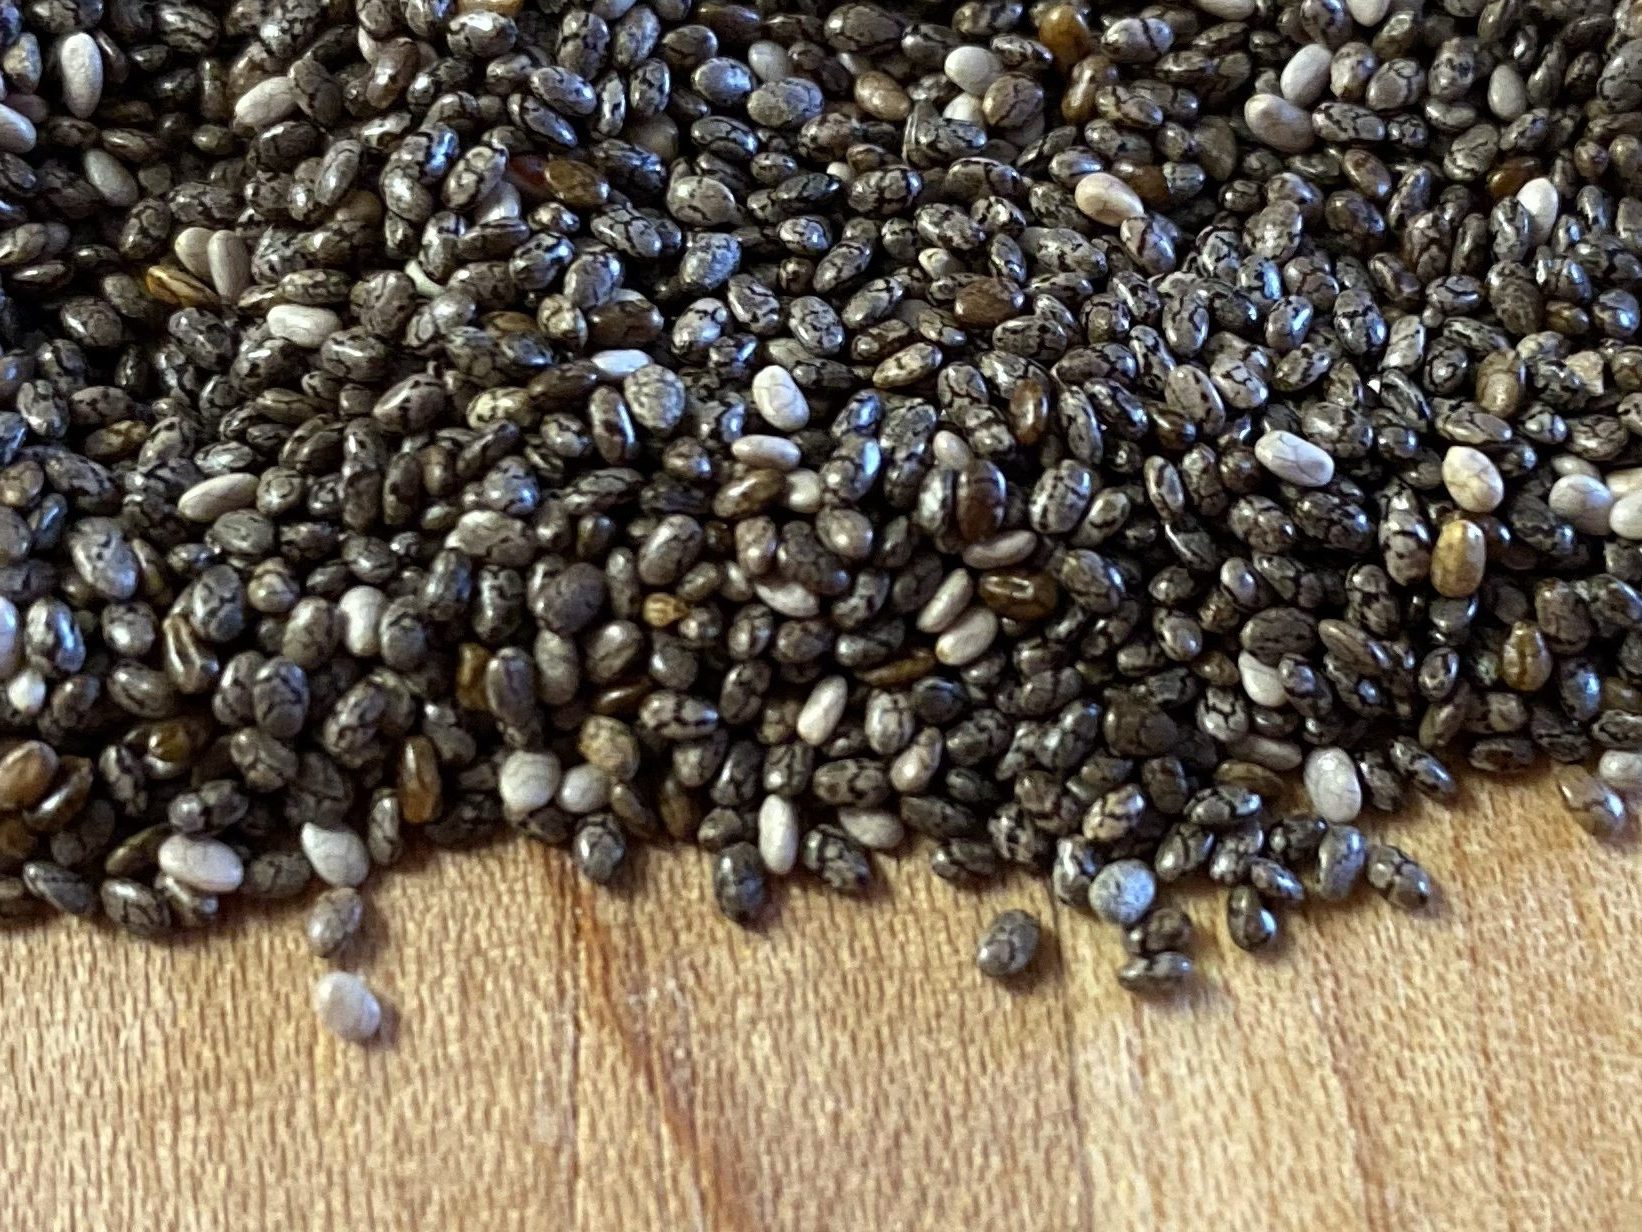
- 1/4 cup organic chia seeds
- 1/3 cup melted organic, unrefined coconut oil
- 1/2 cup chopped & pitted dates
- 3 tablespoons unpasteurized honey
- 1/2 teaspoon sea salt
- 1/2 teaspoon pure vanilla
Directions:
1. Preheat oven to 300 degrees F.
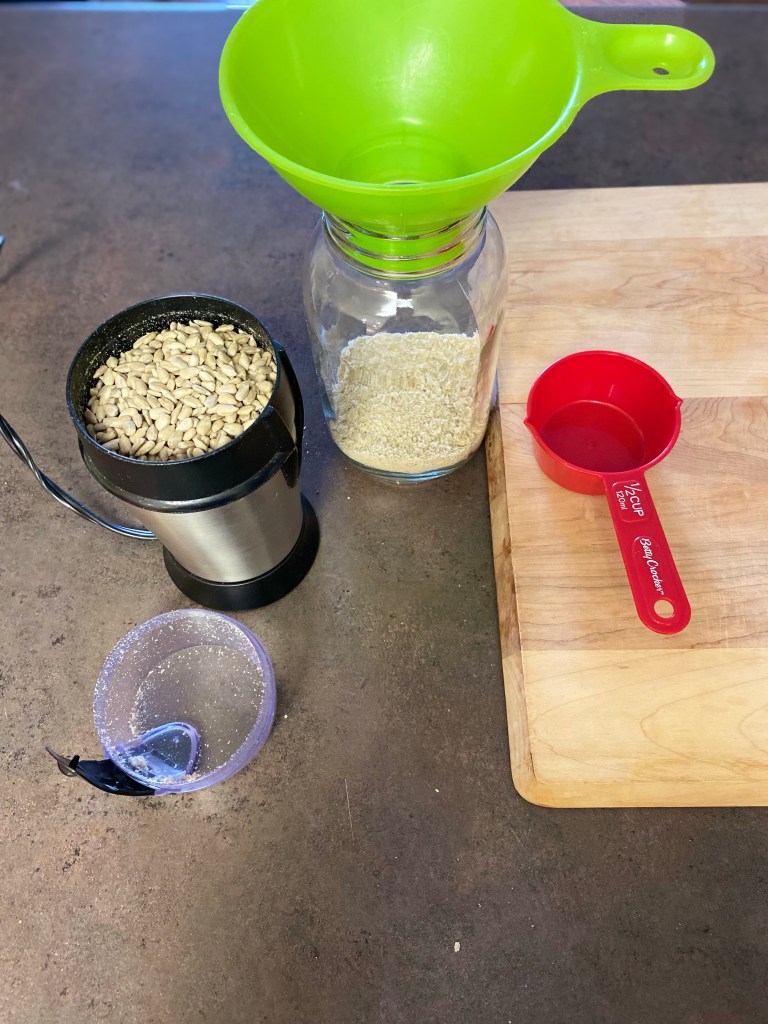
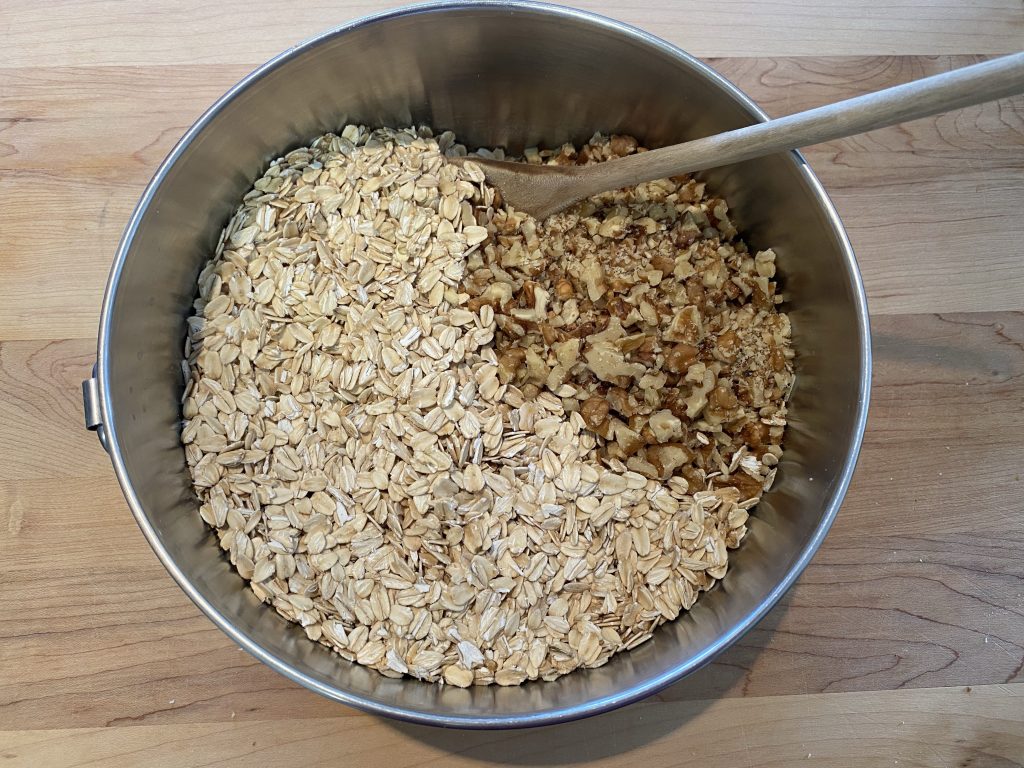
2. Mix the oats, cinnamon, sunflower seeds, pumpkin seeds and chia seeds together in a large bowl. Set aside.

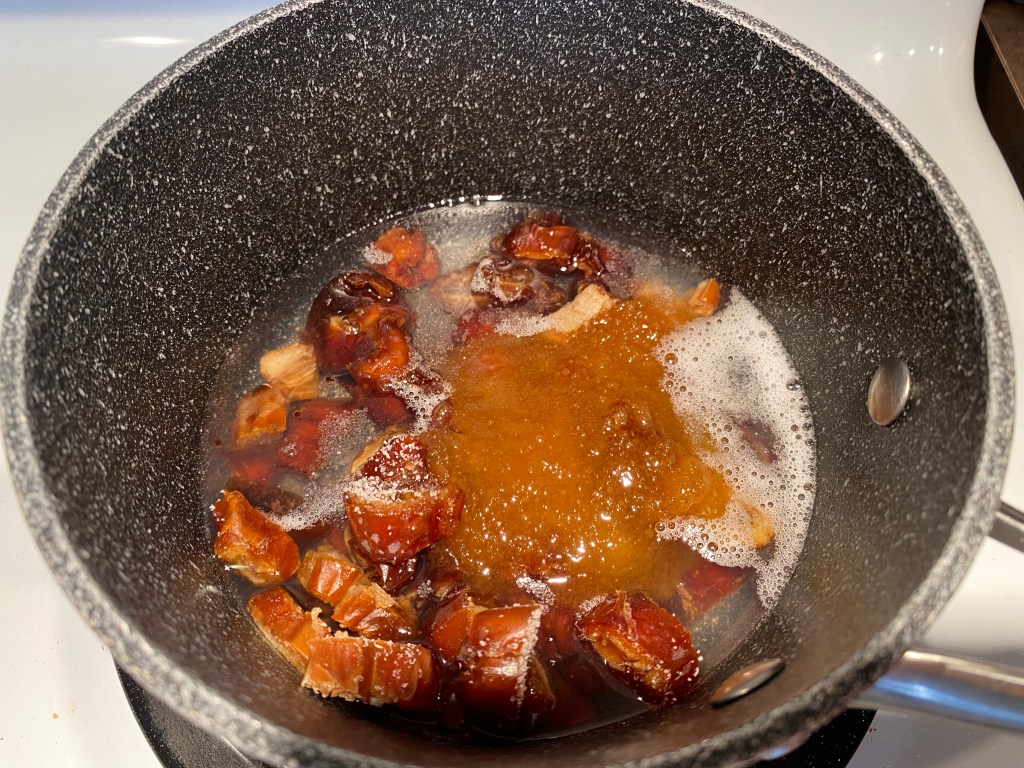
3. Melt the coconut oil in a small pot and add chopped dates, honey, sea salt and vanilla. Stir and mash or lightly blend once the dates are softened.
4. Add the wet mix to dry mix and stir well. If it has cooled enough you can finish mixing with your hands (I always find this easiest, but be careful of the hot oil!)


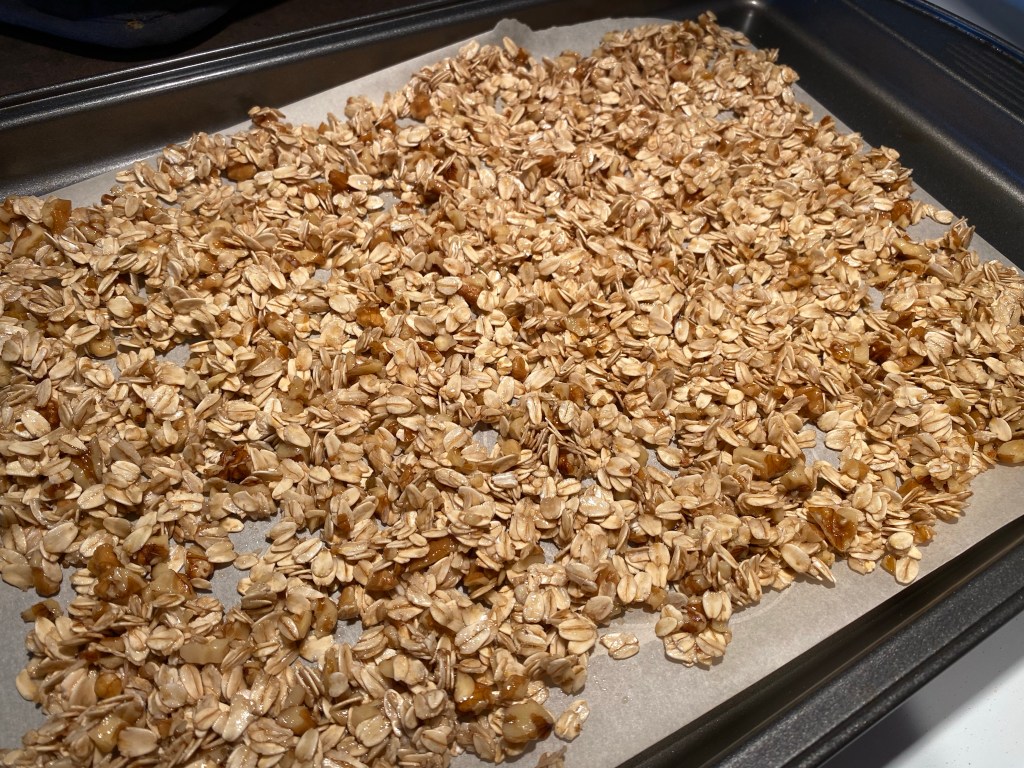
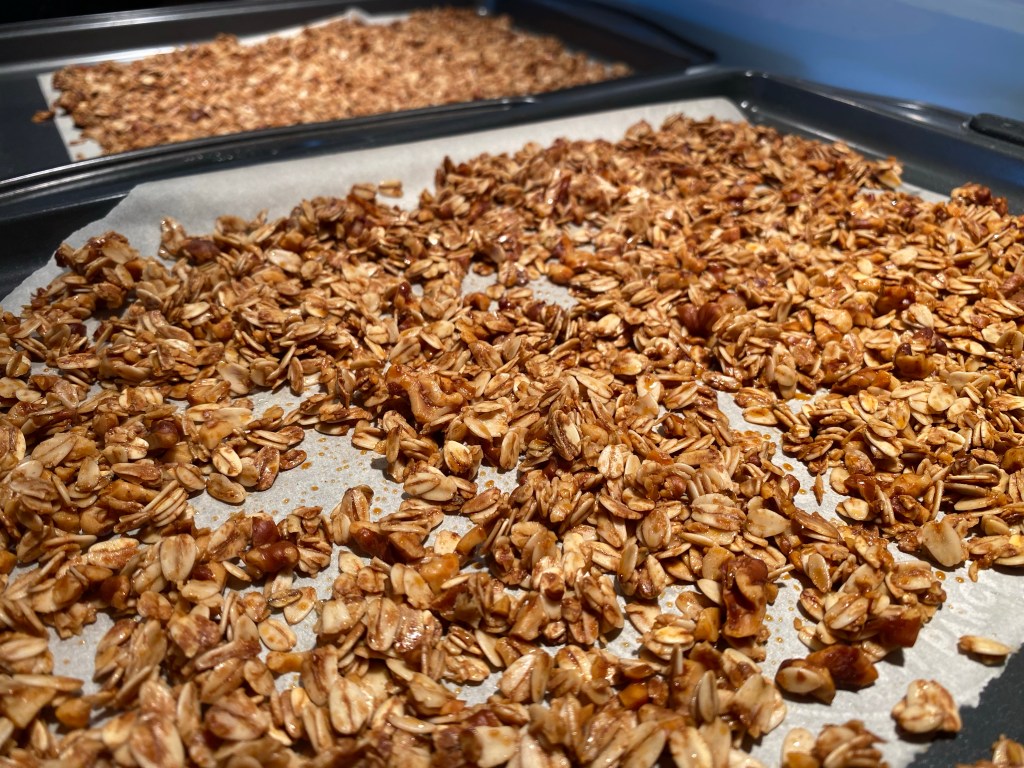
5. Spread granola mix onto parchment covered cookie sheets. Granola should be in a single layer.
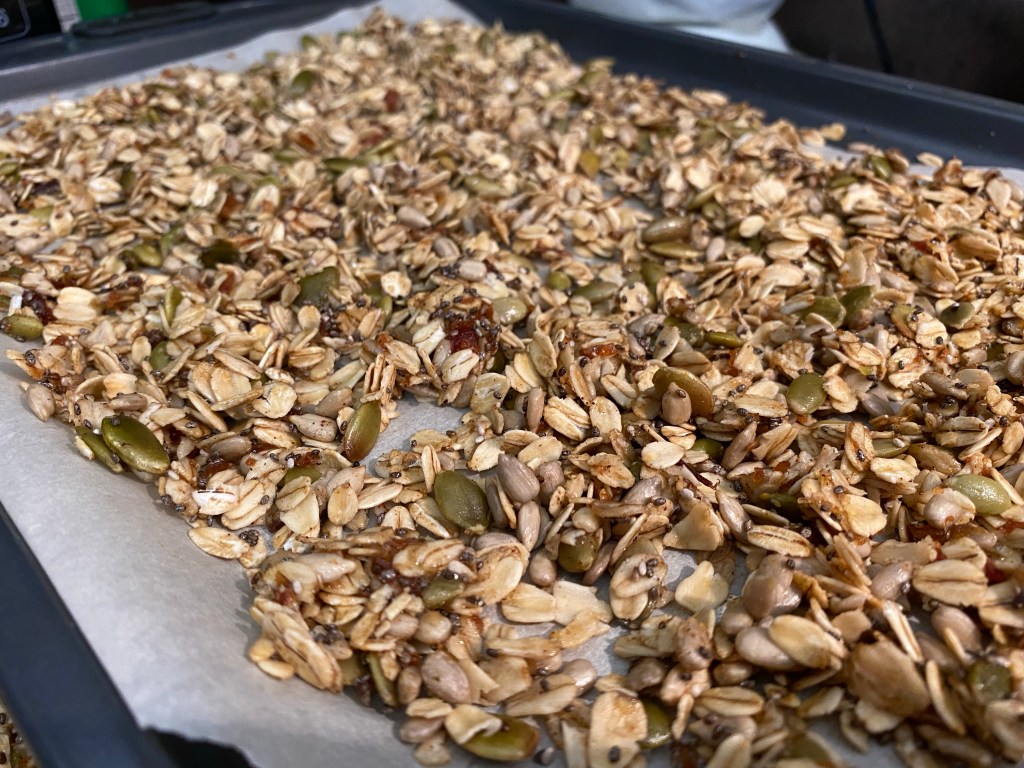
6. Bake for 30-35 minutes (depending on your oven), until golden.
7. Let cool and sit undisturbed for an hour, it will firm up as it cools down.
8. Break into smaller pieces per preference, and store in airtight container for up to 1 month.

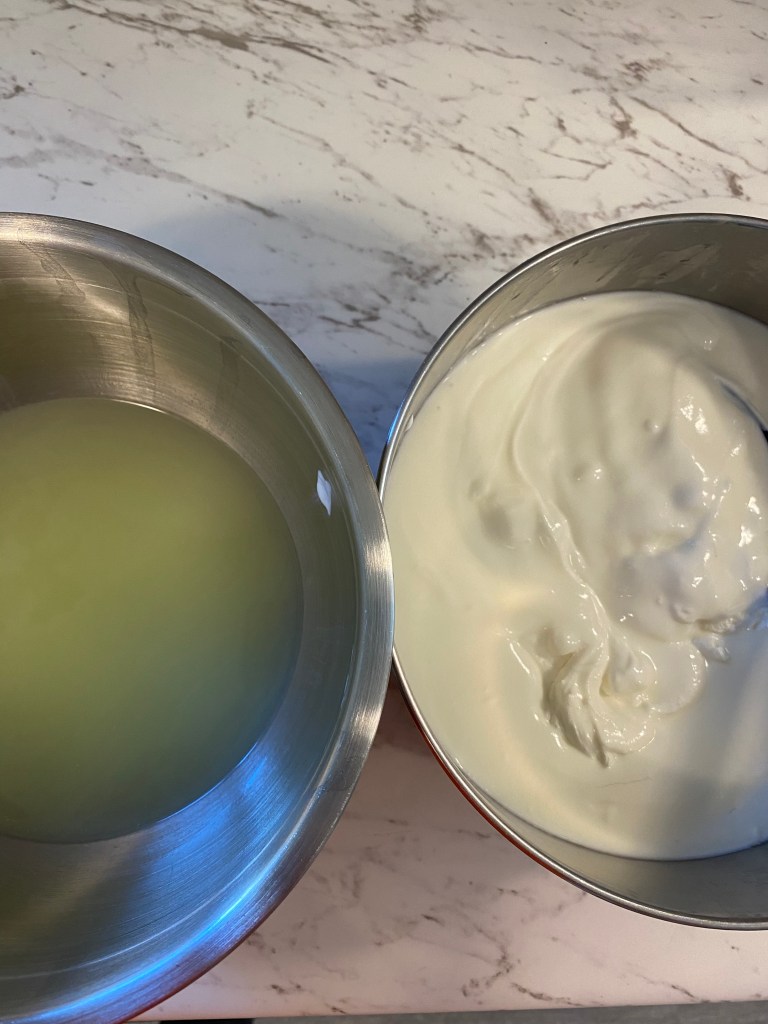
Try this Granola recipe with some Homemade Almond Milk or Easy Crockpot Yogurt!

Check out these other Breakfast Recipes from the Northbird Kitchen!


Hi, I’m Jessie!
I’m a Wife and Homeschooling Mom living in a remote town in Northern Ontario, Canada. I love making wholesome meals for my family from scratch, homeschooling our girls and learning more about natural living.
Read more about my story HERE.

Subscribe to Northbird’s email list to get weekly posts on: tasty recipes, activity ideas for kids, natural living tips, and some genuine mom thoughts and encouragement!
Recent posts from Northbird:


Super Seed Granola
Energy Boost Granola
Supplies Needed:
Ingredients
Directions
- Preheat oven to 300 degrees F.
- Mix the oats, cinnamon, sunflower seeds, pumpkin seeds and chia seeds together in a large bowl. Set aside.
- Melt the coconut oil in a small pot and add chopped dates, honey, sea salt and vanilla. Stir and mash or lightly blend once the dates are softened.
- Add the wet mix to dry mix and stir well. If it has cooled enough you can finish mixing with your hands (I always find this easiest, but be careful of the hot oil!)
- Spread granola mix onto parchment covered cookie sheets. Granola should be in a single layer.
- Bake for 30-35 minutes (depending on your oven), until golden.
- Let cool and sit undisturbed for an hour, it will firm up as it cools down.
- Break into smaller pieces per preference, and store in airtight container for up to 1 month.
Nutrition
Per 1 Cup Serving: 533 calories; 27 g fat; 63 g carbohydrates;
14 g protein; 132 mg sodium.