Find Northbird on social media:
This post contains affiliate links. As an Amazon associate, I earn from qualifying purchases. This means that I make a small commission at no extra cost to you. You can read my full disclosure HERE.

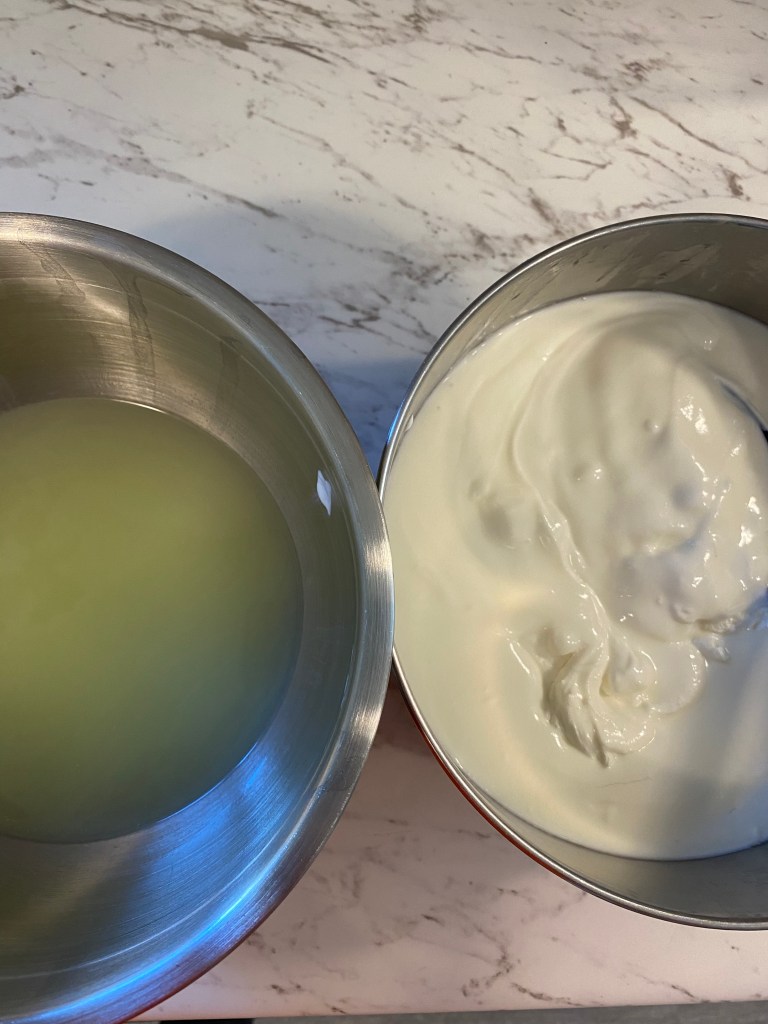
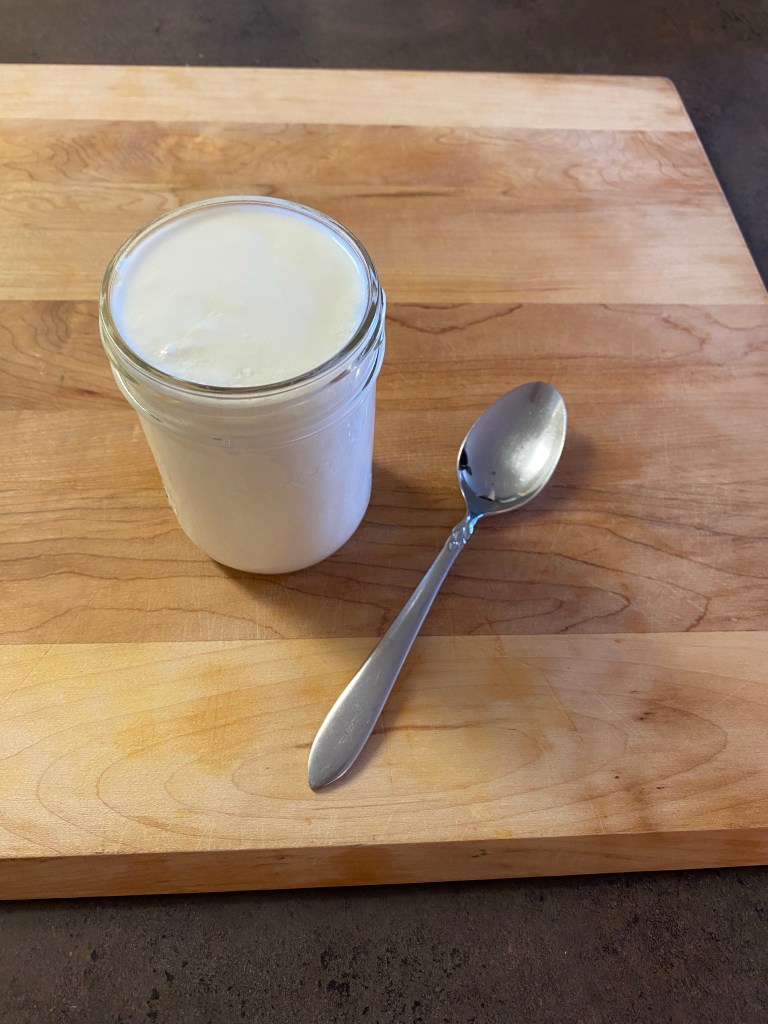
We made a big batch of homemade yogurt the other day, and after setting aside what we needed for the week, we realized that there was still quite a bit left over. So we thought this would be a fun time to experiment with our taste buds! The girls and I had a lot of fun creating this healthy and oh so delicious treat.
(If you haven’t checked out this recipe for Homemade Crockpot Yogurt yet, it is easy, delicious, and a nice saver on the grocery bill!)

My oldest has enjoyed having these cold homemade yogurt treats as little rewards for completing her schoolwork, chores, and as a healthy desert option over the past week. Being a very high-energy child, she tends to overheat and loves having something cold to help her “cool down” from all her activity. (And this is normal even with eliminating sugar!) Her little sister (not yet 2) is not as excited to eat “cold” sweets and instead prefers to watch the yogurt bombs melt in her hands and then play with the gooeyness…!

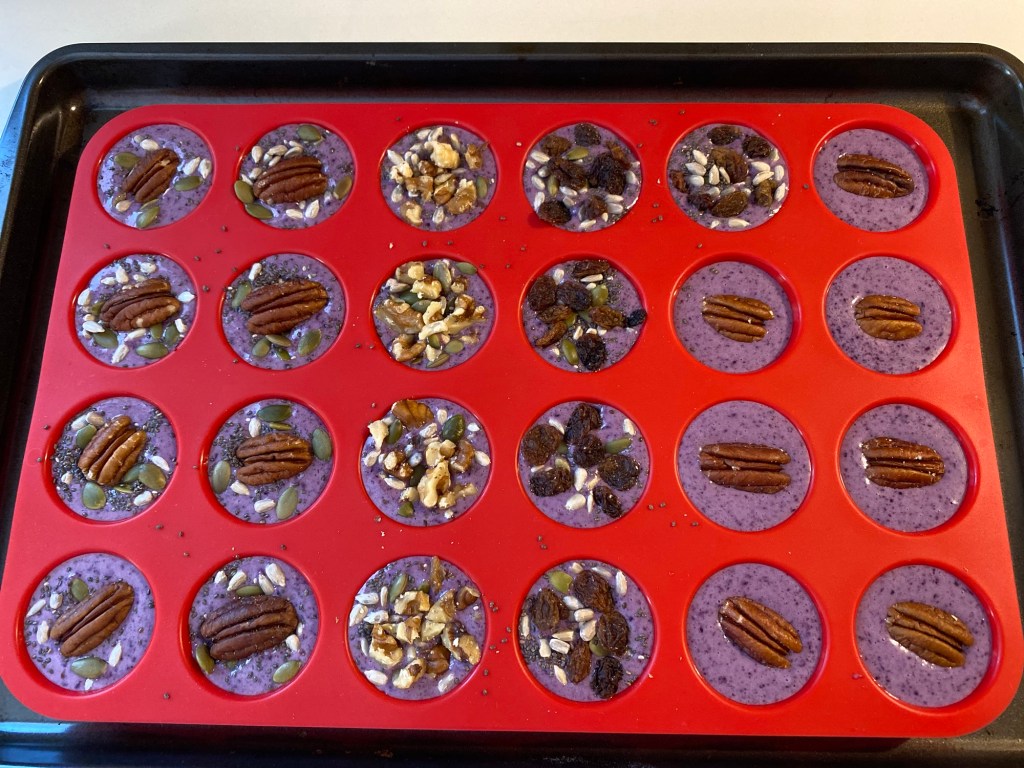
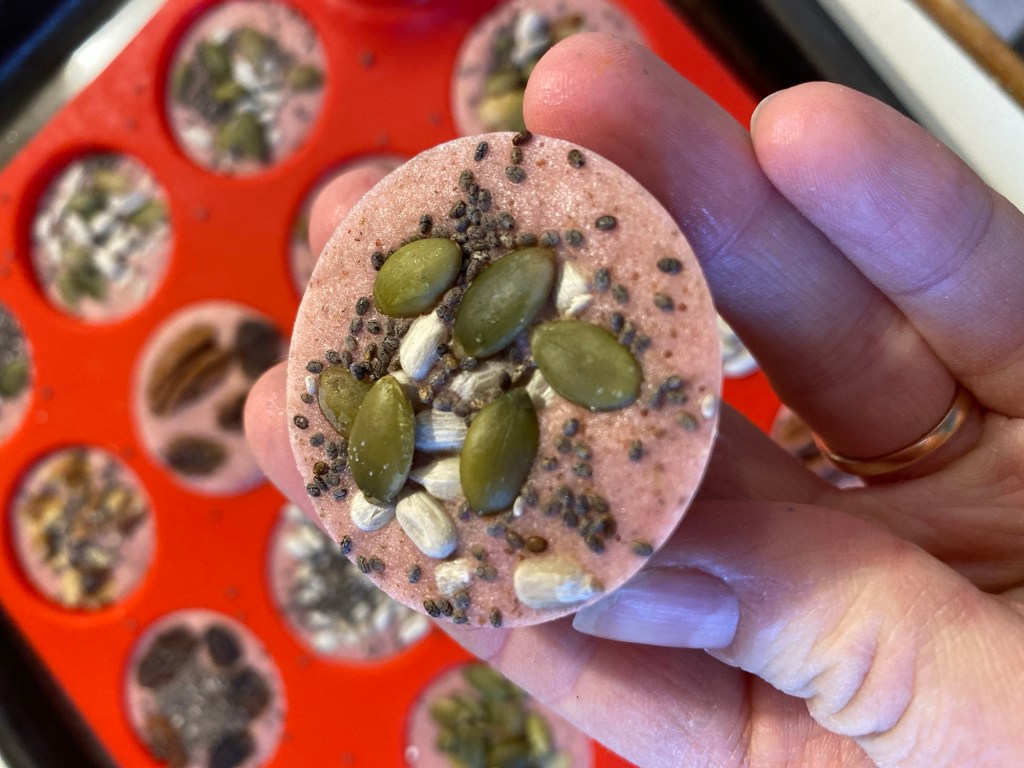
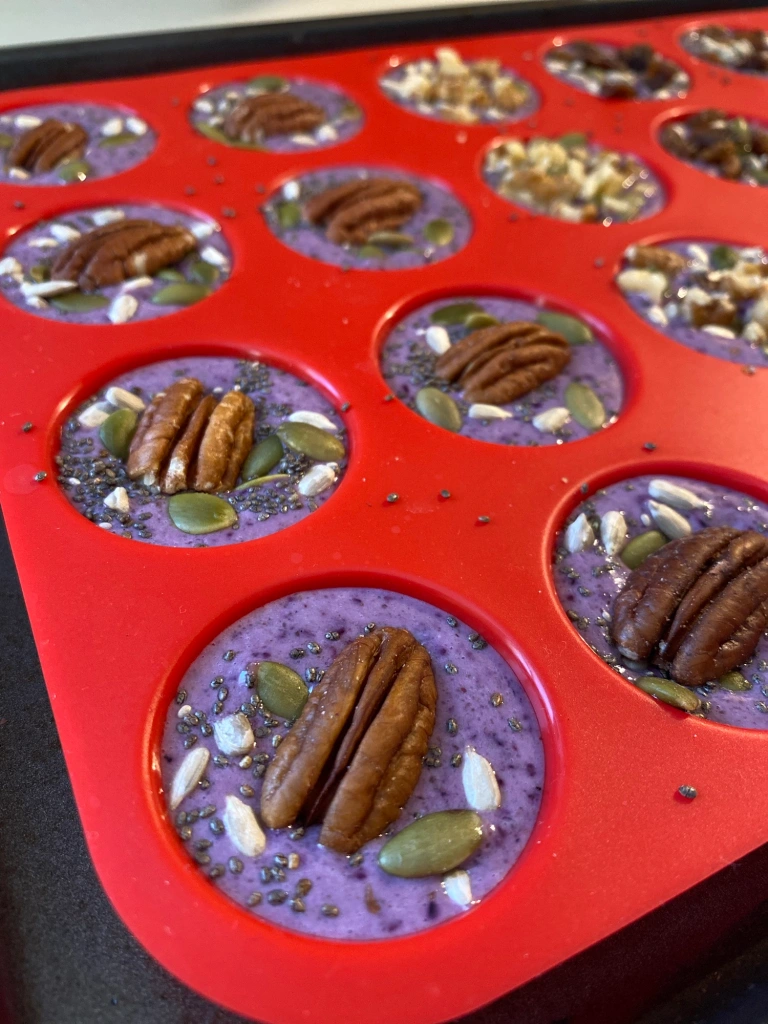
We doubled this recipe and did one batch using frozen strawberries to make the bombs pink, and the other batch using frozen blueberries to make those bombs purple. Perfect colours for these girls! Another time we will experiment with using different frozen fruit, for example: peaches, pineapple and kiwi. (I’m curious to find out if we will get orange, yellow and green!)
I will update this post with my findings when that happens. (Or you can and let me know how it turns out!)
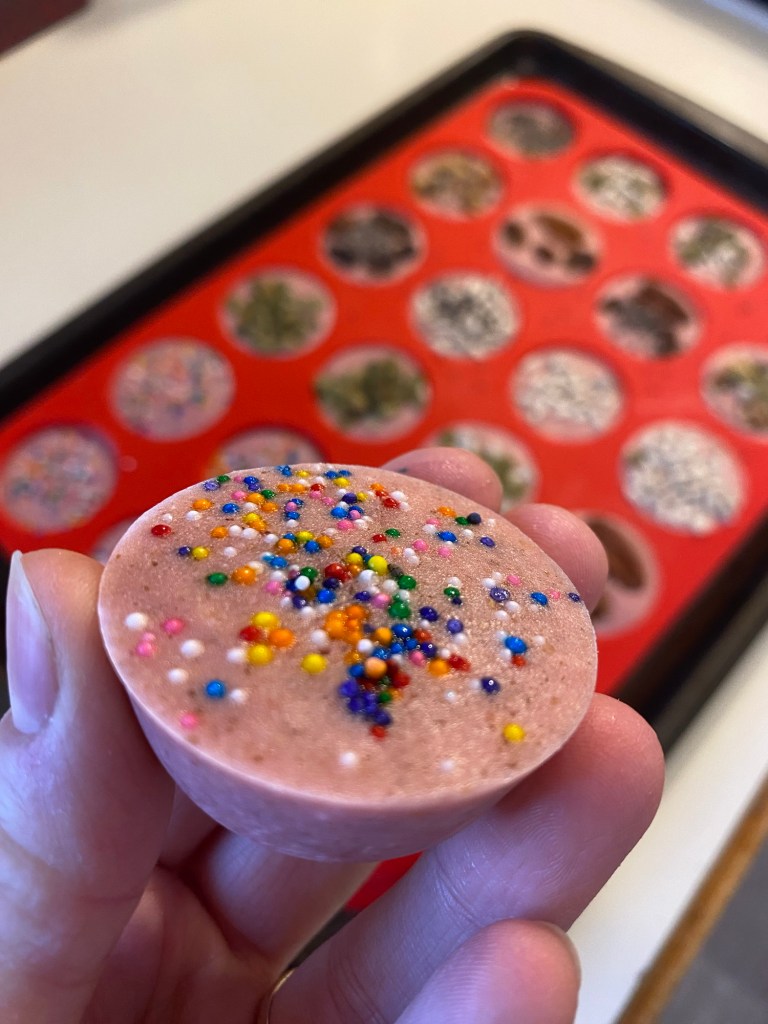


We enjoyed the creativity and hands-on part of this kitchen activity. Once I poured the prepared yogurt/berries/seeds/maple syrup into the silicone molds, it was easy for my daughter to decorate the tops and have fun with it! I also had some heart-shaped silicone molds which were perfect for Valentines Day coming up.

What is our 3 Seed Blend?
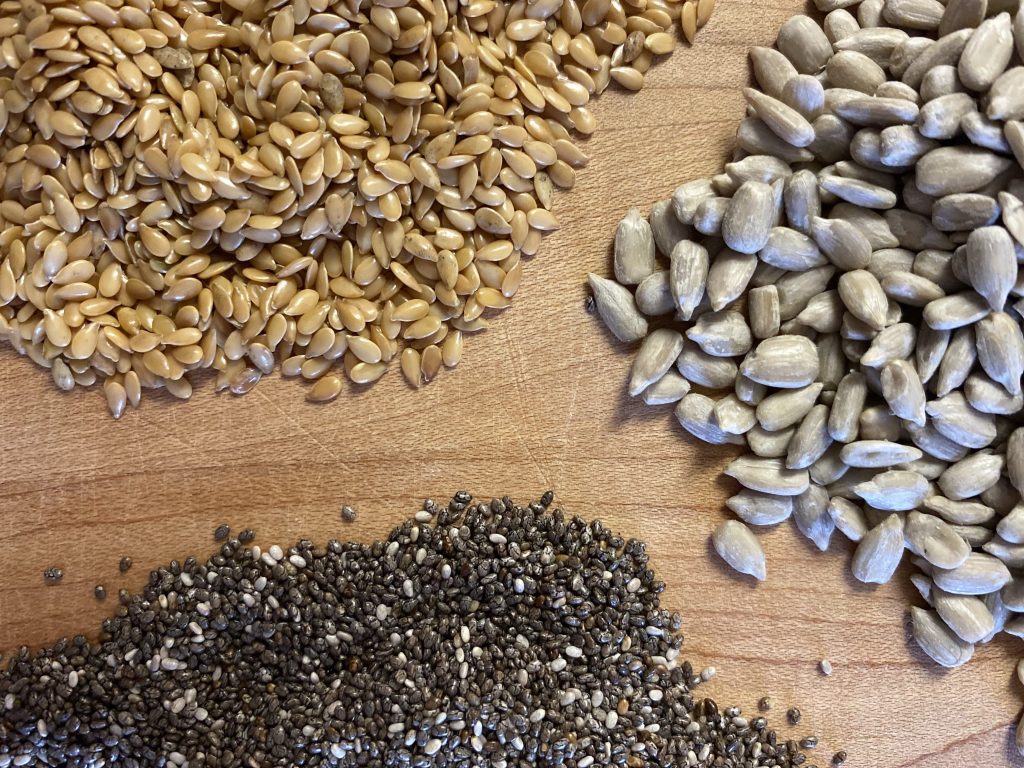
My second post ever I did on here featured the 3 Seed Blend Mix that we use quite often in breakfast bowls and other dishes. It is made up of equal parts of blended Flaxseed, Sunflower Seed and Chia Seeds.
When blended up finely, it is easy for your body to digest and absorb all the goodness! It also acts as a natural thickener, and works very well adding it to this frozen yogurt treat without taking over the flavours of the yogurt and berries.
A little more about the Seeds…

Organic Golden Flaxseed:
These are high in fibre and omega-3 fatty acids! They have also been shown to help lower blood pressure and blood sugar, contain protein, improve digestion (hence the fibre) and reduces bloating. Some doctors also claim it to help with weight loss.
Important to note: Nutrition experts recommend the importance of grinding up flaxseed instead of eating it whole. Ground flaxseed is easier to digest and for your body to absorb the nutrients. Avoid buying it pre-ground, as it is best ground fresh and stored in the fridge. At room temperature it will lose some of its nutritional properties, which is why our Naturopath discouraged us from buying the pre ground sold at bulk barn!
We buy organic flax seeds in bulk from a health food store in the south and then put in freezer bags and freeze until we need them. Big $ saver this way and ensures we always have some on hand for various recipes.

Raw, Hulled Organic Sunflower Seeds:
These are notably high in vitamin E and selenium, which act as a powerful antioxidant and supports your immune system and thyroid function. They also contain protein, magnesium, and linoleic fatty acids.
We have also been able to buy these in bulk, and store them the same way as the flaxseeds. It is important to buy them raw and unsalted!
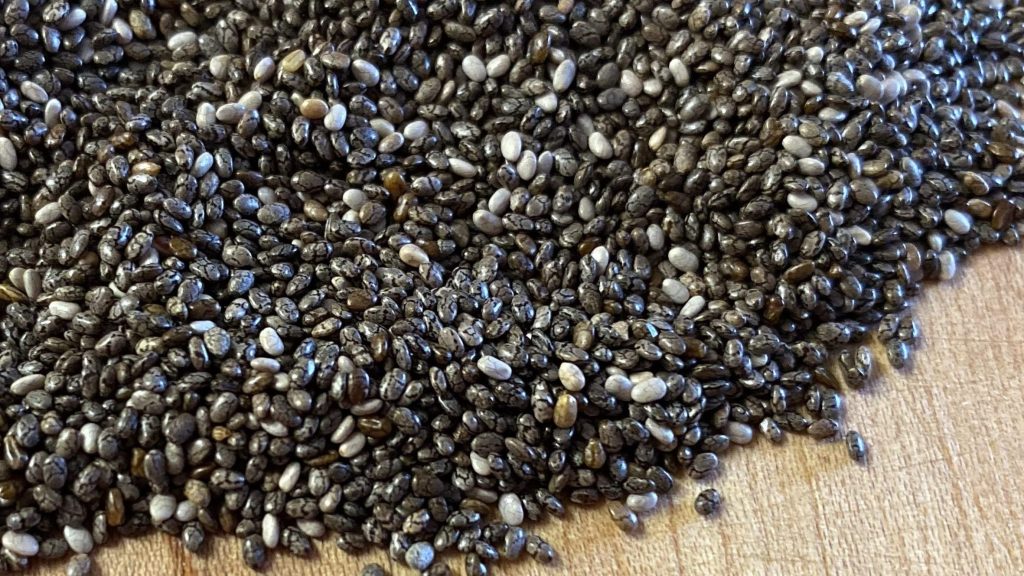
Organic Chia Seeds:
Chia seeds have had their waves of popularity over the past few years, but the science and nutritional values still speak for themselves. Chia seeds are amazing for lowering blood pressure, blood sugar and cholesterol, and improving overall heart health. They are high in fibre, which aids in digestion and reduces bloating.
It is important to soak whole chia seeds for at least twenty minutes before eating them so that they become more digestible. This is true of most edible seeds! If we are eating them whole, we like to soak them in almond milk (see our recipe for homemade almond milk), but some people soak them in water as well.
When they are soaked, the hard seed shell releases a gelatinous-like film around the seed, making it look like frog eggs!
How to Make the 3 Seed Blend:
Click HERE to get specific directions to make your own 3 Seed Blend.
Here’s a short video of how we made these easy Yogurt Berry Bombs!
How to Make Yogurt Berry Bombs
Supplies Needed:
- Small bowl
- Measuring cups
- Immersion blender or regular blender
- Silicone baking molds
- (or muffin baking sheets, but use paper cups)
- Parchment paper
- Food storage containers
Ingredients:
- 1 cup Yogurt
- 1 cup Frozen Berries
- 1/4 cup 3 Seed Blend Mix (See above notes)
- 1/4 cup Pure Maple Syrup (or use honey/agave syrup)
- Topping Ideas: nuts, dried berries/fruits, seeds, chocolate chips, sprinkles, shredded coconut, etc.
Directions:
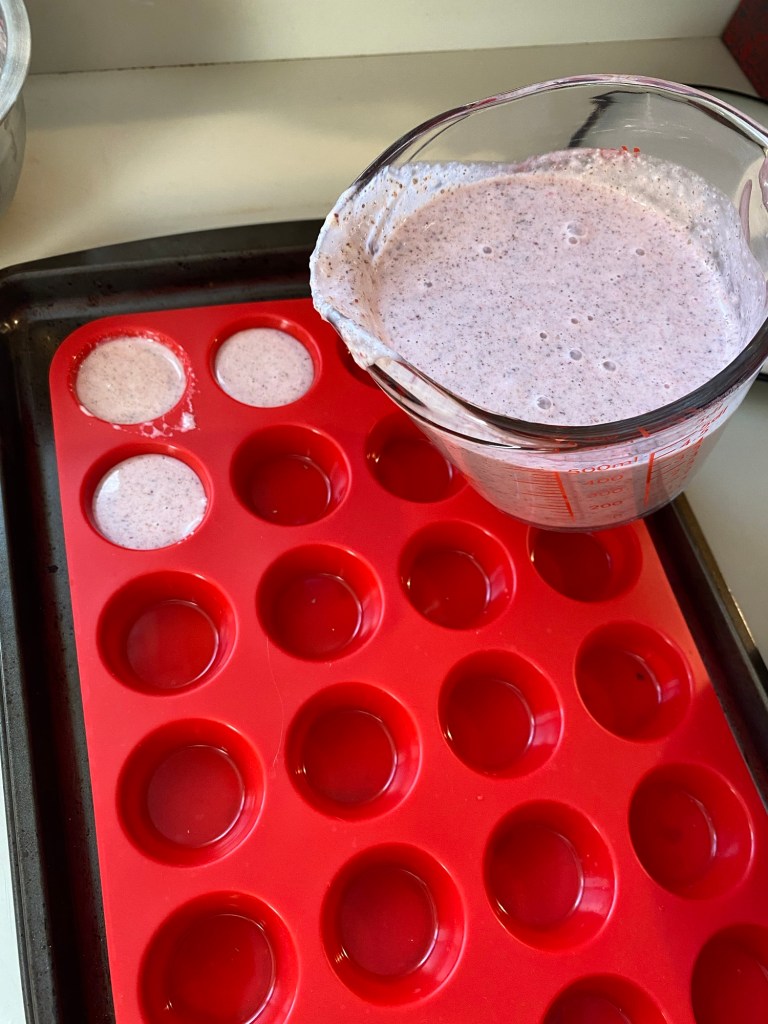
- Mix yogurt, berries, 3 seed blend and maple syrup in a small bowl with an immersion blender (regular blender works great too).

2. Pour into silicone molds or muffin baking sheets (**with paper muffin liners).

3. Top with your choice of sprinkled goodies. Get creative!

4. Place in freezer for a minimum of 2 hours until berry bombs have finished setting.
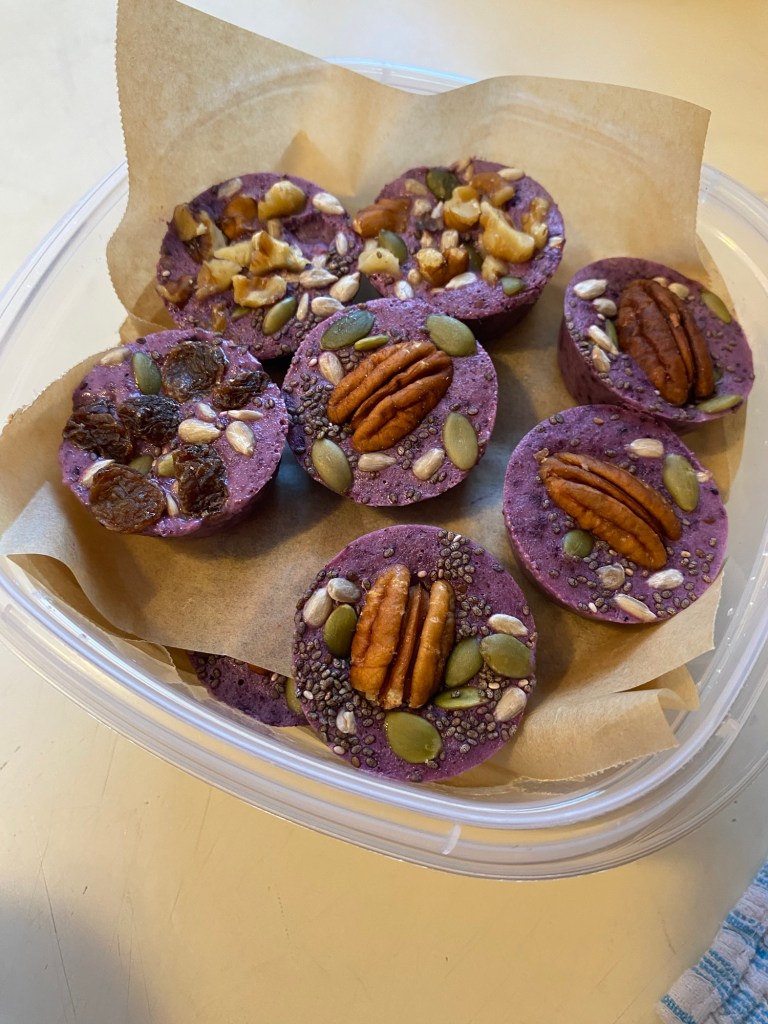

5. Transfer to parchment lined food storage containers and return to freezer until ready to eat.
6. Best to use within 3 months.

More Desert & Snack Recipes:


Hi, I’m Jessie!
I’m a Wife and Homeschooling Mom living in a remote town in Northern Ontario, Canada. I love making wholesome meals for my family from scratch, homeschooling our girls and learning more about natural living.
Read more about my story HERE.

Subscribe to Northbird’s email list to get weekly posts on: tasty recipes, activity ideas for kids, natural living tips, and some genuine mom thoughts and encouragement!
Recent posts from Northbird:


Yogurt Berry Bombs
A healthy and quick make-ahead freezer snack, just decorate with your favourite toppings or enjoy the pure smooth flavour!
Supplies Needed:
Ingredients:
Directions:
- Mix yogurt, berries, 3 seed blend and maple syrup in a small bowl with an immersion blender (regular blender works great too).
- Pour into silicone molds or muffin baking sheets (**with paper muffin liners).
- Top with your choice of sprinkled goodies. Get creative!
- Place in freezer for a minimum of 2 hours until berry bombs have finished setting.
- Transfer to parchment lined food storage containers and return to freezer until ready to eat.
- Best to use within 3 months.
Nutrition
For 1 cup pre frozen liquid: 210 calories; 4 g fat; 34 g carbohydrates;
10 g protein.