Returning to Blogging: Baby #3 Update, Homeschooling Adventures, and Mom Reflections

Find Northbird on social media:

Return to “The Mom Page”
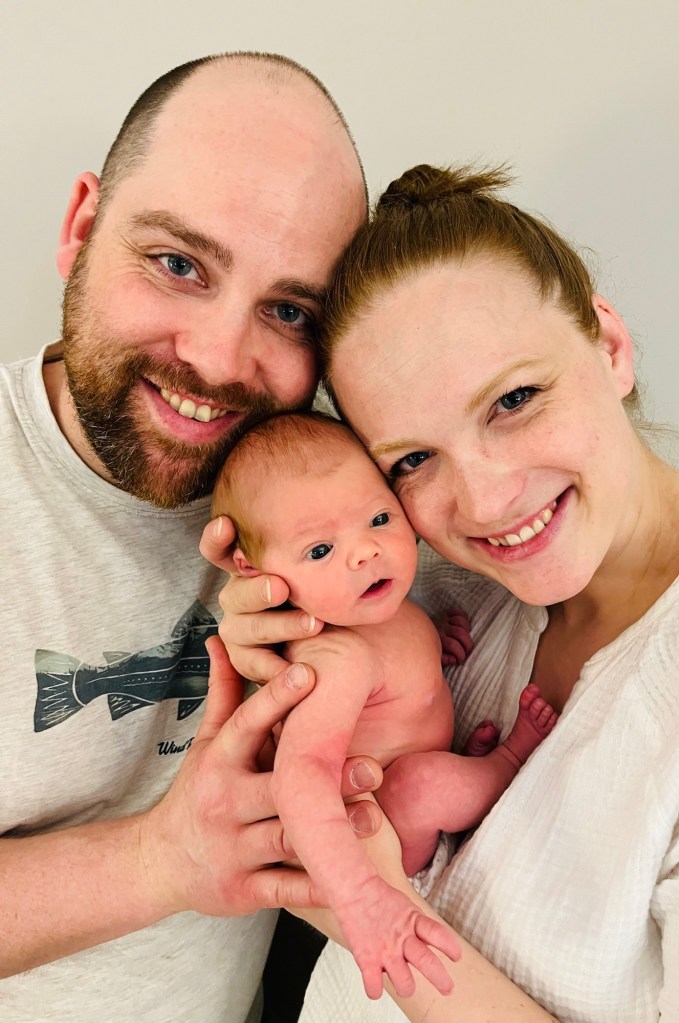
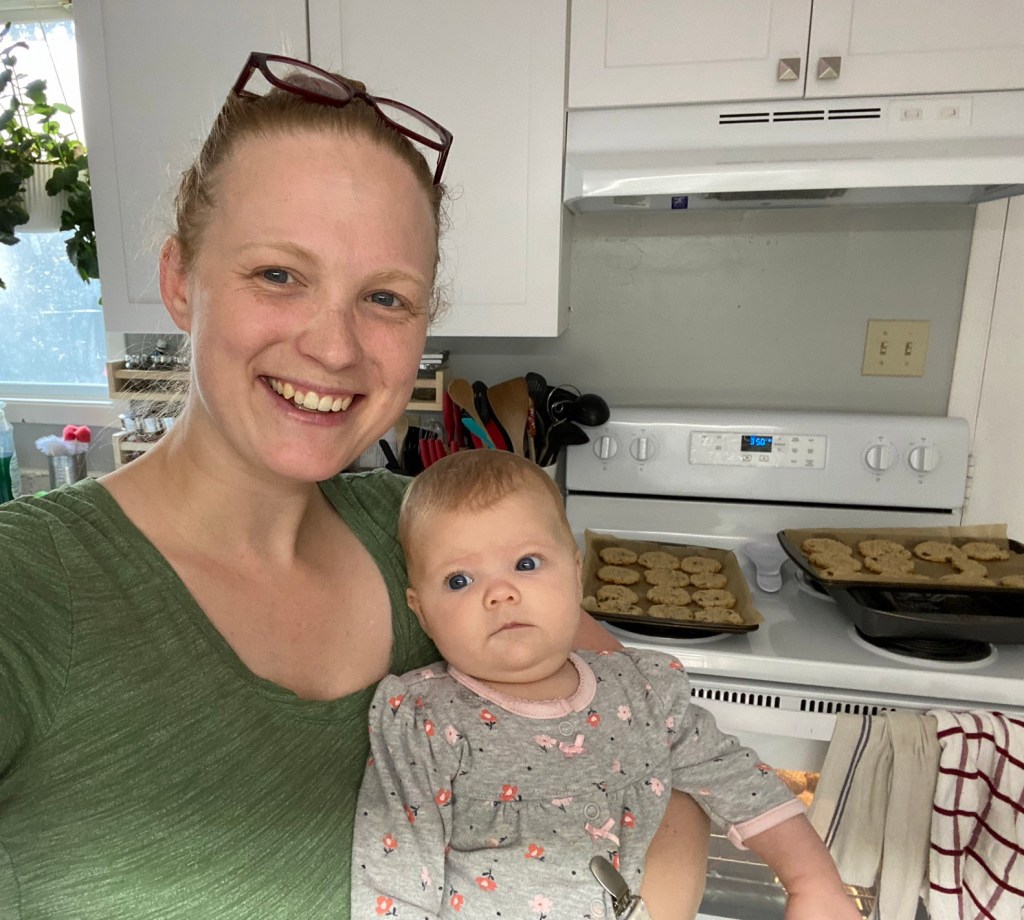
Northbird is back!

Baby #3 arrived healthy and sweet earlier this year (which is why Northbird has been rather quiet lately), and now that the summer holiday craziness is over, my fingers have been itching to get back to blogging and share what has developed over the last few months. Here’s a bit of an update on where we are at, and how life is generally going:

The baby:

Baby M is now 4 months old (that went by REALLY FAST), and sort of getting into a routine. She is absolutely the easiest and most chill baby we’ve had so far! She began smiling a lot sooner than the other two did, and has developed the cutest little dimples in her cheeks! Even on some of my hard days when I feel like I can’t manage all the parenting/homeschooling/cooking/cleaning/etc…the best therapy seems to be putting some calming music on and having some tickle-giggly time with little baby M. Her smiles and laughter make it worth it all.

The older kids:

I have heard from other parents and resources that after the 3rd baby arrives, things/life apparently gets simpler and its easier to adjust during the newborn stage. I personally think this is bologna! I think the general idea is that the older kids will entertain themselves somewhat by playing together. Our older girls SOMETIMES do, but most often parental intervention is required because one of them is inserting her “oldest child dominance” over the middle child (in other words being bossy), and the middle child is currently age 2, and incredibly strong-willed and does not want to be bossed around! (I’m sure most parents don’t need me to explain also that this age is a challenge all of it’s own).

Photo credit Candace Wahl

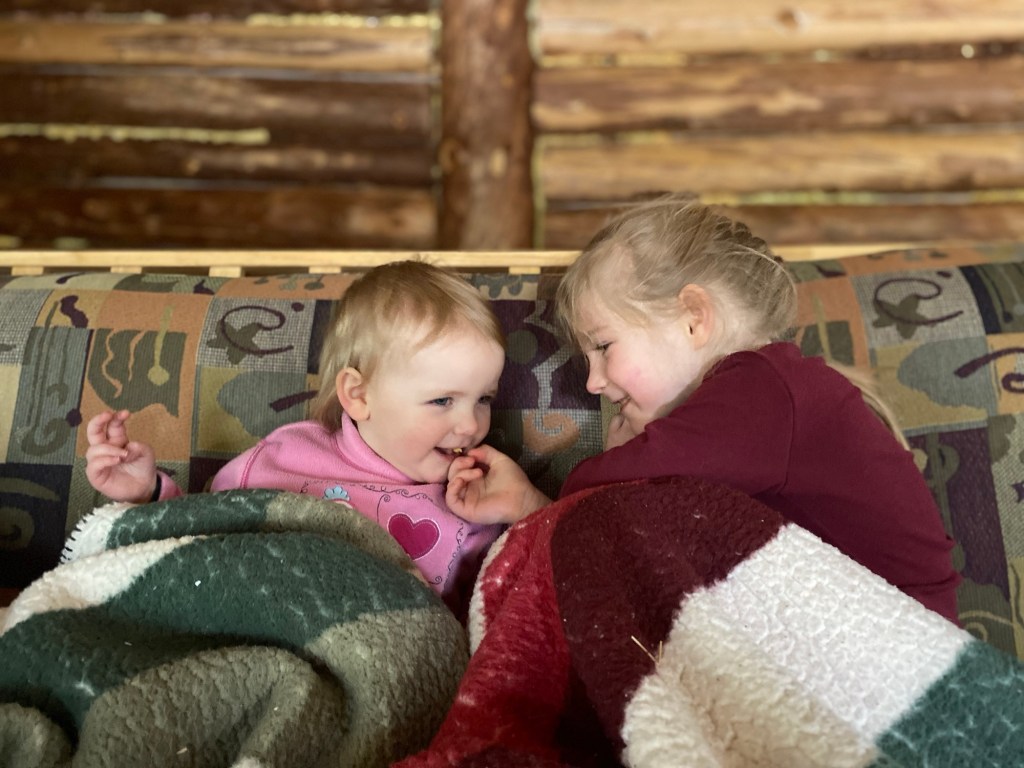
They do however adore their little sister, and every day love to have cuddles and gentle play time with baby M.

Homeschooling:

The majority of my time these days is spent homeschooling my six-year-old, who is partway through grade 1. She is doing wonderful with the homeschool curriculum that we are using for core subjects (The Good and the Beautiful), and although there are days that involve grumpiness, foot stomping and frustration, she always amazes me with her energy and excitement to learn new things.

Every year I have tried to do more research and find new resources for getting better organized with homeschooling, and finding ways to make it more fun with hands-on activities. I have come to the conclusion that sometimes “less is more”, meaning that sometimes keeping school goals as simple and realistic as possible is better for helping my oldest to actually learn and absorb more. (Also immensely better for my mental health too!)

For example, having a general outline of the goals for the week is much easier than having specific goals for every day. One day we might blaze through her core subjects before 10am, leaving the majority of the day to go for a walk, explore nature, play with friends, or do extra school if we are behind. Other days it seems to take the ENTIRE day for schoolwork to be completed. (I’m sure many homeschooling parents can relate to this!)

A great homeschooling website that I found recently is My Joy-Filled Life. Sarah is a seasoned homeschooling mom with loads of advice on homeschooling as well as several printable resources for getting organized. If you are new to homeschooling, I highly recommend you check her website out.

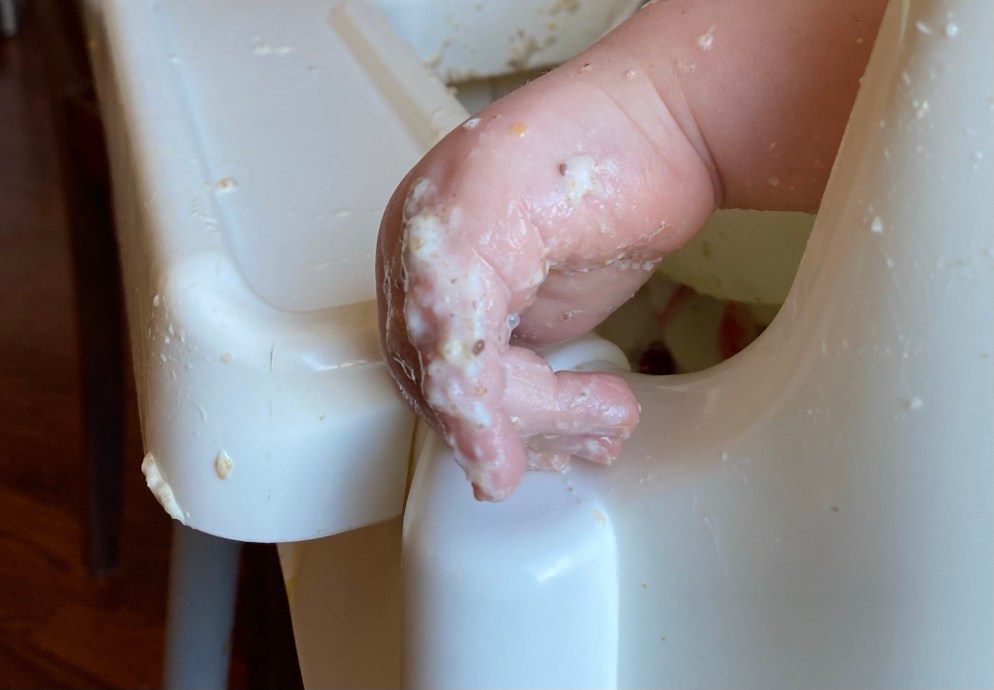
I am so thankful that our 2 year-old is not yet ready for school, and she happily plays with toys or helps me in the kitchen in the mornings. We are gently introducing a few concepts like counting to 3, colours, singing the ABCs, reading lots of picture books, and generally helping her with communication and speaking more clearly. She is immensely stubborn and wants to be able to do everything that her big sister can do! So for subjects like science that usually involve hands-on activities, she is always included too (which means that the activity is just going to get a little more messy!)

One of our favourite outings from summer holiday this year was going to Ripley’s Aquarium in Toronto. The girls had been studying Ocean life in science time this past year, so it was SO FUN to see them thoroughly enjoy the experience and see many creatures that they had been learning about.

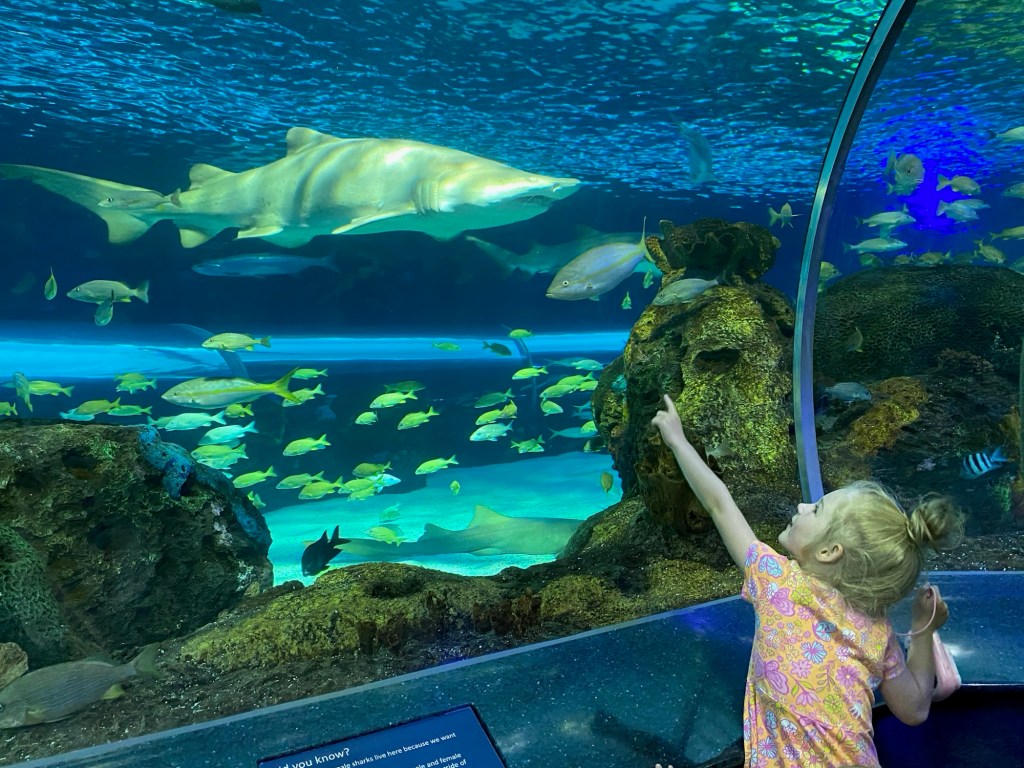
L was particularly fascinated with seeing a real “Green Moray Eel”, and was educating her dad and Auntie J all about it. F on the other hand, was very busy running around on her toddler legs (which are surprisingly fast!) and pressing up against all the glass tanks to talk to the fishies and creatures. Her favourite moment was finding “Dory” and “Nemo” and telling us and everyone else within earshot who they were and where they were going in the giant tanks.

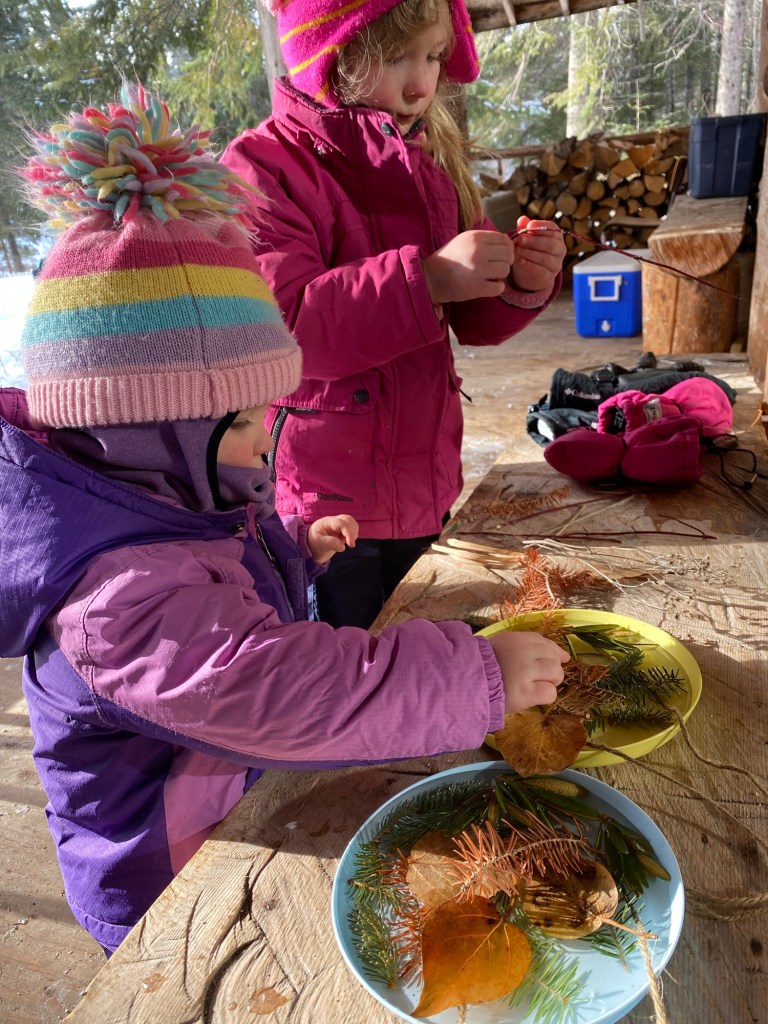
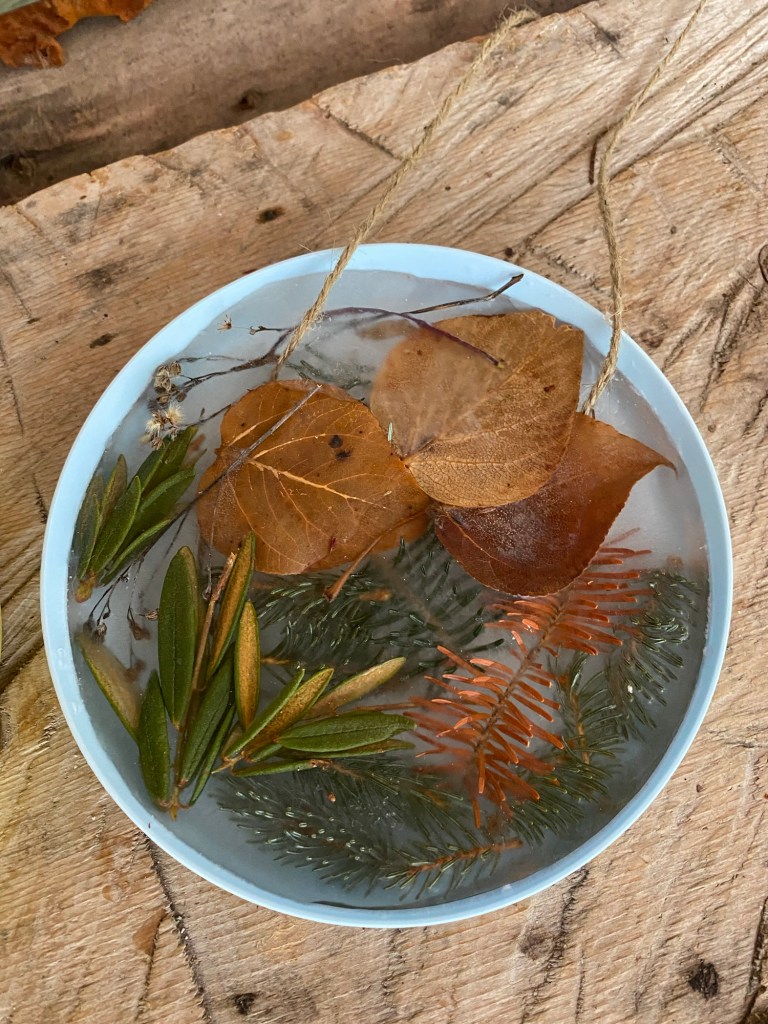
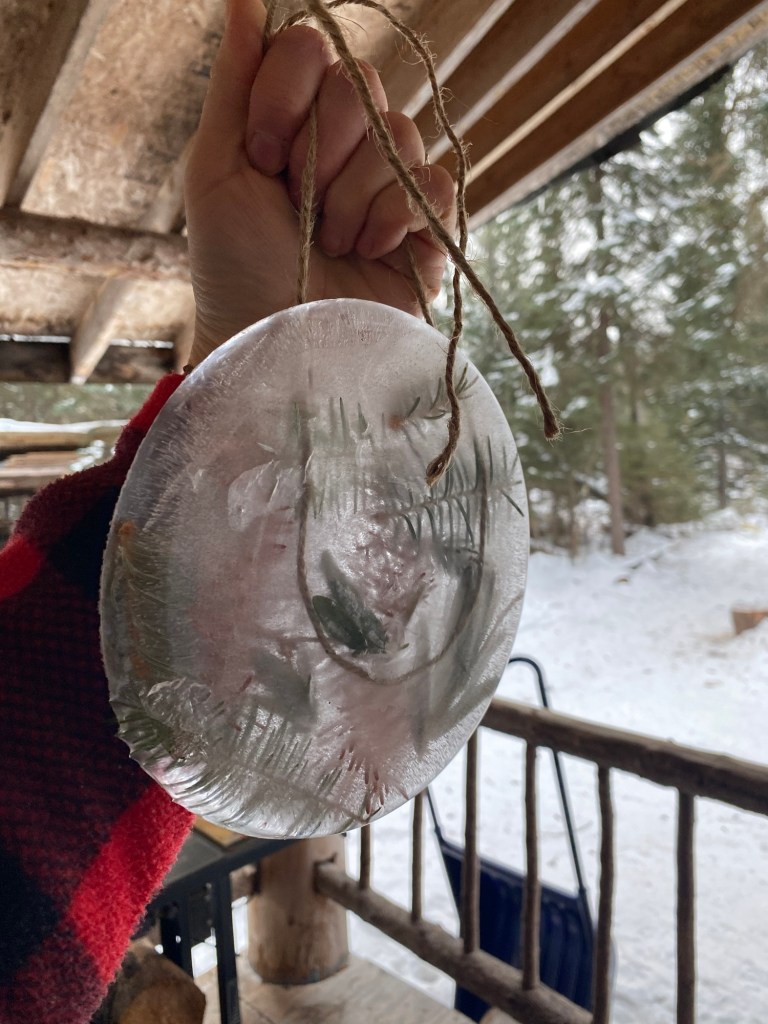
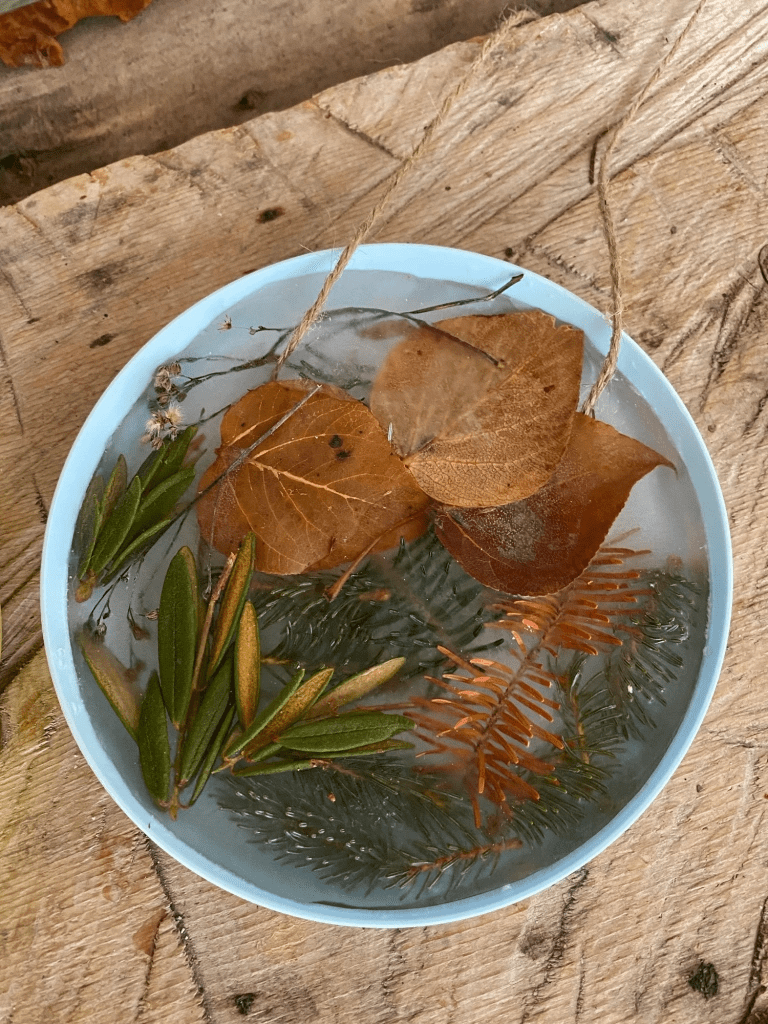
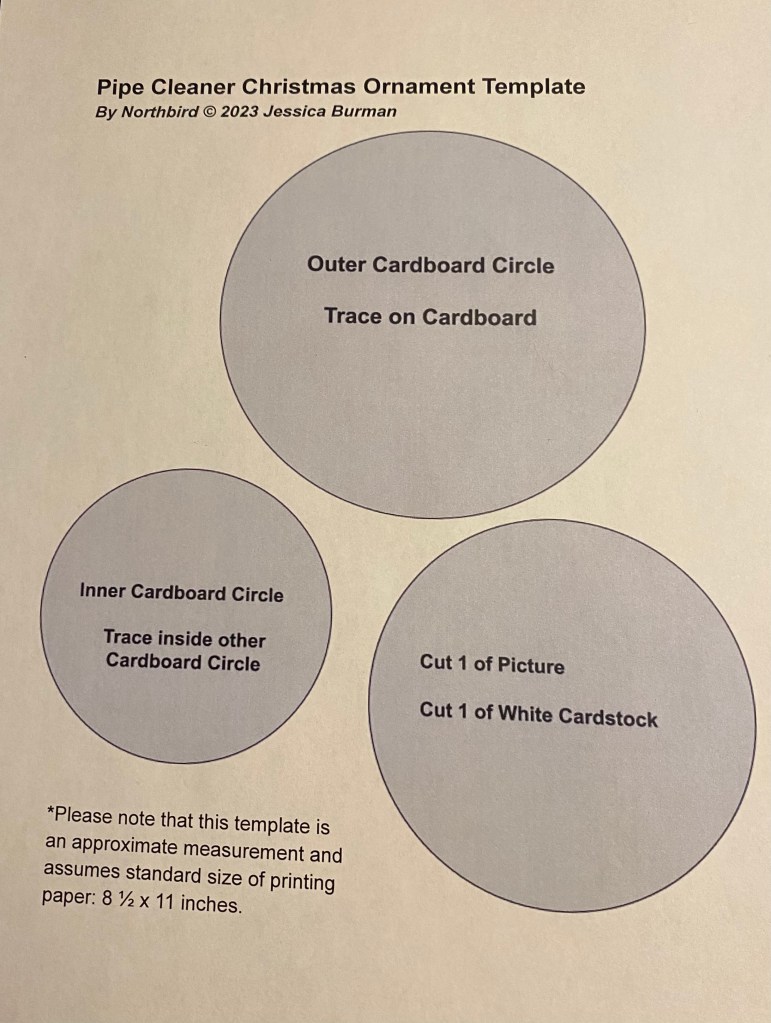
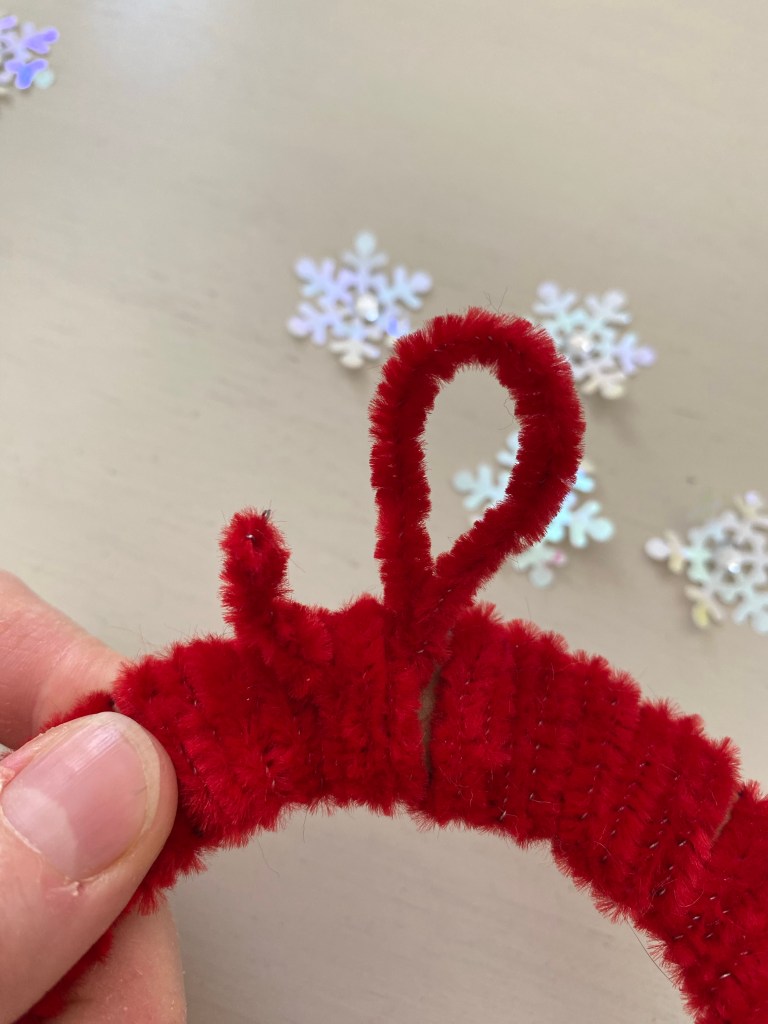
I’ve been having rather a lot of fun this past year with creating craft ideas and printables for my kids to use in science studies, which I will be slowly posting about on here over the next few months.

Creative Kitchen & The Dear Husband:

I have been working on some new yummy recipes and am really looking forward to sharing them on Northbird!

On a personal note: our menu was dramatically altered for some of the spring and summer, as my dear husband wanted to go strictly keto in his diet. Since he was on paternity leave for some of this time, I was more than willing to give it a try (on the assumption that he was around to help as needed with the kids while I took the extra time preparing meals and researching what “keto” meant).

This was honestly not what I had anticipated after having a fresh new baby, and as such, had the freezer stocked full of prepared meals, (and of course none of them were keto!) But, I was excited to learn something new, as well as support him achieve his carb limit goals. We ended up making keto meals that we all ate, adding in carbs for the girls and I as needed. But one thing I didn’t count on was that I would actually GAIN weight. Keto is generally a high protein/high fat/low carb diet, but when one adds in more carbs, and a not-as-physically-active lifestyle during vacation, led to some weight gain (not the greatest feeling after just having a baby and already feeling like an elephant for several months!)

So after a few months of this I ended up making separate meals, which in turn led to exhaustion because my husband had returned to work and homeschooling had started again. So in order to keep life a little simpler, we decided it was time to resume our normal diet again. I had totally missed making sourdough, and hubby had really missed eating it!

He has had some fun adventures lately, going on fishing trips with his buddies and working on projects around the house during his paternity leave. I am particularly thankful for the fence now surrounding the back yard (no more wandering off for the toddler!), and some beautiful garden boxes, made entirely out of pallets!

We didn’t have much to show for our first garden season in this new house (everything got a little scorched while we were away), but we have hope that next summer will be much more productive.

Northbird Mama:

And how am I doing? Some days are easier than others, and I am realizing that routine is now my best friend. Regular naps & bedtimes for the kids + eating healthy food + fresh air = happy kids (which also means happy mama!)

Have you ever heard the saying: “If mama ain’t happy, ain’t no one happy!” ? There have definitely been days in the past few months where that saying has certainly rung true.

To be honest, I have had some struggles these past months with what I think is postpartum depression, and now that I am able to reflect a bit, I can see some triggers in my life that have contributed to this struggle:

  • Lack of sleep
  • Screen time in evenings
  • Lack of personal care time
  • Not socializing as much with friends
  • Overwhelm and getting stressed with not accomplishing unrealistic goals that I set for myself
  • Not having consistent quiet time in the Bible and prioritizing time with the Lord
  • Not exercising enough
  • Lack of playing music and having personal creative time

Some of these are inevitable to happen with a newborn, other small kids needing attention, travel and vacation time. But a lot of it could have also been avoided with better communication to my spouse and asking for help from friends and family.

Along that note, I don’t think I’m the only mama that has had moments where I knew exactly when the kids last had a bath, but no idea when I last had a shower?! I think sometimes as mamas we prioritize and focus on our kids so much that we look after ourselves less in the process. That shouldn’t be the case, and at least for me, it boils down to communicating better with my spouse or friends to ask for help watching the kids so I can have a few minutes of personal care time. Because one ALWAYS feels better after getting clean and refreshed!

Here are some goals that I have set for myself as we enter a new school season:

  • Consistent quiet time reading scripture and being still before God
  • Setting aside personal creative time (songwriting, painting, sewing, blogging, etc)
  • Working on communicating better with spouse (eg “honey, can you look after baby for a bit while I hop in the shower?”
  • Try to fill my thoughts with more positive things
  • Reach out to family and friends nearby or over the phone to check in
  • Put less pressure on myself to accomplish things around the home (keep routines easy and uncomplicated!)
  • Consistent exercise (simply taking the dog for a good walk every day)
  • Sharing these goals with my spouse or a friend to help me stay accountable

Hopefully reading these thoughts and rambles may be helpful to someone reading this!

I know I’m not the only one that has struggled with depression of some sort. I’m simply being real on where I’m at and hoping that these goals will help my mental health to stay –well healthy. Both for my sake and also for my family’s sake.

Looking Forward:

I have some great blog posts on the creative table at the moment and for the time being I will be posting them every Friday morning. When I have more time I hope to expand that to twice a week. Even though I have more than enough ideas, recipes and crafts all ready to write up, it takes loads of time and mental energy to input them all into a blog posting. So for now I will keep a simple goal for myself of one posting per week!

Blog posts coming up (not in this order):

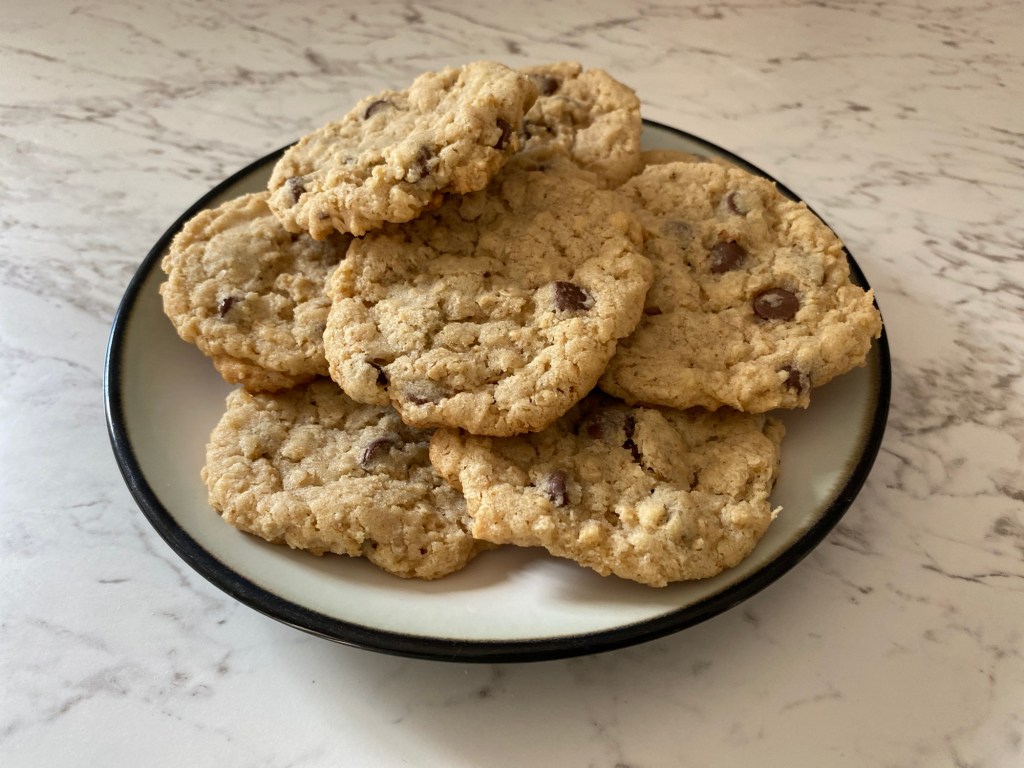
  • Sourdough Discard Oatmeal Chocolate Chip Cookies
  • Simple Cheesy Biscuits
  • Green Split Pea & Bacon Soup
  • Sourdough English Muffins
  • Sprouted Nutrition
  • Baby resource posts
  • Several freezer meal recipes (I was very busy getting ready for baby!)
  • Instant Oatmeal recipes
  • Crockpot tomato sauce
  • Loads of Ocean-inspired Homeschooling crafts and free printables

Thanks for all the encouragement to family and friends who have been asking about Northbird and supporting me through this new creative adventure! It certainly has its challenges to learn all the tech side of things (definitely not one of my strengths!) but it has also been really rewarding to connect with people from all over the world in the past year and share our thoughts and ideas in the online creative community!

Cheers,

Jessie

Hi, I’m Jessie!

I’m a Wife and Homeschooling Mom living in a remote town in Northern Ontario, Canada. I love making wholesome meals for my family from scratch, homeschooling our girls and learning more about natural living.

Read more about my story HERE.

Subscribe to Northbird’s email list to get weekly posts on: tasty recipes, activity ideas for kids, natural living tips, and some genuine mom thoughts and encouragement!

This post contains affiliate links. As an Amazon associate, I earn from qualifying purchases. This means that I make a small commission at no extra cost to you. You can read my full disclosure HERE.

Return to Top

How to Make a Simple Bird Feeder

Find Northbird on social media:

This post contains affiliate links. As an Amazon associate, I earn from qualifying purchases. This means that I make a small commission at no extra cost to you. You can read my full disclosure HERE.

Jump to Printable Activity Card

Jump to Video

Return to “Homeschooling Activities & Resources”

Return to “Discovering Birds”

“Birding” as a Homeschooler…

With spring right around the corner, we are looking forward to many things, and one of those is more birds coming to visit!

Many of our winter days have had temperatures around -30 to -40 degrees celcius, which means less feathery visitors to our bird feeders during those chilly days.

However, through the winter we have still had a steady visiting flow of black-cap chickadees, whisky jacks, pileated woodpeckers, crows, and the occasional sparrow.

Our kids love watching birds from our front window, and one of our favourite types of bird feeders is a clear plastic one (The Window Cafe, similar to THIS ONE) that suctions right onto the window glass! It lasted on our window for several months until we had several super cold days in a row, fell off and wouldn’t suction anymore…Oh well, we’ll try again when it’s warmer!

A downy woodpecker hanging on to have a snack.

When I was younger and also homeschooled, my mother kept several nature books in the sunroom (probably still does), and whenever an interesting bird, insect, or animal was spotted, out came the identification books to discover the name and nature of what we had found/observed.

Of course, special mention must also go to my godfather “Ernie”, who was like a living, walking encyclopedia of knowledge. He was a retired science teacher and loved spending time with my siblings and I to teach and discover many things about the natural world around us. We didn’t even need to grab for our bird identification book if we were out on nature walks with him, we could just ask him! (Of course sometimes we got more information than we needed, such as the latin names and classification of species.)

I’m sure Ernie will be mentioned on this blog more than once, as he was a very dear and memorable character, and had much knowledge and enthusiasm to offer young learners.

About this Craft:

On a recent family holiday weekend to a bush cabin, the kids and I developed this easy bird feeder idea, using leftover bacon grease and some sunflower and pumpkin seeds that I took from our trail mix. We spread the mixture onto a toilet paper finished roll, let it harden/freeze, then tied it to the porch railing. We had a lot of fun over the next few hours watching the whisky jack birds fight over our homemade bird feeders.

A smart squirrel also noticed the tasty hanging treat and helped himself a few times. Eventually he figured out how to chew through the string and took off into the bush dragging the paper roll with him!

Our pup may have snuck over a few times to sample the bacon grease…!

There are many ways to make this simple bird feeder, based on what you may have available in your pantry. As I mentioned above, when we made it a few weeks ago we didn’t have any bird seed, just a few seeds in our trail mix that I sifted out. It would definitely be easier with smaller bird-feeder seeds!

Have fun making this and don’t forget to watch and record what types of birds come to visit!

Here’s a short video of making this easy bird feeder (and a few shots of the feathery/furry visitors that came to eat!)

How to Make a Simple Bird Feeder

Supplies Needed:

  • Leftover bacon grease (You can also use peanut butter, lard, or butter)
  • Bird seed
  • String
  • Scissors
  • Inside cardboard roll from toilet paper or paper towel rolls

Directions:

1. Pour seeds into pan of bacon grease and stir well. Let bacon grease cool in pan.

2. Using a spoon, spread mixture onto paper roll. (Or, if your seeds are small enough, first spread grease/peanut butter onto paper roll and then dip/roll in a bowl of the bird seed.)

3. Let harden on a plate if needed (we stuck ours outside in the BBQ overnight to fully harden without animals eating it!)

4. Cut string to desired length (we used about 3 feet length), and thread through roll.

5. Tie string ends to make a loop and hang near a window so you can watch the animal activity!

Hi, I’m Jessie!

I’m a Wife and Homeschooling Mom living in a remote town in Northern Ontario, Canada. I love making wholesome meals for my family from scratch, homeschooling our girls and learning more about natural living.

Read more about my story HERE.

Subscribe to Northbird’s email list to get weekly posts on: tasty recipes, activity ideas for kids, natural living tips, and some genuine mom thoughts and encouragement!

How to Make a Simple Bird Feeder

Looking for an easy craft for a homeschooling bird inquiry? Save that leftover bacon grease and toilet paper rolls to make your own hanging bird feeders!


You can also use peanut butter, other nut butters, lard, or butter to replace the bacon grease.

Supplies Needed:

  • Leftover bacon grease
  • Bird seed
  • String
  • Scissors
  • Inside cardboard roll from toilet paper or paper towel rolls
  • Directions:

    1. Pour seeds into pan of bacon grease and stir well. Let bacon grease cool in pan.
    2. Using a spoon, spread mixture onto paper roll. (Or, if your seeds are small enough, first spread grease/peanut butter onto paper roll and then dip/roll in a bowl of the bird seed.)
    3. Let harden on a plate if needed (we stuck ours outside in the BBQ overnight to fully harden without animals eating it!)
    4. Cut string to desired length (we used about 3 feet length), and thread through roll.
    5. Tie string ends to make a loop and hang near a window so you can watch the animal activity!

    Return to Top

    How to Make an Ice Sun-Catcher

    Find Northbird on social media:

    This post contains affiliate links. As an Amazon associate, I earn from qualifying purchases. This means that I make a small commission at no extra cost to you. You can read my full disclosure HERE.

    Jump to Printable Activity Card

    Jump to Video

    Return to “Homeschooling Activities & Resources”

    Return to “Winter Activities & Crafts”

    Our family recently had the opportunity to go to an off-grid cabin for Family Day Weekend. It was about a 45 minute snowmobile ride into the bush from our house. Hard, challenging (I was seven months pregnant), but totally worth the adventure.

    Our first day was quite cold! Temperatures reached -41 degrees celcius with the wind chill, but averaging around -30 degrees.

    When we arrived at the cabin, it was around -30 degrees INSIDE. Brrrr. The kids honestly had a few tears while we got a fire going, dug out the cookies, and started the kettle to make some hot chocolate. After they warmed up, they got excited and started exploring our snug little home for the weekend.

    One of the previous families to visit the cabin had hung up some coloured ice sun-catchers (see pictures below), using food colouring or paints, and hung up outside the windows. We loved to look at these while cooking in the kitchen or eating our meals!

    We were inspired to also make something similar, but we didn’t have anything to colour the water/ice with. We decided to do some exploring around the cabin and find natural items to use instead.

    This was a wonderful activity and natural inquiry for our oldest, as she scavenged for different sticks, leaves, dried flowers, pine and spruce needles.

    “What’s this Mommy?” pointing to a stick covered in a black fungus, “It looks like something pooped on it!”

    Or “discovering” what a raspberry bush looks like/feels like in winter without the leaves on it (thorns!).

    I love that we used natural items to do this activity, so that as it melts in the spring, the decorations frozen in the ice will decompose over time on the ground. We also used natural twine to hang it up that we found hanging around from previous visitors.

    Enjoy! Send Northbird pictures of your Ice Sun-catcher creations, we’d love to see them!

    A brief video of when our girls made Ice Sun-catchers.

    How to Make Ice Sun-Catchers

    Supplies Needed:

    • Warm water (the warmth helps so the kid’s fingers don’t get too cold during the activity if you are assembling the plate outside)
    • String
    • Scissors
    • Plastic plate or paper plate with a rim
    • Outdoor nature decorations (leaves, sticks, dried flowers, bark, etc)

    Directions:

    1. Explore your backyard for various items to decorate your Ice Sun-catcher with. (See ideas above)

    2. Lay the plate down on a flat surface. If you are assembling the plate inside, you might want to first put the plate on a cookie sheet. Fill the plate with water.

    3. Cut string to desired length for hanging up. (I recommend a minimum of 3 feet). Place the string in a “U” shape, with the untied ends hanging out, pushing the string into the water.

    4. Lay your selected nature decorations on the plate, pushing them gently into the water.

    5. Leave plate outside overnight or until completely frozen.

    6. Carefully transfer out of plate. If it is a paper plate, the plate can be easily cut off.

    7. Hang up outside where it can be viewed and enjoyed!

    Hi, I’m Jessie!

    I’m a Wife and Homeschooling Mom living in a remote town in Northern Ontario, Canada. I love making wholesome meals for my family from scratch, homeschooling our girls and learning more about natural living.

    Read more about my story HERE.

    Subscribe to Northbird’s email list to get weekly posts on: tasty recipes, activity ideas for kids, natural living tips, and some genuine mom thoughts and encouragement!

    How to Make an Ice Sun-Catcher

    • Difficulty: Easy
    • Print

    This is a fun winter activity to do with your kids! Combine it with exploring your backyard or local park for natural decorations to freeze in it!

    Supplies Needed:

  • Warm water (the warmth helps so the kid’s fingers don’t get too cold during the activity if you are assembling the plate outside)
  • String
  • Scissors
  • Plastic plate or paper plate with a rim
  • Outdoor nature decorations (leaves, sticks, dried flowers, bark, etc)
  • Directions:

    1. Explore your backyard for various items to decorate your Ice Sun-catcher with. (See ideas above)
    2. Lay the plate down on a flat surface. If you are assembling the plate inside, you might want to first put the plate on a cookie sheet. Fill the plate with water.
    3. Cut string to desired length for hanging up. (I recommend a minimum of 3 feet). Place the string in a “U” shape, with the untied ends hanging out, pushing the string into the water.
    4. Lay your selected nature decorations on the plate, pushing them gently into the water.
    5. Leave plate outside overnight or until completely frozen.
    6. Carefully transfer out of plate. If it is paper, the plate can be easily cut off.
    7. Hang up outside where it can be viewed and enjoyed!

    Return to Top

    Homemade Valentine Balloon Cards: Creative Homeschooling Activity for Kids

    Find Northbird on social media:

    This post contains affiliate links. As an Amazon associate, I earn from qualifying purchases. This means that I make a small commission at no extra cost to you. You can read my full disclosure HERE.

    Jump to Printable Activity Card

    Return to “Homeschooling Activities and Resources”

    I love celebrating Valentines Day, and using this opportunity to speak words of encouragement and love into my little girls and husband.

    I recently started reading “The Five Love Languages of Children” by Gary Chapman & Ross Campbell, M.D., and it is just as good as the Love Languages book that was written for adults.

    Every child needs to know that they are loved and valued, and this book focuses on learning how to express that love in a way that your child can understand it in their own unique way. I highly recommend this book as a parenting resource to check out!

    To summarize the Five Love Languages, these are the common ways that each person receives and gives love:

    • Quality Time
    • Words of Affirmation
    • Gifts
    • Acts of Service
    • Physical Touch

    “We believe a child’s need for love is basic to all other needs. Receiving love and learning to give love is the soil out of which all positive human endeavors grow.” -Gary Chapman & Ross Campbell

    Other Love Language books that I love from Gary Chapman:

    Applying this to our Home:

    Since my oldest was about 18 months, I have kept up this tradition for her and my husband as a way of speaking and affirming words of encouragement for them:

    Every day, for the 14 days leading up to Valentines day, I put a heart on their doors with a word that I feel describes part of who they are. I always end on the 14th day with a red heart saying: “You Are Loved”.

    This particular year, we joined an online Homeschooling Valentine exchange group on facebook to make and sends cards to other homeschooling students all over Canada. The idea was to incorporate a little geography learning of our country for my 5-year-old, and also understanding more about the postal system.

    The result: my particular online group had 30+ students that we needed to make cards for! (Honestly, a little mind boggling in addition to the other valentine cards for family and friends that we were ALREADY going to make!)

    So the girls and I decided to create something that would be relatively simple, yet creative, customizable, and could easily be in a flat envelope (not a bulky card, and less expensive to post).

    I also wanted to make something that my youngest (not yet 2) could participate in (and for it to look somewhat still pleasing to the eye!).

    I have included here the free template that the girls and I used to paint and cut out for the cards, as you’ll see more in the directions below on how to use this template.

    I hope your kids have fun with this creative activity as much as mine did!

    How to Make Valentine Balloon Cards:

    Supplies Needed:

    Directions:

    1. Print and paint on heart template.

    2. When paint has dried, cut out painted hearts.

    3. Cut 1 page of card stock paper in half for two cards, and pre-cut string for balloon hearts and bow.

    4. Tie string at one end with ends amounting to number of “balloons” you wish to use on the front of card. Glue all and write on front of card if desired.

    5. Glue remaining hearts on the inside of card and write/decorate as desired.

    6. Enclose with one of these simple white envelopes that fit perfectly!

    Additional Notes: This activity could be easily done with inserting coloured paper into your printer and then print the template form to eliminate the painting step.

    Here are other homemade Valentine Cards we have done in the past:

    Hi, I’m Jessie!

    I’m a Wife and Homeschooling Mom living in a remote town in Northern Ontario, Canada. I love making wholesome meals for my family from scratch, homeschooling our girls and learning more about natural living.

    Read more about my story HERE.

    Subscribe to Northbird’s email list to get weekly posts on: tasty recipes, activity ideas for kids, natural living tips, and some genuine mom thoughts and encouragement!

    Homemade Valentine Balloon Cards

    • Difficulty: Easy
    • Print

    A sweet little homemade valentine card that the girls and I designed. Directions and a free template included!


    This activity could be easily done with inserting coloured paper into your printer and then print the template form to eliminate the painting step.


    Directions:

    1. Print and paint on heart template.
    2. When paint has dried, cut out painted hearts.
    3. Cut 1 page of card stock paper in half for two cards, and pre-cut string for balloon hearts and bow.
    4. Tie string at one end with ends amounting to number of “balloons” you wish to use on the front of card. Glue all and write on front of card if desired.
    5. Glue remaining hearts on the inside of card and write/decorate as desired.

    Return to Top

    Easy Pipe Cleaner Christmas Ornament

    Find Northbird on social media:

    This post contains affiliate links. As an Amazon associate, I earn from qualifying purchases. This means that I make a small commission at no extra cost to you. You can read my full disclosure HERE.

    Return to Christmas Activities

    Jump to Printable Craft Directions

    It’s FINALLY December?!

    Up here in Northern Ontario we’ve had snow for several weeks now and our local Moose River has finally begun to freeze over. But it’s honestly felt like this year had the longest November that I can remember, and December seemed to take forever to come!

    Our friendly neighbourhood has now started hanging up Christmas decorations, and the local schools have begun hosting Christmas bazaars every weekend leading up to the holidays.

    The kids are getting so excited for Christmas (especially our oldest), not only with decorating our home and having lots of community parties, but also the chance to hop on the train south to visit our families.

    Every year I have tried to organize an ornament craft for our oldest to make and give to her Daddy, grandparents, and other relations and friends. This always gives her a sense of pride and accomplishment to see something that she has made and worked hard on to end up on our relation’s Christmas trees, and hung on garland throughout our family’s living room.

    Usually I look for ideas on Pinterest or Google that are somewhat flat and could travel well by mail, as many of our relatives live far away from us and we are not able to see everyone in the short time we travel south at Christmas.

    The other day I looked around the house at what we had to work with and ended up creating this easy and customizable picture ornament with my oldest daughter.

    I hope this simple gift idea inspires you and your kids with fun and joy this season!

    You can download the FREE pre-measured circle template HERE.

    How to make this Easy Pipe Cleaner Christmas Ornament:

    Supplies Needed:

    • Hot glue gun
    • Glue stick
    • Pen or marker
    • Scissors
    • Pipe cleaners (10-15, depending on how long they are and how thick you wrap the cardboard)
    • Cardboard
    • Print the free template to trace the circles HERE
    • Round plastic containers to trace, different sizes (If you aren’t able to print the template)
    • Picture
    • White card stock paper
    • Items to decorate with (glue or stick on)

    Directions:

    1. Trace cardboard circles, using two different sizes of round cups or plastic containers. The outer circle is approximately 5 inches (12.5cm) in diameter, and the inner one is 3 inches (8cm) in diameter. Disregard this if you are able to print the template, and simply follow the template directions.

    2. Cut out the centre of the cardboard circle.

    3. Begin wrapping the pipe cleaners around the cardboard frame, tucking in the end pieces when you start a new pipe cleaner. Tuck the final piece in.

    4. Make a loop out of a pipe cleaner and attach and tuck it through a few strands, twisting it so it doesn’t come undone.

    5. Trace around another round plastic container and cut out circles of your chosen picture and a piece of white card-stock paper. I used a circle size that was middle in size comparison to the other two circles, approximately 3 1/2 inches (9 cm) in diameter. The free printable template includes this too.

    6. Write a personal message if desired, or instead cut out another picture to insert, so that there is a picture to see on both sides of your ornament.

    7. Use your glue stick to glue the backs of the two circles together.

    8. Take your hot glue gun (I recommend that adults handle this part!), and put glue around the edge of the picture front, then place the pipe cleaner frame on top of the picture and hold in place firmly while the glue dries (its fast!)

    9. Add any desired decorations to the front and back. For this, we hot glued jewelled snowflakes to both sides and also glued a sparkly pipe cleaner to the back ring to hide the paper edge.

    10. Enjoy! I’d love to hear from you and see how yours turned out!

    Download and print the Free Circle Templates HERE.

    Hi, I’m Jessie!

    I’m a Wife and Homeschooling Mom living in a remote town in Northern Ontario, Canada. I love making wholesome meals for my family from scratch, homeschooling our girls and learning more about natural living.

    Read more about my story HERE.

    Subscribe to Northbird’s email list to get weekly posts on: tasty recipes, activity ideas for kids, natural living tips, and some genuine mom thoughts and encouragement!

    Pipe Cleaner Christmas Ornament

    • Servings: 1 Ornament
    • Difficulty: Easy
    • Print

    Here's an Easy Christmas Ornament Craft to do with your child this season!

    Supplies Needed:

  • Hot glue gun
  • Glue stick
  • Pen or marker
  • Scissors
  • Pipe cleaners (10-15, depending on how long they are and how thick you wrap the cardboard)
  • Cardboard
  • Print the free template to trace the circles HERE
  • Round plastic containers to trace, different sizes (If you aren’t able to print the template)
  • Picture
  • White card stock paper
  • Items to decorate with (glue or stick on)

  • Directions:

    1. Trace cardboard circles, using two different sizes of round cups or plastic containers. The outer circle is approximately 5 inches (12.5cm) in diameter, and the inner one is 3 inches (8cm) in diameter. Disregard this if you are able to print the template, and simply follow the template directions.
    2. Cut out the centre of the cardboard circle.
    3. Begin wrapping the pipe cleaners around the cardboard frame, tucking in the end pieces when you start a new pipe cleaner. Tuck the final piece in.
    4. Make a loop out of a pipe cleaner and attach and tuck it through a few strands, twisting it so it doesn’t come undone.
    5. Trace around another round plastic container and cut out circles of your chosen picture and a piece of white card-stock paper. I used a circle size that was middle in size comparison to the other two circles, approximately 3 1/2 inches (9 cm) in diameter. The free printable template includes this too.
    6. Write a personal message if desired, or instead cut out another picture to insert, so that there is a picture to see on both sides of your ornament.
    7. Use your glue stick to glue the backs of the two circles together.
    8. Take your hot glue gun (I recommend that adults handle this part!), and put glue around the edge of the picture front, then place the pipe cleaner frame on top of the picture and hold in place firmly while the glue dries (its fast!)
    9. Add any desired decorations to the front and back. For this, we hot glued jewelled snowflakes to both sides and also glued a sparkly pipe cleaner to the back ring to hide the paper edge.
    10. Enjoy! I’d love to hear from you and see how yours turned out!

    Return to Top