Find Northbird on social media:

About This Dish…
This is one of my grandmother’s tried-and-true recipes, and trust me, its a gold one! Since finding it in her recipe book last year we have made it many times and enjoyed a few emergency freezer meals that of it too!
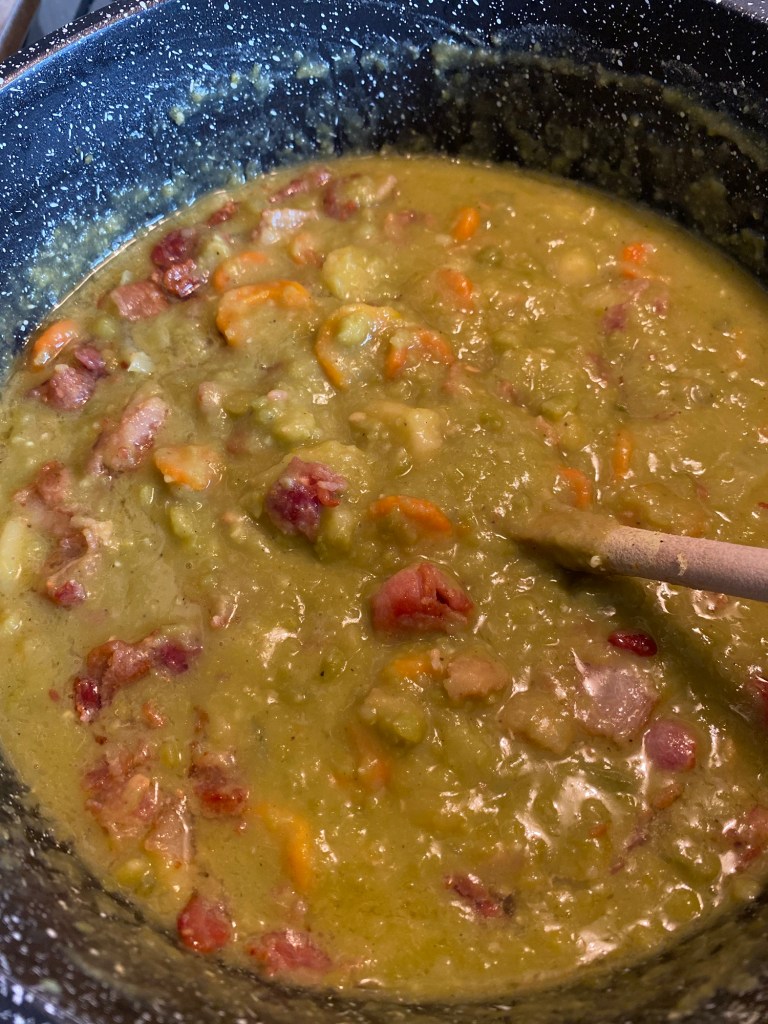
Full of excellent nutrition, this tasty dish is a great no-stress meal to serve hot on top of some fluffy rice!
I love the way the flavours of broccoli and chicken are wrapped together with a creamy mix and coated with a generous layer of cheese (and many of those crave-able dinner dishes have that bubbly delicious cheese, am I right?!).
I hope you enjoy this as much as my family does!
History of Chicken Divan:
This dish is a classic American casserole, often dubbed nowadays as a “comfort food”. Although there are many variations, this recipe always seems to consist of chicken and broccoli and is baked in a bubbly cheese sauce. It is thought to have originated in early 1900s in New York City at the Divan Parisien Restaurant. It was served for many years as their signature dish.
How to Make Broccoli Chicken Divan:
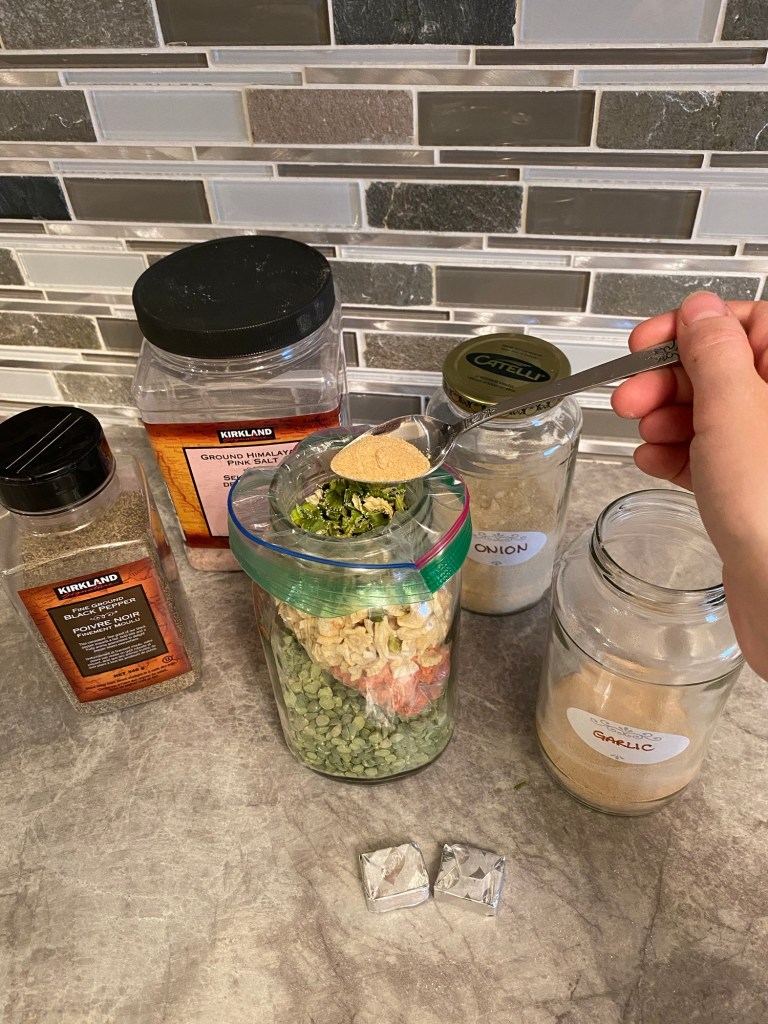
Supplies Needed:
Ingredients:
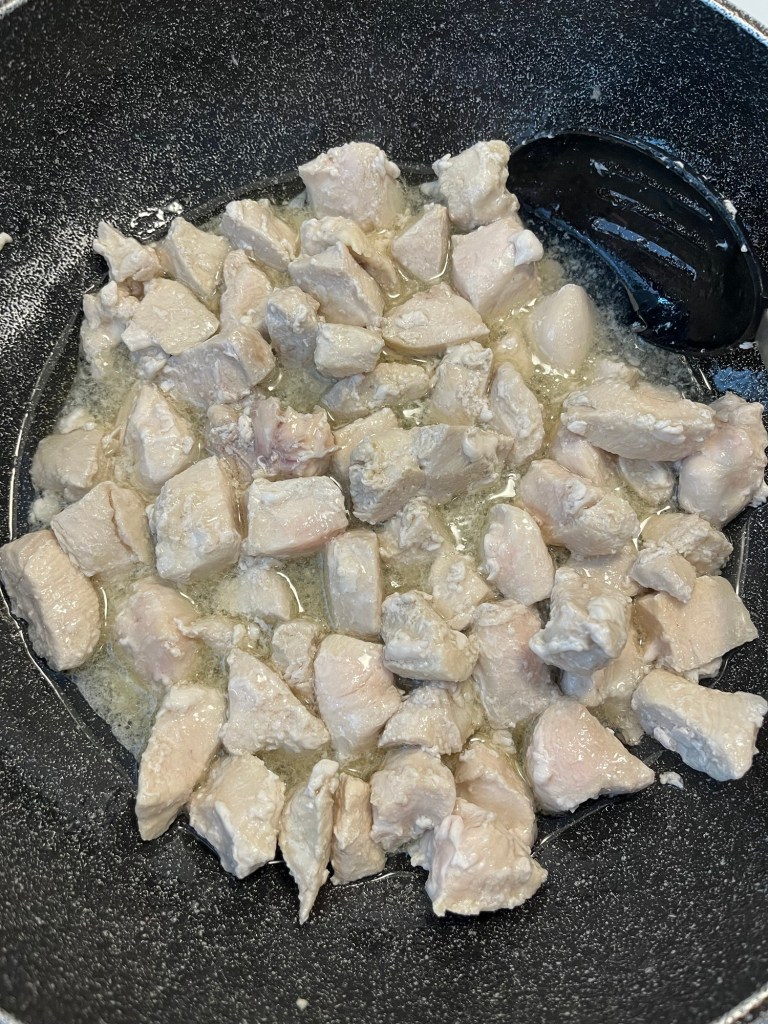
- 4 chicken breasts, cubed and browned
- 3 medium stalks broccoli, broken into florets (you could also sub in cauliflower, or frozen broccoli/cauliflower)
- 1 small yellow onion, diced
- 1 can cream of mushroom soup, 10oz / 284ml (cream of chicken or celery is also nice)
- 1/2 cup sour cream
- 1 teaspoon curry powder
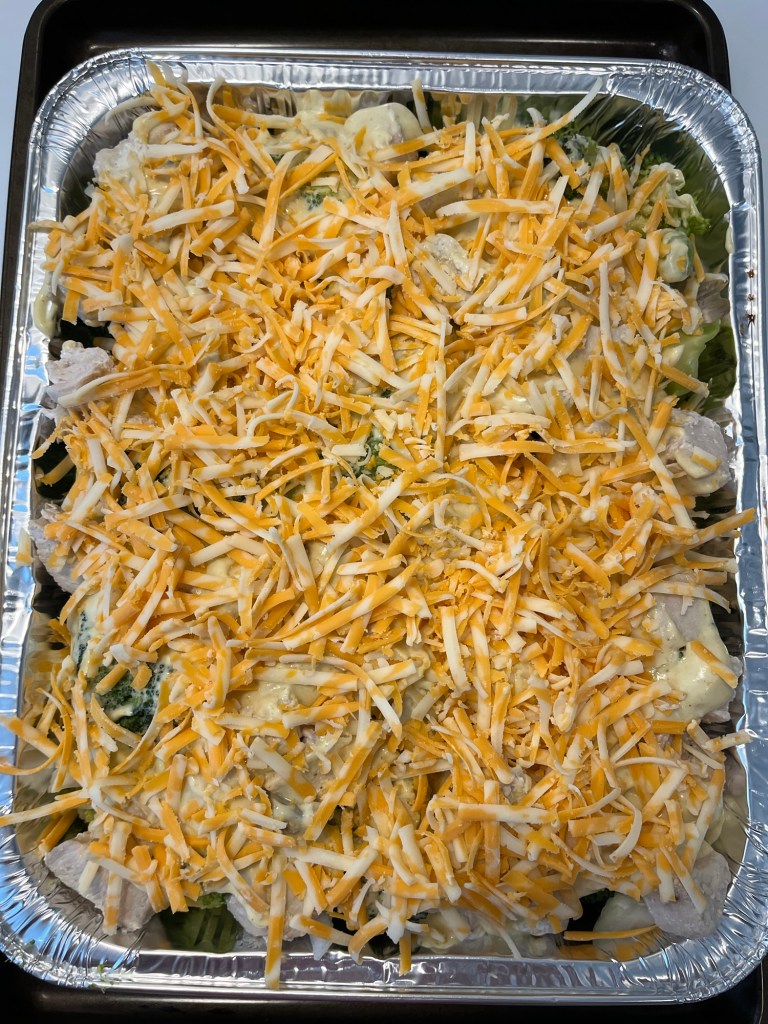
- 1 cup grated cheese (I like cheddar with this recipe)
- 2 Tablespoons butter
- Paprika, sprinkled
Directions:
1. Preheat oven to 375 ℉
2. Cut and brown the chicken in a little oil or butter, then set aside.
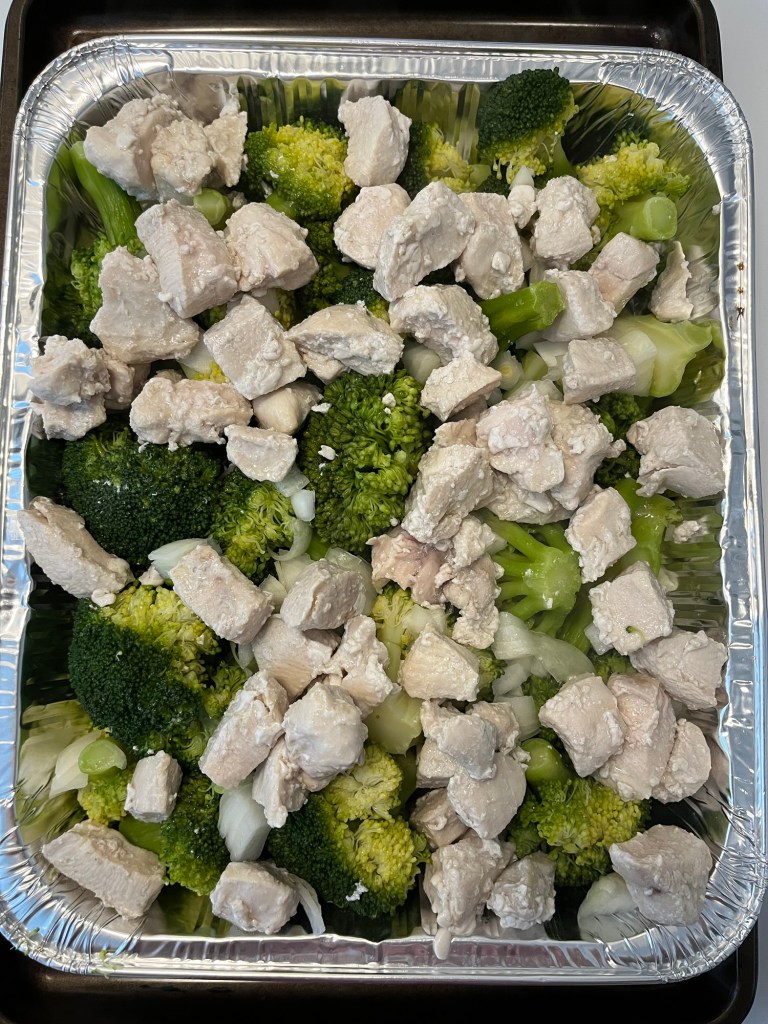
3. Cut the broccoli into small florets and steam or boil until mostly cooked through (skip this step if using frozen broccoli as it has already been par-boiled).
4. Put the broccoli and cooked chicken into a greased 9″ x 13″ pan or casserole dish.
5. Dice up the onion and sprinkle on top.
6. In a small bowl, blend together the creamed soup (undiluted!), sour cream and curry powder.
7. Pour and spread as a next layer in the dish.


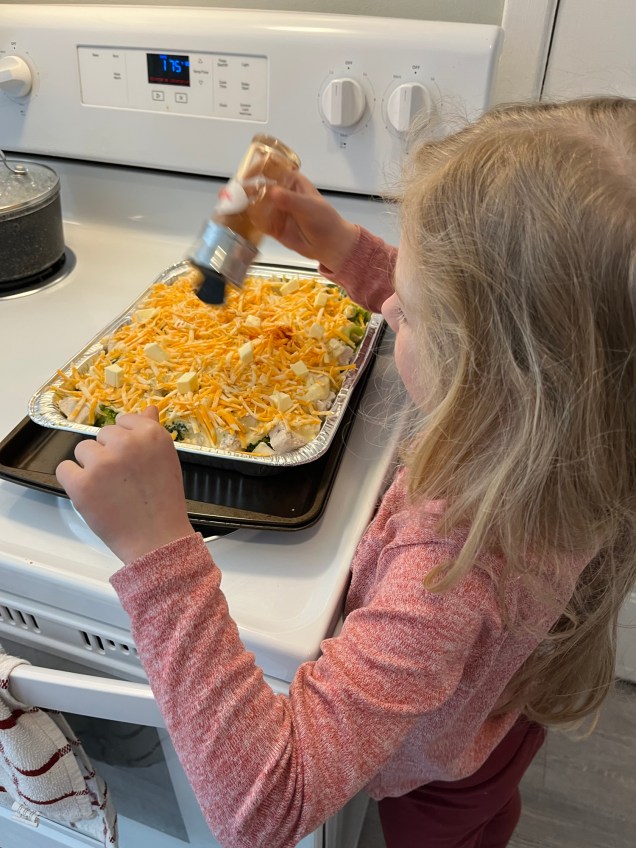
8. Grate cheese and spread over top.
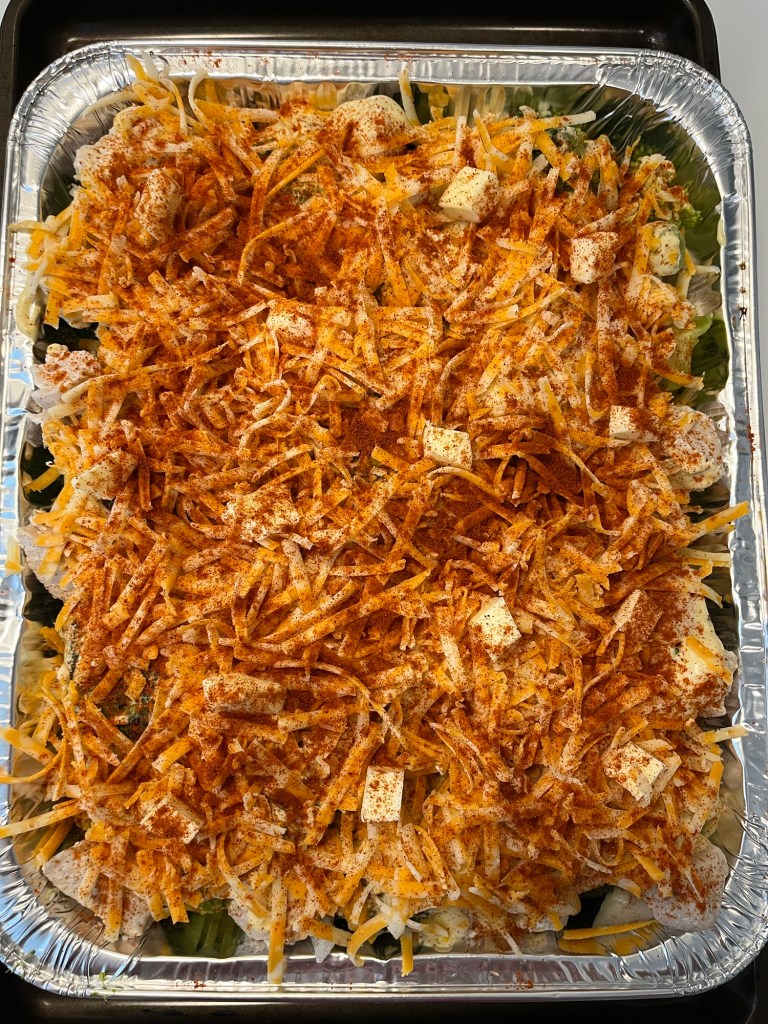
9. Cut butter into small bits and dot over the cheese.
10. Sprinkle the top with paprika.
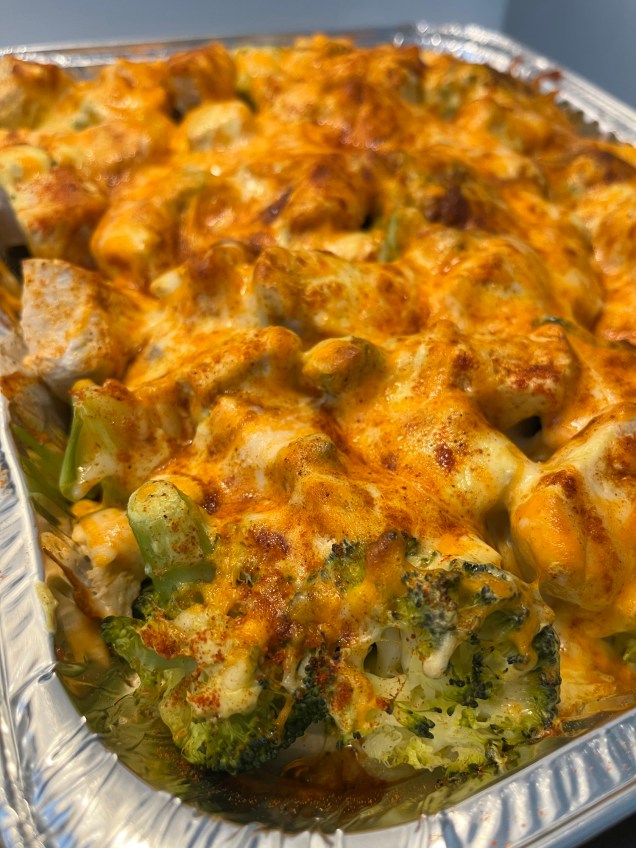
11. Bake at 375 ℉ for 20-25 minutes or until browned on top.
12. Let sit for 5 minutes and serve warm over rice.
13. Makes 6-8 servings.
Saving the Leftovers?
- Store leftovers in a sealed container in the fridge and eat up within 3 days.
- For the freezer: put in a sealed container, label, and best to use up within 3 months. To thaw, put in fridge overnight and then reheat in microwave/oven.
Make it a Bake-From-Frozen Freezer Meal!
- Follow the directions above, and use an aluminum freezer safe dish to layer the chicken divan in.
- Tightly wrap the top in aluminum foil and label. If possible, put the wrapped divan in an extra large freezer bag to keep it fresh longer and prevent freezer burn. Alternately, add another layer of aluminum foil, wrapping it completely around and tightly pressing it down. Label!
- To bake: preheat oven to 400 ℉, and remove all wrappings except 1 layer of aluminum foil on the top.
- Bake for 45 minutes, then remove the last layer of aluminum foil and bake for another 10-15 minutes or until fully heated through.
- Let sit for 5 minutes then serve warm with rice.
Made this Recipe?
I’d LOVE to see your results!! Feel free to post to your social media account and tag Northbird using one of the links below or post in the comments!
Other Soups and Entrees to Check Out:


Hi, I’m Jessie!
I’m a Wife and Homeschooling Mom living in a remote town in Northern Ontario, Canada. I love making wholesome meals for my family from scratch, homeschooling our girls and learning more about natural living.
Read more about my story HERE.

Subscribe to Northbird’s email list to get weekly posts on: tasty recipes, activity ideas for kids, natural living tips, and some genuine mom thoughts and encouragement!
Recent posts from Northbird:


Easy Broccoli Chicken Divan Casserole
Full of excellent nutrition, this tasty dish is a great no-stress meal to serve hot with some rice!
Jessica Burman via Juanita Lambert, 2025 © The Northbird Blog. https://www.thenorthbirdblog.com
Supplies Needed:
Ingredients
Directions:
- Preheat oven to 375 ℉
- Cut and brown the chicken in a little oil or butter, then set aside.
- Cut the broccoli into small florets and steam or boil until mostly cooked through (skip this step if using frozen broccoli as it has already been par-boiled).
- Put the broccoli and cooked chicken into a greased 9″ x 13″ pan or casserole dish.
- Dice up the onion and sprinkle on top.
- In a small bowl, blend together the creamed soup (undiluted!), sour cream and curry powder.
- Pour and spread as a next layer in the dish.
- Grate cheese and spread over top.
- Cut butter into small bits and dot over the cheese.
- Sprinkle the top with paprika.
- Bake at 375 ℉ for 20-25 minutes or until browned on top.
- Let sit for 5 minutes and serve warm over rice.
- Makes 6-8 servings.
Additional Notes: Leftovers
- Store leftovers in a sealed container in the fridge and eat up within 3 days.
- For the freezer: put in a sealed container, label, and best to use up within 3 months. To thaw, put in fridge overnight and then reheat in microwave/oven.
Additional Notes: Make a Freezer Meal
- Follow the directions above, and use an aluminum freezer safe dish to layer the chicken divan in.
- Tightly wrap the top in aluminum foil and label. If possible, put the wrapped divan in an extra large freezer bag to keep it fresh longer and prevent freezer burn. Alternately, add another layer of aluminum foil, wrapping it completely around and tightly pressing it down. Label!
- To bake: preheat oven to 400 ℉, and remove all wrappings except 1 layer of aluminum foil on the top.
- Bake for 45 minutes, then remove the last layer of aluminum foil and bake for another 10-15 minutes or until fully heated through.
- Let sit for 5 minutes then serve warm with rice.
Nutrition
Per serving: 411 calories; 32 g fat; 13.2 g carbohydrates;
21.2 g protein.

This post contains affiliate links. As an Amazon associate, I earn from qualifying purchases. This means that I make a small commission at no extra cost to you. You can read my full disclosure HERE.