Find Northbird on social media:
This post contains affiliate links. As an Amazon associate, I earn from qualifying purchases. This means that I make a small commission at no extra cost to you. You can read my full disclosure HERE.
Jump to Printable Activity Card
Return to “Homeschooling Activities & Resources”

“Birding” as a Homeschooler…
With spring right around the corner, we are looking forward to many things, and one of those is more birds coming to visit!
Many of our winter days have had temperatures around -30 to -40 degrees celcius, which means less feathery visitors to our bird feeders during those chilly days.
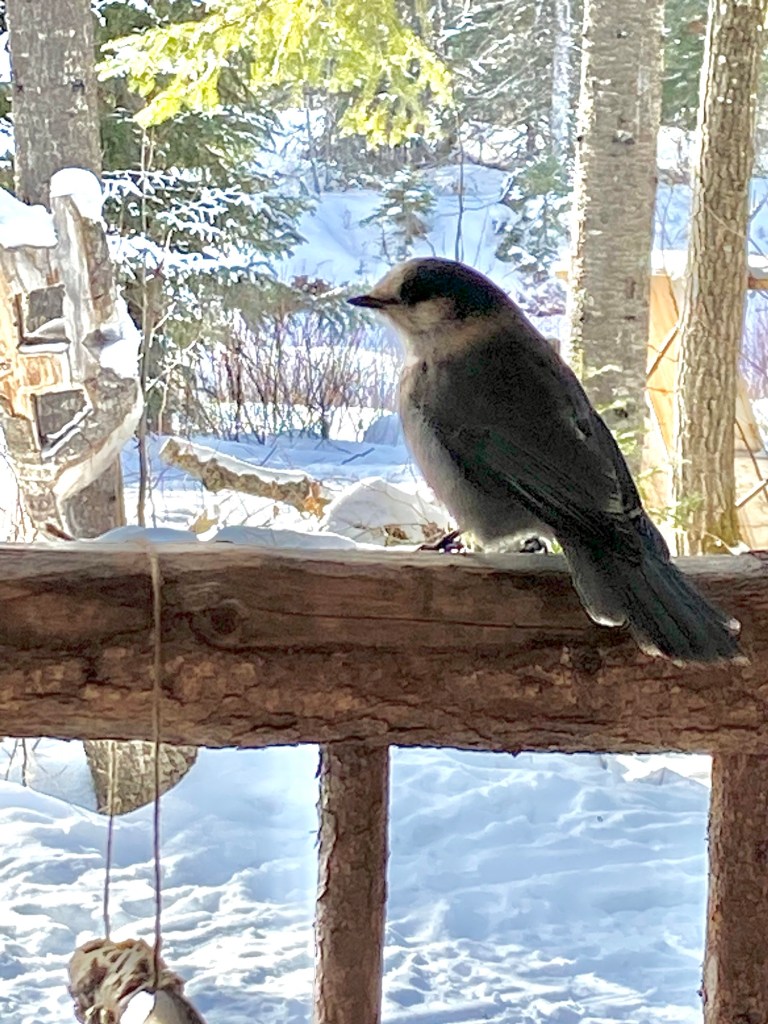
However, through the winter we have still had a steady visiting flow of black-cap chickadees, whisky jacks, pileated woodpeckers, crows, and the occasional sparrow.
Our kids love watching birds from our front window, and one of our favourite types of bird feeders is a clear plastic one (The Window Cafe, similar to THIS ONE) that suctions right onto the window glass! It lasted on our window for several months until we had several super cold days in a row, fell off and wouldn’t suction anymore…Oh well, we’ll try again when it’s warmer!

When I was younger and also homeschooled, my mother kept several nature books in the sunroom (probably still does), and whenever an interesting bird, insect, or animal was spotted, out came the identification books to discover the name and nature of what we had found/observed.
Of course, special mention must also go to my godfather “Ernie”, who was like a living, walking encyclopedia of knowledge. He was a retired science teacher and loved spending time with my siblings and I to teach and discover many things about the natural world around us. We didn’t even need to grab for our bird identification book if we were out on nature walks with him, we could just ask him! (Of course sometimes we got more information than we needed, such as the latin names and classification of species.)
I’m sure Ernie will be mentioned on this blog more than once, as he was a very dear and memorable character, and had much knowledge and enthusiasm to offer young learners.
About this Craft:
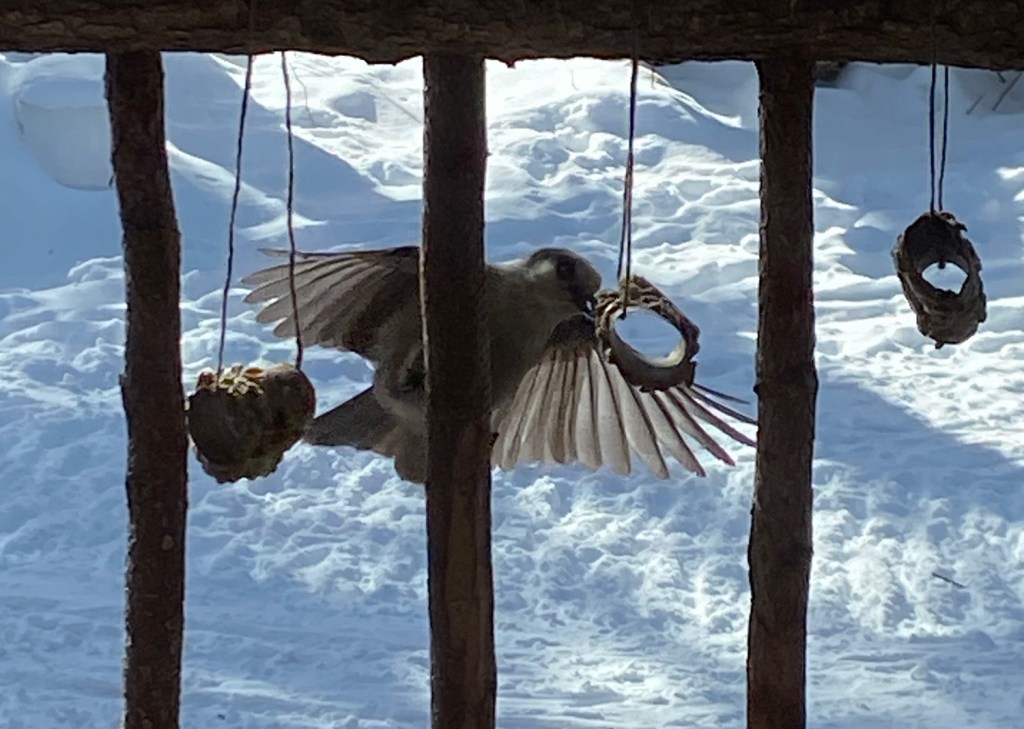
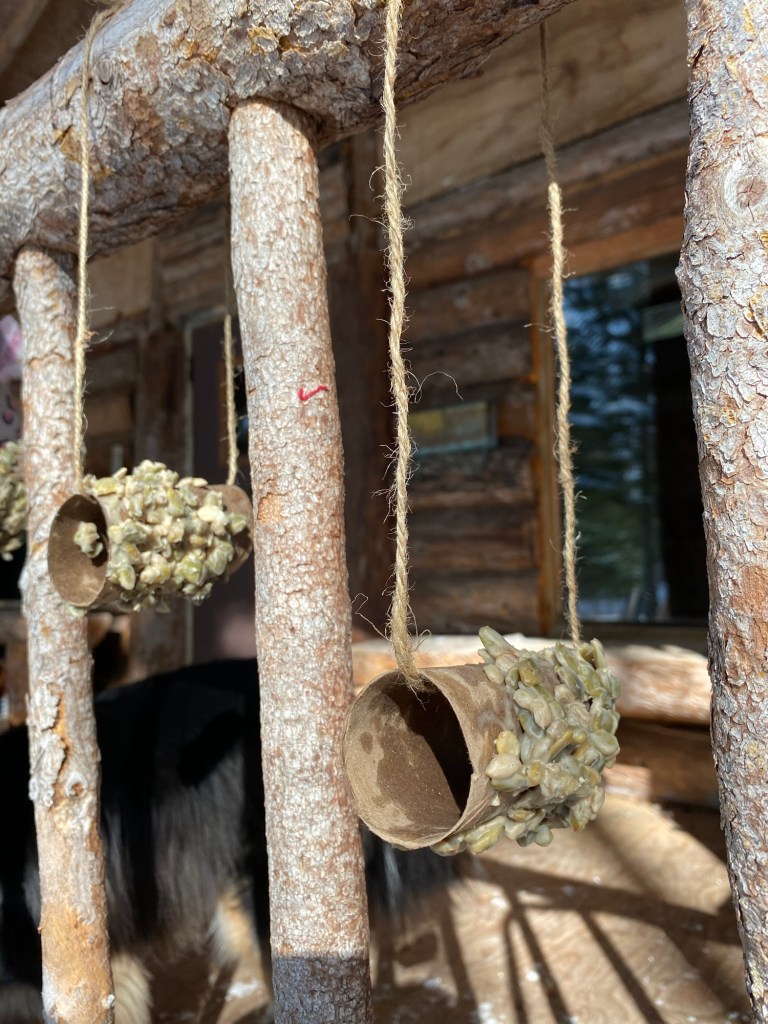
On a recent family holiday weekend to a bush cabin, the kids and I developed this easy bird feeder idea, using leftover bacon grease and some sunflower and pumpkin seeds that I took from our trail mix. We spread the mixture onto a toilet paper finished roll, let it harden/freeze, then tied it to the porch railing. We had a lot of fun over the next few hours watching the whisky jack birds fight over our homemade bird feeders.

A smart squirrel also noticed the tasty hanging treat and helped himself a few times. Eventually he figured out how to chew through the string and took off into the bush dragging the paper roll with him!

There are many ways to make this simple bird feeder, based on what you may have available in your pantry. As I mentioned above, when we made it a few weeks ago we didn’t have any bird seed, just a few seeds in our trail mix that I sifted out. It would definitely be easier with smaller bird-feeder seeds!
Have fun making this and don’t forget to watch and record what types of birds come to visit!
Here’s a short video of making this easy bird feeder (and a few shots of the feathery/furry visitors that came to eat!)
How to Make a Simple Bird Feeder
Supplies Needed:
- Leftover bacon grease (You can also use peanut butter, lard, or butter)
- Bird seed
- String
- Scissors
- Inside cardboard roll from toilet paper or paper towel rolls
Directions:
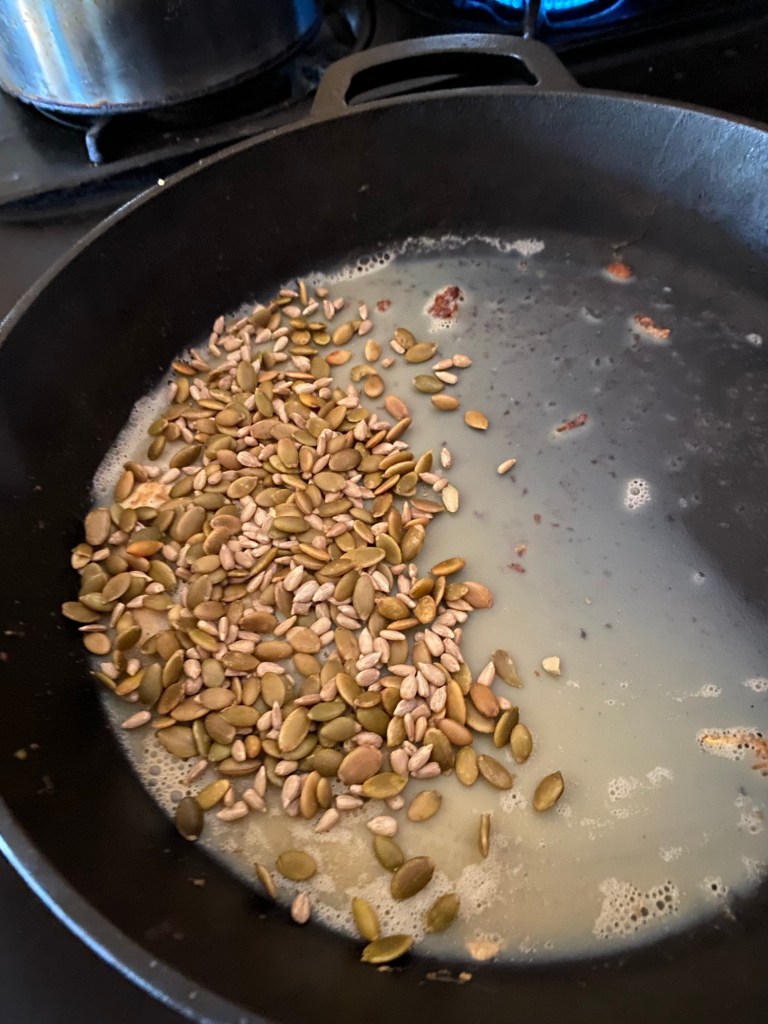
1. Pour seeds into pan of bacon grease and stir well. Let bacon grease cool in pan.

2. Using a spoon, spread mixture onto paper roll. (Or, if your seeds are small enough, first spread grease/peanut butter onto paper roll and then dip/roll in a bowl of the bird seed.)
3. Let harden on a plate if needed (we stuck ours outside in the BBQ overnight to fully harden without animals eating it!)


4. Cut string to desired length (we used about 3 feet length), and thread through roll.
5. Tie string ends to make a loop and hang near a window so you can watch the animal activity!

More Homeschooling Crafts & Activities to Check Out:


Hi, I’m Jessie!
I’m a Wife and Homeschooling Mom living in a remote town in Northern Ontario, Canada. I love making wholesome meals for my family from scratch, homeschooling our girls and learning more about natural living.
Read more about my story HERE.

Subscribe to Northbird’s email list to get weekly posts on: tasty recipes, activity ideas for kids, natural living tips, and some genuine mom thoughts and encouragement!
Recent posts from Northbird:


How to Make a Simple Bird Feeder
Looking for an easy craft for a homeschooling bird inquiry? Save that leftover bacon grease and toilet paper rolls to make your own hanging bird feeders!
You can also use peanut butter, other nut butters, lard, or butter to replace the bacon grease.
Supplies Needed:
Directions:
- Pour seeds into pan of bacon grease and stir well. Let bacon grease cool in pan.
- Using a spoon, spread mixture onto paper roll. (Or, if your seeds are small enough, first spread grease/peanut butter onto paper roll and then dip/roll in a bowl of the bird seed.)
- Let harden on a plate if needed (we stuck ours outside in the BBQ overnight to fully harden without animals eating it!)
- Cut string to desired length (we used about 3 feet length), and thread through roll.
- Tie string ends to make a loop and hang near a window so you can watch the animal activity!