Find Northbird on social media:
This post contains affiliate links. As an Amazon associate, I earn from qualifying purchases. This means that I make a small commission at no extra cost to you. You can read my full disclosure HERE.

This is one of my favourite recipes and preserving hacks to deal with your garden tomatoes in a simple and stress-free way using a crockpot!
While there are many recipes found online that make absolutely delicious tomato sauce (I’ve tried so many!), this simple recipe is what I’ve been doing for the last few times we’ve had tomatoes to harvest.
For me, the preference boils down to time. During harvest season, I’ve had less and less time and energy to preserve the veggies that we have managed to grow, or that I’ve bought in bulk from the grocery store.
As a young mother, I also find it extremely hard just in general to have the time needed to devote to the whole process of canning. Something that used to take me an hour or two now takes sometimes half a day to finish because of all the little ones that always need something. I’m sure many moms can relate to this!
So using a crockpot to the cook the tomatoes slowly overnight is a very convenient solution for those of us that struggle with busy lives!
Here are a few important things to note about making this recipe:
- This recipe has no set measurements for the sauce and herbs as it purely comes down to taste preference, how many tomatoes you harvest, and how big your crockpot is.
- The only measurement that is important (in my opinion) is adding specific amounts of lemon juice or citric acid to the different jar sizes.
- The timing of the water bath canning stage will depend on your current altitude over sea level. This is important because water boils at different heights, so length of time needed to preserve effectively differs based on geographical altitude. If you don’t know what your altitude is, this can easily be found by a google search.
| Jar Size | Lemon Juice | (or) Citric Acid |
| 500ml (approximately a pint) | 1 Tablespoon | 1/4 teaspoon |
| 1 Litre (approximately a quart) | 2 Tablespoons | 1/2 teaspoon |
Water Bath Canner: Altitude Adjustments
| Altitude in Feet: | Altitude in Meters: | Increase Processing Time |
| 1,001-3,000 | 306-915 | 5 minutes |
| 3,001-6,000 | 916-1,830 | 10 minutes |
| 6,001-8,000 | 1,831-2,440 | 15 minutes |
| 8,001-10,000 | 2,441-3,050 | 20 minutes |
Avoid using aluminum pots or utensils:
It is best to avoid using aluminum pots or utensils because the acid in the tomato reacts with the aluminum and causes the tomatoes to taste more bitter and the beautiful red colour to go more brown.
Some folks have also noted that their aluminum cookware will also become discoloured from the acidity of the tomatoes. So best to use stainless steel or other if possible!
How to Make Easy Crockpot Tomato Sauce
Supplies Needed:
- Crockpot
- Paring knife
- Cutting Board
- Whisk
- Large bowls
- Immersion Blender or High powered blender
- 1 Litre Canning jars, lids and bands
- Water bath canner
- Canning tongs
- Small pot
- Paper towel
- Cookie sheet and tea towel
- Non-metallic utensil
Ingredients:
- Tomatoes
- Salt
- Lemon Juice or Citric Acid
- Dried herbs (Italian blend/Parsley/Basil/Oregano)
- Garlic Powder
- Onion Powder
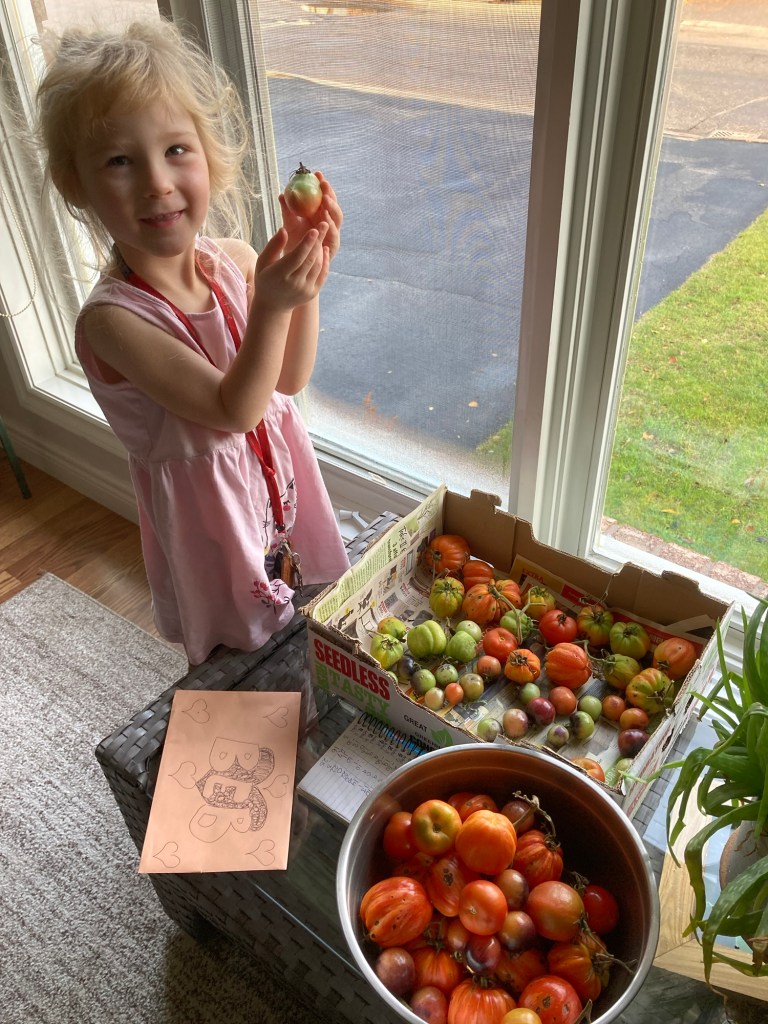
Stage 1 Directions: Harvesting & Cooking the Tomatoes
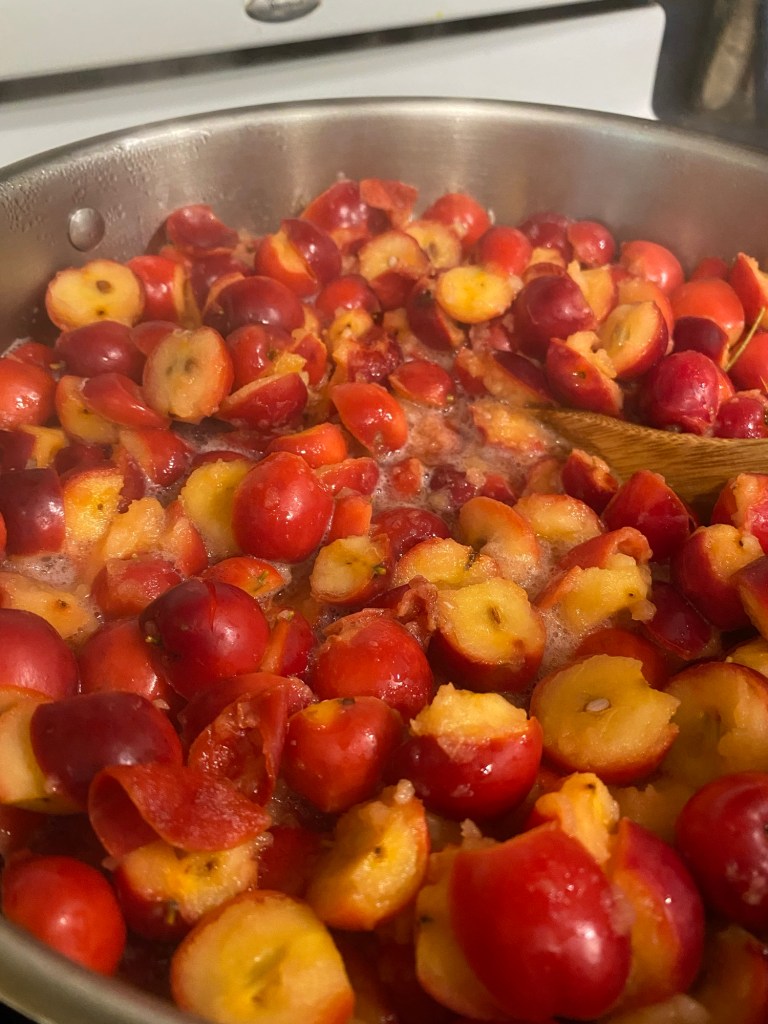
1. Wash tomatoes and cut into quarters, removing the stem end and cutting out any bad bits.
2. Put tomato pieces into crockpot and cover.
3. Cook on low for 12 hours or overnight until the tomatoes can be easily mushed with a spoon.
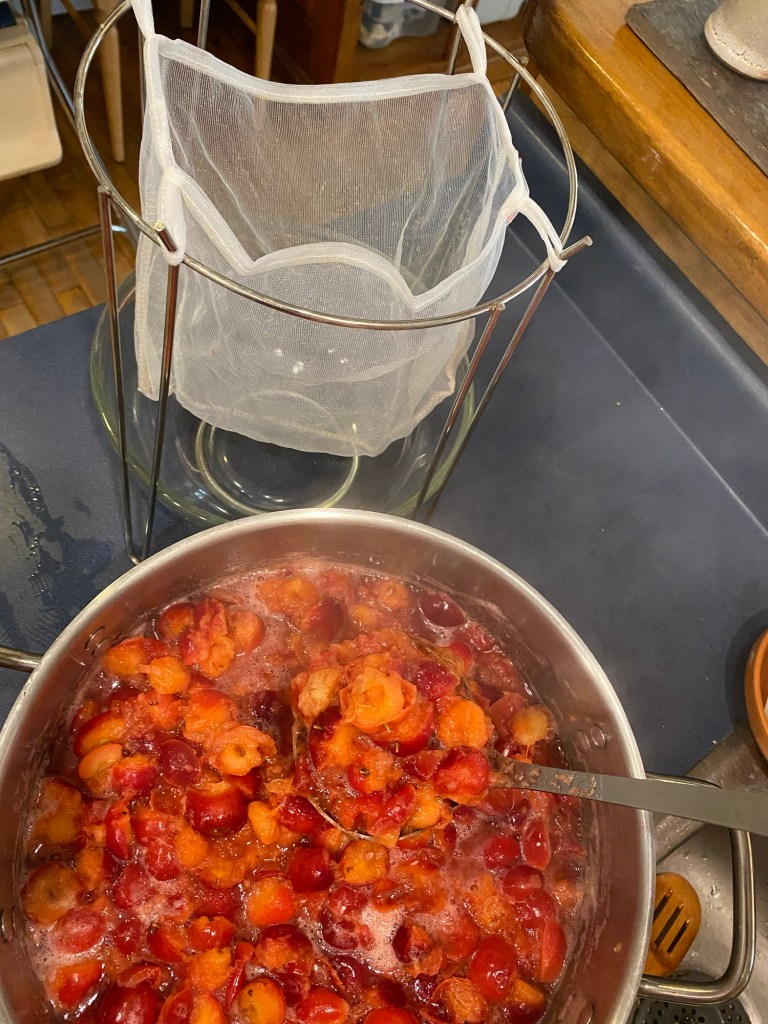
4. Spoon off the excess water that has separated from the cooked tomatoes.
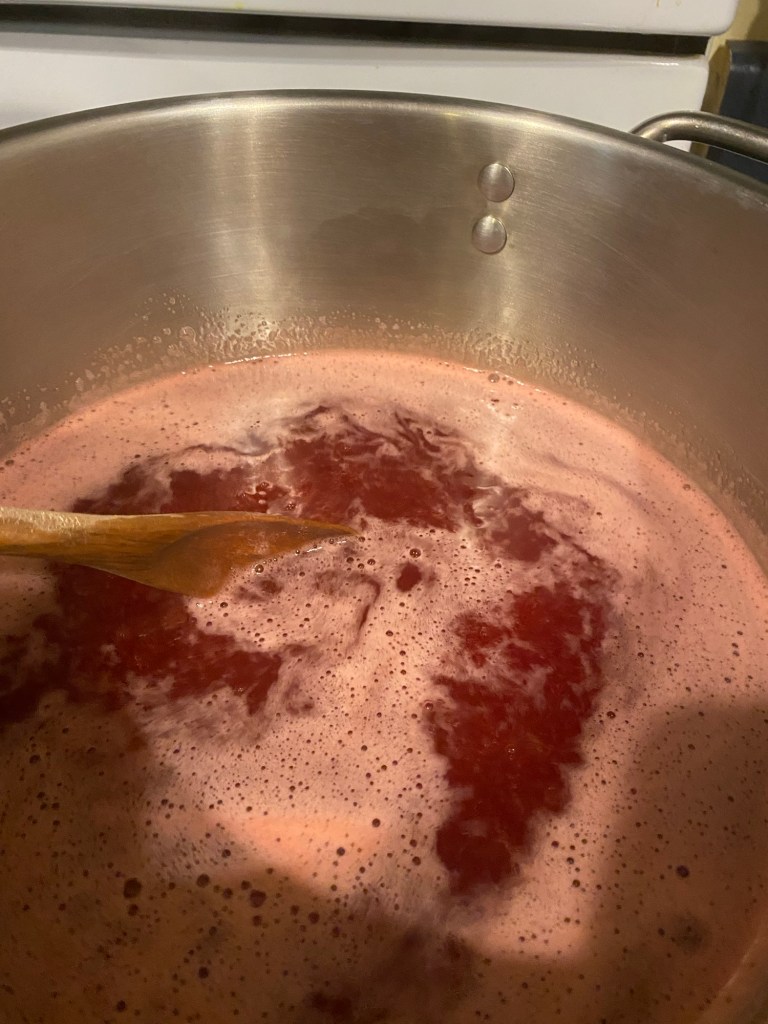
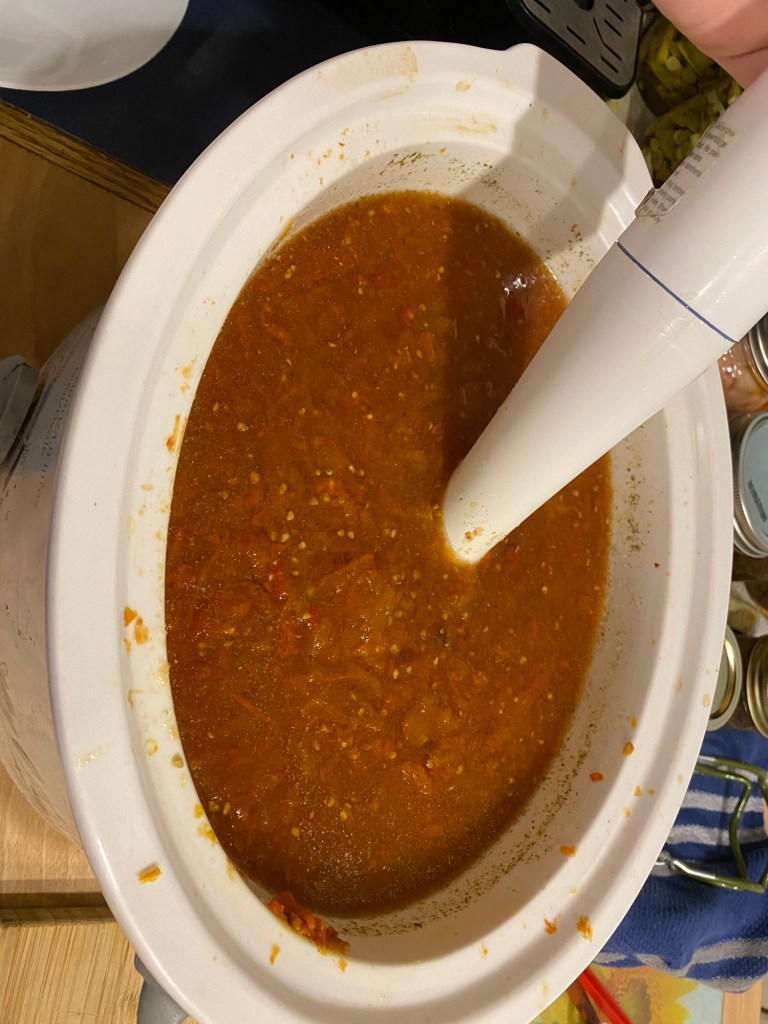
5. Use an immersion blender or put into a high powered blender and blend until smooth.
6. Add in desired amounts of dried herbs and salt (until it tastes right to you!) For a full 6quart crockpot I put a couple of tablespoons of dried basil and parsley, and about 1-2 tablespoons of garlic, onion powder and salt. Mix well.
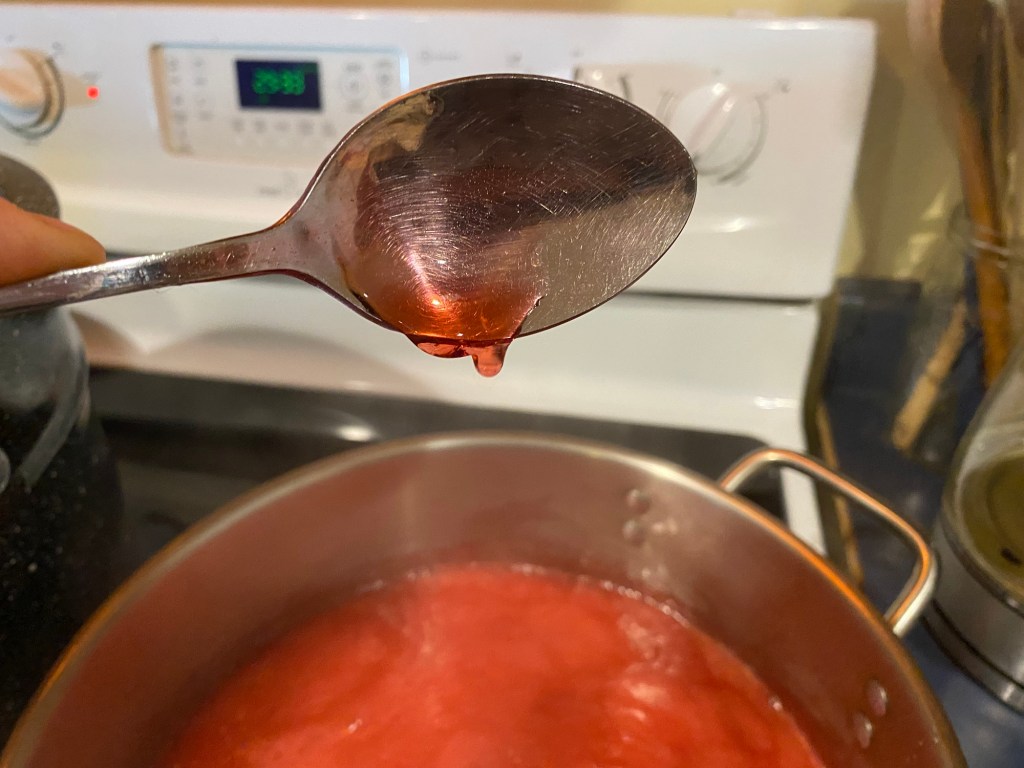
7. Keep in crockpot with temperature on low until ready to can.


Stage 2 Directions: Water Bath
1. Before you start: Begin by prepping and setting up for the canning process. (There’s nothing worse than being ready to pour into the canning jars and realizing that you are missing something!)
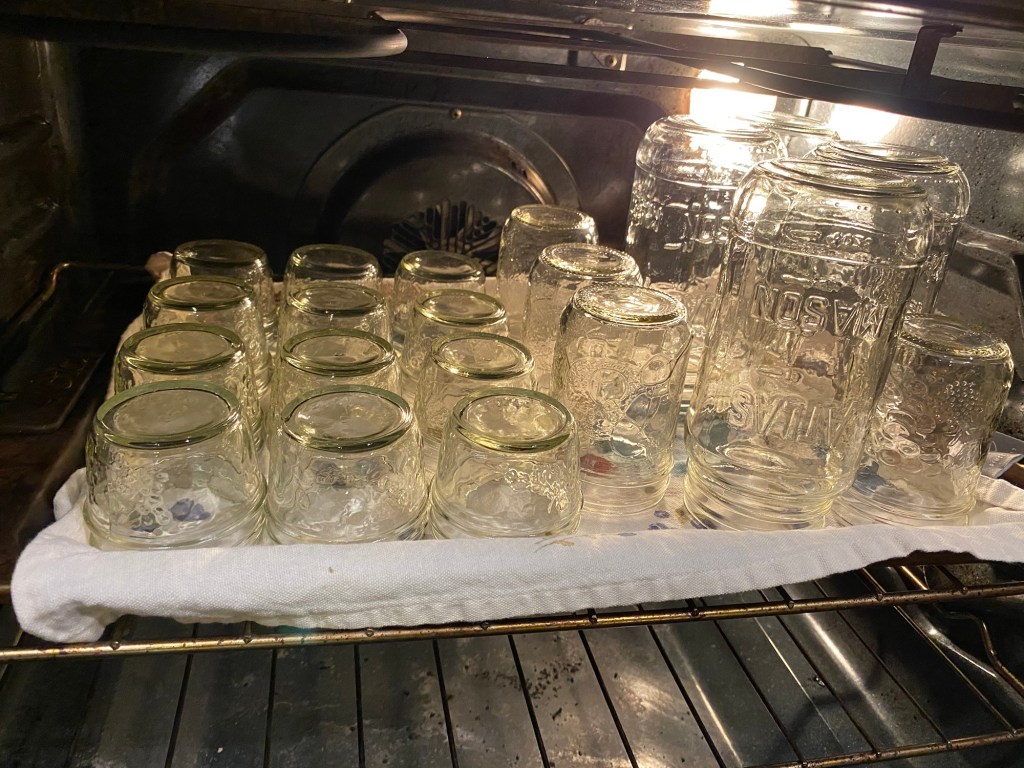
- Clean your glass jars, lids and rings in hot soapy water and rinse thoroughly. Place jars upside down on a clean tea-towel covered baking sheet. Place in the oven, preheat oven to 180 degrees fahrenheit.
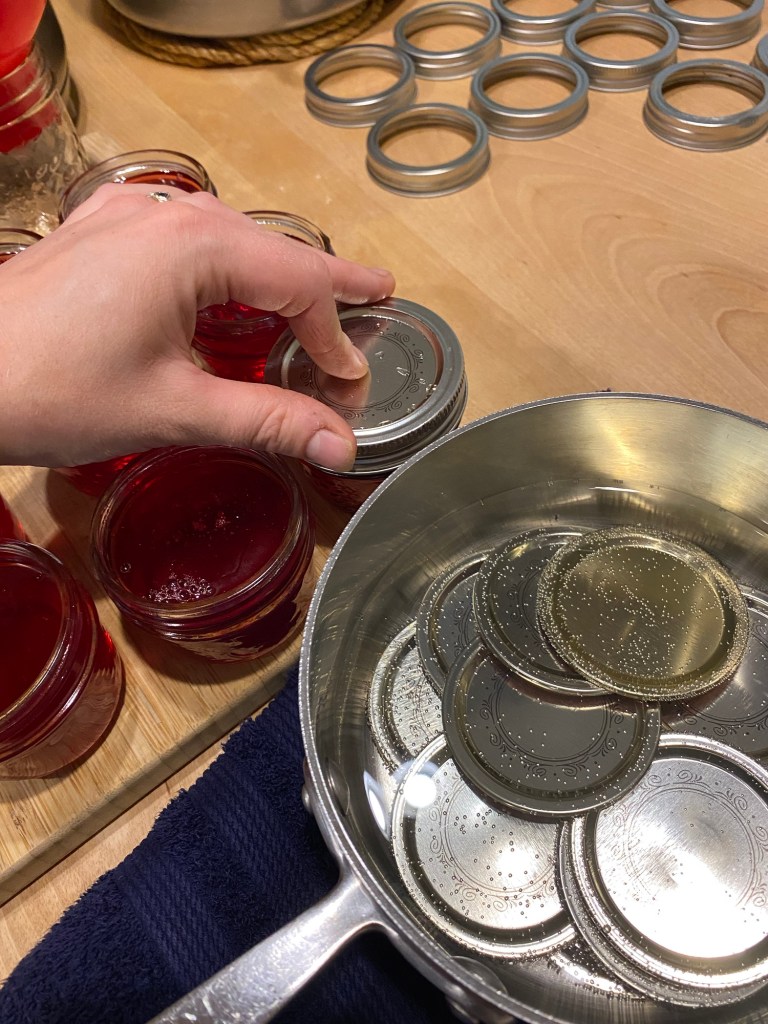
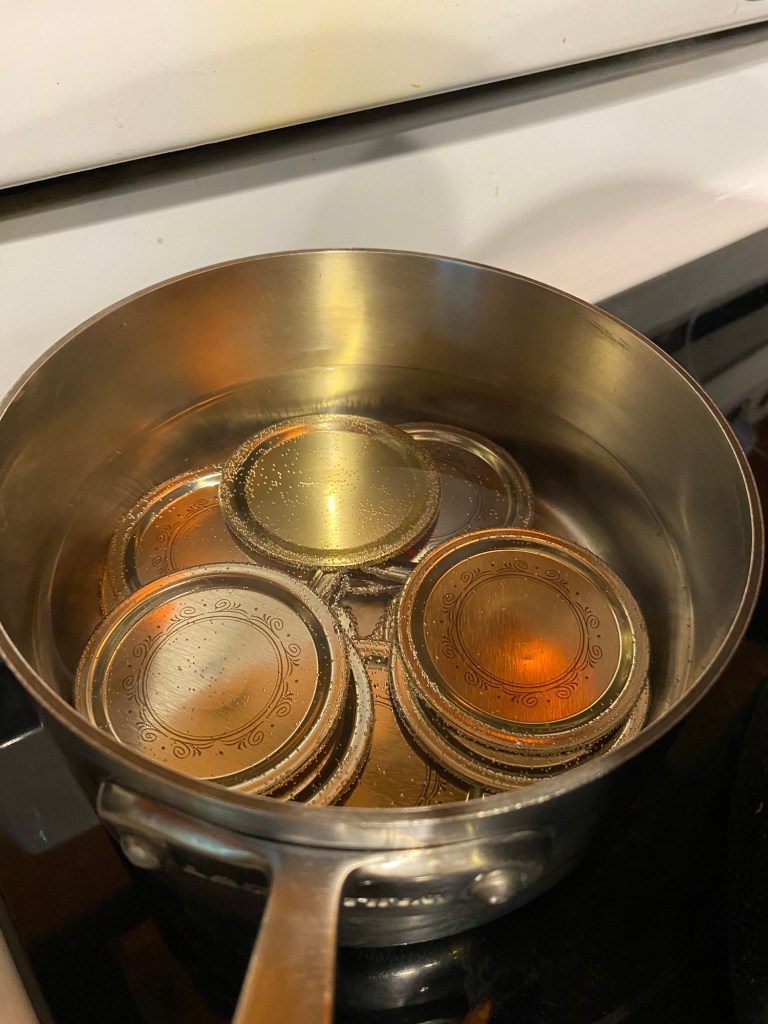
- Place cleaned lids in a small saucepan and put on low/med on the stove.
- Set out: canning tongs, paper towel, ladle spoon, non-metallic utensil, tongs or magnetic lid lifter, and lid rings.
- Fill large water bath canner with cold water and set on stove, cover with lid. Bring to a boil then turn to low to simmer until ready.
- If you don’t know already know this, research your current geographical altitude to see if you will need to modify some timing of this recipe. See the table below for additional timing needed for the water bath canning.
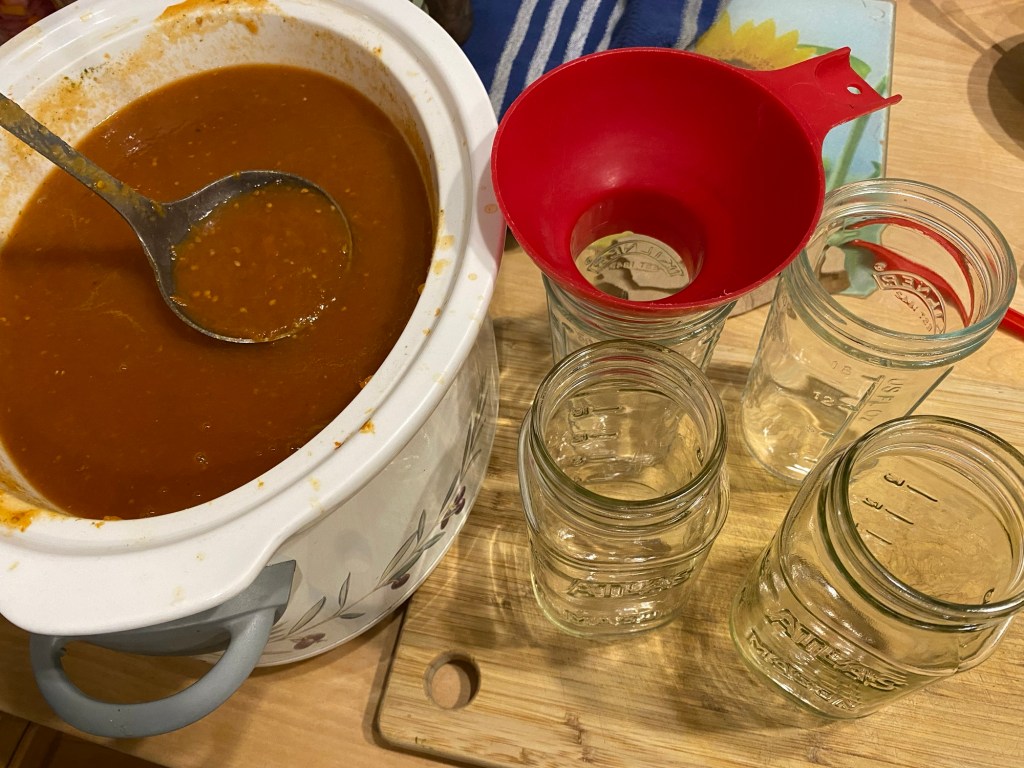
2. With canning tongs, pull out a few jars from the oven and make sure all supplies are ready for the canning stage.
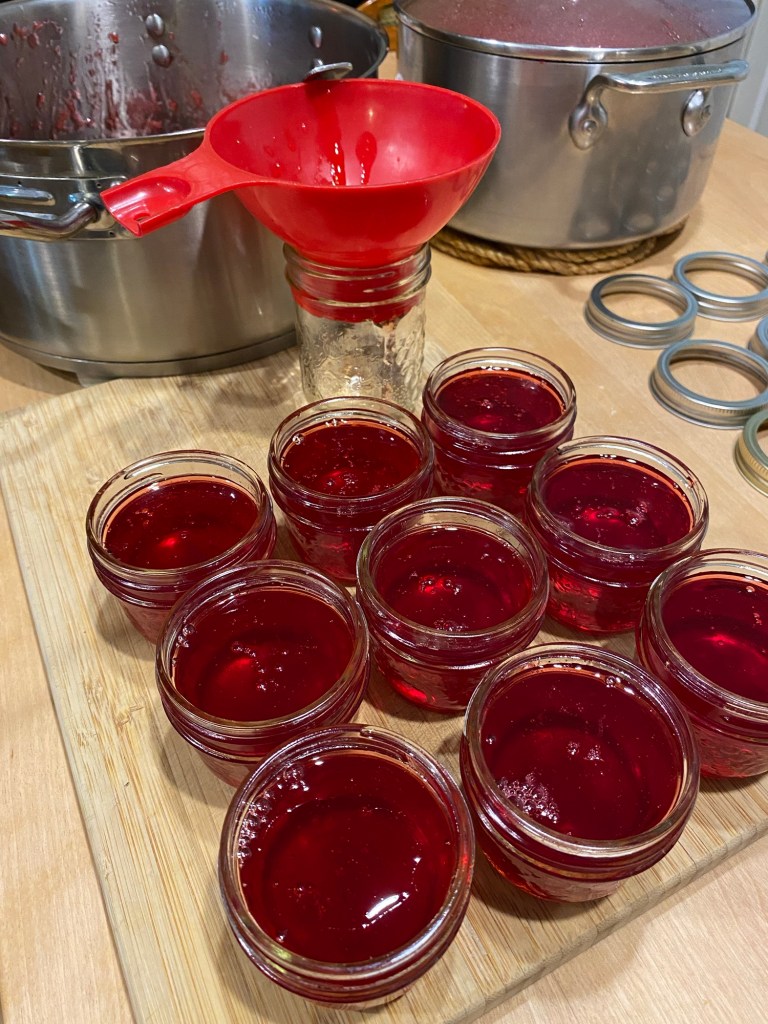
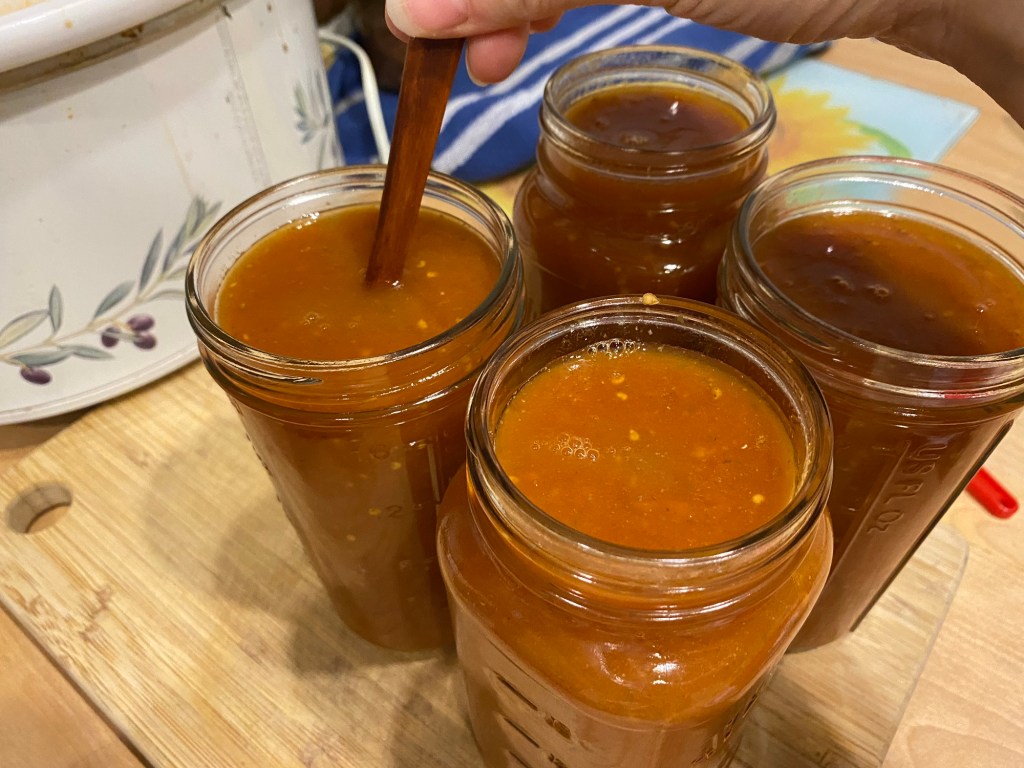
3. Carefully ladle or pour the warm tomato sauce into the jars through the funnel.

4. Put the lemon juice or citric acid into each jar. See table for amount per size of jar.
5. Gently stir each of the filled jars with a non-metallic utensil, removing any bubbles.
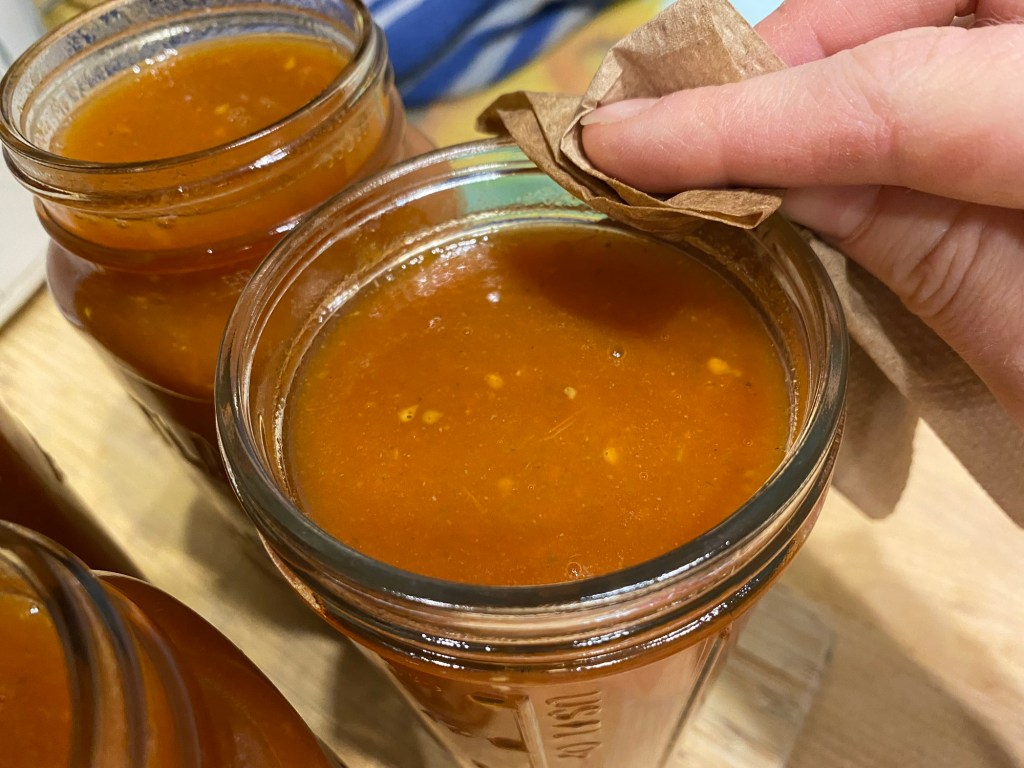
6. Wipe the tops of the filled jars with a clean/wet paper towel.
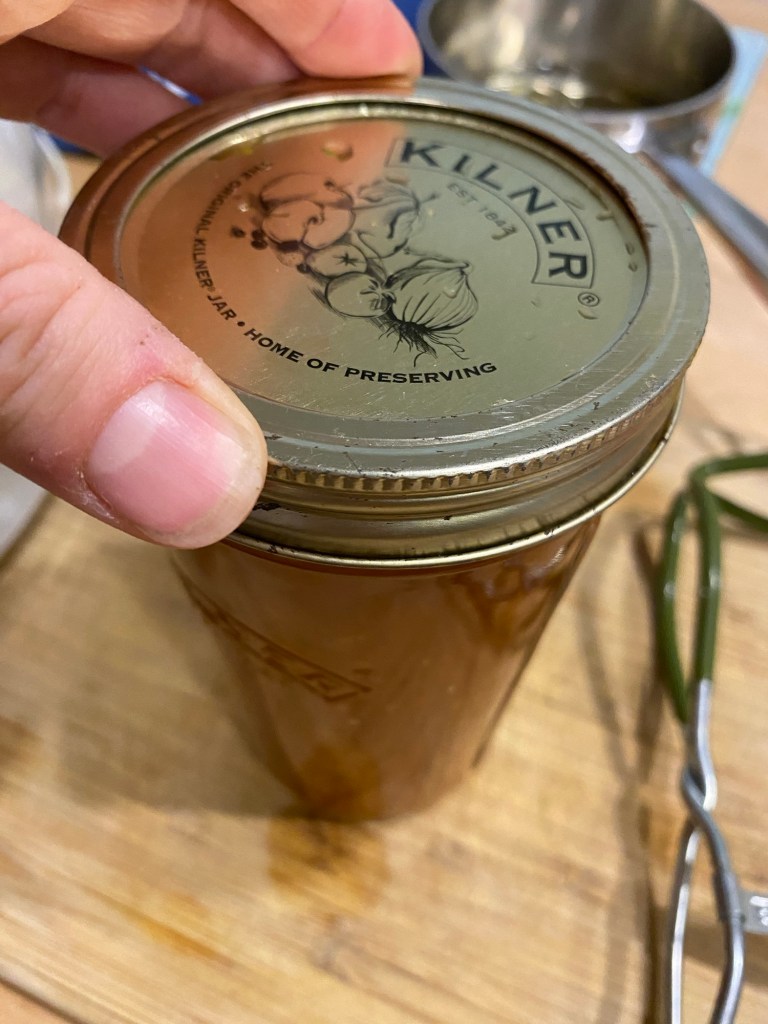
7. Put a warm canning lid on each one, pressing down while you twist on a screw band. Only tight enough to hold in place.
8. With canning tongs, put into water bath canner. When all the jars are filled and inside, return water to a boil.
9. Process jars in the water bath for 10 minutes, at sea level. See note above for altitudes above 1,000 feet.
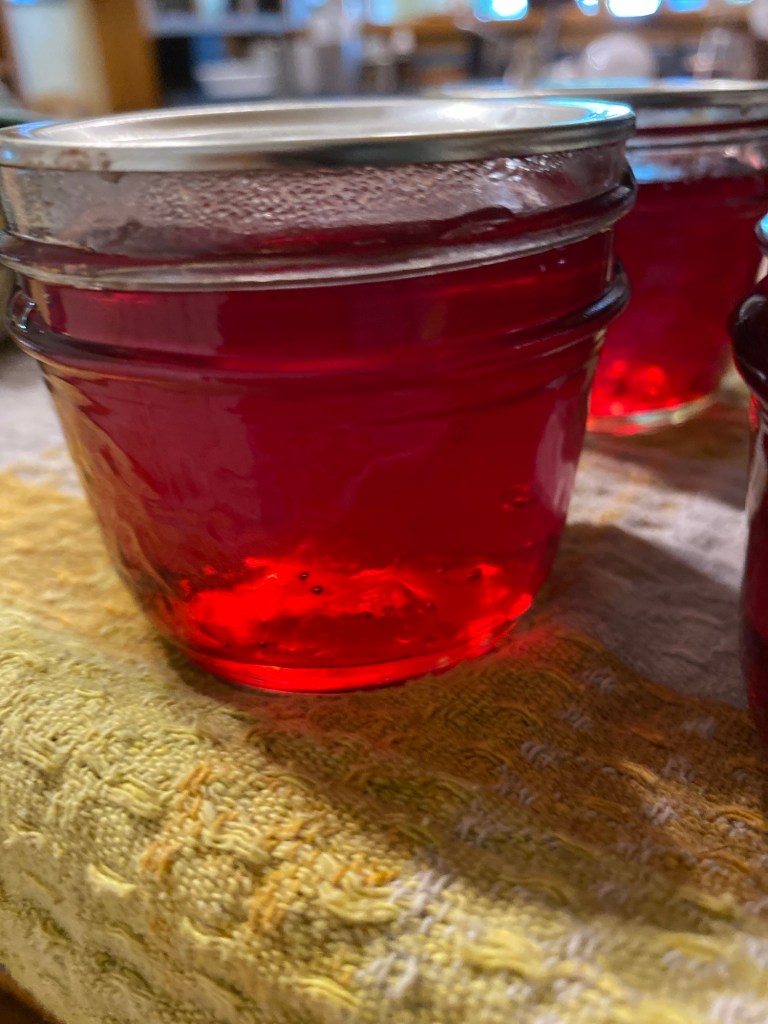
10. Lift jars from canner, being careful not to tilt. Place on towel-covered baking sheet and wait for the jar lids to start to “pop” as they naturally vacuum seal over the next little while.
11. When lids have finished “popping”, without lifting the jars you can gently remove the screw bands and wipe off any excess water.
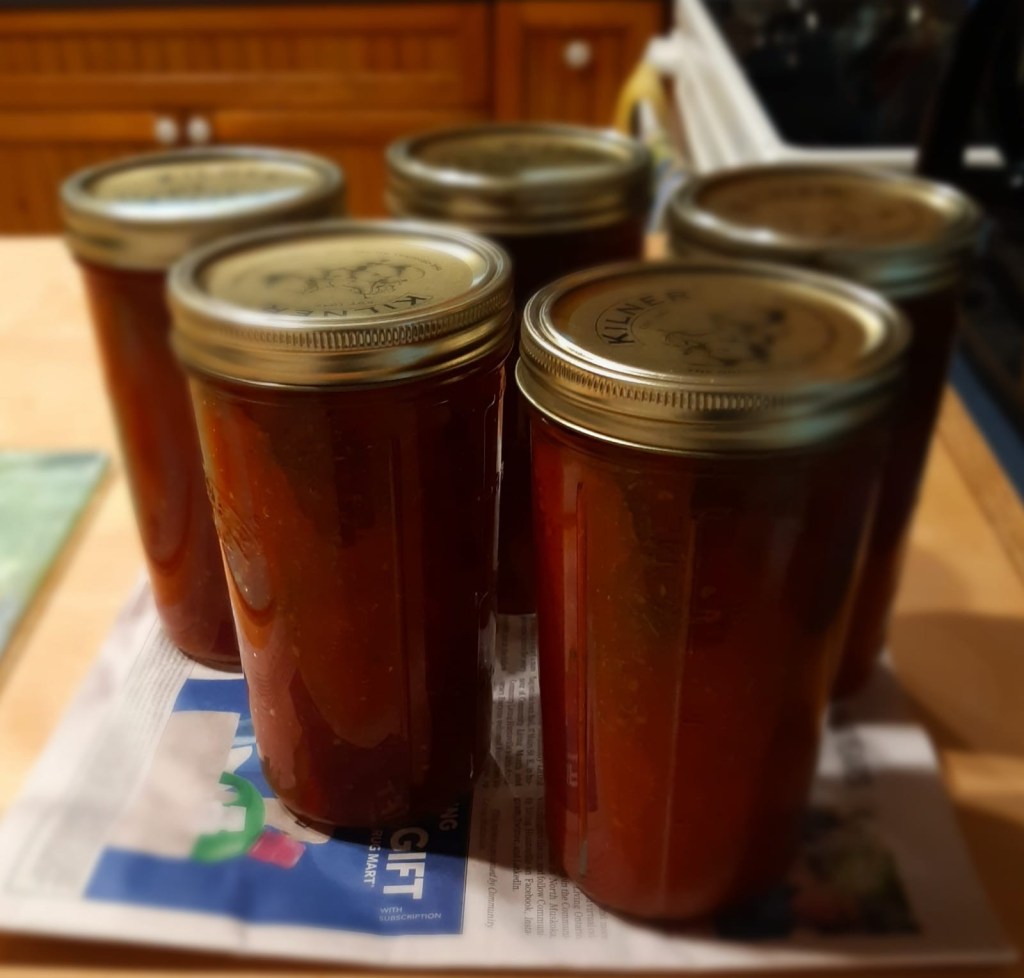
12. Let sit for 24 hours undisturbed so the tomato sauce can finish setting.
13. Store at room temperature for 12-18 months, refrigerate after opening.
More Great Ideas for Your Homemade Pantry!


Hi, I’m Jessie!
I’m a Wife and Homeschooling Mom living in a remote town in Northern Ontario, Canada. I love making wholesome meals for my family from scratch, homeschooling our girls and learning more about natural living.
Read more about my story HERE.

Subscribe to Northbird’s email list to get weekly posts on: tasty recipes, activity ideas for kids, natural living tips, and some genuine mom thoughts and encouragement!
Recent posts from Northbird:


Easy Crockpot Tomato Sauce
An easy and stress-free way to make tomato sauce from scratch in the crockpot!
Supplies Needed:
Ingredients
Stage 1 Directions: Harvesting & Cooking the Tomatoes
- Wash tomatoes and cut into quarters, removing the stem end and cutting out any bad bits.
- Put tomato pieces into crockpot and cover.
- Cook on low for 12 hours or overnight until the tomatoes can be easily mushed with a spoon.
- Spoon off the excess water that has separated from the cooked tomatoes.
- Use an immersion blender or put into a high powered blender and blend until smooth.
- Add in desired amounts of dried herbs and salt (until it tastes right to you!) For a full 6quart crockpot I put a couple of tablespoons of dried basil and parsley, and about 1-2 tablespoons of garlic, onion powder and salt. Mix well.
- Keep in crockpot with temperature on low until ready to can.
Stage 2 Directions: Water Bath
Nutrition
Per 1 cup serving: 0 calories; 0 g fat; 0.1 g carbohydrates;
0 g protein.