
Find Northbird on social media:
This post contains affiliate links. As an Amazon associate, I earn from qualifying purchases. This means that I make a small commission at no extra cost to you. You can read my full disclosure HERE.
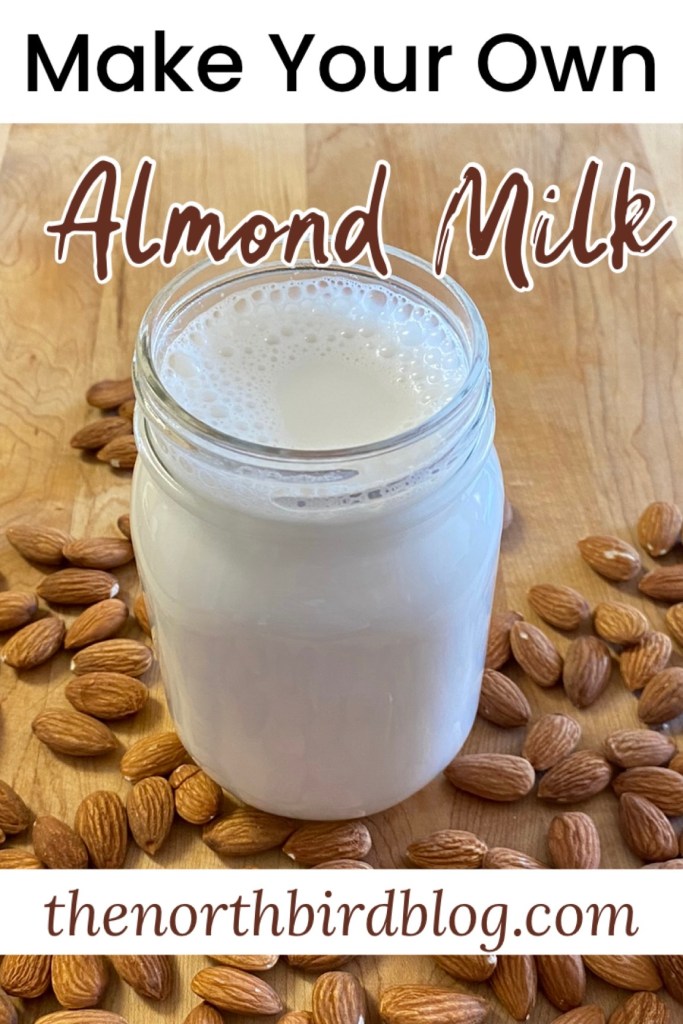
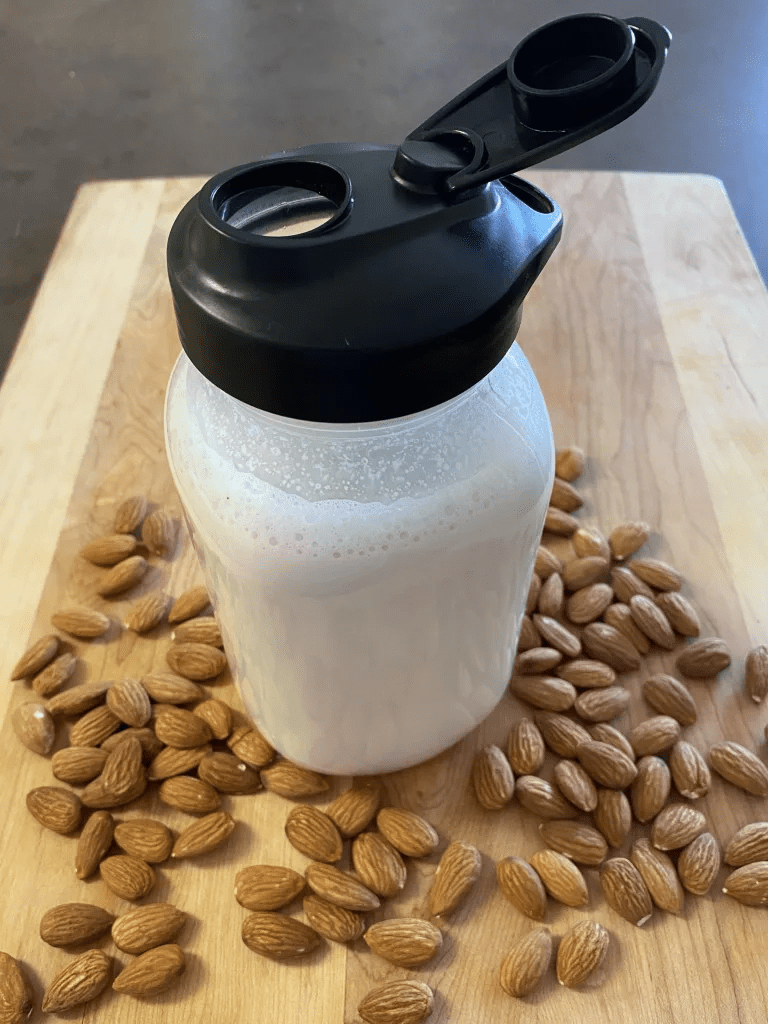
Making Almond Milk From Scratch
We have been making our own almond milk for several years now, and before that we always bought a carton from the store. One day I did the math and realized that not only was the homemade milk healthier and free from tons of preservatives but also cost way less too!
Unless we are away from home or in the middle of packing for a move (which has happened a lot!), we always try to have 1-2 large jars of homemade almond milk on the go.
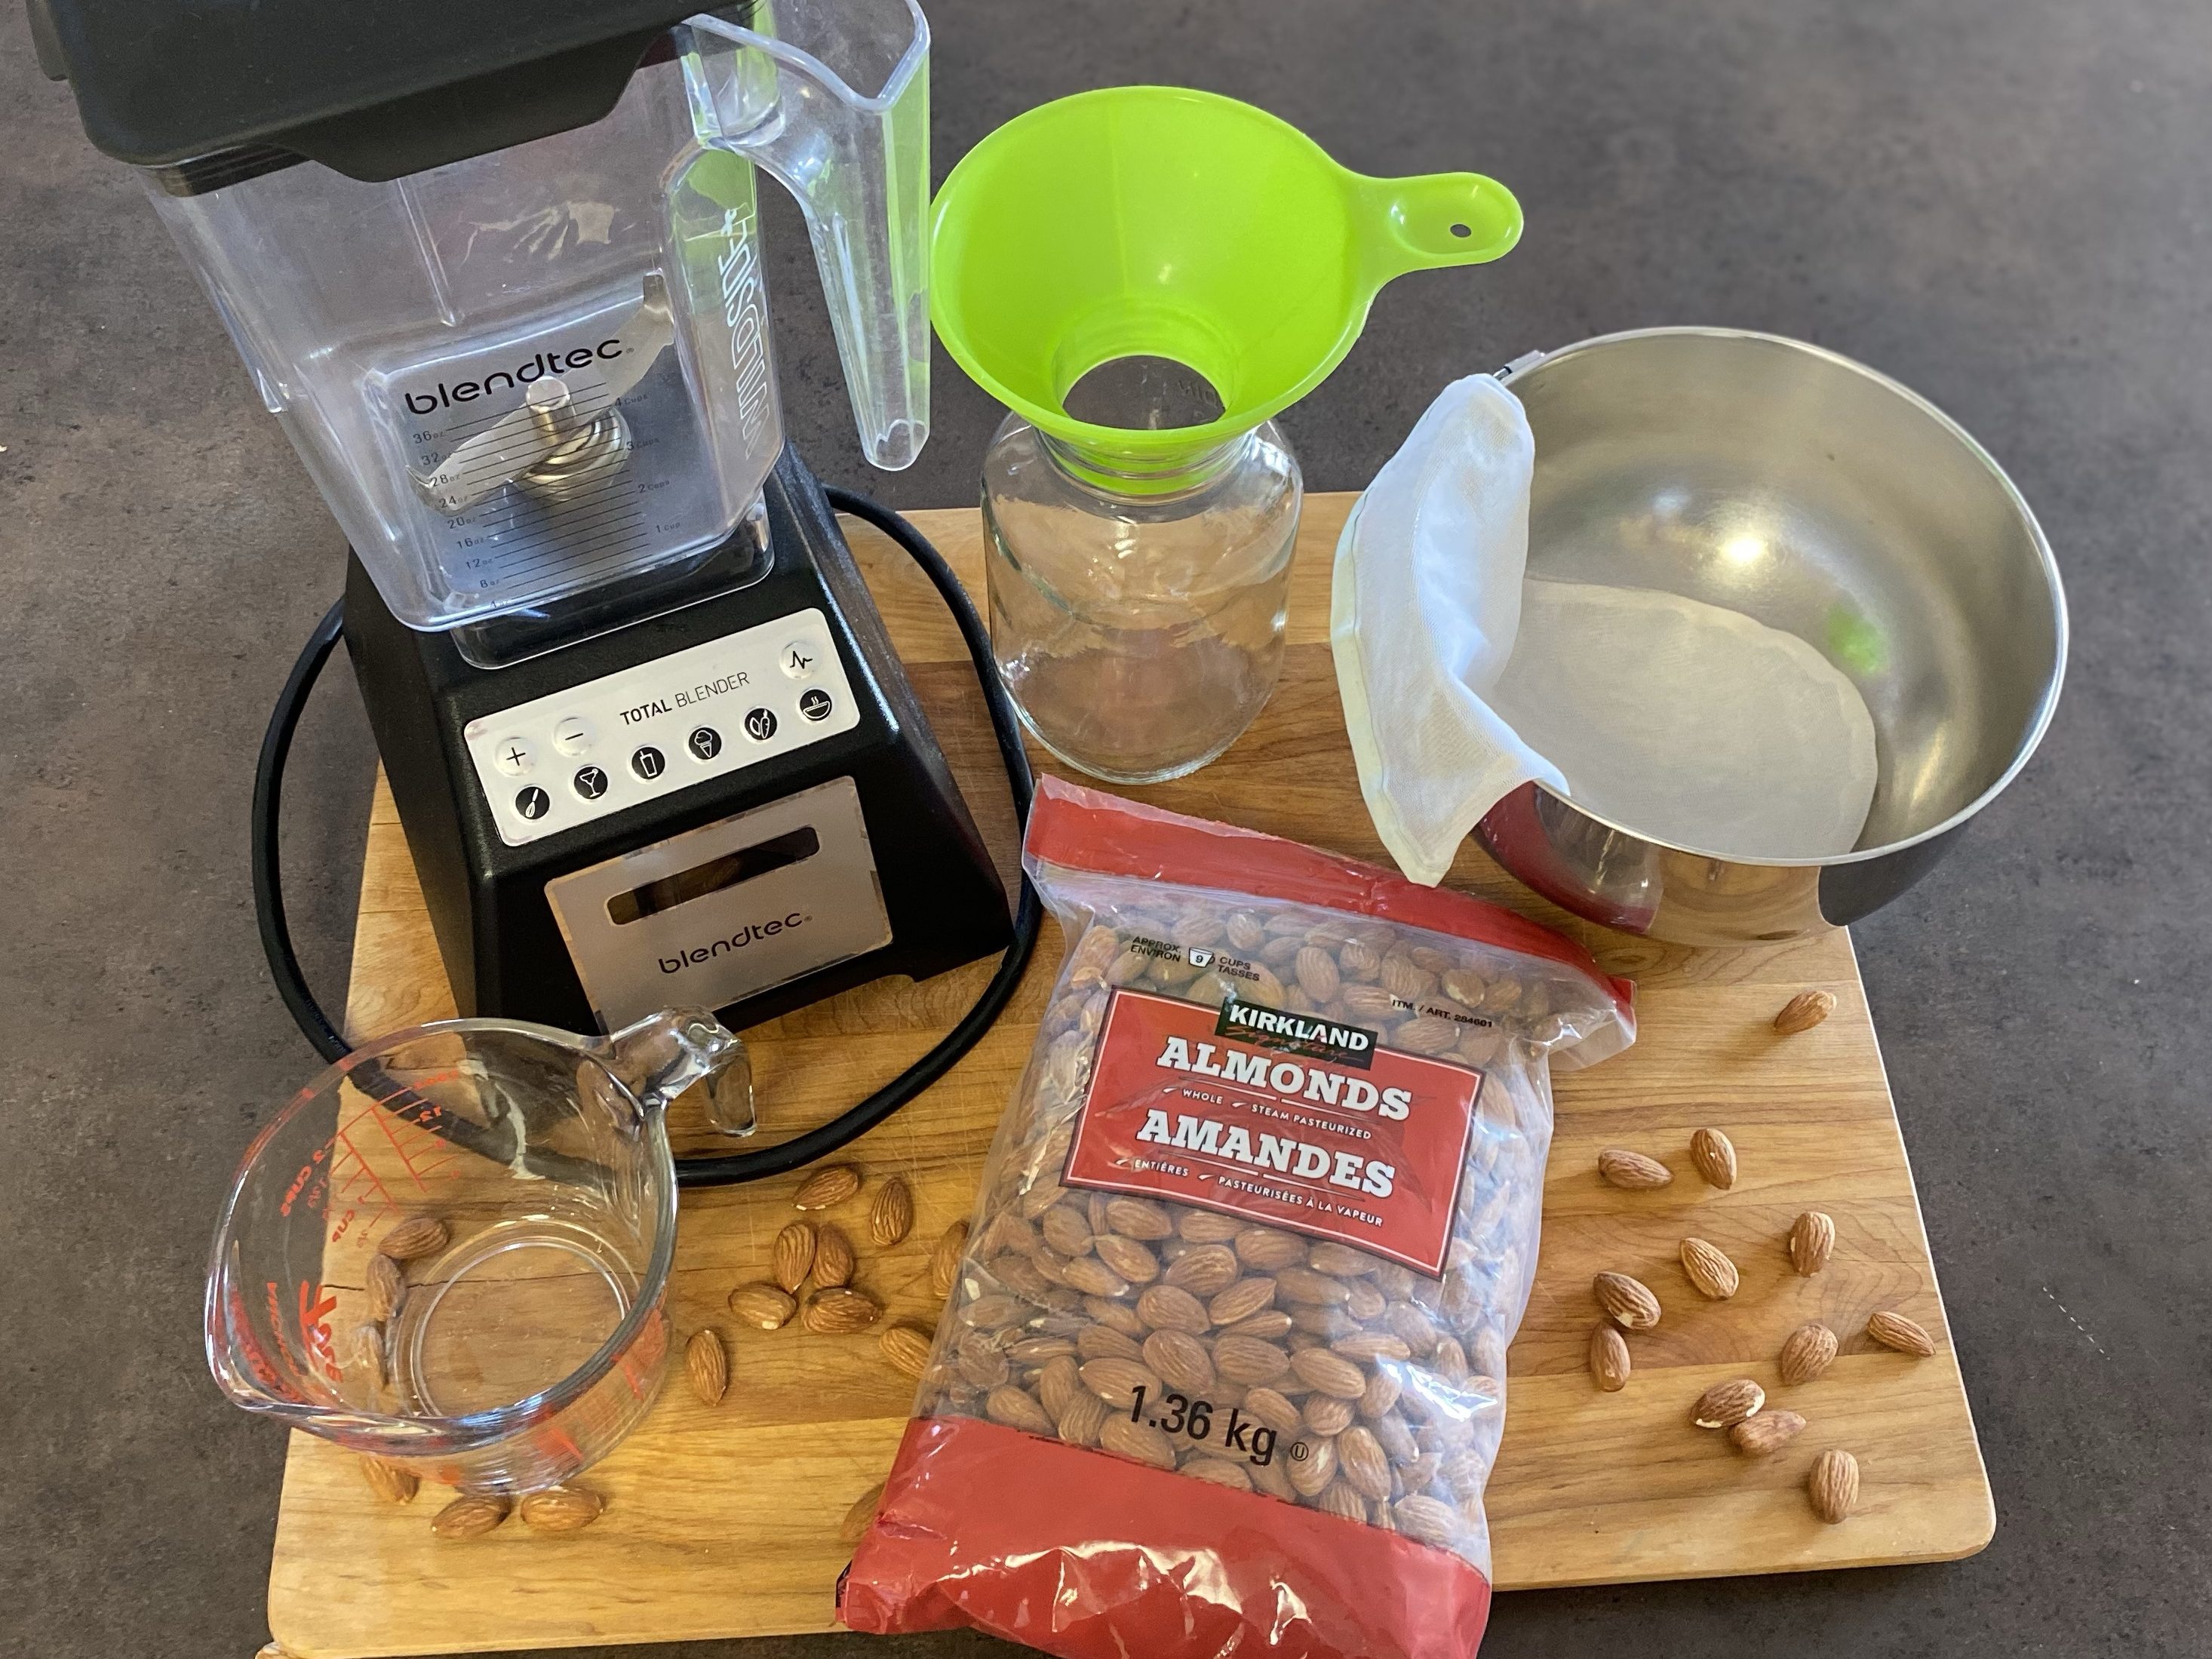
When we first started making it, we bought a refurbished Blendtech blender (which has since then paid for itself!), and a couple of mesh nut milk bags.
We usually buy our almonds from Costco and Yupik (Amazon) , as they seem to have the best price for almonds when we do our southern grocery pantry stock-up. We currently buy several large packages a year, and make almond milk 1-2 times a week.
If purchasing a larger bulk amount of almonds, they can also be frozen to stay fresher, which we have done in the past when we have freezer space.
How to Make Almond Milk
Supplies Needed:
- Something for soaking almonds in
- Large bowl for squeezing milk into
- High power blender
- Mesh or nut milk bags (I have also used tea towels)
- Funnel
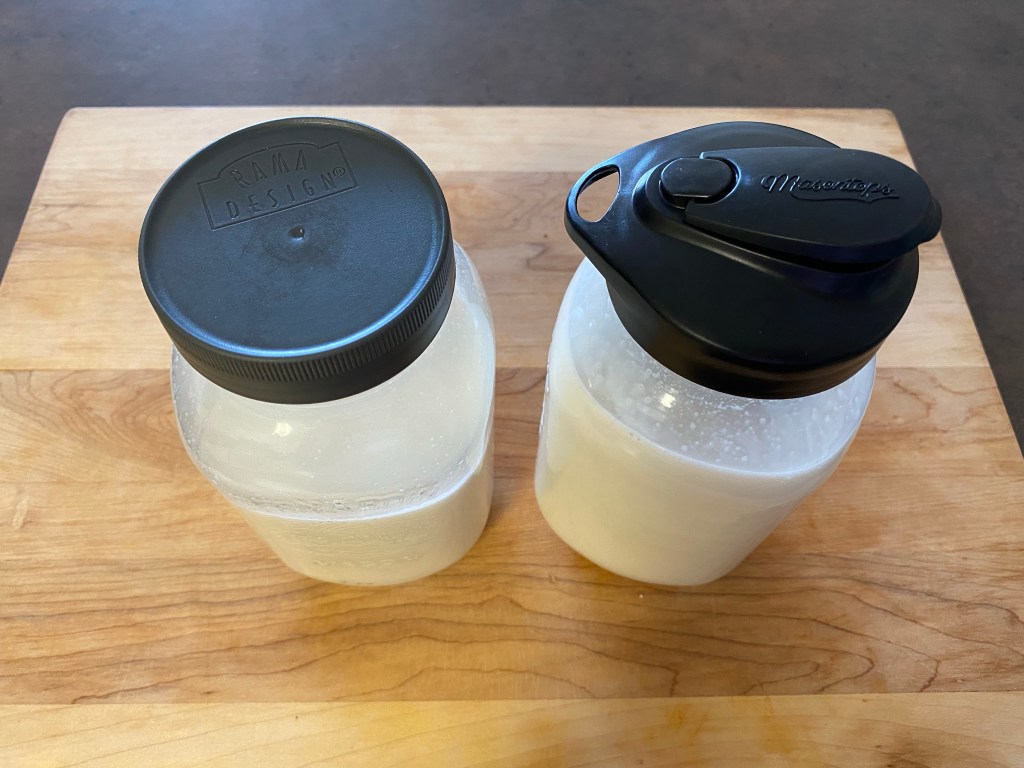
- 2x 1litre glass jars
- Plastic wrap or beeswax covers
- Pourable mason jar lid
Ingredients:
- 1 cup raw almonds
- Water for soaking
- 4 cups water for blending
- 3 pitted dates (optional)
- 1 teaspoon vanilla (optional)
- 1 tablespoon honey (optional)
Directions:
1. Soak 1 cup of almonds overnight at room temperature, or for at least 8 hours. Make sure the almonds are covered well with water to allow the almonds to expand. I like to use beesewax covers on top while they soak.
(Sometimes at the end of the day I realize that I forgot to blend them up, so instead of using the noisy blender and potentially waking the kids, I rinse the almonds really well, change the water and put it in the fridge to blend up the next day).


2. Rinse well after soaking, then add to the blender with 4 cups of water.
3. If you want you can add a sweetener like honey (1 Tablespoon) or vanilla (1 teaspoon), or (my husband’s favourite) adding 3 pitted dates to the blender before pulsing.
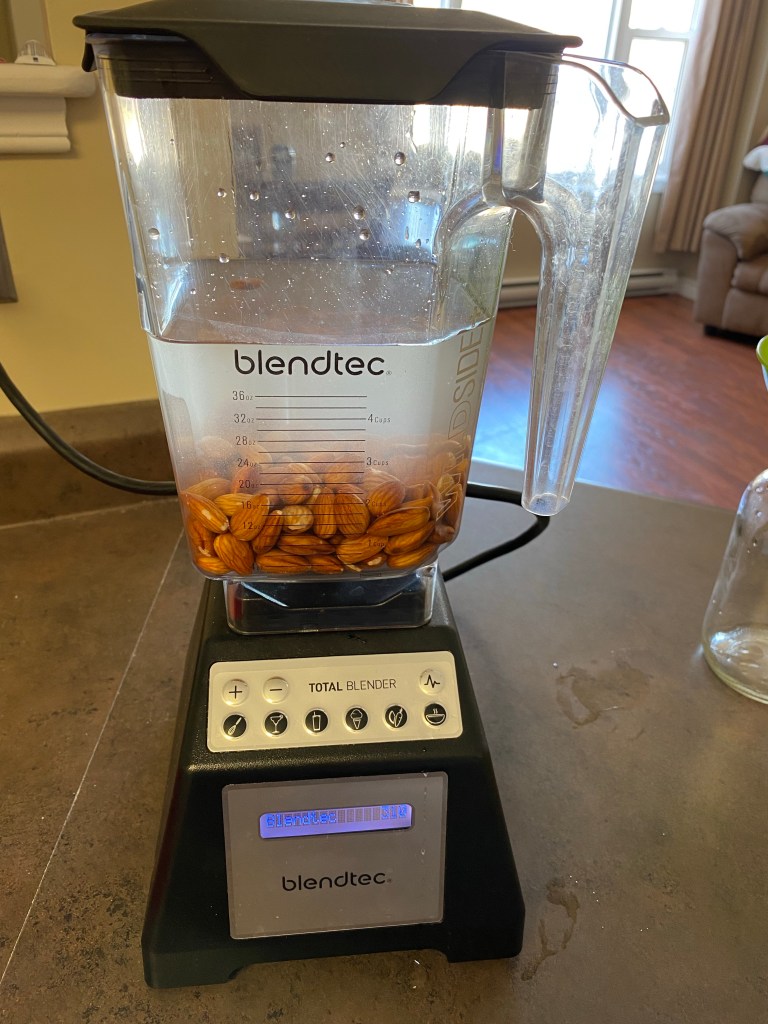
3. Blend well, until no visible chunks of almond pulp. Usually takes about a minute on our medium setting, but every blender is different.
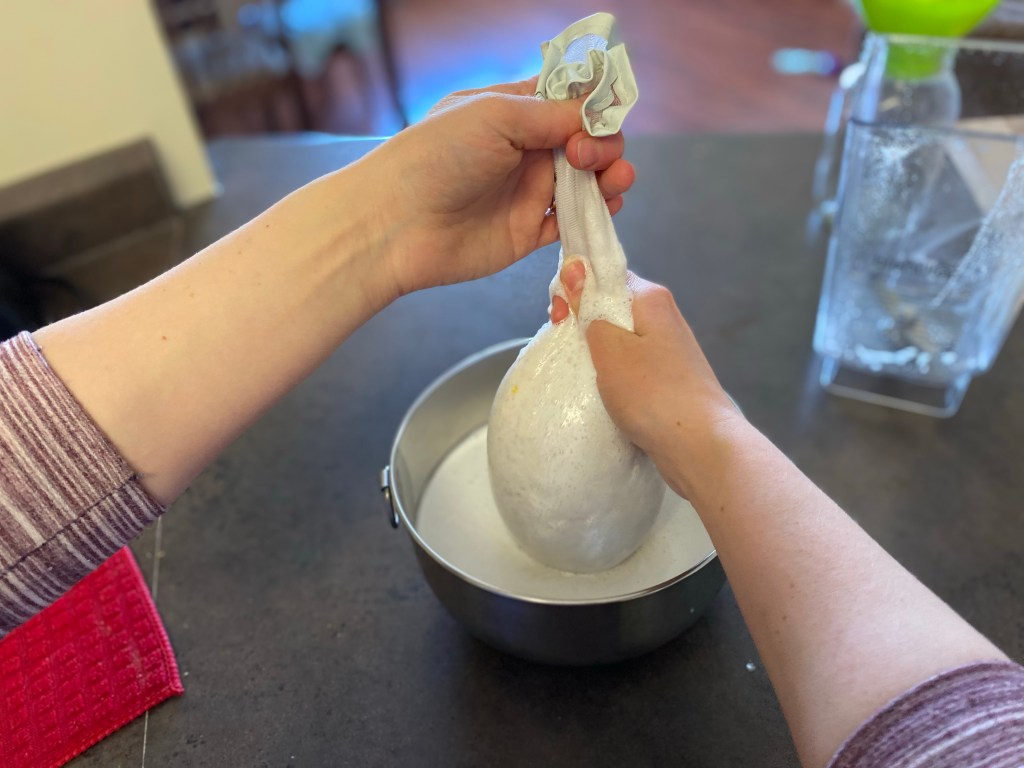
4. Pour into bowl, through nut milk bag. I usually give a little rinse of the blender and pour the rest through as well.

5. Gently squeeze the nut milk bag with your hands until most of the liquid is out and you are left with the pulp. Set pulp aside (don’t throw out! Can be used in many more recipes!)
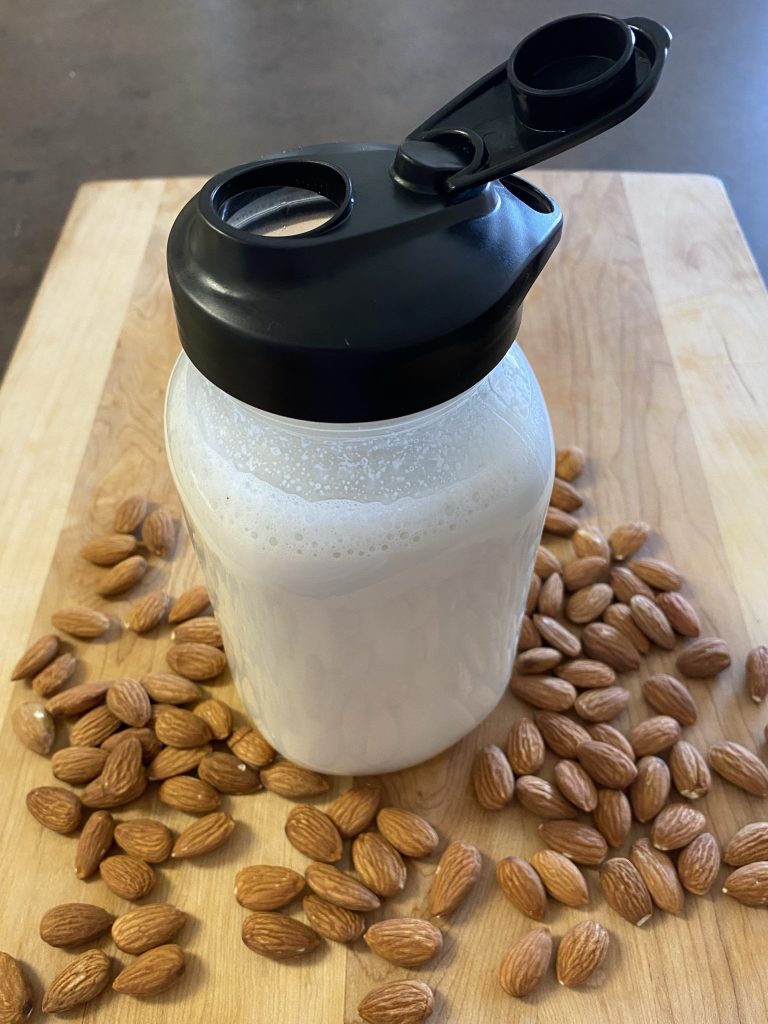
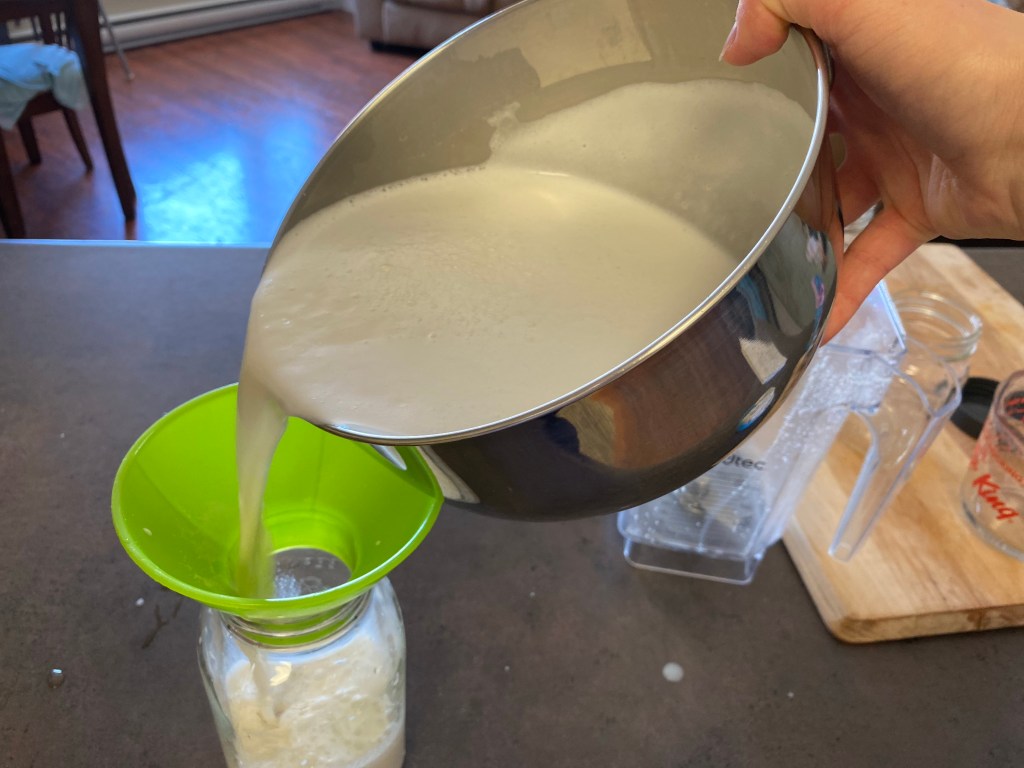
7. Pour into glass jars, usually makes about 1500ml, so we use x2 1L glass mason jars. We use this pourable mason jar lid found on Amazon and love it!
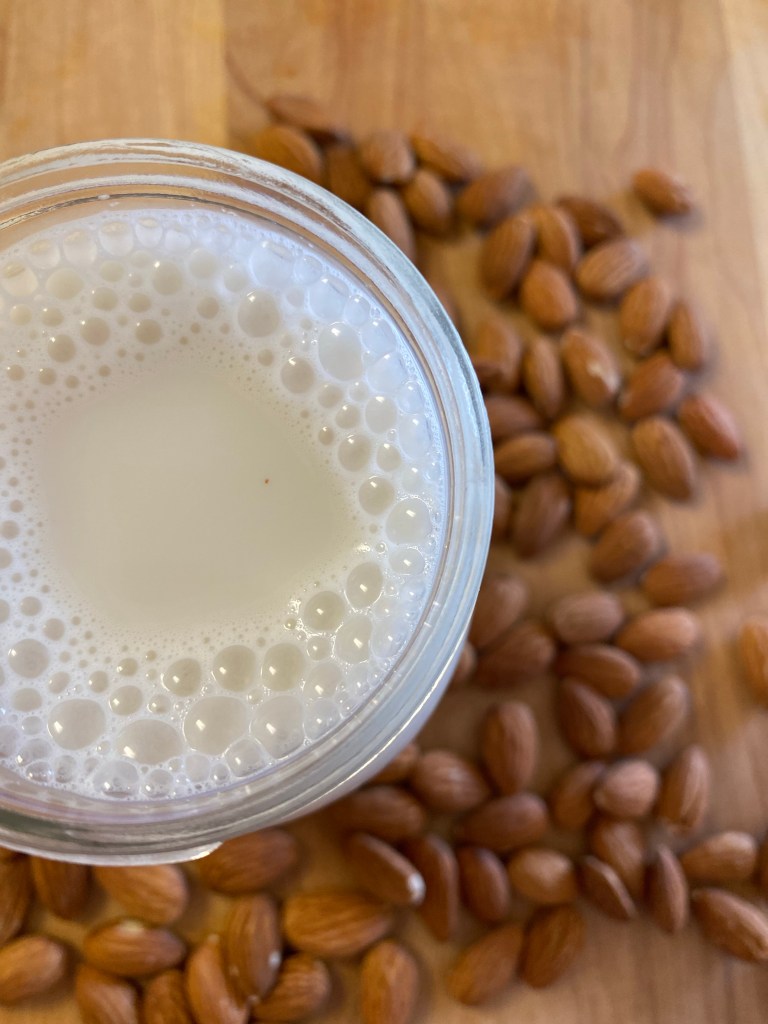
8. Serve and enjoy! Store in fridge for up to one week.
Notes: You may notice that it separates after a day or so. This is normal and perfectly fine. Just give it a shake before enjoying it.
Pros and Cons of Making Your Own Almond Milk:
Pros:
- You can adjust the sweetness level and flavour
- Free from preservatives and additives
- You can soak almonds in the evening and blend it up fresh the next morning
- No more running to the store to get forgotten milk!
Cons:
- Timing: you’ll need to plan ahead
- Cannot make it instantly without losing some of the nutrients from un-soaked almonds
- A few more dishes to wash (haha)

Why is it Important to Soak Your Almonds Before Eating or Making into Milk?
I have seen a lot of recipes out there for almond milk, but many of them skip over the importance of soaking your almonds in water for several hours prior to blending them into milk.
When soaked, they not only become easier to blend up into milk, but they also taste way better. Some compare it to a buttery-creamy taste!
But most importantly, un-soaked almonds contain an enzyme inhibitor called phytic acid, which prevents the body from absorbing nutrients, and makes it harder for the body to digest. Beans and legumes are the same as nuts in this regard, they all need to be soaked and well rinsed to activate optimal absorption of goodness!
When almonds are soaked for 8-12 hours, fully submerged in water, this phytic acid is released from the nut. You can see it as a cloudy muck that develops in the soaking bowl around the almonds, which is why it is important to rinse them well before blending into milk!
Can I Still Eat Dry, Raw Almonds?
Absolutely! I love eating raw almonds, and I’d rather eat them any day over a bag of chips as a snack!
But after realizing that my body can’t properly absorb any nutrients from unsoaked almonds, I wanted to find another way to still enjoy dry, raw almonds. After all, they are one of those awesome trail mix staples!
How to Dry and Store Soaked Almonds:
- Short Term: After soaking almonds for 8-12 hours, you can spread them out on a clean towel and let dry for 12-24 hours. Store in the fridge in an airtight container for up to 1 week.
- Long Term: Soak 1 cup raw almonds with 1/2 tablespoon sea salt, covered with water for 8-12 hours. If using the Oven: Spread on cookie sheet in single layer and dry at lowest temperature 12-24 hours until dry. If using a Dehydrator: Spread on dehydrator tray in single layer and dry at 150 for 12-24 hours until dry. Make sure they are completely dry to avoid risk of mold! Store in an airtight container for up to 1 year.

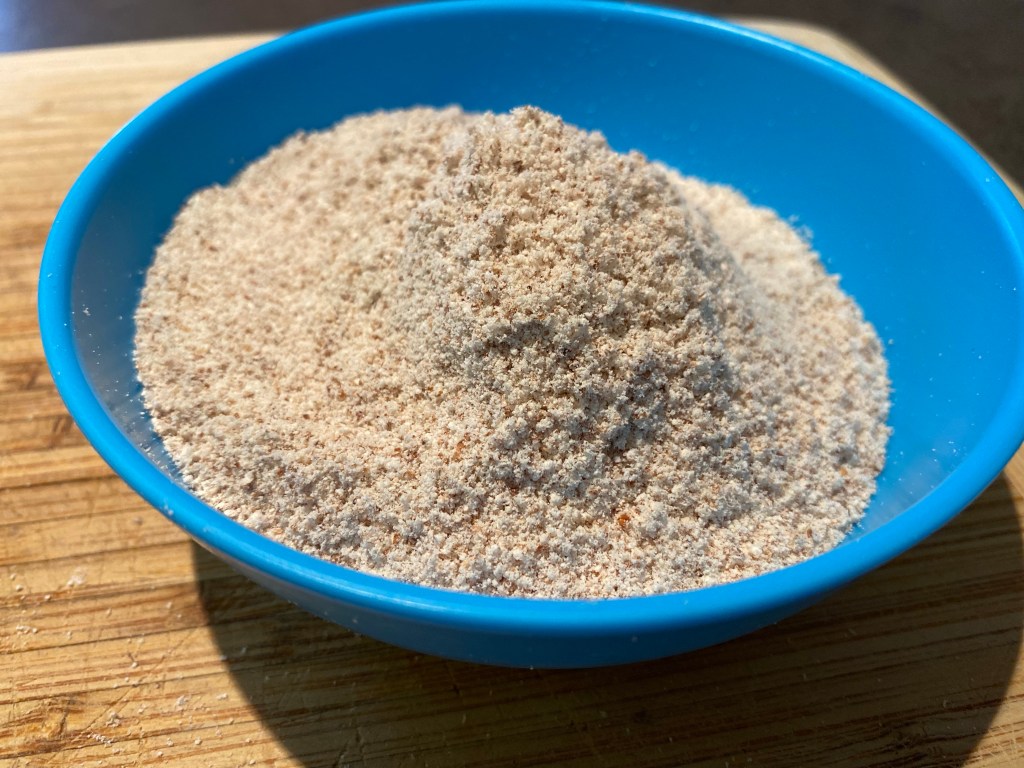
What Can I do With the Leftover Almond Meal from Making Milk?
The leftover almond meal is AMAZING. There are so many ways to use this delicious pulp. I am working on developing recipes into posts to link to this page with ideas, but in the meantime, here’s a list of my favourite ways to use up almond pulp (and some extra inspiration as well!):
- Put the pulp in a plastic container in the freezer until you are ready to use it up. When you have time, thaw to use almond meal in:
- Energy Balls
- Granola
- Oatmeal & Breakfast Splodge
- Overnight Oats
- Put the pulp on a baking sheet and dry out in the oven (200 degrees F for 1-2 hours), then blend up into flour and store at room temperature. Shelf stable for several months. Use as almond flour in:
- Cookies & Squares
- Waffles & Pancakes
- Cakes & Pies
- Pastries & Breads
- Muffins & Biscuits
- Crackers
- Breadcrumbs (before blending to flour) ………..The list goes on!

Check out these other Breakfast Recipes from the Northbird Kitchen!


Hi, I’m Jessie!
I’m a Wife and Homeschooling Mom living in a remote town in Northern Ontario, Canada. I love making wholesome meals for my family from scratch, homeschooling our girls and learning more about natural living.
Read more about my story HERE.

Subscribe to Northbird’s email list to get weekly posts on: tasty recipes, activity ideas for kids, natural living tips, and some genuine mom thoughts and encouragement!
Recent posts from Northbird:


How to Make Almond Milk
Easy and Delicious: How to Make Your Own Almond Milk!
Please Note: You may notice that it separates after a day or so. This is normal and perfectly fine. Just give it a shake before enjoying it.
Supplies Needed
Ingredients
Directions
- Soak 1 cup of Almond milk overnight for 8-12 hours. Make sure the almonds are covered well with water to allow the almonds to expand.
- Rinse well after soaking, then add to the blender with 4 cups of water.
- If you want you can add a sweeteners to the blender before pulsing. (See suggestions)
- Blend well, until no visible chunks of almond pulp. Usually takes about a minute on our medium setting, but every blender is different.
- Pour into bowl, through nut milk bag.
- Gently squeeze the nut milk bag with your hands until most of the liquid is out and you are left with the pulp. Set pulp aside and use in other recipes. See above for ideas.
- Pour into glass jars, usually makes about 1500ml or approximately 6 cups.
- Store in fridge for up to one week
Nutrition
Per 1 cup Serving: 32 calories; 3 g fat; 1 g carbohydrates;
2 g protein; 0 mg cholesterol; 0 mg sodium.

