Find Northbird on social media:
This post contains affiliate links. As an Amazon associate, I earn from qualifying purchases. This means that I make a small commission at no extra cost to you. You can read my full disclosure HERE.

Why I love Homemade Sourdough Pizza…
Every Friday night we have homemade sourdough pizza (unless we are not home or it is simply way to hot in the summer to use the oven!). We pair this with watching a family movie and setting up the screen projector to have a fun, relaxing family time while munching on delicious pizza.
I love the simplicity of this meal, and how easy it is to make and roll out the dough ahead of time, then decorate and bake off closer to when my husband is home from work and we get ready to start the movie.

We love pairing homemade pizza with fresh home-grown sprouts and an assortment of veggie sticks!
Prior to getting addicted to sourdough recipes, I would make variations with different flours using traditional yeast dough. I can honestly say that I prefer the sourdough process for making pizza dough, and because the dough ferments prior to being loaded and baked, my sensitive tummy appreciates it too.

New to Sourdough?
Sourdough is made using a fermented mixture of flour and water, called the “starter”, and mixed with more water, flour, and usually salt. The dough naturally rises as it ferments during resting stages. There is a lower amount of gluten in sourdough baking, which is why the dough needs to be “stretched” multiple times to help it expand and become fluffy.
You can read more in the Sourdough Bread Post HERE about sourdough tips, feeding the sourdough starter, and keeping it happy.

How to Make Sourdough Pizza Dough
Supplies Needed:
- Mixing bowl and spoon
- Measuring cups
- Teaspoon & tablespoon
- Beeswax cover or tea towel/plate
- Pizza pan or baking sheet
- Rolling pin
- Oil brush
- Pizza cutter
Ingredients:
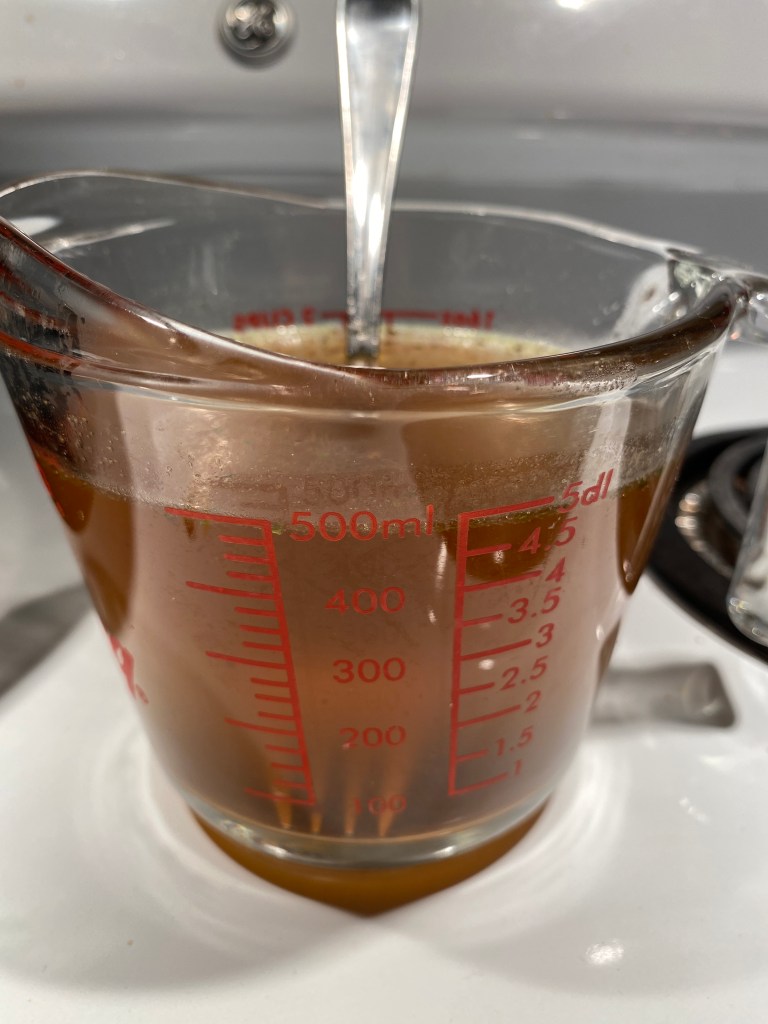
- 1/2 cup active sourdough starter
- 1 + 3/4 cup water, lukewarm
- 4 cups all purpose flour
- 1+1/2 teaspoons sea salt, finely ground
- Olive oil
- Cornmeal, for sprinkling onto pans
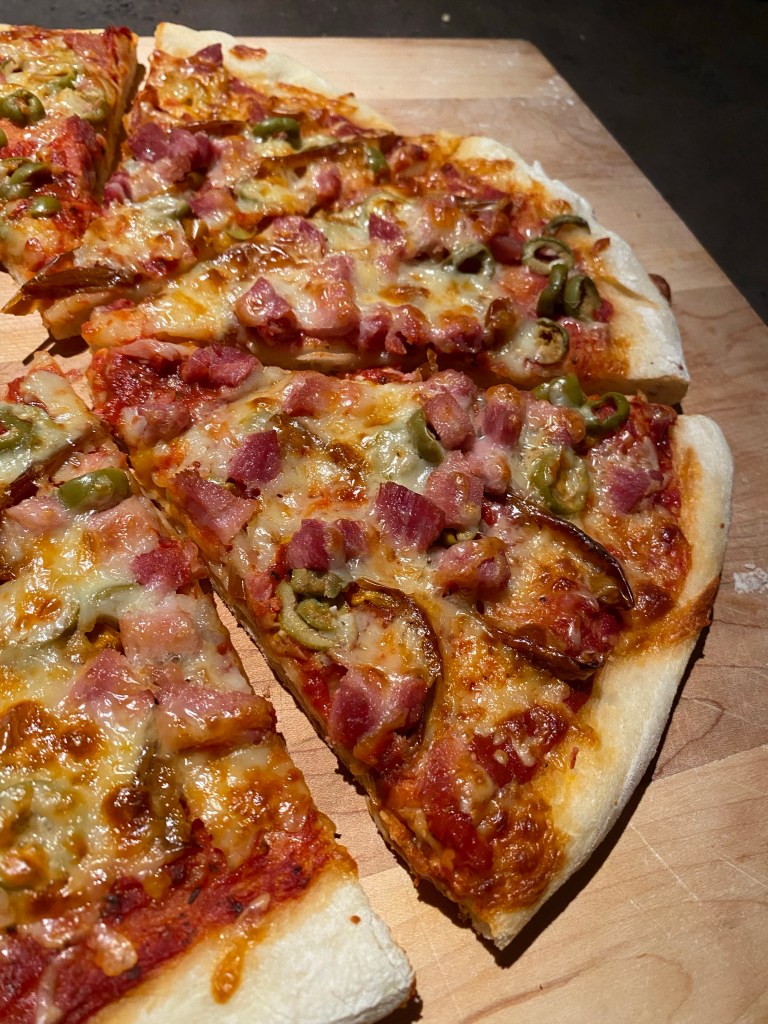
Pizza Topping Ideas: (what we use to cut down grocery costs)
- Cheese: Mozzarella and white cheddar are my favourites to use on pizza, but they are undoubtedly the most expensive part of the pizza. Where we live in the north, one 400g block costs around $10! We buy several blocks at a time when we are in the south and they go on sale, and if the expiry date is close, then the cheese intended for pizza goes directly into the freezer. Frozen cheese can tend to crumble a little when thawed, but that works just fine for pizza, right?!
- Pizza sauce: You can use regular canned pizza sauce or also pasta sauce, it just won’t be as thick. (In a later post I’ll share my mother’s Garlic Cream Sauce for pizza!)
- Meat: If we have a ham, chicken, beef roast, etc then I’ll cut off small portions and put in freezer bags and label for pizza. I also use cooked bacon, kohlbassa and occasionally pepperoni and do the same thing.
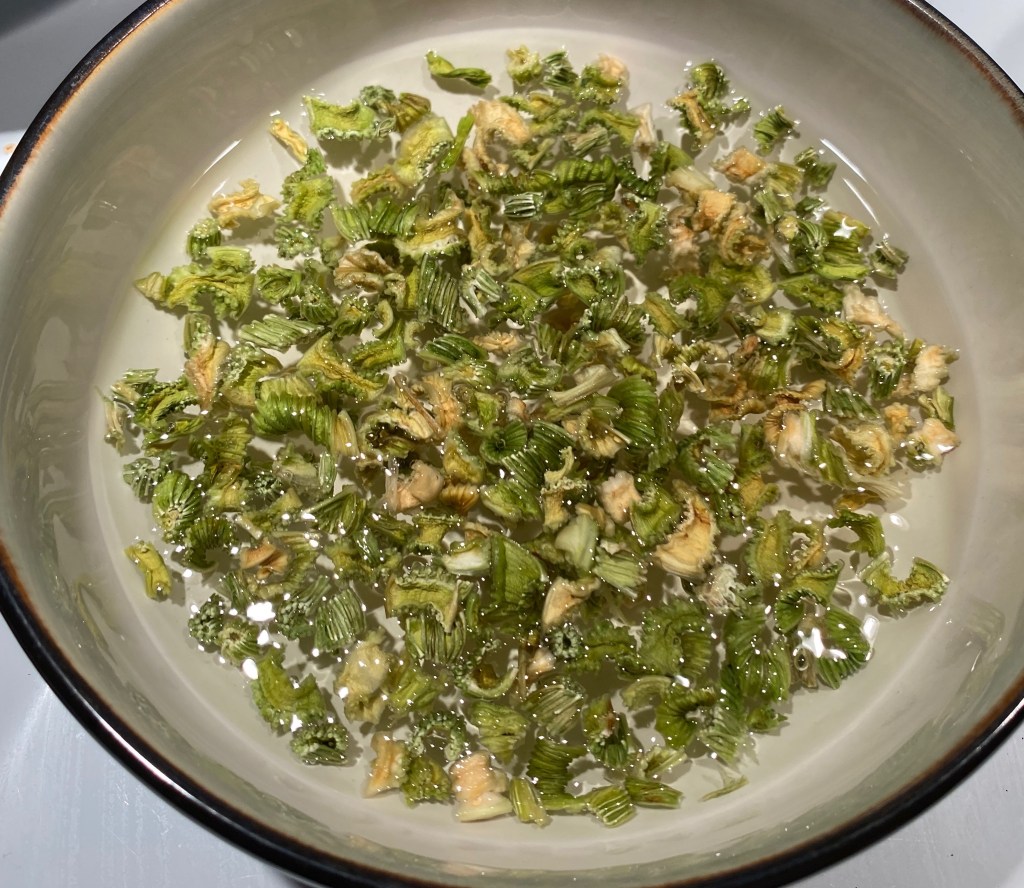
- Peppers: I love dehydrating peppers from the summer garden and using them year long on pizzas! They re-hydrate easily in a bowl of water for a few minutes prior to putting on the pizza.
- Mushrooms: You can also dehydrate these, and rehydrate in water like the peppers. (it’s on my bucket list and I’ll share with you how it turns out!)
- Olives: these are easy to buy canned and sliced.
- Pineapple: We are one of those families that enjoys fruit on pizza! Easy to buy small cans of diced pineapple, or buy a whole one on sale, cut up and freeze in portioned baggies. Thaw prior to use.
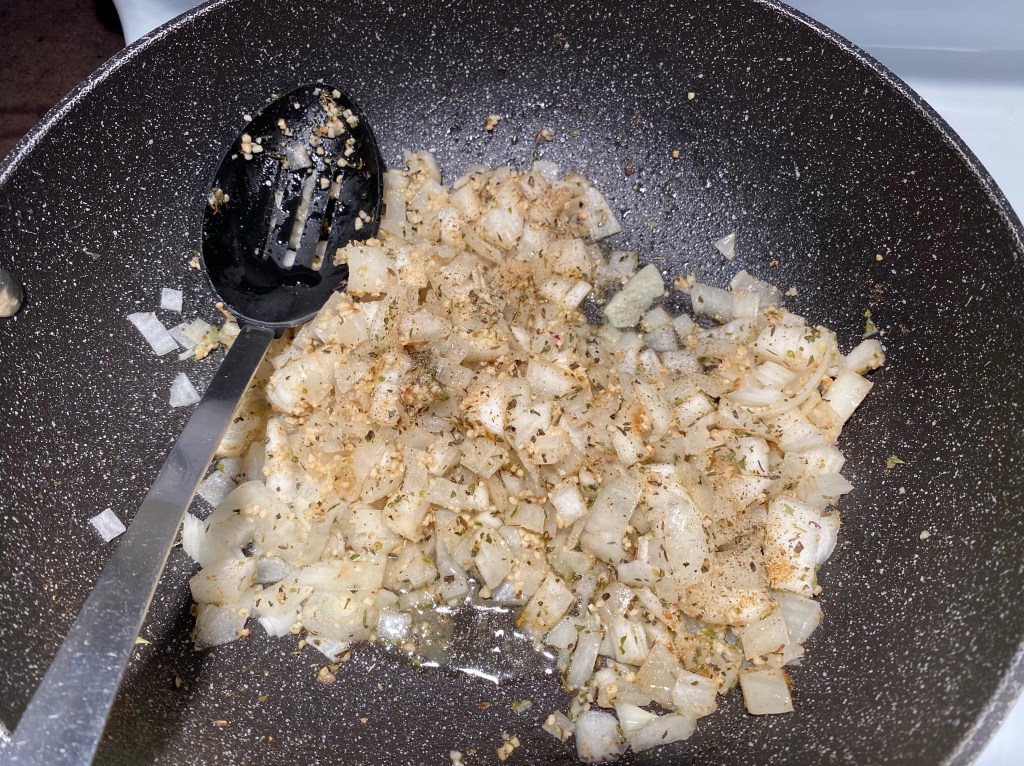
- Herbs: It’s always nice to sprinkle some herbs on top at the end. Fresh herbs in the summer, and dried herbs in the winter (unless we are organized to grow some windowsill herbs year long!) Oregano, thyme, chives and rosemary are delicious sprinkled on pizza.
- Other veggies: We have also used zucchini, vidalia onion, red onion and arugula.
Directions: Day One
1. Feed your starter in the morning
- If your starter takes less time to activate, then feed your starter in the early afternoon.

2. Mix your Dough in the Evening
- Mix your active starter with the water and set aside. At this point if the measured starter floats on top of the measured water, you know it’s going to be a great rising pizza dough! Sometimes my timing has been a little off due to life getting crazy, and my starter doesn’t float (even though it looked bubbly and risen in the starter jar). If this happens to you, just add another 1-2 tablespoons of starter and it should still rise good.
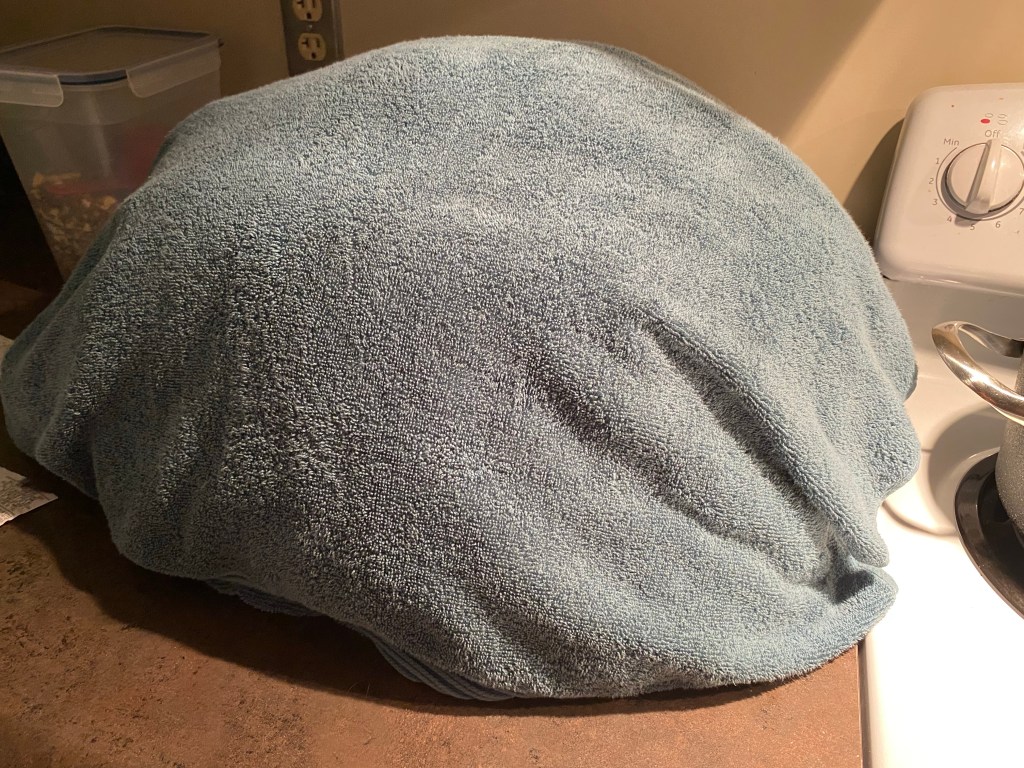
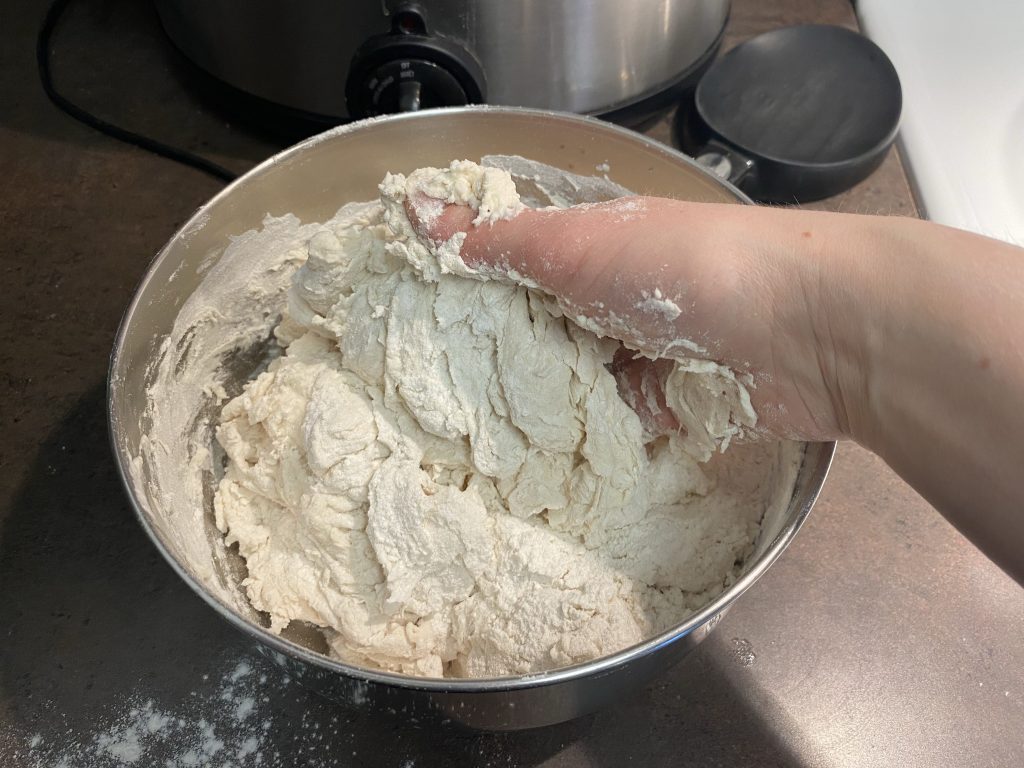
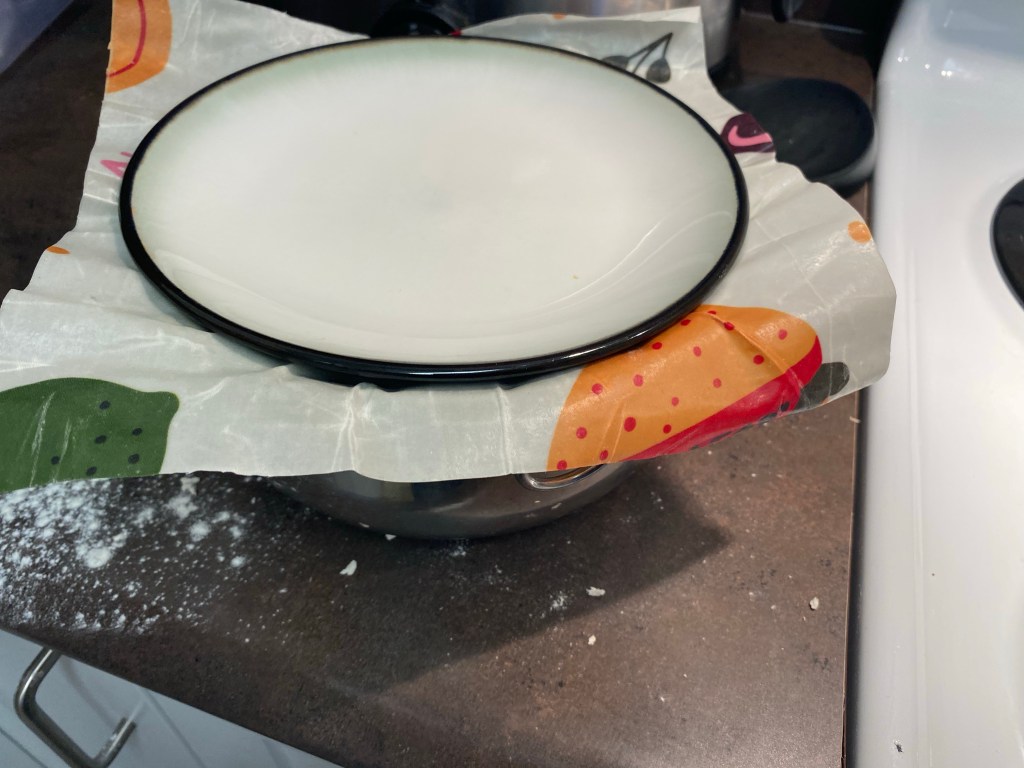
- Mix the flour and salt together in a larger bowl, then add the wet ingredients and stir together until it forms a sticky ball. I find it easier to finish mixing it with my hands. If it is dry, resist the urge to add any water! Cover with beeswax cover or tea towel and plate and rest for 30 minutes.

3. Stretch & Fold: 1st Way
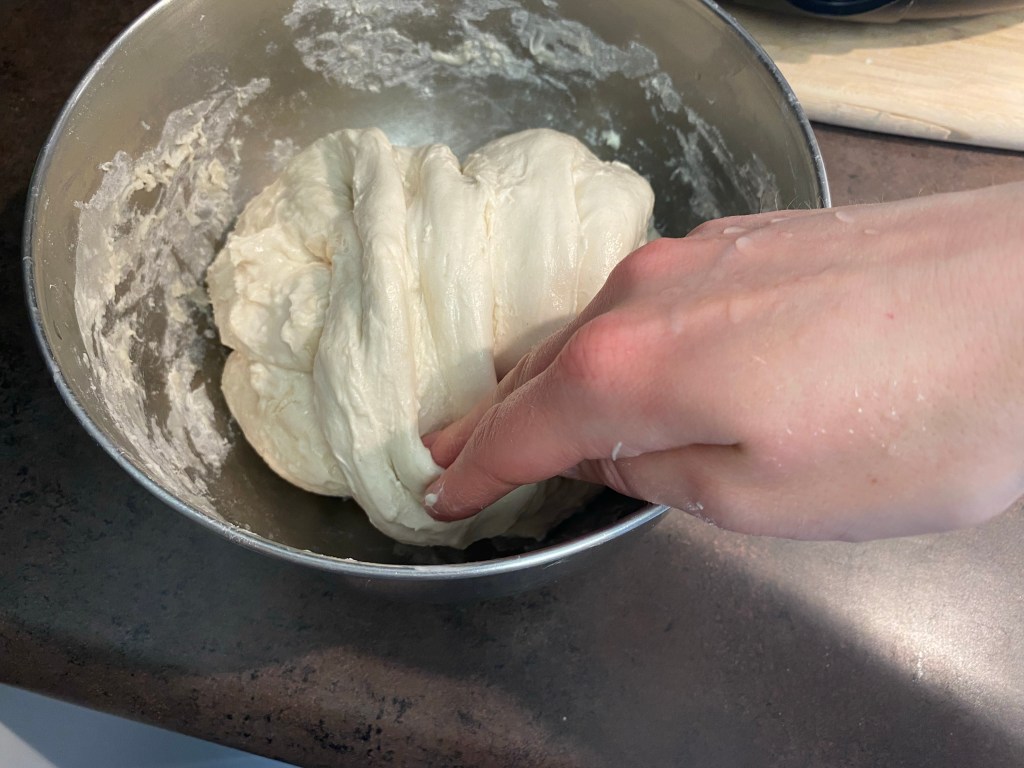
- Wet one hand and gently loosen dough from edges of bowl. Take a handful of dough from the top of the bowl and pull towards you *See picture. Turn bowl 1/4 turn and repeat for a total of 4 stretch & folds to complete circle.
- Cover and rest 20 minutes
- Repeat stretch & fold full circle
- Cover and rest 20 minutes
- Repeat stretch & fold full circle
- Cover and rest overnight 10-12 hours.


Directions: Day Two
1. The next morning, lift & fold: 2nd way
- Wet both hands and loosen dough from edges of bowl. Using both hands, pick up dough from middle and let it droop over the sides of your hands. *See picture. Gently lower into bowl and let it fold on top of itself. Turn bowl 1/4 turn and repeat for total of 4 to complete full circle.
- Note: If it is stiff at first, you can pick it up and gently stretch a little with your wet hands to encourage the gluten. *See picture.
- Cover and rest 20 minutes
- Repeat lift & fold full circle
- Cover and rest 20 minutes


2. Prepare dough & put in fridge
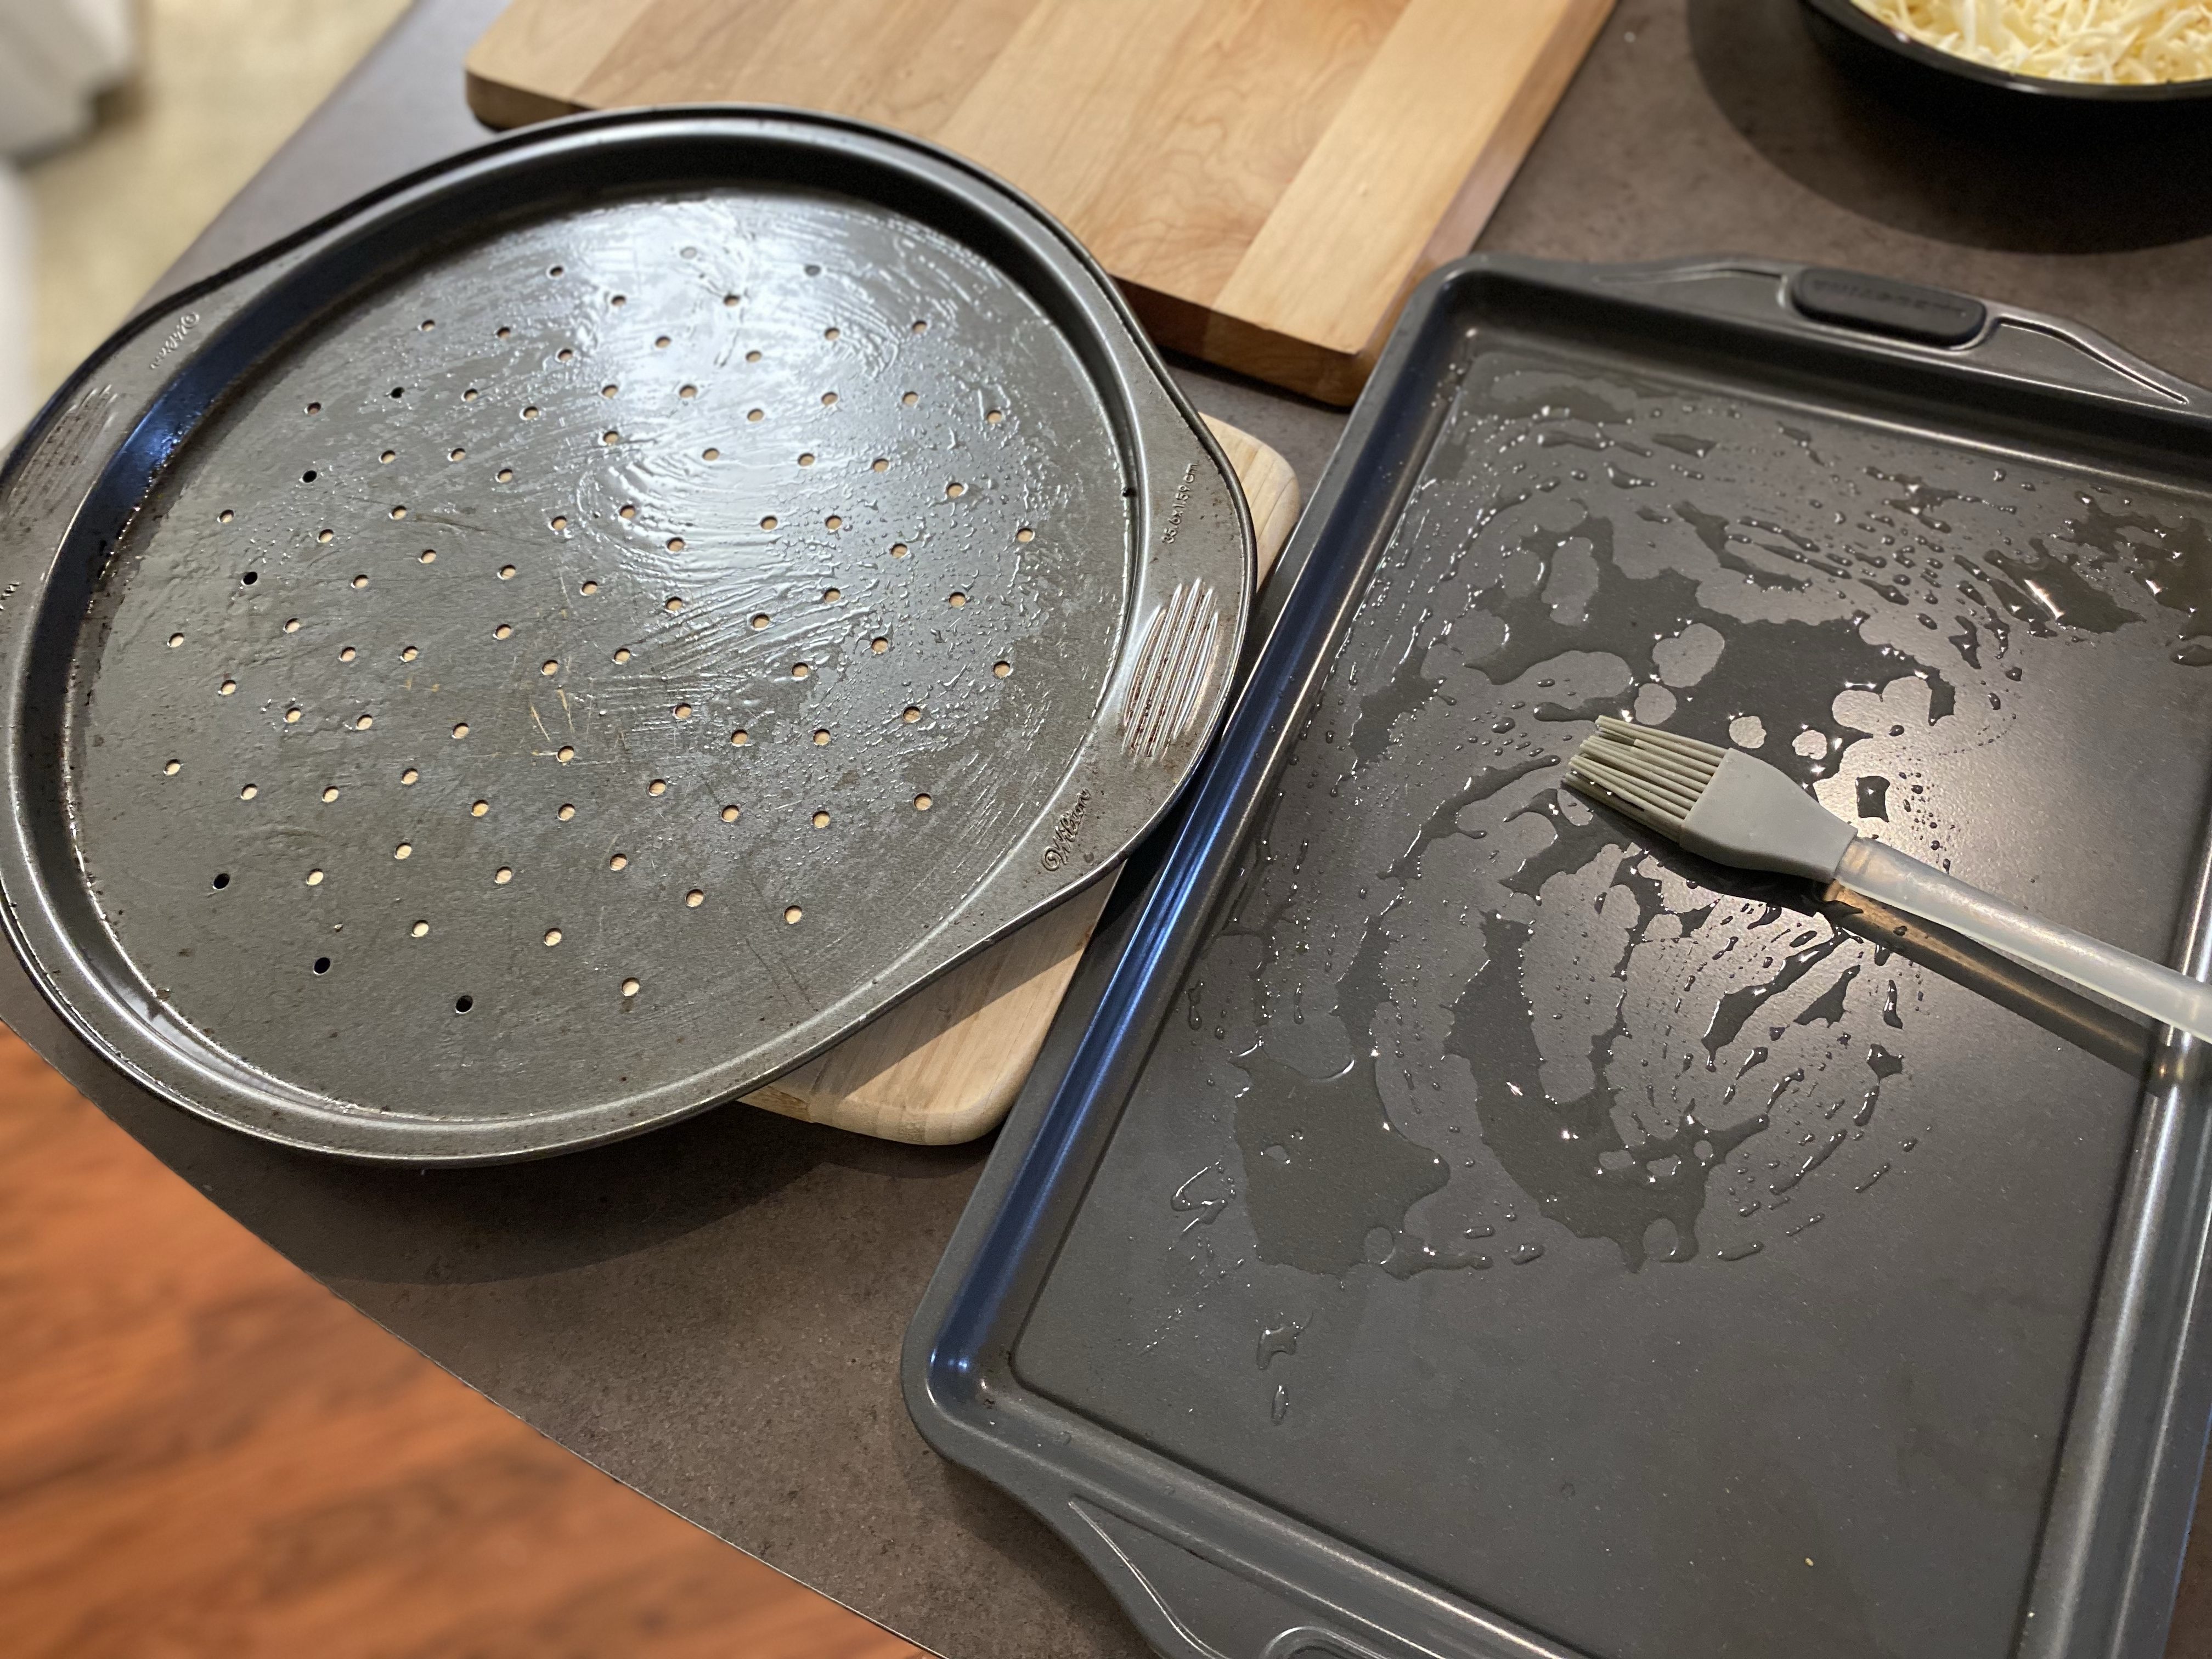
- Grease pizza pans with olive oil, and sprinkle cornmeal onto it to help the bottom not to stick later.
- Separate the dough into two balls. Roll out on lightly floured counter and press into prepared pizza pans.
- Put pizza pans in the fridge for minimum 1 hour, or for several hours until closer to when you want to bake the pizzas off. I like to get it all prepped up to this point in the morning, then it’s just a quick decorate and bake before dinner.

3. Decorate dough
- Preheat the oven to 425 degrees fahrenheit.
- Rehydrate any dehydrated veggies in water prior to putting on the pizza: (mushrooms, peppers, onions, dried meats, etc)
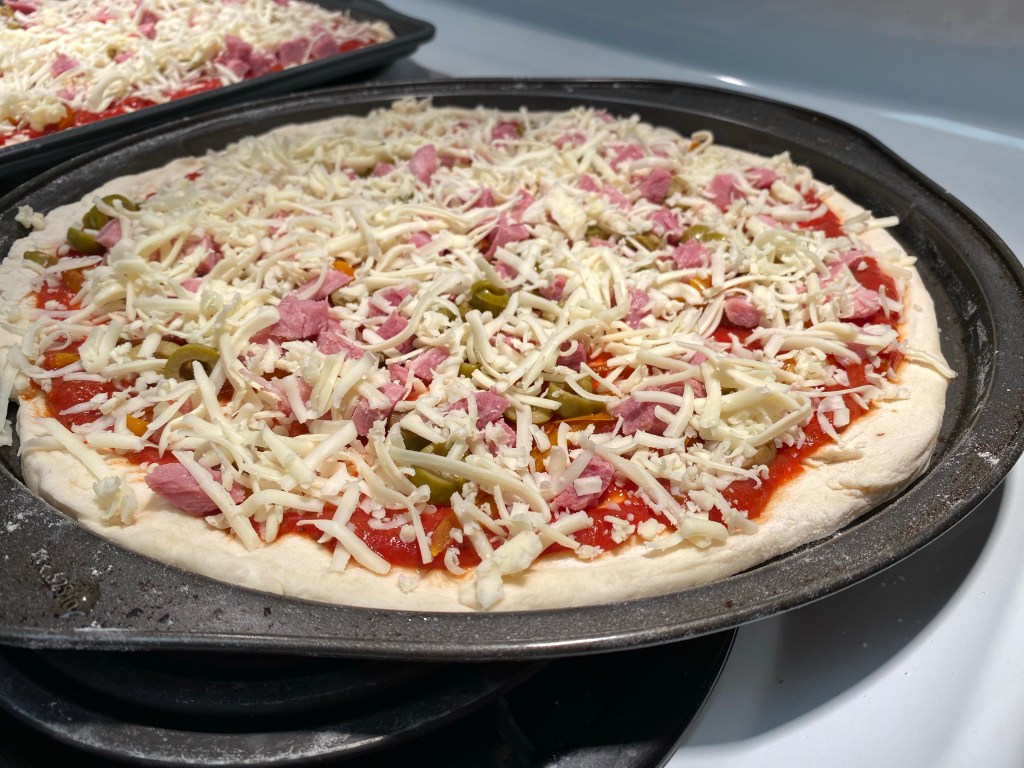
- Brush pizza sauce on top of dough.
- Decorate pizza with desired toppings and cover with shredded cheese. Herbs are nice sprinkled on top (see above list of suggestions).
- Optional: You can stuff the pizza crust with cheese if you want by pulling the dough edges outward, putting a wad of cheese into it and rolling and pinching it back.
- Optional: A final touch that I like to do is brushing the crust with olive oil.


4. Bake the Pizza
- Bake the pizzas for 15-20 minutes (depending on your oven!) until crust is hard and golden and cheese has browned on top. I usually take a peek of the underside to see if it looks doughy or cooked. You can also broil for a minute to crisp the top more if desired (but keep a close eye on it!)
- Let cool for 5 minutes before slicing it up.

Other Tasty Sourdough Recipes to Check Out!


Hi, I’m Jessie!
I’m a Wife and Homeschooling Mom living in a remote town in Northern Ontario, Canada. I love making wholesome meals for my family from scratch, homeschooling our girls and learning more about natural living.
Read more about my story HERE.

Subscribe to Northbird’s email list to get weekly posts on: tasty recipes, activity ideas for kids, natural living tips, and some genuine mom thoughts and encouragement!
Other Soups and Entrees to Check Out:


Recent posts from Northbird:


Sourdough Pizza Crust
An Easy, Step-by-Step Guide to Making Sourdough Pizza!
Supplies Needed:
Ingredients:
Please Note: This recipe takes two days to make.
Directions: Day One
1. Feed Your Starter In the Morning
- If your starter takes less time to activate, then feed your starter in the early afternoon.
2. Mix your Dough in the Evening
- Mix your active starter with the water and set aside. At this point if the measured starter floats on top of the measured water, you know it’s going to be a great rising pizza dough! Sometimes my timing has been a little off due to life getting crazy, and my starter doesn’t float (even though it looked bubbly and risen in the starter jar). If this happens to you, just add another 1-2 tablespoons of starter and it should still rise good.
- Mix the flour and salt together in larger bowl, then add the wet ingredients and stir together until it forms a sticky ball. I find it easier to finish mixing it with my hands. If it is dry, resist the urge to add any water!
- Cover with beeswax cover or plastic wrap and rest for 30 minutes.
3. Stretch & Fold: 1st Way
- Wet one hand and gently loosen dough from edges of bowl. Take a handful of dough from the top of the bowl and pull towards you *See picture. Turn bowl 1/4 turn and repeat for a total of 4 stretch & folds to complete circle.
- Cover and rest 20 minutes.
- Repeat stretch and fold full circle.
- Cover and rest 20 minutes.
- Repeat stretch and fold full circle.
- Cover and rest overnight 10-12 hours.
Directions: Day Two
1. Lift & Fold: 2nd Way
- Wet both hands and loosen dough from edges of bowl. Using both hands, pick up dough from middle and let it droop over the sides of your hands. *See picture. Gently lower into bowl and let it fold on top of itself. Turn bowl 1/4 turn and repeat for total of 4 to complete full circle.
- Note: If it is stiff at first, you can pick it up and gently stretch a little with your wet hands to encourage the gluten. *See picture.
- Cover and rest 20 minutes
- Repeat 2nd way of stretch & fold full circle
- Cover and rest 20 minutes
2. Prepare dough & put in fridge
- Grease pizza pans with olive oil, and sprinkle cornmeal onto it to help the bottom not to stick later.
- Separate the dough into two balls. Roll out on lightly floured counter and press into prepared pizza pans.
- Put pizza pans in the fridge for minimum 1 hour, or for several until closer to when you want to bake the pizzas off. I like to get it all prepped up to this point in the morning, then it’s just a quick decorate and bake before dinner.
3. Decorate dough
- Preheat the oven to 425 degrees fahrenheit.
- Rehydrate any dehydrated veggies in water prior to putting on the pizza: (mushrooms, peppers, onions, dried meats, etc)
- Brush pizza sauce on top of dough.
- Decorate pizza with desired toppings and cover with shredded cheese. Herbs are nice sprinkled on top (see above list of suggestions).
- Optional: You can stuff the pizza crust with cheese if you want by pulling the dough edges outward, putting a wad of cheese into it and rolling and pinching it back.
- Optional: A final touch that I like to do is brushing the crust with olive oil.
4. Bake the Pizza
- Bake the pizzas for 15-20 minutes (depending on your oven!) until crust is hard and golden and cheese has browned on top. I usually take a peek of the underside to see if it looks doughy or cooked. You can also broil for a minute to crisp the top more if desired (but keep a close eye on it!)
- Let cool for 5 minutes before slicing it up.
Nutrition
For 1 of 16 pizza slices, crust only: 121.6 calories; 1 g fat; 23.8 g carbohydrates;
3.2 g protein; 290 mg sodium.