Find Northbird on social media:
Return to “Homeschooling Activities & Resources”
Jump to Printable Activity Card

What is Liquid Viscosity?
Viscosity is the measurement of a liquid’s strength of resistance to flow. For example, a liquid with high viscosity will be thicker and generally be move slower if you were to pour it out. Liquids with low viscosity will be thinner, and flow quickly if you were to pour it out.
Examples of Liquids with a High Viscosity:
- Honey
- Molasses
- Corn Syrup
- Chocolate Syrup
Examples of Liquids with a Low Viscosity:
- Water
- Rubbing Alcohol
- Milk
- Fruit Juices

Experiment: Make Your Own Ocean Zones in a Jar!
This is a great visual and hands-on illustration of the Ocean Layers, and also a great way for students to learn about liquid viscosity!
Supplies Needed:
Liquids Needed:
- Rubbing alcohol (Sunlight Zone)
- Vegetable Oil (Twilight Zone)
- Water (Midnight Zone)
- Dish Soap, blue coloured-type is best like Dawn (The Abyss)
- Corn syrup or Molasses (The Trench)
Use equal amounts of the different liquids each time, but the amount might be different based on what size jar you have available:
- For a 1 litre jar (almost a quart), you will measure out approximately 2/3 cup each liquid.
- For a 500ml jar (almost a pint) you will measure out approximately 1/3 cup each liquid.
Directions:
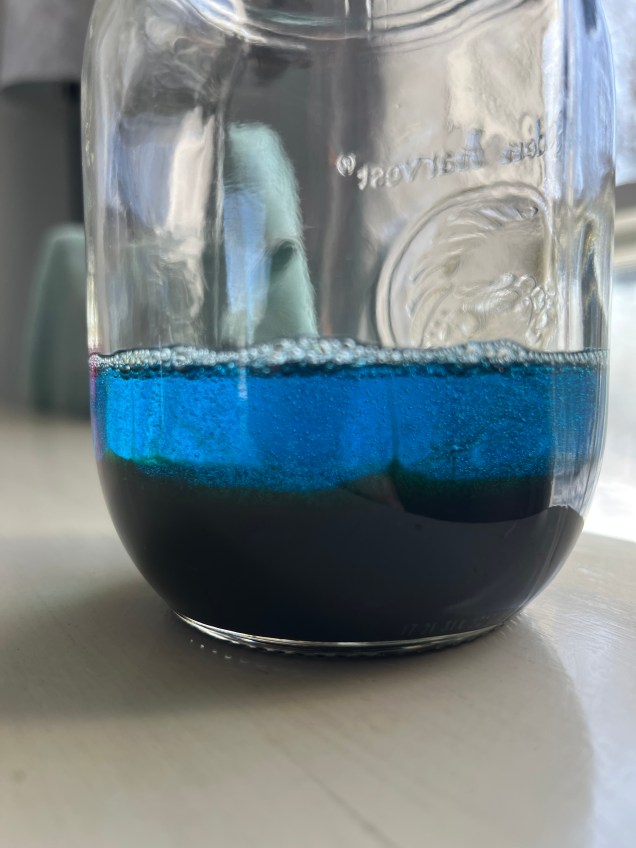
- Measure out the bottom liquid first. If using Molasses, simply add into the bottom. If using corn syrup then first add red, green and blue drops of food colouring until it is black. Pour into bottom of jar. This is “The Trench”.
- Measure out dish soap and use a funnel to slowly pour into the jar on top of the corn syrup/molasses. This is “The Abyss”. If using a clear dishsoap, add colouring to make a dark blue or purple colour.
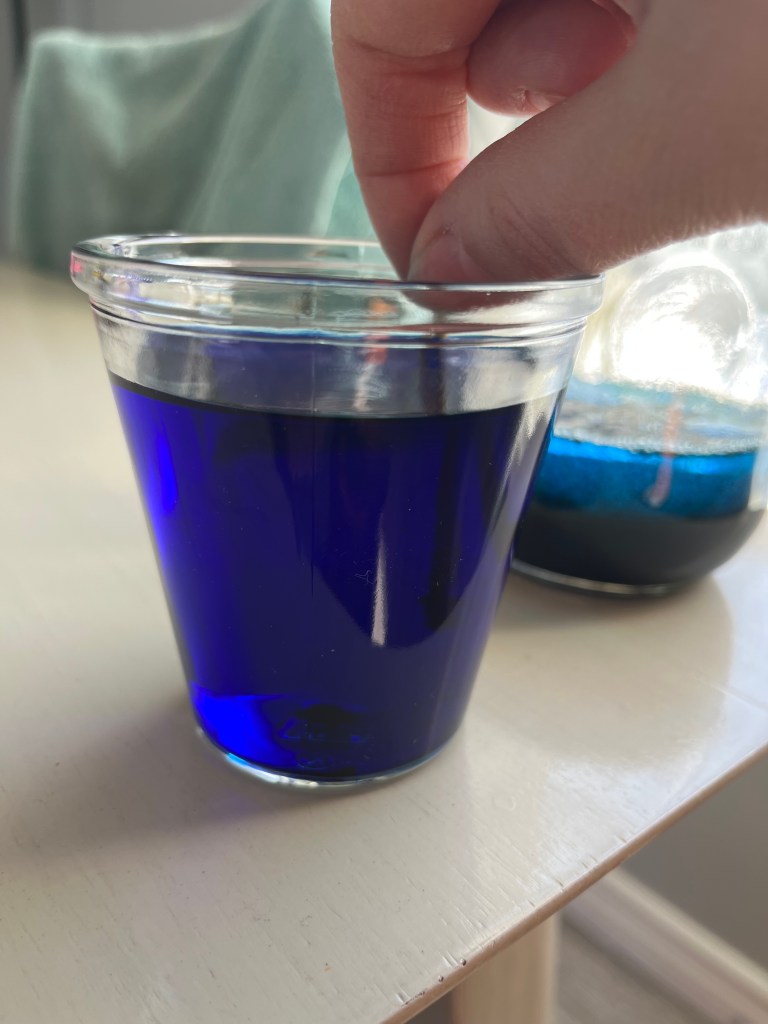
- Measure out water and add some colouring drops to make a deep blue/purple colour (different shade from the layer below it. Pour through the funnel slowly to add to the layers. This is now the “Bathypelagic”, or “Midnight Zone”.
- Measure out the vegetable oil and add through the funnel. You can try to use food colouring, but it is not likely to mix and change colour (We tried! And most people don’t do it in their videos anyway). This is now the “Mesopelagic”, or “Twilight Zone”.
- Measure out the rubbing alcohol and add to the top (very carefully!) to make the “Epipelagic”, or “Sunlight Zone”.

Additional Notes:
- Take your time when pouring the liquid layers on top of each other. If you pour too quickly then the layers will mix and you may have to wait while they settle themselves out.
- Use a funnel only for the first few layers. Keep an eye that the funnel is not inserted too deep when you are pouring layers or the liquids will mix. If you have a few hands helping with this activity, then one student could hold the funnel up so that it is not touching the liquids. Or consider using a small spoon for the last few layers to carefully add the top liquids.
- Based on your available liquid ingredients on hand, adjust your food colouring so that you will be able to distinguish the different layers. For example, we used blue dawn dish soap for the abyss layer so we just made the water layer above it have more purple. But if you are using a clear dish soap, you might want to make the abyss layer have dark purple, and then make the water layer above it be a deep blue.
More About The Ocean Layers (Pelagic Zones)
What are the “Pelagic Zones”?
The pelagic zones, or layers of the oceans are split up into 6 areas, ranging from the most shallow intertidal zone near the sunny surface, to the deepest and darkest depths of the hadalpelagic trenches.
The Intertidal Zone:
This area is the closest to the surface of the ocean, and is determined by the fluctuating ocean levels of high and low tide. It also contains tide pools that have their own unique ecosystem and are home to many different animals and plants.
Animals that live in this zone have to be able to adapt to both water and land, with the constantly changing high and low tides. These commonly include: small crabs, starfish, sea urchins, barnacles and anemones. Many other marine animals such as walruses and seals also live at the ocean’s edge so they can hunt for nearby food in the surface layers.
This is a great video of life in the Intertidal Zone:
The Epipelagic (Sunlight Zone):
The Epipelagic is considered the busiest and brightest area of the ocean. You could think of it like the “Epi-center” of the ocean, as it is estimated that around 90% of ocean animals, plants and different organisms live in this pelagic zone.
This zone travels down approximately 198 meters below the surface of the ocean, and temperature ranges from -2 to 36 degrees celcius, depending on warm or colder climate areas.
Due to the abundance of sunlight in this zone, underwater plant life is able to go through photosynthesis, which in turn produces oxygen for the marine animals that live there.
Check out this video on the Epipelagic Zone:
The Mesopelagic (Twilight Zone):
As one travels deeper into the ocean, you will come to the mesopelagic layer, or twilight zone. Here the amount of sunlight piercing through is less, which decreases the visibility at this depth of the ocean. As a result, there is typically less vegetation growing.
This zone is approximately 198 meters to 1,000 meters below sea level, and temperature ranges from -4 to 21 degrees celcius.
Animals that are commonly found in this zone are: blobfish, large crabs, sperm whales, swordfish, some eels, giant squid, and cuttlefish. Many of these animals also travel up and down through the layers as they seasonally migrate or hunt for food.
Check out this video on life in the Mesopelagic Layer:
The Bathypelagic (Midnight Zone):
Life in the Midnight Zone is quite dark, as there is almost no light that reaches to this depth. And yet there is still quite a lot of life!
The animals that live down at this level often have large eyes to help see whatever light there may be, and many of them are bioluminescent. (This means that they can omit their own form of light in their bodies!)
A few of these interesting animals include the vampire squid, various crustaceans, anglerfish, dragonfish, gulper eels, viperfish, and the lanternfish.
This zone is approximately 1,000 meters to 4,000 meters below sea level, and temperature stays near -4 degrees celcius.
Bruce Robinson from the Monterey Bay Aquarium shares a little of his work exploring the marine life of the Midnight Zone in this short video:
The Abyssopelagic (The Abyss):
Very near the ocean floor is the area known as the abyss. The depth here extends from approximately 4,000 meters to 6,100 meters deep! The cold water temperature stays around 1.7 degrees celcius.
Even though it is a harsh environment, many animals can still thrive in this cold and dark part of the ocean. Many of them are bioluminescent and eat dead creatures and plant life that fall down from the layers above. Some of these include the dumbo octopus, some eels, sea pigs, tripod fish, and sea spiders.
This video shows some fascinating animals found through the lower layers of the deep ocean!
The Hadalpelagic (The Trench):
And finally THE BOTTOM. At approximately 6,100 meters is the general area known as “the trench”, which is made up of caves and crevices that open up the ocean floor all over the earth. The Mariana Trench is the deepest recorded place in the ocean, with depth measuring at around 10, 984 meters.
There is extreme pressure at this depth, which makes it hard for any marine life to survive! But scientists have found a few species that live near hydrothermal vents in the ocean floor, such as giant tubeworms, hadal snailfish, and various amphipods. Cusk eels are the deepest recorded fish to be found at 8,370 meters.
The temperature tends to hover around 4 degrees celcius in the hadalpelagic zone.
Made this Mini Ocean Zone Activity?
I’d LOVE to see your results!! Feel free to post to your social media account and tag Northbird using one of the links below or post in the comments!
Check out these other Ocean Crafts and Activities!


Hi, I’m Jessie!
I’m a Wife and Homeschooling Mom living in a remote town in Northern Ontario, Canada. I love making wholesome meals for my family from scratch, homeschooling our girls and learning more about natural living.
Read more about my story HERE.
More Homeschooling Crafts & Activities to Check Out:


Subscribe to Northbird’s email list to get weekly posts on: tasty recipes, activity ideas for kids, natural living tips, and some genuine mom thoughts and encouragement!
Recent posts from Northbird:


Make Mini Ocean Zones in a Jar
A fun experiment illustrating the Zones of the Ocean, and learning about liquid Viscosity.
Liquids Needed
Directions
- Measure out the bottom liquid first. If using Molasses, simply add into the bottom. If using corn syrup then first add red, green and blue drops of food colouring until it is black. Pour into bottom of jar. This is “The Trench”.
- Measure out dish soap and use a funnel to slowly pour into the jar on top of the corn syrup/molasses. This is “The Abyss”. If using a clear dishsoap, add colouring to make a dark blue or purple colour.
- Measure out water and add some colouring drops to make a deep blue/purple colour (different shade from the layer below it. Pour through the funnel slowly to add to the layers. This is now the “Bathypelagic”, or “Midnight Zone”.
- Measure out the vegetable oil and add through the funnel. You can try to use food colouring, but it is not likely to mix and change colour (We tried! And most people don’t do it in their videos anyway). This is now the “Mesopelagic”, or “Twilight Zone”.
- Measure out the rubbing alcohol and add to the top (very carefully!) to make the “Epipelagic”, or “Sunlight Zone”.
Additional Notes:
- Take your time when pouring the liquid layers on top of each other. If you pour too quickly then the layers will mix and you may have to wait while they settle themselves out.
- Use a funnel only for the first few layers. Keep an eye that the funnel is not inserted too deep when you are pouring layers or the liquids will mix. If you have a few hands helping with this activity, then one student could hold the funnel up so that it is not touching the liquids. Or consider using a small spoon for the last few layers to carefully add the top liquids.
- Based on your available liquid ingredients on hand, adjust your food colouring so that you will be able to distinguish the different layers. For example, we used blue dawn dish soap for the abyss layer so we just made the water layer above it have more purple. But if you are using a clear dish soap, you might want to make the abyss layer have dark purple, and then make the water layer above it be a deep blue.
- Use equal amounts of the different liquids each time, but the amount might be different based on what size jar you have available:
– For a 1 litre jar (almost a quart), you will measure out approximately 2/3 cup each liquid.
– For a 500ml jar (almost a pint) you will measure out approximately 1/3 cup each liquid.

This post contains affiliate links. As an Amazon associate, I earn from qualifying purchases. This means that I make a small commission at no extra cost to you. You can read my full disclosure HERE.