Find Northbird on social media:

Somedays, our 3 kids remind me of little birds…one is contentedly “peeping”, while another is incessantly “chirping”, and of course there’s one that just noisily “squawks” if basic needs have not been met (sometimes constant cuddles with Mom strongly falls under this category!)
Let me just say, I love these darlings. Period. However… there are days when the constant noises of active and most-of-the-time happy kids becomes too much for my ears! (Am I right fellow parents?!)
My coping solutions to the noise?? Calming music for me (usually classical), and a good supply of nutritious snacks for these kiddos! Most of the time they can be easily distracted with food… because the majority of the time a contented tummy and full mouth doesn’t need to squack, right?!
About this Snack/Activity:
This snack was fun to make! It not only challenged the creative/artistic side of my brain, but was super tasty to eat too!
The kids and I had been learning about owls and nocturnal animals in homeschooling and this was a perfect mid-morning snack to go along with it! (The hubby was also home that day from teaching at the high school and was quite happy to get a snack that was more interesting than his usual)
Ingredients to Use:
- Rice cakes were used for the body of the owl. Any large round one works, there are so many types and flavours! We like the plain ones best for this snack though.
- For the base we used natural peanut butter, but you could also use other nut or seed butters, or hummus! Lather it on thick, this is the main protein part of this snack!
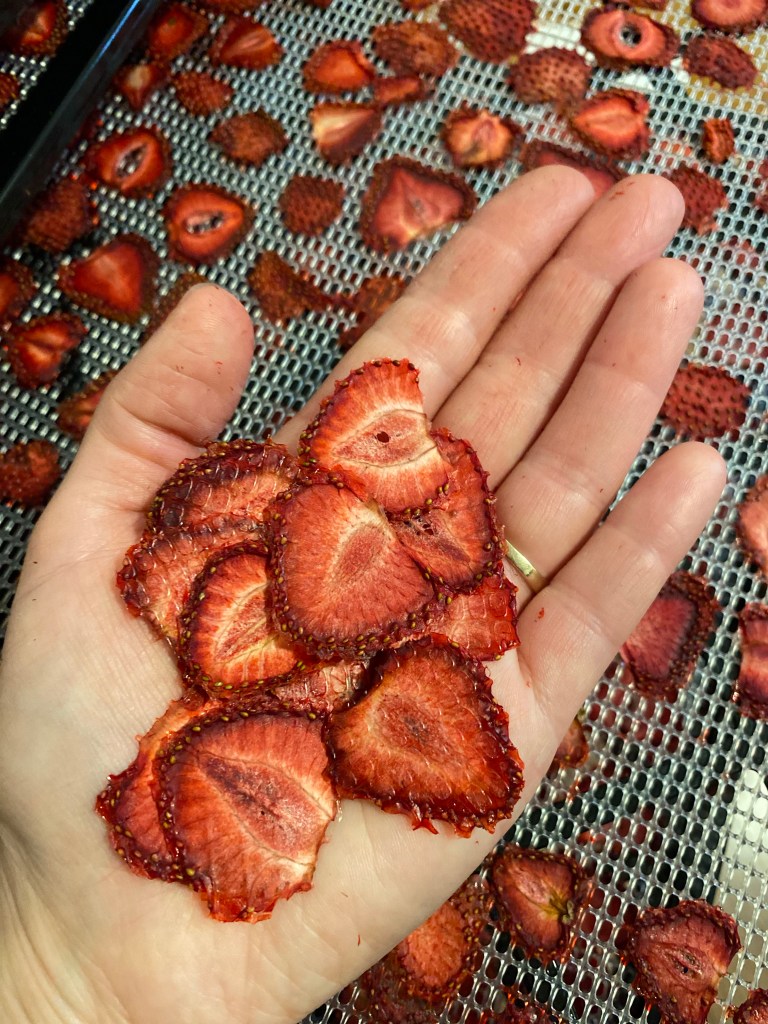
- We used dehydrated strawberry chips for the owl ears, but you could also use fresh strawberries or another fruit and cut it to size. If you want to learn how to dehydrate your own strawberry chips like we did, you can check out THIS POST to find out more.

- For the eyes, we sliced on fresh “banana dollars“. (My kids love their bananas!)
- The wings were made using dehydrated peach slices, which could of course be substituted for fresh slices of peach. Apple or pear slices would work great too!
- Raisins are the decorative part that tie it all in. You could also sub in cranberries, or other dried berries for this part.
Activities to do with this Owl Bird Snack:
Kids can not only have fun putting this tasty snack together, but they can also use the following resources for learning more about owls.
Craft Activity:

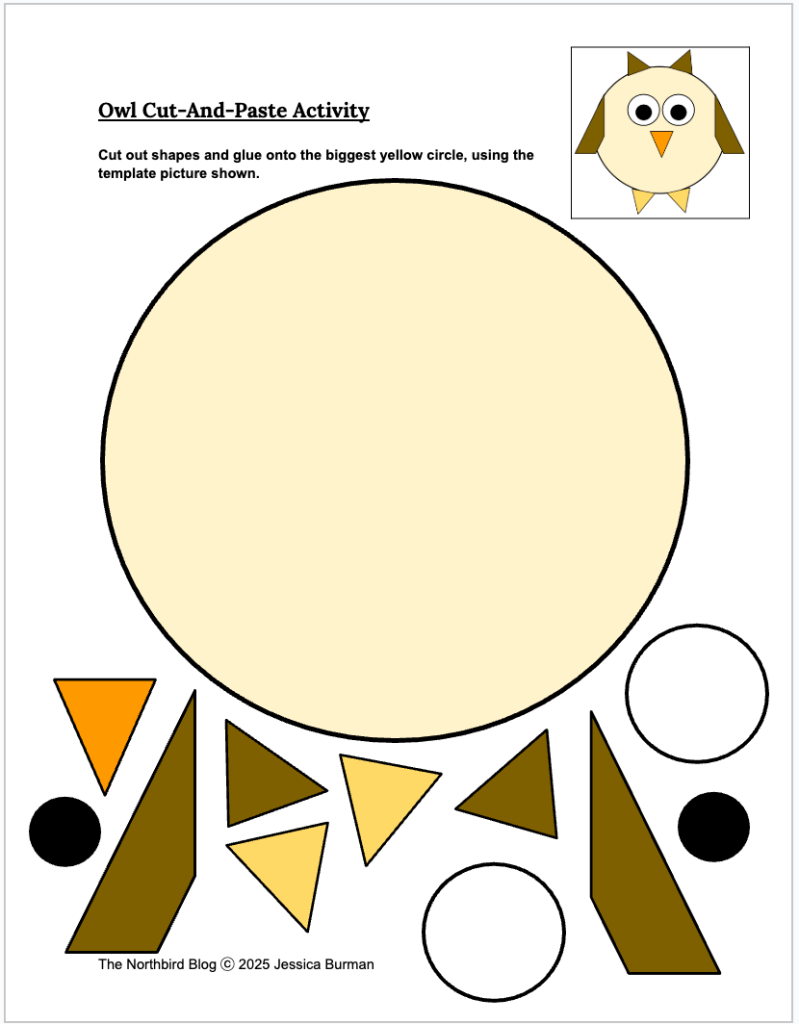
Cut out and paste shapes to create an Owl. You can download this free pdf HERE.
Educational Videos:
As a heads up: there are some mice that you see getting gobbled up!
How to Make this Owl Bird Snack:
Supplies Needed:
- Paring Knife
- Cutting Board
- Spreading Knife
Ingredients:
- Round Rice Cakes (Body)
- Natural Peanut Butter, Seed Butter or Hummus (Colouring)
- Strawberry slices, dried or fresh (Ears)
- Round Banana slices (Eyes)
- Peach, Apple or Pear slices (Wings)
- Raisins (Feathers, Beak, Eyeballs)
Directions:
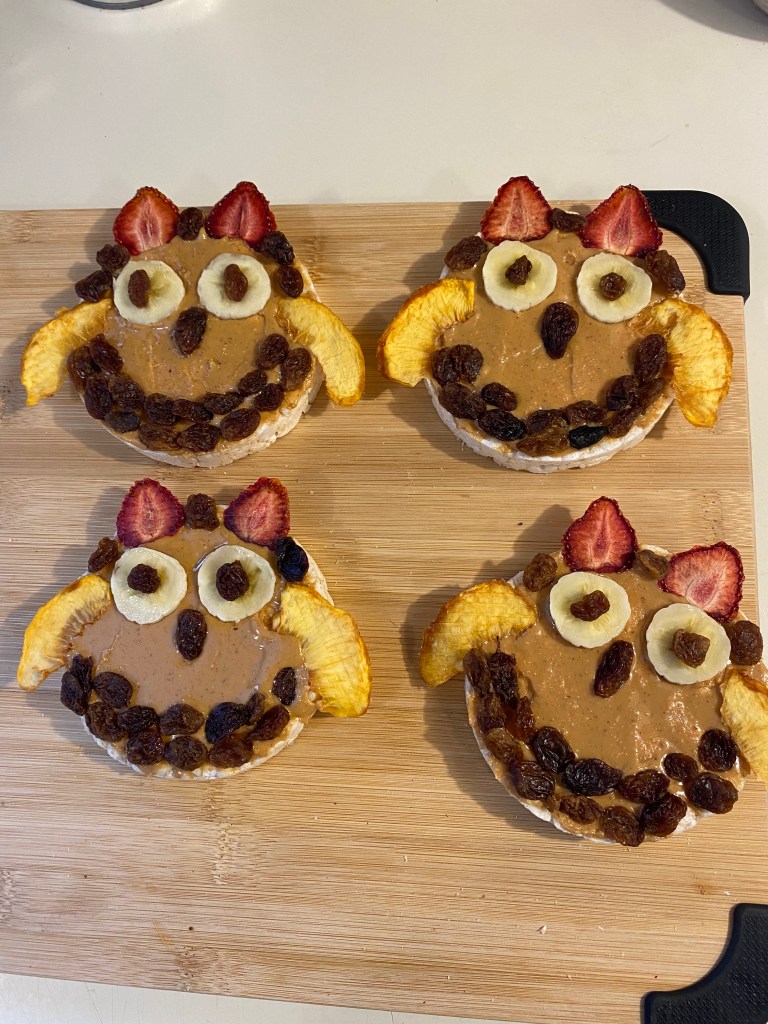
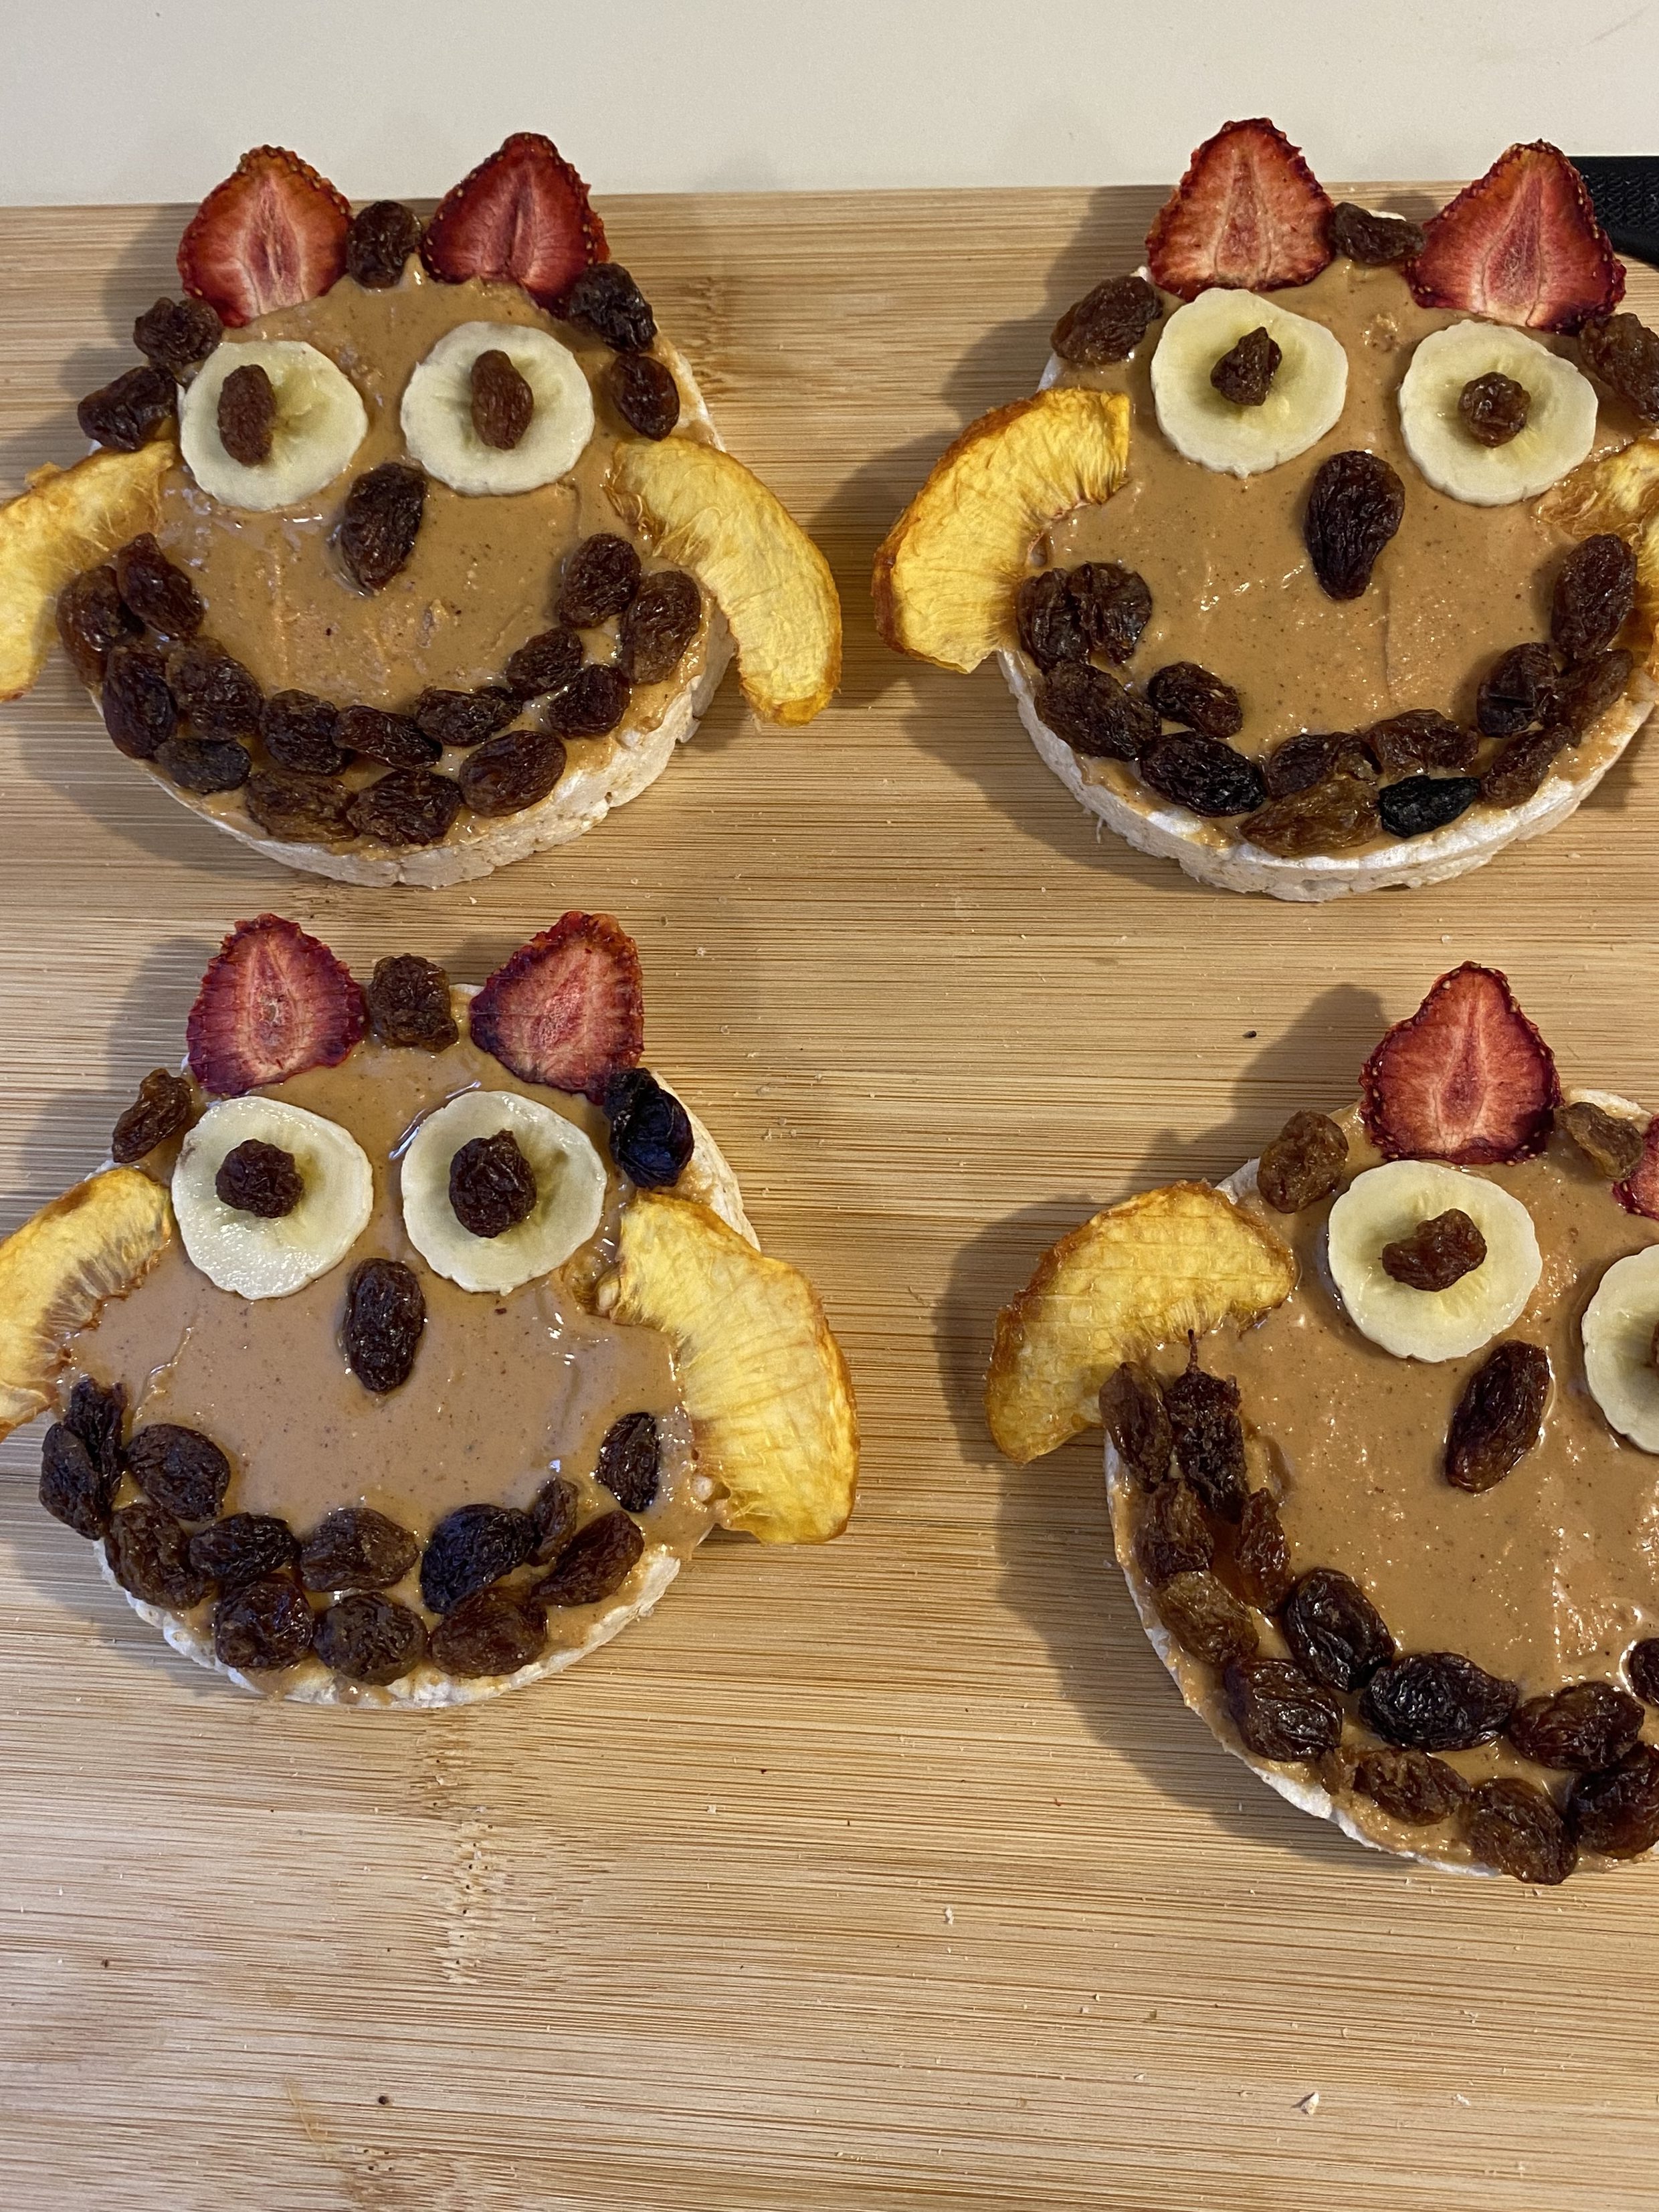
- Spread the peanut/seed butter or hummus on the rice cake nice and thick.
- Place the Strawberry slices as ears, banana slices as eyes, and peach (or other) slices as wings.
- Place the raisins for additional feathers, a beak, and in the center of the banana eyes.
- Eat!!!

Made this Recipe?
I’d LOVE to see your results!! Feel free to post to your social media account and tag Northbird using one of the links below or post in the comments!
More Desert & Snack Recipes:


Posts on “Discovering Birds”


Hi, I’m Jessie!
I’m a Wife and Homeschooling Mom living in a remote town in Northern Ontario, Canada. I love making wholesome meals for my family from scratch, homeschooling our girls and learning more about natural living.
Read more about my story HERE.

Subscribe to Northbird’s email list to get weekly posts on: tasty recipes, activity ideas for kids, natural living tips, and some genuine mom thoughts and encouragement!
Recent posts from Northbird:


Owl Bird Healthy Snack for Kids
Jessica Burman, 2025 © The Northbird Blog. https://www.thenorthbirdblog.com
Ingredients
Directions:
- Spread the peanut/seed butter or hummus on the rice cake nice and thick.
- Place the Strawberry slices as ears, banana slices as eyes, and peach (or other) slices as wings.
- Place the raisins for additional feathers, a beak, and in the center of the banana eyes.
- Eat!!!

This post contains affiliate links. As an Amazon associate, I earn from qualifying purchases. This means that I make a small commission at no extra cost to you. You can read my full disclosure HERE.